What Spray Paint to Use on Glass Bottles? A Complete List!
To guarantee glass bottles into stunning decor, you’ll want to choose the right spray paint. Enamel spray paint provides a durable, glossy finish, while acrylic spray paint offers versatility and quick drying.
For a unique, translucent look, go with frosted glass spray paint. Prepare your glass bottles by cleaning thoroughly and lightly sanding for better grip.
Use multi-surface spray paints for strong adhesion or explore metallic finishes for a reflective touch.
Always apply thin, even coats and let each layer dry completely. Seal your work with a clear coat for added protection. There’s more to make sure you’re getting the best results.
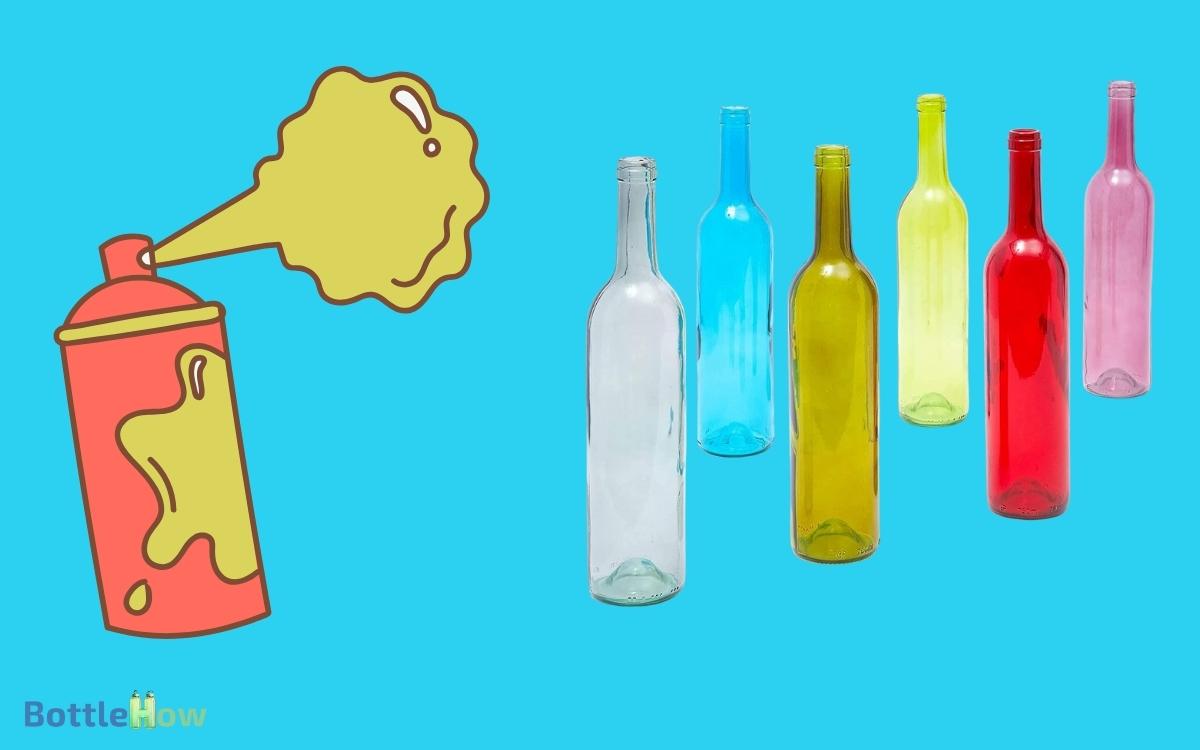
Best Spray Paints for Glass Bottles
| Brand | Product Name | Type | Features |
|---|---|---|---|
| Krylon | Looking Glass | Mirror-like Finish | Creates reflective, mirror-like surface |
| Rust-Oleum | Specialty Frosted Glass | Frosted Finish | Provides a frosted, semi-transparent look |
| Rust-Oleum | Specialty Stained Glass | Stained Finish | Mimics the appearance of stained glass |
| Montana Cans | Gold or Silver Chrome | Metallic Finish | Offers a shiny metallic look |
| Krylon | Frosted Glass Finish | Frosted Finish | Creates a translucent, frosted appearance |
| Rust-Oleum | Universal Gloss | Gloss Finish | Provides a glossy, smooth finish |
| Montana Cans | Translucent Colors | Transparent Finish | Offers various transparent color options |
Key Takeaways
Understanding Glass Surfaces
Understanding the properties of glass surfaces is crucial before you begin spray painting your bottles to guarantee excellent adhesion and a smooth finish.
Glass is non-porous and smooth, which can make paint adherence challenging. You need to make sure the surface is meticulously clean, free of dust, oils, and residues.
Use a mixture of water and mild detergent, followed by a rinse with rubbing alcohol to remove any remaining contaminants.
Lightly sanding the surface with fine-grit sandpaper can create a better grip for the paint. Always handle the glass with clean gloves afterward to avoid transferring oils from your hands.
Proper surface preparation not only enhances the paint’s adherence but also ensures a professional, long-lasting finish that serves others’ needs effectively.
Types of Spray Paint
Once your glass surface is prepped, you need to select the right type of spray paint to guarantee the best results. Consider using enamel spray paint for its durability and glossy finish, perfect for decorative items.
Acrylic spray paint offers versatility and quick drying times, making it ideal for projects where time is a factor.
Frosted glass spray paint can give your bottle a unique, translucent effect, great for creating a soft, diffused look.
High-heat spray paint is another option if your bottles will be exposed to high temperatures, such as in candle holders. This type of paint is designed to withstand extreme temperatures without peeling or fading, ensuring a long-lasting finish. If you prefer an alternative to a spray bottle, you can use a brush-on heat-resistant paint for more control over the application. This method allows for detailed designs and minimizes overspray, making it a great choice for customized projects.
Choosing the appropriate type of paint guarantees your project not only looks professional but also lasts longer, serving the needs of those who’ll use or admire your work.
Multi-Surface Spray Paints
When looking to simplify your painting projects, multi-surface spray paints provide exceptional versatility by adhering well to a variety of materials, including glass.
These paints are specially formulated to bond effectively with different surfaces, guaranteeing a smooth, even finish.
By using multi-surface spray paints, you can achieve professional-looking results without the need for multiple products.
They’re ideal for those who love crafting and want to create beautiful, customized glass bottles for gifts or home décor.
The convenience of using a single product saves time and reduces the complexity of your project.
Always remember to clean and prime the glass surface properly before spraying to secure the best adhesion and longevity of your painted design.
Frosted Glass Paints
For a sophisticated and elegant finish, frosted glass paints offer a unique way to transform ordinary glass bottles into stunning decorative pieces.
These paints create a translucent, matte look that diffuses light beautifully, adding a touch of class to any setting. You’ll find them perfect for centerpieces, vases, or personalized gifts.
Applying frosted glass paint is straightforward: clean the bottle thoroughly, make sure it’s dry, and use smooth, even strokes to apply the paint.
Allow it to dry completely between coats for the best results. Frosted paints come in various colors, letting you customize your designs.
Metallic Finish Options
Metallic finish options provide a lustrous, high-impact look that can transform glass bottles into eye-catching decorative pieces.
When selecting the right metallic spray paint, consider these key factors to guarantee excellent results:
- Color Variety: Choose from a wide range of metallic hues like gold, silver, copper, and bronze to match your decor.
- Durability: Opt for spray paints with strong adhesion and resistance to chipping and fading.
- Finish Quality: Look for products that offer a smooth, reflective surface without streaking or bubbling.
- Drying Time: Select paints with quick-drying formulas to save time and improve efficiency.
Transparent Tints
Transparent tints offer a subtle, colorful enhancement to glass bottles, allowing the original material to shine through while adding an elegant touch.
When selecting a transparent spray paint, look for brands known for their even coverage and durability. These tints come in a variety of hues, so you can match them to your décor or event theme.
Transparent tints are ideal for creating custom centerpieces, unique gift bottles, or personalized décor pieces. To achieve the best results, make sure the glass is clean and dry before applying the spray.
Apply light, even coats, allowing each layer to dry completely. This method ensures a smooth, professional finish that will impress anyone you serve with your beautifully tinted glass creations.
Chalkboard Spray Paint
Chalkboard spray paint transforms ordinary glass bottles into versatile, writable surfaces perfect for labeling or creative designs.
You’ll find this type of paint particularly useful if you’re looking to add a personal touch to your bottles.
Here’s why you should consider using chalkboard spray paint:
- Reusability: You can erase and rewrite on the bottles, making them ideal for changing labels or messages.
- Durability: It’s designed to withstand regular use without chipping or peeling.
- Ease of application: The spray format guarantees an even coat, simplifying the process and saving time.
- Versatility: Beyond bottles, you can use it on various surfaces, expanding your creative possibilities.
Using chalkboard spray paint, you can elevate your glass bottles into functional and artistic tools for any occasion.
Preparing Glass Bottles
Before you can transform your glass bottles with chalkboard spray paint, you need to thoroughly clean and prepare them to guarantee the paint adheres properly and provides a smooth finish. Start by washing the bottles with warm, soapy water to remove any dirt or grease.
Rinse thoroughly and let them dry completely. Next, use rubbing alcohol to wipe down the bottles to remove any residual oils. If the bottles have labels, soak them in hot water, then scrape off the labels and adhesive residue.
| Step | Description |
|---|---|
| 1. Wash | Use warm, soapy water to clean the bottles. |
| 2. Rinse | Thoroughly rinse and let the bottles dry completely. |
| 3. Alcohol | Wipe with rubbing alcohol to remove residual oils. |
| 4. Labels | Soak in hot water and scrape off labels and residue. |
Application Techniques
To achieve a flawless finish when spray painting glass bottles, you must prioritize proper surface preparation and master the best spraying methods. Start by ensuring the bottles are completely clean and dry, free from any oils or residues.
Use smooth, even strokes while maintaining a consistent distance to avoid drips and achieve an even coat.
Surface Preparation Tips
Make sure your glass bottles are thoroughly cleaned and free of any labels or adhesives to achieve the best spray paint adhesion. Proper preparation is crucial to a flawless finish.
Follow these steps:
- Remove Labels: Soak the bottles in warm, soapy water for 30 minutes. Peel off the labels and use a scraper for any stubborn residue.
- Clean Thoroughly: Wash the bottles with rubbing alcohol to remove oils and fingerprints. This guarantees a clean surface.
- Dry Completely: Allow the bottles to air dry or wipe them with a lint-free cloth. Moisture can prevent paint from adhering properly.
- Sand Lightly: Lightly sand the surface with fine-grit sandpaper to create a slightly rough texture, aiding paint adhesion.
These steps will establish the foundation for a professional-looking finish.
Best Spraying Methods
Achieving a flawless finish on glass bottles requires mastering specific spraying techniques to guarantee even coverage and smooth results. Start by shaking the spray paint can vigorously for at least two minutes to mix the paint thoroughly.
Hold the bottle at eye level and position the can about 10-12 inches away. Apply the paint in thin, even coats, moving in a steady back-and-forth motion. Don’t hover too long in one spot to avoid drips and runs.
Allow each coat to dry completely before applying the next, typically around 15-20 minutes. For best results, use multiple light coats rather than one heavy coat. Rotate the bottle as you spray to cover all angles evenly.
Drying and Curing
Guaranteeing proper drying and curing of spray paint on glass bottles is crucial for achieving a durable and professional-looking finish.
Here’s how you can secure excellent results:
- Time: Allow at least 24 hours for the paint to dry to the touch. This helps prevent smudging and ensures the paint adheres well.
- Environment: Keep the bottles in a well-ventilated, dust-free area. This minimizes imperfections and promotes even curing.
- Temperature: Maintain a consistent temperature of 60-75°F (15-24°C). Fluctuations can affect the drying process and result in an uneven finish.
- Handling: Avoid touching the painted surface during the curing period, usually 7 days. This prevents fingerprints and other marks.
Following these steps secures a lasting, polished look.
Sealing and Protecting
To guarantee that your spray-painted glass bottles maintain their vibrant look, you’ll want to apply a clear sealant.
This protective layer not only enhances the paint’s durability but also shields it from scratches and UV damage.
Mastering the right application techniques will secure long-term protection and a flawless finish.
Clear Sealant Benefits
Applying a clear sealant to your spray-painted glass bottles not only boosts their durability but also provides a protective barrier against scratches and environmental damage. This extra layer guarantees your artistic efforts remain vibrant and intact over time.
Here are four key benefits of using a clear sealant:
- Scratch Resistance: Protects against daily wear and tear, keeping your designs pristine.
- UV Protection: Shields your paint from fading due to sun exposure.
- Moisture Barrier: Prevents water and humidity from compromising your paint job.
- Enhanced Finish: Gives your bottles a professional, polished look, whether you prefer a glossy or matte finish.
Application Techniques
Mastering the art of sealing and protecting your spray-painted glass bottles involves selecting the right tools and following a meticulous application process to guarantee long-lasting results.
First, choose a high-quality clear sealant specifically designed for glass. Shake the can vigorously to make sure the solution is well-mixed.
Hold the bottle at a slight angle and spray in even, light coats, maintaining a distance of about 12 inches. Allow each coat to dry thoroughly before applying the next. Typically, two to three coats are sufficient.
Make sure the final coat dries in a dust-free environment to avoid imperfections. By taking these steps, you’ll achieve a professional finish that’s both beautiful and durable, ensuring your creations are ready to serve and delight others.
Long-term Durability
Securing the long-term durability of your spray-painted glass bottles requires not only proper application techniques but also a thorough understanding of how to effectively seal and protect your creations.
To achieve this, follow these steps:
- Choose a Clear Sealer: Opt for a high-quality clear acrylic sealer that’s compatible with glass and the type of paint you’ve used.
- Apply Multiple Thin Coats: Instead of one heavy coat, apply several thin coats of sealer, allowing each layer to dry completely before adding the next.
- Cure Properly: Let your sealed bottles cure for at least 24-48 hours in a dust-free environment to secure maximum durability.
- Avoid Harsh Conditions: Keep your bottles away from extreme temperatures and moisture to maintain their appearance and longevity.
Conclusion
Think of your glass bottle as a blank canvas, waiting to transform into a masterpiece. With the right spray paint—be it multi-surface, frosted, or metallic—you’ll unlock its potential.
Proper preparation, skillful application, and diligent drying are your brushes and palette. Just like an artist who seals their work to guarantee its longevity, don’t skip the final touch of sealing and protecting.
Your bottle’s transformation is a tribute to your craftsmanship and creativity.

