My Spray Bottle Is Not Working How to Fix? Easy Steps!
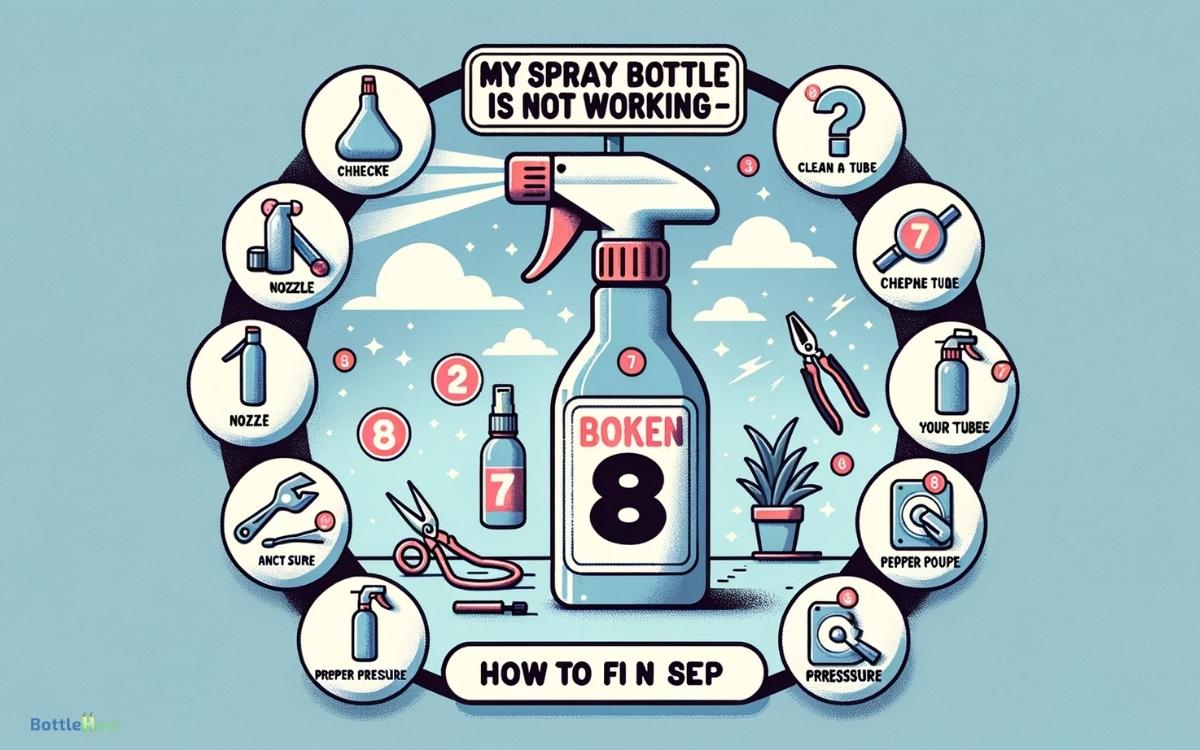
If your spray bottle isn’t working, first check for a clogged nozzle. Disassemble the spray head and rinse each part under water to remove debris.
Next, inspect the trigger mechanism and pump. Make sure the trigger moves freely and check the pump for blockages, ensuring responsive action.
Evaluate the tube for any obstructions or damage, and clean accordingly. Finally, verify that all connections are secure and the tube’s end reaches the bottle base.
Reassemble your spray bottle carefully, ensuring all parts are tight and aligned. Proper maintenance guarantees a longer-lasting, functional spray bottle, offering more insights into its mechanics.
Key Takeaways
Why do Spray Bottles Stop Working
Spray bottles can stop working for several reasons:
- Clogging: The nozzle or spray mechanism can become clogged with residue or debris from the contents of the bottle, preventing it from spraying properly.
- Air Pressure: Some spray bottles rely on air pressure to function. If there’s a leak in the bottle or the seal isn’t tight, it can disrupt the pressure needed for spraying.
- Wear and Tear: Over time, the parts of the spray bottle can wear out or become damaged, affecting its ability to spray effectively.
- Chemical Reaction: Certain chemicals or substances in the liquid being sprayed can react with the materials of the spray bottle, causing damage to the nozzle or other components.
- Improper Storage: Storing the spray bottle in extreme temperatures or conditions can degrade its materials or affect its functionality.
- Manufacturing Defects: In some cases, the spray bottle may have been poorly manufactured, leading to issues with its performance.
To troubleshoot a non-working spray bottle, try cleaning the nozzle, checking for leaks, ensuring proper storage, and examining the condition of the bottle’s components. If the issue persists, it may be necessary to replace the spray bottle.
Identifying the Problem
First, you need to determine whether the issue with your spray bottle stems from a clogged nozzle, a faulty pump, or a damaged tube. If the spray bottle not misting is due to a clogged nozzle, try soaking it in warm, soapy water and using a pin to clear any debris. If the pump is faulty, disassembling and cleaning the mechanism may help restore proper function. Lastly, check the tube for cracks or blockages, as a damaged tube can prevent liquid from being drawn up effectively.
Start by examining the pump mechanism; it’s important for generating the pressure needed to emit liquid.
Check if the pump handle moves smoothly and springs back when depressed. If it feels stiff or doesn’t return to its starting position, the spring inside the pump may be broken or misaligned.
Next, inspect the tube that extends from the pump into the liquid reservoir. Make sure it’s securely connected and not cracked. A disconnected or damaged tube can’t draw liquid up, rendering the spray bottle ineffective.
This careful inspection helps you provide reliable assistance in maintaining essential tools.
Check for Clogs
Next, examine the nozzle for any signs of blockage that could impede the spray mechanism’s functionality.
If you notice any obstructions, it’s important to address these immediately to restore your spray bottle’s efficiency.
Here’s a methodical approach to guarantee thorough cleaning:
- Dismantle the Spray Head: Carefully unscrew the spray head from the bottle. This exposes more components, making it easier to identify where clogs might’ve formed.
- Rinse Under Water: Hold each part under running water. The force of the water can help dislodge particles blocking the passageways.
- Use Thin Tools: For stubborn clogs, gently use a needle or a thin wire to poke through and clear the pathways, making sure you don’t damage any components.
Inspect the Nozzle
Thoroughly inspect the nozzle to make sure it’s free from cracks, wear, or any deformities that could impact spray performance.
Start by visually examining the nozzle tip and the surrounding area for any signs of damage or irregularities.
If there are any, it’s often best to replace the nozzle as compromised integrity could lead to inconsistent spray patterns or blockages.
Next, check for mineral deposits or residues, especially if you’ve used chemicals or hard water. Gently clean the nozzle’s aperture with a small brush or needle to remove any buildup. This guarantees there’s nothing obstructing the flow.
Confirm the nozzle is correctly aligned with the bottle’s tube and tightly secured to prevent any leaks that could impair its function.
Test the Trigger Mechanism
First, assess the trigger’s flexibility by gently pressing and releasing it multiple times to observe its responsiveness and make sure it doesn’t stick.
Next, examine the spring inside the trigger mechanism to verify it’s not damaged or overly compressed, which could impair its function.
Check Trigger Flexibility
Press down on the trigger of the spray bottle to evaluate its smoothness of movement and identify any stiffness or irregularities in the mechanism. If the trigger doesn’t depress smoothly or returns sluggishly, it may be impeding the operation of your spray bottle.
Here’s a detailed approach to guarantee the trigger functions at its best:
- Lubricate the Pivot: Apply a small amount of silicone lubricant at the pivot point where the trigger attaches to the body. This reduces friction and allows for smoother movement.
- Clean the Trigger Path: Use a cotton swab dipped in rubbing alcohol to clean around the trigger area, removing any dirt or grime that may obstruct its path.
- Check for Visible Damage: Inspect the trigger for cracks or breakage that could impact its functionality.
Inspect Spring Functionality
Check the spring behind the trigger to make sure it’s providing sufficient tension and rebound for peak functionality.
When a spray bottle fails to dispense properly, it’s often due to a malfunctioning spring mechanism. This component is essential as it allows the trigger to return to its original position after each press.
| Action | Expected Outcome |
|---|---|
| Press Trigger | Smooth, consistent resistance |
| Release Trigger | Quick, full return to resting state |
| Compress Spring | Uniform compression without gaps |
| Observe Spring Coils | Even spacing, no signs of rust |
To test, gently pull the trigger and observe its response. It should feel firm yet responsive. Uneven resistance or a sluggish return suggests a compromised spring that might need replacement or repositioning.
Clean Trigger Area
Make sure the trigger area is free of debris and dirt by carefully cleaning around the mechanism with a soft brush or cloth.
This step is vital for guaranteeing that nothing obstructs the trigger’s movement or the spray mechanism’s functionality.
Here’s how you can proceed methodically:
- Dismantle the Trigger: Carefully remove the trigger from the bottle to expose all components. This will allow for a thorough cleaning.
- Clean Each Component: Use a mild soapy solution and a soft brush to gently scrub each part. Rinse with clean water to guarantee no soap residue remains.
- Dry and Reassemble: Completely dry each component before reassembling. This prevents any water-related damage or malfunction.
Examine the Pump
Begin by closely examining the pump mechanism to verify it’s free from blockages and functioning correctly.
Look for any visible signs of damage such as cracks or wear on the pump head or the spring mechanism.
These components are vital for creating the pressure necessary to expel the liquid from the bottle efficiently.
Next, you’ll want to test the pump’s responsiveness. Press down on the pump; it should spring back up smoothly without any resistance.
If it sticks or feels sluggish, the internal spring may be compromised. Lubricating the moving parts with a silicone-based spray can often restore full functionality.
Assess the Tube
Next, closely inspect the tube extending from the pump to make sure it’s free from cracks, clogs, or signs of wear that could impair functionality.
This tube is vital for drawing liquid from the bottle to the nozzle, so any obstruction or damage can greatly hinder your ability to serve effectively.
Here are steps to thoroughly assess the tube:
- Remove the Tube: Carefully detach the tube from both the pump and the bottle. This allows for a better examination and easier handling.
- Check for Obstructions: Hold the tube up to the light to see if there are any blockages inside. If any, gently use a thin wire or similar tool to clear them.
- Inspect for Damage: Look for any signs of splitting, brittleness, or unusual bending that could affect performance. Replace if necessary.
Look for Leaks
After examining the tube, scrutinize the spray bottle’s connections and seals for any signs of leaking.
Start by inspecting where the trigger assembly meets the bottle neck. This juncture is a vital leak point.
You should see a gasket or O-ring; check it for any cracks, brittleness, or distortion. If it’s damaged, it’s essential to replace it to guarantee a tight seal.
Next, inspect the nozzle itself. Twisting motions can loosen it over time, which might cause leaks. Make sure it’s tightly screwed on.
Also, examine the body of the spray bottle for any hairline cracks or holes. Even a small fracture can lead to significant leakage, undermining the effectiveness of your spray bottle in serving others effectively.
Cleaning and Maintenance
To guarantee peak performance, regularly clean your spray bottle by dismantling and washing each component with warm, soapy water. Dirt and residue can clog the nozzle, affecting the spray mechanism and reducing efficiency.
Here’s a methodical approach to maintaining your spray bottle:
- Disassemble: Carefully separate the spray head, dip tube, and bottle. Make sure you don’t lose any small parts like the spring or nozzle tip.
- Clean Thoroughly: Using a small brush, scrub inside the nozzle and dip tube to remove any blockages. The bottle itself should be rinsed out to eliminate any residues or contaminants.
- Dry Completely: After washing, dry each part thoroughly before storage or reassembly to prevent mold or water spots from forming.
Reassembling the Spray Bottle
Once you’ve disassembled and cleaned the spray components, it’s essential to inspect the seal’s integrity before reassembly; any compromise can lead to leaks and reduced efficiency.
Make sure you’re aligning each part correctly as you reassemble to guarantee the spray mechanism functions smoothly.
Disassemble Spray Components
Begin by carefully unscrewing the spray head from the bottle to access the internal components. You’ll want to examine these parts meticulously to confirm each is functioning correctly.
Here are your step-by-step instructions:
Remove the Trigger:
Gently pull the trigger off its mounting to check for any obstructions or damage. This piece is vital for controlling the spray mechanism.
Inspect the Dip Tube:
This tube should be clear of any clogs and correctly attached to the spray head. A blocked or detached tube can prevent liquid from being drawn up.
Clean the Nozzle:
Use a small brush or pin to clear any debris that might be blocking the spray nozzle.
Reassemble the components in reverse order once everything is confirmed clean and intact.
Check Seal Integrity
After reassembling the spray components, verify the seal’s integrity by checking for any gaps or looseness where the trigger meets the bottle neck. It’s essential that this connection is airtight to guarantee top performance and prevent leakage.
You’ll want to closely inspect the area around the connection. Look for any visible signs of wear or damage to the seal itself, which can compromise the functionality. If you notice any irregularities, consider replacing the seal or adjusting its placement.
Ensure that the seal is evenly and securely positioned, as unevenness can lead to air leakage, reducing the efficiency of your spray bottle.
This careful inspection helps guarantee that your efforts to serve and assist others aren’t hindered by a malfunctioning tool.
Secure All Connections
Guarantee that every component of the spray bottle is tightly connected to maintain its functionality and prevent any leaks during use. When reassembling your spray bottle, precision and attention to detail are vital.
Here’s how to make sure all connections are secure:
- Thread the Dip Tube Correctly: Insert the dip tube into the spray head. Make sure it’s pushed down firmly and reaches the bottom of the bottle. Misalignment can cause suction issues.
- Attach the Spray Head Tightly: Screw the spray head onto the bottle neck. Rotate it clockwise until you feel resistance, indicating a snug fit.
- Check the Nozzle Adjustment: Ensure the nozzle is set to the right mode—either spray or stream—and isn’t loose.
Following these steps will help you provide reliable service with your spray bottle.
Conclusion
Once you’ve meticulously checked and cleaned each component of your spray bottle, reassembling it should resolve any issues.
Remember, a well-maintained spray bottle can last for years. Intriguingly, studies suggest that proper maintenance can increase the lifespan of a spray bottle by up to 75%.
By ensuring each part is functioning correctly and free from debris, you’re not just fixing a tool—you’re investing in its prolonged efficiency and reliability.
Keep this routine, and your spray bottle will serve you well.


