Macrame Water Bottle Holder Diy
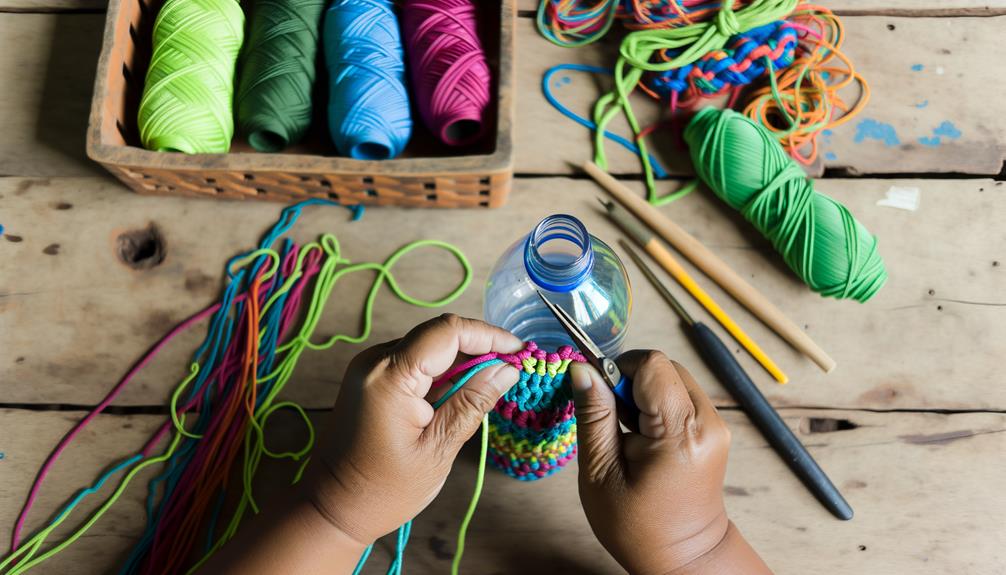
Creating a macrame water bottle holder is a fun, creative project you'll enjoy. Start by cutting eight cords, each six times the height of your bottle, and attach them to a 2-inch metal ring with a lark's head knot.
Make square knots to form the base and continue knotting in rows to create a net around the bottle, adjusting for snugness. Attach two long cords with another lark's head knot to form the handle and braid them for durability.
Trim and seal the ends, and consider adding beads or tassels for a personal touch. Now, let's explore the finer details!
Key Takeaways
- Measure and cut eight cords, each six times the height of your water bottle, using sharp scissors for clean cuts.
- Attach cords to a 2-inch metal ring using lark's head knots to start the base.
- Create a net by tying square knots in pairs, ensuring consistent spacing for a balanced design.
- Add a handle by attaching long cords with lark's head knots and forming a sturdy braid with square knots.
Materials Needed
To begin your macrame water bottle holder, you'll need a few essential materials to get started.
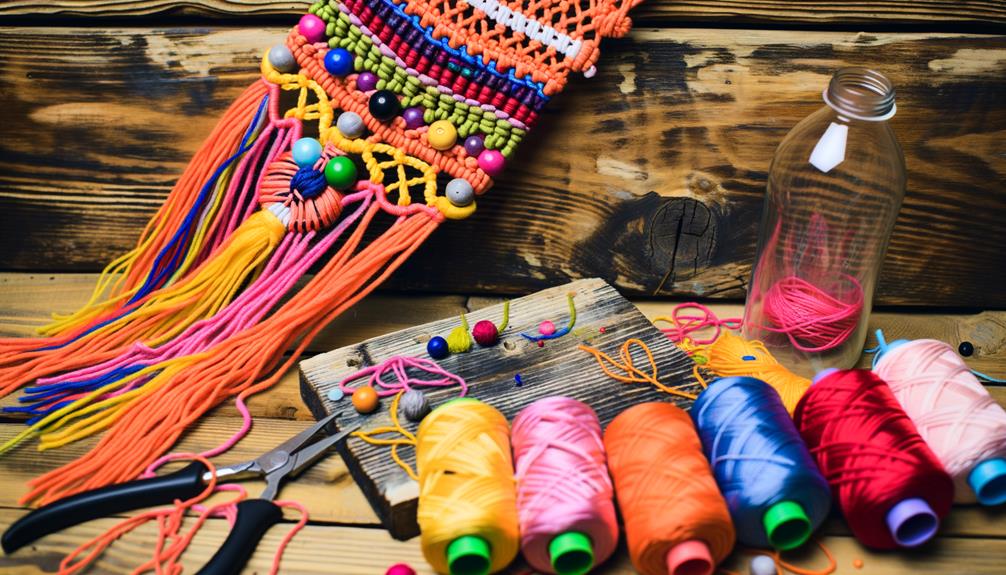
First, grab some macrame cord. I recommend using 4mm cotton cord; it's sturdy yet flexible.
Next, you'll need a metal ring. This will form the base of your holder. A 2-inch diameter ring works well.
Don't forget a pair of sharp scissors for clean cuts. A measuring tape is also crucial to guarantee precision in your project.
Finally, have some masking tape on hand. It helps keep your cords from fraying as you work.
When I first started, I found that using colorful cord added a fun touch, so don't be afraid to get creative with your choices!
Happy crafting!
Measuring and Cutting Cord
Measuring your macrame cord accurately is essential for ensuring your water bottle holder fits perfectly and looks polished. Start by determining the length needed. Typically, you'll need about eight cords, each measuring six times the height of your bottle. I've found using a tape measure makes this task much easier. Lay the cord flat, pull it taut, and measure carefully.
Once measured, cut the cord with sharp scissors to prevent fraying. A little tip: if you're using synthetic cord, you can lightly singe the ends with a lighter to seal them. This step might seem tedious, but trust me, precision here saves you headaches later. My first project was uneven because I rushed. Take your time; accuracy is key.
Starting the Base
Now that you've got your cords ready, it's time to start the base with the right materials and knot techniques.
Begin by using a sturdy cord like cotton or jute, which provides both durability and aesthetic appeal.
Start with a simple square knot to create a strong foundation for your water bottle holder.
Selecting Proper Materials
Choosing the right materials is essential for crafting a sturdy and stylish macrame water bottle holder, so let's start by selecting a strong, durable cord and a suitable ring for the base.
Opt for cords made of cotton or nylon, as they provide both strength and flexibility. A metal or wooden ring, about 2-3 inches in diameter, will serve as a reliable foundation.
Here's what you'll need:
- Cotton or nylon cord: 5mm thick for durability.
- Metal or wooden ring: 2-3 inches in diameter.
- Scissors: Sharp enough to cut through thick cord.
- Measuring tape: For accurate cord lengths.
I once used a colorful cotton cord that added a vibrant touch to my holder.
Don't hesitate to choose colors that reflect your style!
Initial Knot Techniques
With your materials ready, let's start by mastering the square knot, a fundamental technique for creating a sturdy base for your macrame water bottle holder.
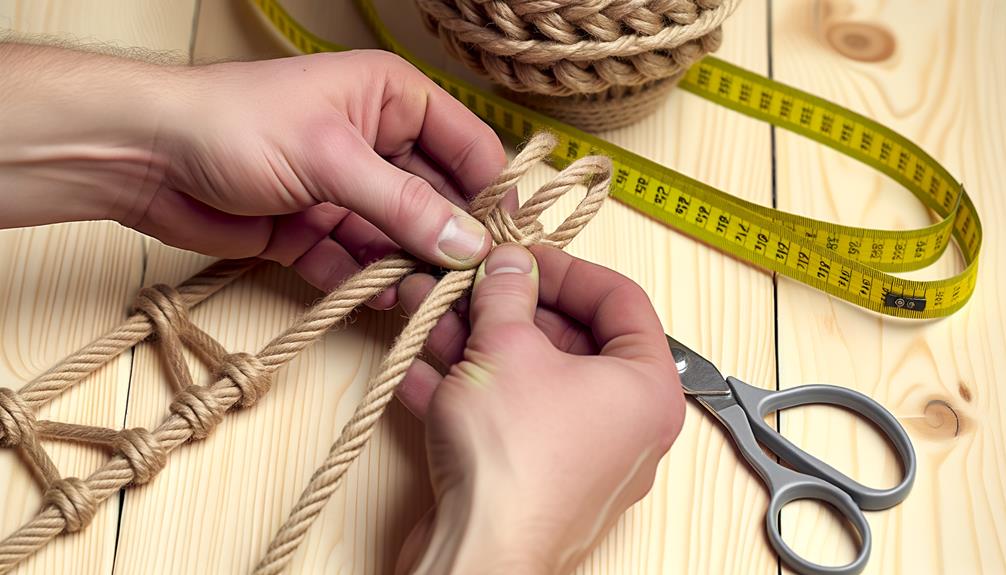
First, cut four pieces of cord, each about six feet long. Fold them in half and tie a lark's head knot onto a key ring.
Now, separate the cords into two groups of four. Take the outer left cord and place it over the center cords, then take the outer right cord over the left, under the center, and through the left loop. Tighten.
Repeat on the opposite side. When I first tried this, I found visualizing the cords as a number '4' helped.
Practice makes perfect, so don't rush—patience is key!
Forming the Net
To form the net for your macrame water bottle holder, start by dividing your cords into equal pairs and tying a square knot about an inch down from the gathering knot. This begins the netting process.
Then, follow these steps:
- Spacing Consistency: Confirm each square knot is evenly spaced. Consistency is key to a balanced net.
- Create Diamonds: Pair adjacent cords and tie another square knot an inch below the first row, forming diamond shapes.
- Third Row: Repeat, working downwards until you have a net that fits your bottle snugly.
- Adjust and Tighten: Check the fit with your bottle, adjusting knots as necessary for a secure hold.
I remember my first project—patience paid off as the net formed beautifully around my bottle!
Adding the Handle
After you’ve confirmed the net fits snugly around your bottle, let’s plunge into attaching a sturdy yet stylish handle for easy carrying. You can create a paracord water bottle handle by braiding durable paracord into a comfortable grip that securely attaches to the net. This not only enhances portability but also adds a rugged and customizable touch to your bottle. Choose a color or pattern that reflects your style while ensuring a firm hold for all your adventures.
Cut two long pieces of cord, about 3-4 feet each. Fold each in half and attach them to the top of your net using a lark's head knot.
Now, create a series of square knots, alternating cords to form a strong braid. I found double-checking the tension guarantees the handle won't dig into your shoulder.
As you work, periodically measure the handle length to suit your preference. Once you're satisfied, secure the ends with tight knots.
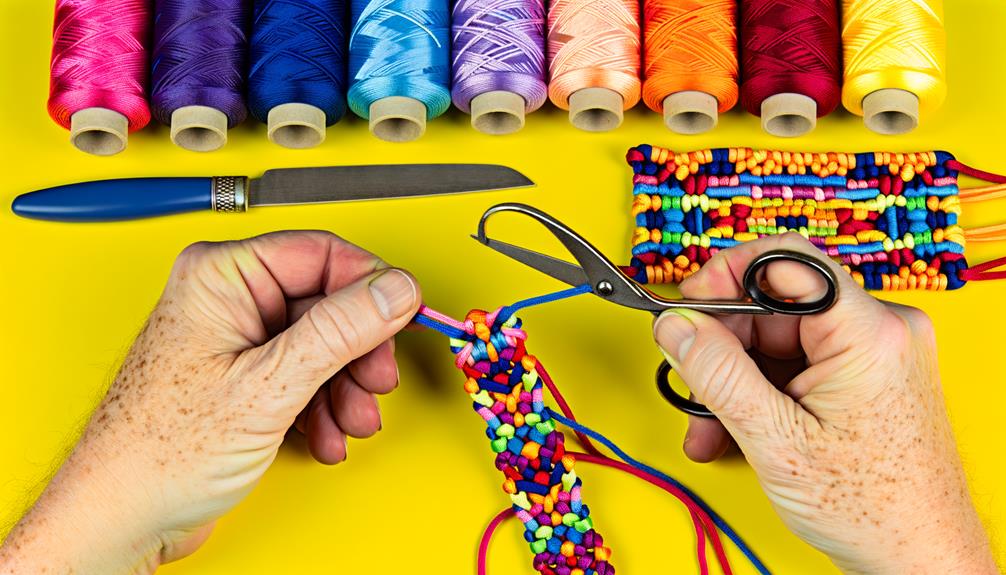
Finishing Touches
Adding those final touches will elevate your macrame water bottle holder from simply handmade to truly handcrafted. Confirm every knot is snug and symmetrical by gently tugging on each one. Trim any excess cord for a clean finish, but leave a bit for flair. A dab of clear nail polish or fabric glue at the ends will prevent fraying.
To add that special touch, you can:
- Tie a decorative bead: Slide a bead onto the ends before securing them.
- Create a tassel: Gather extra cord pieces and tie them together at the base.
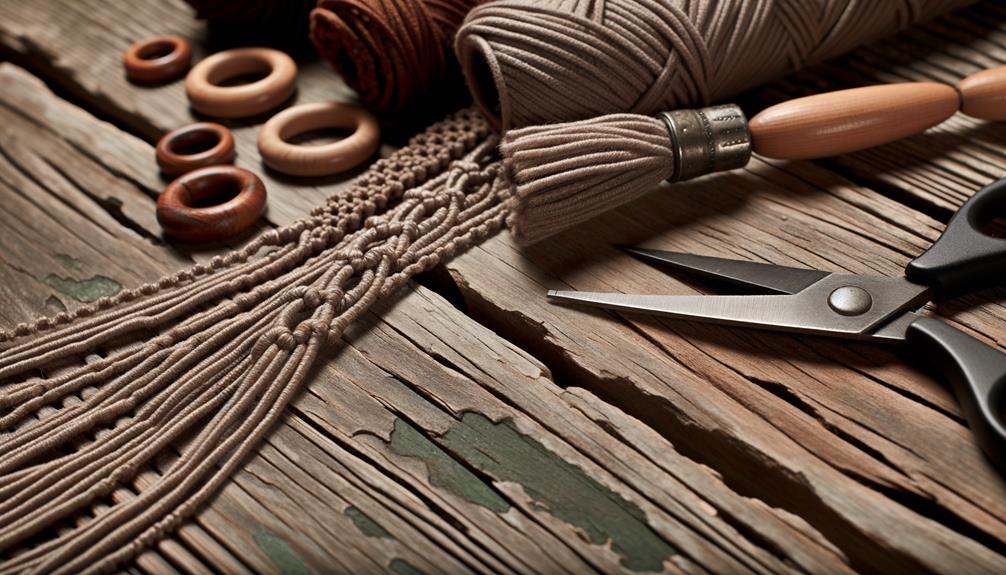
- Incorporate a wooden ring: Attach it to the handle for a rustic touch.
- Weave in colored threads: Add a pop of color to the design.
These steps will make your holder uniquely yours.
Customization Ideas
With the finishing touches complete, let's explore some creative customization ideas to make your macrame water bottle holder truly one-of-a-kind.
Try adding colorful beads or charms along the strands for a pop of personality. Remember that time I used seashells from a beach trip? It made my holder a conversation starter!
You can also dye your cords using natural dyes for a unique hue. Consider weaving in a contrasting thread for a striking pattern.
Adding tassels or fringe at the bottom brings a whimsical touch. Finally, personalize it with initials or symbols using embroidery.
These little details will reflect your style and make your holder stand out. Get creative and let your imagination run wild!
Care and Maintenance
To keep your macrame water bottle holder looking its best, regularly inspect it for any signs of wear and gently hand wash it with mild soap and cool water.
Here's a step-by-step guide:
- Inspect Regularly: Look for fraying or loose knots. Early detection prevents bigger issues.
- Gentle Wash: Fill a basin with cool water and add a small amount of mild soap. Submerge the holder and gently agitate.
- Rinse Thoroughly: Rinse with cool water to remove any soap residue. Avoid wringing out the holder to prevent damage.
- Air Dry: Lay it flat on a towel, reshape if necessary, and let it air dry completely out of direct sunlight.
Following these steps, you'll guarantee your holder stays durable and beautiful.
Conclusion
Just like an intricate web spun by a spider, your macrame water bottle holder is now complete, each knot symbolizing patience and creativity.
You've transformed simple cords into a functional piece of art. Remember, this holder isn't just a utility; it's a reflection of your craftsmanship.
Keep experimenting with designs and colors, and don't hesitate to make it uniquely yours.
With care, your creation will accompany you on many adventures, weaving stories of its own.