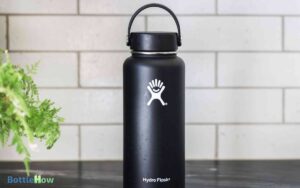
How to Use Camelbak Water Bottle
To use a Camelbak water bottle, first select the appropriate model based on capacity and activity. Unpack your bottle, inspect for damage, and rinse components with warm, soapy water.
Fill it with potable water, guaranteeing the cap is securely tightened. Bite gently on the valve to create suction and draw water.
If necessary, adjust the straw for a secure fit. Regularly clean and maintain the bottle by disassembling and washing all parts thoroughly.
Proper storage in a cool, dry place prevents mold growth. Mastering these steps will guarantee efficient hydration and prolong the lifespan of your Camelbak.
Discover more expert tips on ideal usage and maintenance.
Key Takeaways
- Select the right Camelbak based on your activity and capacity needs.
- Rinse all components with warm, soapy water before the first use.
- Fill the bottle with potable water up to the fill line and secure the cap tightly.
- Bite gently on the valve and create suction to drink.
Choosing the Right Camelbak
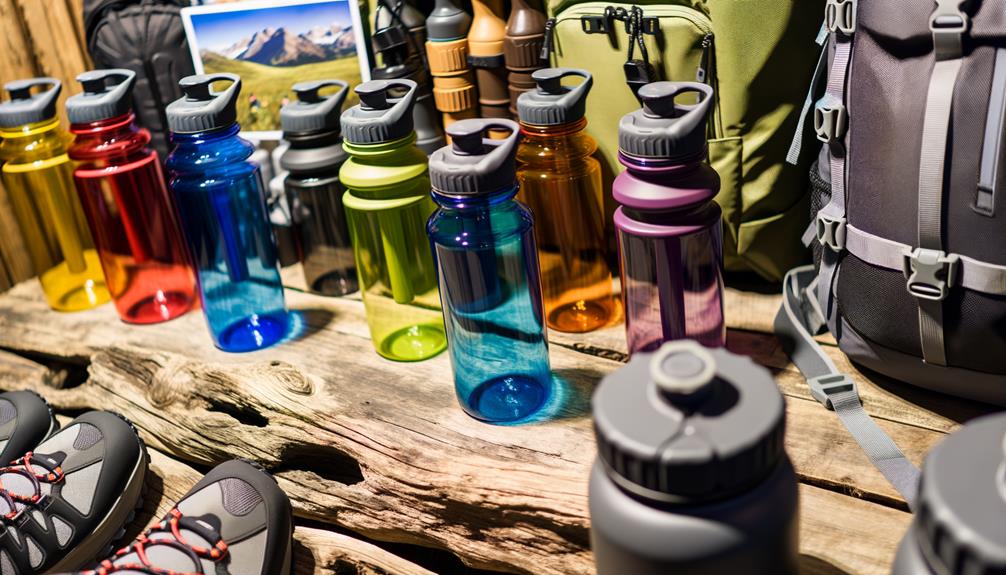
Choosing the right Camelbak involves considering factors like the bottle's capacity, material, and intended use to guarantee it meets your hydration needs effectively.
First, assess the capacity you need. For daily use, a 25-ounce bottle might suffice, but for long hikes, a 50-ounce option offers more hydration.
Next, select the material. Tritan plastic is lightweight and durable, while stainless steel provides excellent insulation for temperature control.
Finally, match the bottle to your activity. If you're into cycling, opt for a Camelbak with a self-sealing Jet Valve to prevent leaks. For hiking, choose one with an ergonomic handle for easy carrying.
Unpacking Your Water Bottle
First, carefully inspect the packaging for any damage to guarantee the integrity of your Camelbak water bottle.
Next, remove all protective wrapping, including any plastic seals and tags.
Inspecting the Packaging
Carefully remove the Camelbak water bottle from its packaging, guaranteeing you don't damage any included components or instructional materials. Inspect the contents meticulously. Verify you have all necessary parts and documentation. Examine the bottle for any visible defects or irregularities. This guarantees a complete and functional setup right from the start.
Here's a checklist to guide your inspection:
| Component | Condition Check | Notes |
|---|---|---|
| Bottle Body | Inspect for cracks or dents | Should be pristine |
| Cap | Check fit and seal integrity | Must close securely |
| Straw/Nozzle | Examine for obstructions | Should be clear and functional |
| Instruction Manual | Confirm inclusion | Essential for proper setup |
Removing Protective Wrapping
After confirming all components are intact and in good condition, unwrap the protective plastic from the Camelbak water bottle to prepare it for initial use.
Follow these precise steps to guarantee proper unpacking:
- Locate the Seams: Identify the seams of the protective plastic wrapping.
- Use a Sharp Tool: Carefully use a utility knife or scissors to cut along the seams. Ensure you don't damage the bottle.
- Remove Plastic: Peel away the plastic, starting from the top and working your way downward.
- Discard Waste: Properly dispose of the wrapping material to maintain a clutter-free environment.
Following these steps will ensure that your Camelbak water bottle is ready for the next stage of preparation, fostering a sense of belonging in your adventure community.
Initial Rinse Instructions
To guarantee your Camelbak water bottle is ready for safe hydration, start by thoroughly rinsing all components with warm, soapy water. Disassemble the bottle, including the cap, bite valve, and straw.
Use a mild dish soap to prevent any residue or odor. Gently scrub all parts with a soft brush to eliminate any manufacturing debris. Rinse each piece under warm water to make certain all soap is removed.
Inspect the bite valve and straw for any lingering soap or particles. Lay the components on a clean towel to air dry completely before reassembling.
This initial rinse not only guarantees hygiene but also primes your water bottle for peak performance, fostering a sense of preparedness and community among fellow Camelbak users.
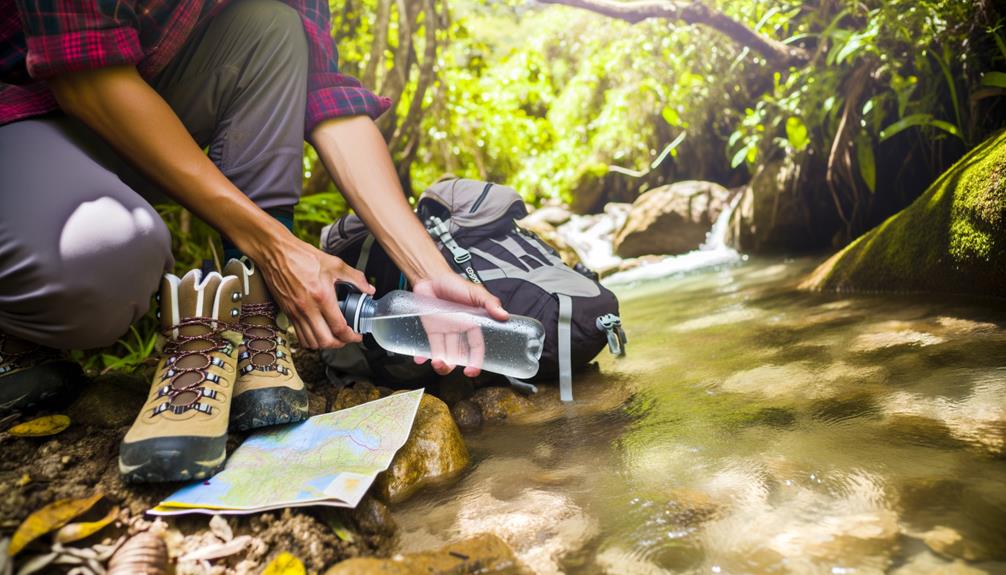
Filling Your Camelbak
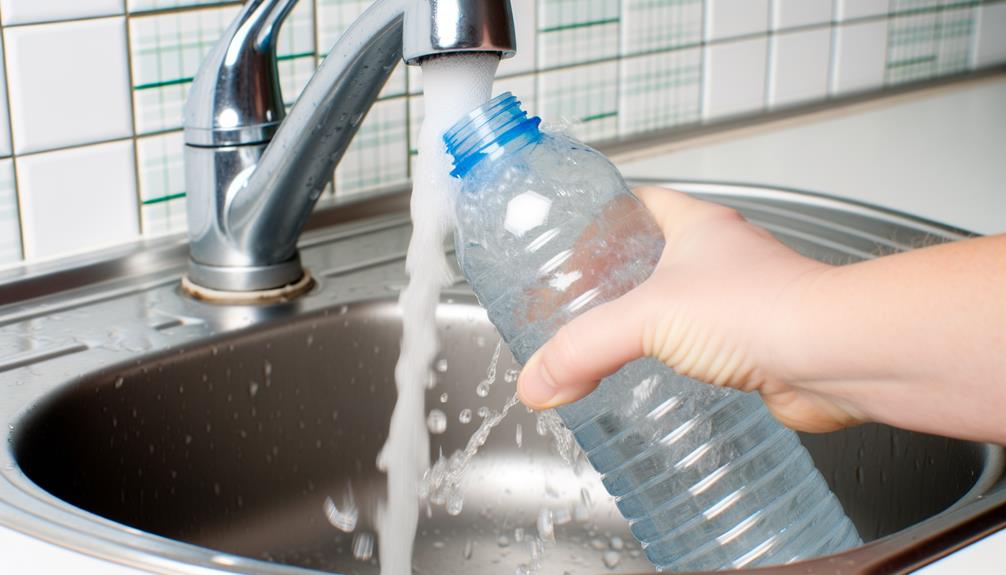
Start by unscrewing the cap from your Camelbak water bottle, making sure the reservoir is fully exposed for easy filling. To achieve the best hydration levels, follow these steps:
- Locate a clean water source: Use potable water to avoid contamination.
- Position the bottle: Hold it upright to prevent spills and make certain of an even fill.
- Fill slowly: Pour water steadily into the reservoir, observing the fill line to avoid overfilling.
- Secure the cap: Screw the cap back on tightly to prevent leaks.
Making certain these steps are performed correctly guarantees your Camelbak functions efficiently.
You'll be ready for any adventure, feeling like part of a community that values precision and preparedness.
Properly filled, your Camelbak will provide reliable hydration, enhancing your outdoor experiences.
Using the Bite Valve
With your Camelbak filled, mastering the bite valve is the next essential step for seamless hydration. First, position the bite valve between your teeth. Apply slight pressure with your teeth to open the slit in the valve. Simultaneously, create suction by drawing the water into your mouth. Here's a quick reference table for ease:
| Step | Action | Description |
|---|---|---|
| 1 | Position | Place the bite valve between your teeth. |
| 2 | Bite | Apply gentle pressure to open the slit. |
| 3 | Suck | Use suction to draw water into your mouth. |
| 4 | Release | Relax to close the valve and stop flow. |
Practice these steps, and you'll hydrate efficiently during any activity.
Adjusting the Straw

Make certain the straw is properly aligned by detaching it from the bite valve and reinserting it securely into the designated slot. This guarantees ideal water flow and a seamless drinking experience.
Follow these steps:
- Detach the straw: Gently pull the straw away from the bite valve.
- Inspect for obstructions: Check the straw and bite valve for any blockages.
- Reinsert the straw: Firmly push the straw back into the designated slot until you feel it click into place.
- Test for secure fit: Gently tug on the straw to confirm it's securely attached.
Cleaning and Maintenance
To maintain your Camelbak water bottle's performance and hygiene, adhere to a daily cleaning routine and implement deep cleaning methods periodically.
For daily cleaning, use warm soapy water and a bottle brush to scrub all components thoroughly.
Periodically, perform a deep clean using Camelbak's cleaning tablets or a mixture of baking soda and vinegar to eliminate stubborn residues and odors.
Daily Cleaning Routine
Rinse the Camelbak water bottle thoroughly with warm, soapy water to remove any residue after each use. This simple routine guarantees your bottle remains hygienic and ready for your next adventure.
Follow these steps for peak cleaning:
- Disassemble: Separate the cap, bite valve, and straw from the bottle.
- Wash: Use a bottle brush to scrub the interior surfaces, paying close attention to the cap and bite valve areas.
- Rinse: Thoroughly rinse each part under running water to eliminate soap residue.
- Dry: Allow all components to air dry completely before reassembly to prevent mold growth.
Deep Cleaning Methods
For a more thorough clean and to guarantee the longevity of your Camelbak water bottle, implement these deep cleaning methods periodically. First, disassemble all parts, including the bite valve, straw, and lid. Use a bottle brush and a mild detergent. For stubborn residues, a mixture of baking soda and water works wonders. Rinse thoroughly.
Here's a quick reference:
| Component | Cleaning Method |
|---|---|
| Bite Valve | Soak in vinegar solution (30 mins) |
| Straw | Use a pipe cleaner |
| Bottle | Scrub with baking soda paste |
Lastly, verify all parts are completely dry before reassembly to prevent mold. This meticulous approach not only keeps your bottle pristine but also fosters a sense of community in maintaining gear integrity.
Storing Your Bottle
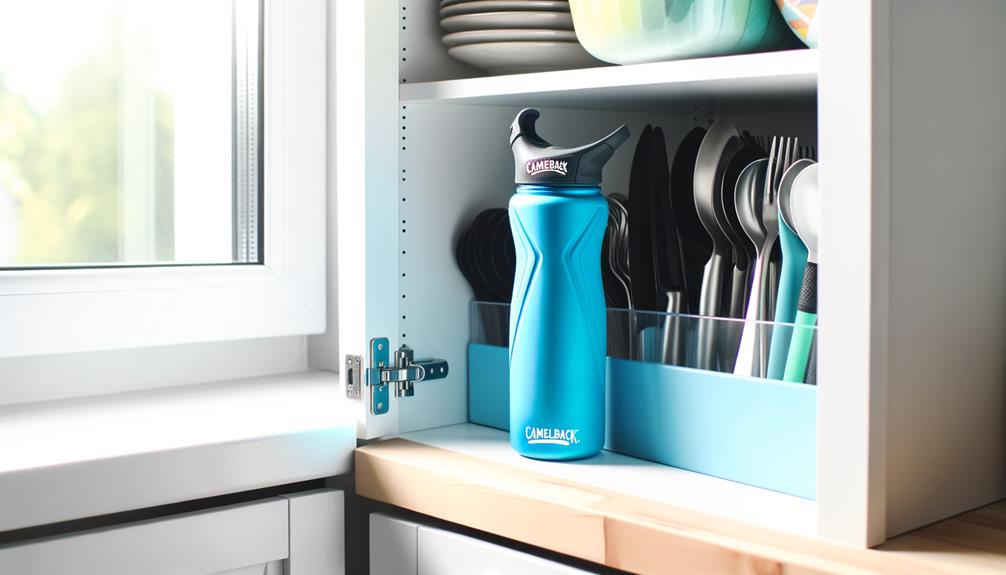
Make certain your Camelbak water bottle is thoroughly dried before storing to prevent mold growth.
Follow these precise steps to guarantee proper storage:
- Disassemble All Parts: Separate the lid, bottle, and any internal straws or bite valves.
- Air Dry Completely: Place all components on a clean, dry surface, guaranteeing each part has ample airflow.
- Store in a Cool, Dry Place: Choose a location away from direct sunlight and extreme temperatures to maintain the integrity of the materials.
- Reassemble Before Use: Prior to your next use, reassemble all parts to guarantee everything is secure and functional.
Troubleshooting Common Issues
After guaranteeing your Camelbak water bottle is properly stored, you might encounter some common issues that require troubleshooting.
If the bite valve leaks, inspect it for debris or damage; replace it if necessary.
For flow problems, check if the straw is obstructed or improperly seated.
Verify the cap and bottle threads are clean and tightly sealed to prevent leaks.
If you notice a plastic taste, soak the bottle in a mixture of warm water and baking soda overnight.
To eliminate mold or mildew, use a solution of bleach and water, then rinse thoroughly.
Regularly disassemble and clean all parts to maintain peak performance.
Benefits of Hydration

Proper hydration offers numerous physiological benefits, including enhanced cognitive function, ideal physical performance, and efficient nutrient transport. By staying hydrated, you guarantee your body's systems operate at peak efficiency. Here's what you gain:
- Enhanced Cognitive Function: Hydration supports brain function, improving concentration and reducing mental fatigue.
- Optimal Physical Performance: Proper fluid levels prevent muscle cramps and enhance endurance during exercise.
- Efficient Nutrient Distribution: Water facilitates the transport of essential nutrients to cells, promoting overall health.
- Temperature Regulation: Adequate hydration helps maintain body temperature, preventing overheating during intense activities.
With a Camelbak water bottle, you can easily track and maintain your hydration levels, guaranteeing you reap these benefits daily.
Embrace hydration as a key component of your wellness journey.
Conclusion
Mastering the use of your Camelbak water bottle is like releasing the ultimate hydration superpower.
By choosing the right model, properly filling, adjusting the bite valve, and maintaining cleanliness, you guarantee ideal hydration and longevity of your bottle.
Regular cleaning prevents mold, while proper storage keeps it in pristine condition.
Troubleshooting any issues guarantees seamless use.
Stay hydrated, and your body will thank you with peak performance and unparalleled energy!