How to Unlock Spray Bottle? Simple Steps!
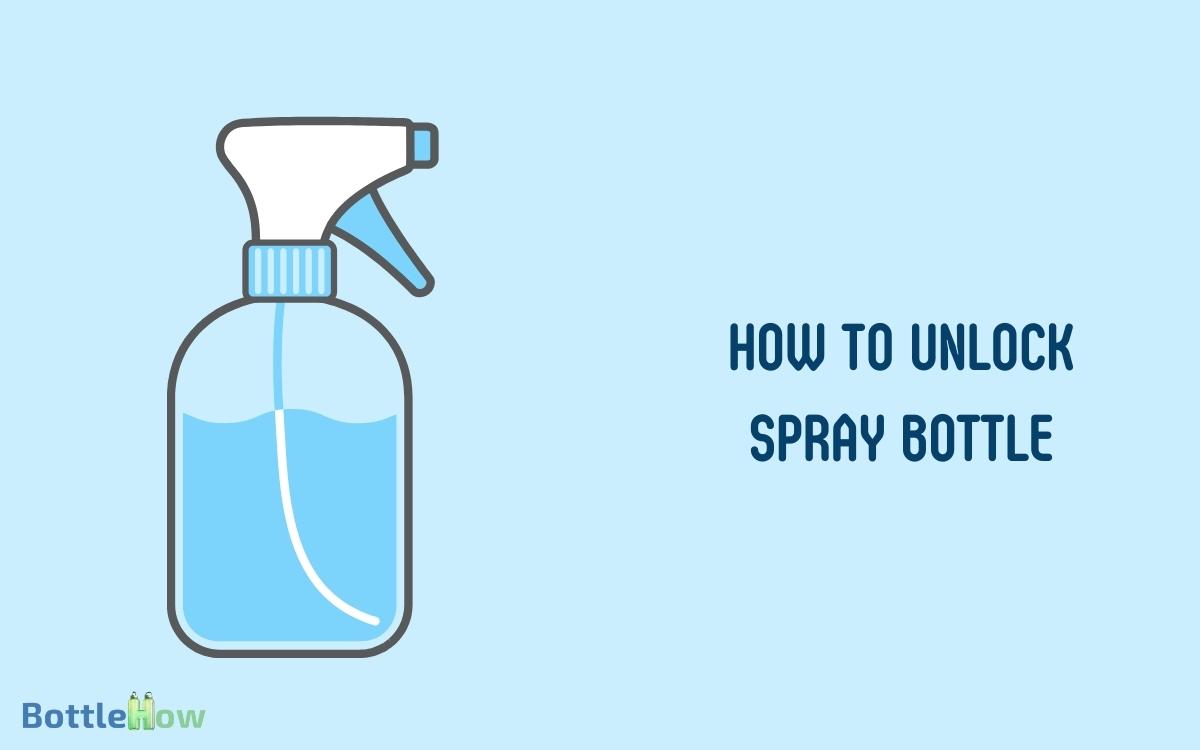
To open your spray bottle, first identify the type. If it’s a trigger sprayer with a locking mechanism, look for a small switch or tab near the trigger or nozzle.
Flip or slide this to open. For pump-action bottles, twist the nozzle counterclockwise until it pops up slightly, indicating it’s ready.
Check the nozzle setting next; twist it until you hear a click and it’s set to ‘Spray’ or ‘Stream’ depending on your need.
If it doesn’t work, the nozzle may need cleaning or the spray mechanism could be clogged. There’s more to explore that could help you optimize your spray bottle’s performance.
Key Takeaways
Identify Your Spray Bottle Type
Before attempting to open your spray bottle, it’s important to identify its specific type, as the opening mechanism can vary widely.
Whether you’re dealing with a trigger sprayer, a pump-action bottle, or an aerosol can, knowing your bottle’s design will guide your next steps effectively.
You’ll find that trigger sprayers often have a locking mechanism at the neck, which you’ll need to twist or slide.
Pump-action bottles, frequently used for lotions or sanitizers, might require you to turn the head counterclockwise until the pump pops up.
Recognizing your bottle type not only prevents damage but also ensures you can continue serving efficiently, without interruption.
So, take a moment to examine your bottle carefully; this small step is significant in maintaining its functionality.
Check the Nozzle Setting
Next, inspect your spray bottle’s nozzle to verify it’s set to the correct mode for operation. This simple step is essential for effective functionality. If the nozzle is blocked or clogged, clean it with warm water to ensure a steady spray. Additionally, check the bottle for any leaks or damage that might affect performance. If you’re unsure how to turn on Shout spray, refer to the product instructions for specific guidance.
Here’s what you should do:
- Locate the Nozzle: Find the twistable nozzle at the top of the spray bottle.
- Identify Modes: Look for symbols or words like “Spray,” “Stream,” or “Off” that indicate different settings.
- Adjust Appropriately: Turn the nozzle to your desired setting. Make sure it clicks into place, confirming it’s securely set.
- Test the Spray: Give a quick spray into the sink to make sure it’s working as expected.
Clean the Spray Mechanism
To guarantee your spray bottle continues to function efficiently, start by cleaning the spray mechanism thoroughly.
First, detach the nozzle and dip it into a mixture of warm water and mild detergent. Let it soak for about 10 minutes to loosen any residue.
While it’s soaking, wipe down the rest of the spray mechanism with a soft cloth dampened with the same solution.
Use a small brush or an old toothbrush to scrub gently inside the nozzle and along any moving parts to remove buildup.
Rinse all components with clean water and dry them completely before reassembling. Regular maintenance like this helps to ensure your spray bottle remains in top condition, ready to serve effectively whenever you need it.
Troubleshoot Common Issues
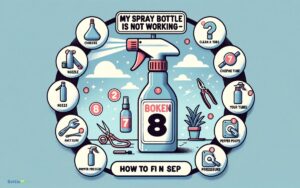
After guaranteeing your spray bottle’s mechanism is clean, you might still encounter some common issues that need troubleshooting.
Here’s a detailed guide to help you serve others effectively by maintaining an efficient tool:
- No Spray Emission: Check if the nozzle is securely fastened; sometimes it loosens, which can prevent spraying.
- Irregular Spray Pattern: Inspect the spray tip for clogs or damage. If it’s blocked, a fine needle can be used to clear the pathways.
- Leakage from the Bottle: Make sure all seals and the pump mechanism aren’t worn out. Replacing any faulty parts can restore functionality.
- Weak Spray Pressure: Verify the tube inside the bottle isn’t cut or bent. A straight, unobstructed tube ensures optimal pressure and effectiveness.
Test and Adjust as Needed
Once you’ve addressed these common issues, regularly test your spray bottle to make sure it operates smoothly and adjust any components as necessary. You’ll want to keep an eye on the trigger, nozzle, and tube to guarantee peak performance.
Here’s a quick guide to help you keep track:
| Component | Check for |
|---|---|
| Nozzle | Clogs or leaks |
| Tube | Proper placement and condition |
| Trigger | Smooth operation |
If you notice any irregularities, don’t hesitate to tweak the settings or replace faulty parts. Ensuring each component functions correctly not only extends the life of your spray bottle but also enhances your ability to serve effectively.
Remember, a well-maintained tool is a reliable partner in your mission to serve others.
Conclusion
You’ve navigated the quirks of your spray bottle like a sailor masters the seas. Remember, keeping the nozzle clean and checking the settings are key to a smooth spray.
If it still acts up, don’t hesitate to explore further into troubleshooting. With each adjustment, you’re fine-tuning your approach, ensuring that your spray bottle works as efficiently as possible.
Spray on confidently, knowing you’ve got the know-how to tackle any hiccup along the way.

