How to Unclog Continuous Spray Bottle? Quick Guide!
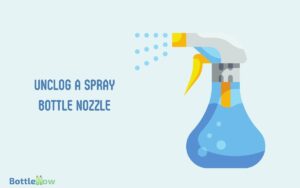
To unclog your continuous spray bottle, start by checking if the nozzle or pump is blocked. Unscrew the nozzle and rinse it under warm water to flush out any debris.
If residue persists, soak the nozzle and any removable parts in a vinegar solution for about 30 minutes. This loosens any residue.
Afterwards, use a fine needle to carefully clear any remaining blockages from the nozzle. Reassemble your spray bottle and give it a test spray. Regularly cleaning and maintaining your spray bottle can prevent future clogs.
Follow these steps, and you’ll discover even more ways to keep your spray bottle functioning smoothly.
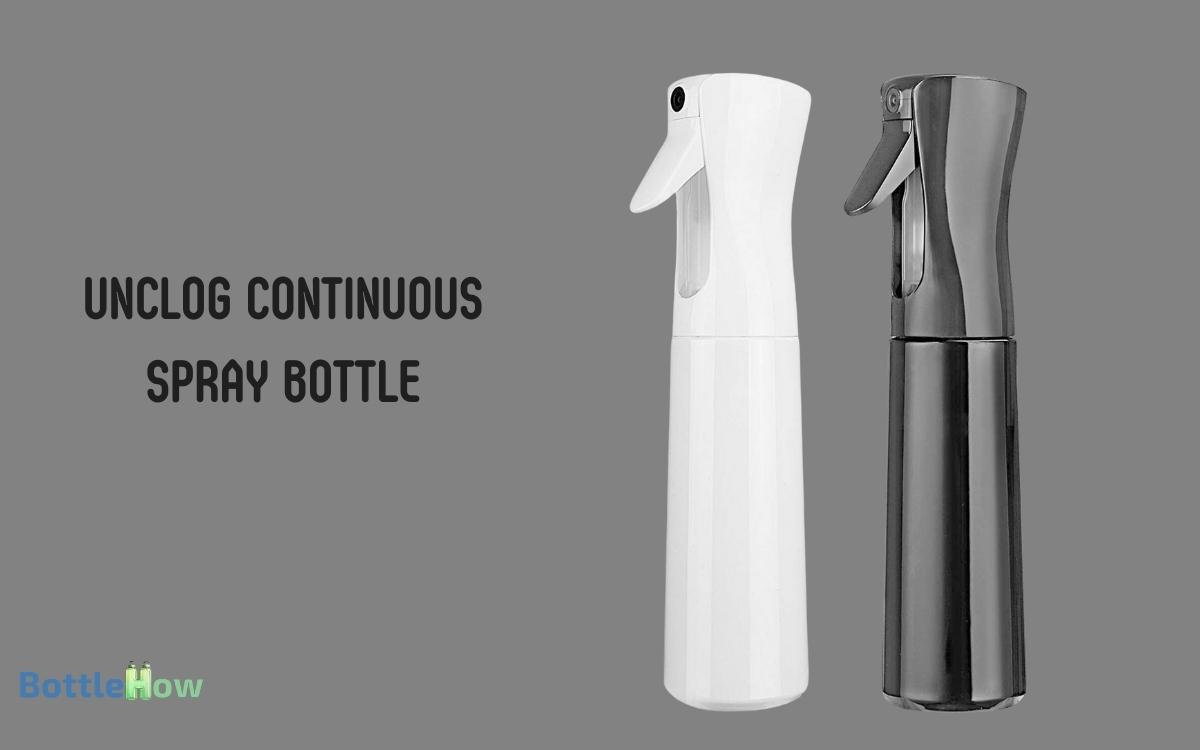
Key Takeaways
Identify the Problem
First, you need to determine if the issue with your spray bottle is a clogged nozzle, a faulty pump, or an empty reservoir.
Begin by checking the reservoir: make sure it’s not only filled but also with the right kind of liquid some solutions can be too viscous and hinder the spray mechanism.
Next, inspect the pump for any visible signs of damage or wear that could affect its functionality. If it looks intact, the problem might just be a clogged nozzle. You’ll want to look closely to see if there’s any residue or dried particles blocking the spray path.
Identifying the correct issue is essential as it guides your next steps in fixing the bottle, allowing you to continue serving effectively and efficiently.
Disassemble the Spray Bottle
To begin disassembling your spray bottle, carefully unscrew the nozzle and set it aside on a clean, flat surface. If you notice any blockages, rinse the nozzle thoroughly with warm water to remove any debris. For stubborn clogs, soak the nozzle in a mixture of vinegar and water for a few minutes before rinsing again. If you’re looking for detailed steps on how to unclog a spray bottle, consider using a thin needle to carefully clear any buildup in the nozzle opening.
Next, detach the spray head from the bottle’s neck by gently pulling it upwards; you’ll find it either snaps off or unscrews easily.
This action should expose the internal components, such as the dip tube and the spring mechanism, important for the spray function.
Carefully lay these parts out in order of disassembly to keep track of their placement, which will assist you tremendously during reassembly.
Make sure each component is handled with care to avoid any damage.
Rinse the Nozzle
Now that you’ve disassembled your spray bottle, carefully rinse the nozzle under warm water to remove any debris or buildup. Hold the nozzle directly under the faucet, allowing a steady stream of water to flow through it.
As you do this, gently tap the nozzle against your palm to dislodge any stubborn particles. You’ll want to make sure that both the entry and exit points of the nozzle are thoroughly washed.
This meticulous cleaning prevents blockages from reoccurring and guarantees your spray bottle functions at its best.
Soak in Vinegar Solution
To kickstart the unclogging process with a vinegar solution, you’ll first need to mix one part white vinegar with one part water in a bowl large enough to submerge your spray bottle’s nozzle and tube.
Let these components soak for at least an hour to effectively loosen any mineral deposits and blockages.
After soaking, it’s important to thoroughly rinse and dry the parts to prevent any vinegar odor and guarantee smooth operation.
Vinegar Solution Preparation
Mix equal parts of water and white vinegar to create a potent solution that’ll break down any residue clogging your spray bottle.
This simple yet effective mixture harnesses vinegar’s natural acidic properties to dissolve mineral deposits, oils, and other gunk that might be interfering with your spray mechanism.
To prepare it, you’ll need a clean container large enough to submerge the spray head and tube. Pour in the white vinegar first, then add an equal amount of lukewarm water to make sure the mixture is well balanced. Stir gently to combine thoroughly.
This solution isn’t just effective it’s also eco-friendly and safe, making it an ideal choice for those who are mindful of the products they use and their impact on the environment.
Soaking Time Recommendations
For optimal outcomes, immerse the spray head and tube in the vinegar solution for at least 30 minutes to effectively loosen and dissolve the residue.
This duration allows the acetic acid in the vinegar to work its magic, breaking down any mineral deposits or gunk that might be causing the blockage.
You’ll be aiding others more efficiently when your tools are in top shape, and this simple, environmentally friendly method guarantees just that.
- Visualize the bubbles: Imagine tiny bubbles clinging to the blockages, fizzing away the grime.
- Feel the satisfaction: Picture holding a fully functional spray bottle, ready to deliver a fine mist with each press.
- Smell the cleanliness: Anticipate the fresh scent of vinegar, a natural sign of deep cleaning.
Post-Soak Cleaning Steps
Once the spray head and tube have soaked for at least 30 minutes, gently scrub them with a small brush to remove any remaining residue. This meticulous cleaning guarantees you’re not just clearing the surface but reaching deeper, where most clogs stubbornly reside.
Rinse each component under warm, running water to wash away any vinegar and dislodged particles. It’s vital to confirm every trace of debris and solution is gone to prevent future blockages.
Next, reassemble your spray bottle carefully. Make sure each part clicks into place securely, maintaining the integrity of the spray mechanism.
Test the spray function with clean water before refilling with your desired solution. This step confirms that your efforts have restored full functionality to your tool, ready to serve effectively once more.
Clean With a Needle
Often, you’ll find that poking the nozzle with a fine needle can quickly clear blockages. This simple, yet effective method allows you to delicately remove any debris obstructing the spray mechanism. Be gentle to avoid damaging the delicate components inside.
Visualize the process:
- Imagine the fine needle as a miniature plunger, pulling out stubborn clogs that hinder your bottle’s function.
- See yourself as a skilled surgeon, precisely maneuvering the needle to restore peak functionality to the tool that aids your daily tasks.
- Envision the satisfaction of watching the spray bottle return to its best performance, ready to assist you in your efforts to serve and maintain your environment.
This method is practical, ensuring you continue your work without interruption.
Reassemble and Test
Now that you’ve meticulously cleaned the nozzle with a needle, it’s time to put the spray components back together.
Make sure each piece snaps into place securely; a loose part can lead to leaks or a malfunctioning spray.
Once reassembled, give it a test spray to check if the stream is smooth and continuous, confirming a successful unclog.
Reattach Spray Components
After cleaning, carefully reattach each component of your spray bottle, ensuring they click securely into place before testing the mechanism.
Here’s a visualization to guide you:
- Imagine the satisfying snap as the nozzle head aligns with the body, a promise of seamless operation.
- Picture the straw sliding smoothly back into its chamber, ready to channel liquid with renewed vigor.
- Envision the trigger returning to its rightful position, poised for action with every pull.
Carefully align each part, feeling the click that assures you they’re properly connected.
You’re not just fixing a tool; you’re restoring an essential helper, ready to make your tasks easier and more efficient. This step is critical for a successful reassembly, setting the stage for a perfectly functioning spray bottle.
Conduct Functionality Check
Once you’ve reassembled your spray bottle, it’s important to conduct a functionality check to make sure everything is working as expected.
Start by filling the bottle with water avoid using your solution just yet. Give it a few pumps to prime the mechanism. You should see a steady, uninterrupted mist. If not, you might need to pump more vigorously to guarantee the water is reaching the sprayer.
Check for any leaks where the nozzle connects to the bottle. Any dripping indicates a need to tighten the components or possibly replace a worn seal.
This quick test saves you time and effort down the line, ensuring your tool is reliable for your tasks and ready to serve effectively.
Maintenance Tips
Regularly rinsing your spray bottle with warm water can prevent nozzle blockages and extend the device’s lifespan.
To guarantee your spray bottle consistently performs at its best, adopt these practical maintenance tips:
- Visual Inspection: Once a week, examine the trigger and nozzle for any signs of wear or damage. This quick check can detect issues before they worsen.
- Lubricate Moving Parts: Lightly oil the pump mechanism monthly to keep it operating smoothly. A drop of mineral oil will do the trick.
- Deep Clean Quarterly: Disassemble and soak all parts in a mixture of warm water and mild detergent. This thorough cleaning prevents buildup and keeps your spray tool in prime condition.
Conclusion
Now that you’ve niftily navigated the nuances of unclogging your continuous spray bottle, remember regular rinsing and routine checks can considerably cut down future frustrations.
With your spray bottle spruced up and spraying seamlessly, keep it in tip-top condition by sticking to simple, swift maintenance measures.
So, spray on with confidence and clarity, knowing your trusty tool is ready to deliver a fine, flawless mist at every press!

