How to Sew Water Bottle Holder on Backpack
Adding a water bottle holder to your backpack is a straightforward sewing project that enhances both functionality and convenience. Start by gathering durable fabric, matching thread, and essential sewing tools.
Measure your bottle's height and circumference, and cut fabric accordingly. Sew the base and side seams, then attach an elastic band near the top to guarantee a snug fit.
Position the holder on your backpack, securely pin it, and sew it in place using strong thread and double stitching for reinforcement. After securing the holder, test its fit with your bottle and make any necessary adjustments.
Follow each detailed step for a perfect fit.
Key Takeaways
- Measure the water bottle's height and circumference to determine the size of the holder.
- Use sturdy fabric like canvas or nylon and cut pieces accurately for durability.
- Sew a circular base with reinforced edges using a zigzag stitch for strength.
- Attach an elastic band near the holder's top edge using a zigzag stitch for a snug fit.
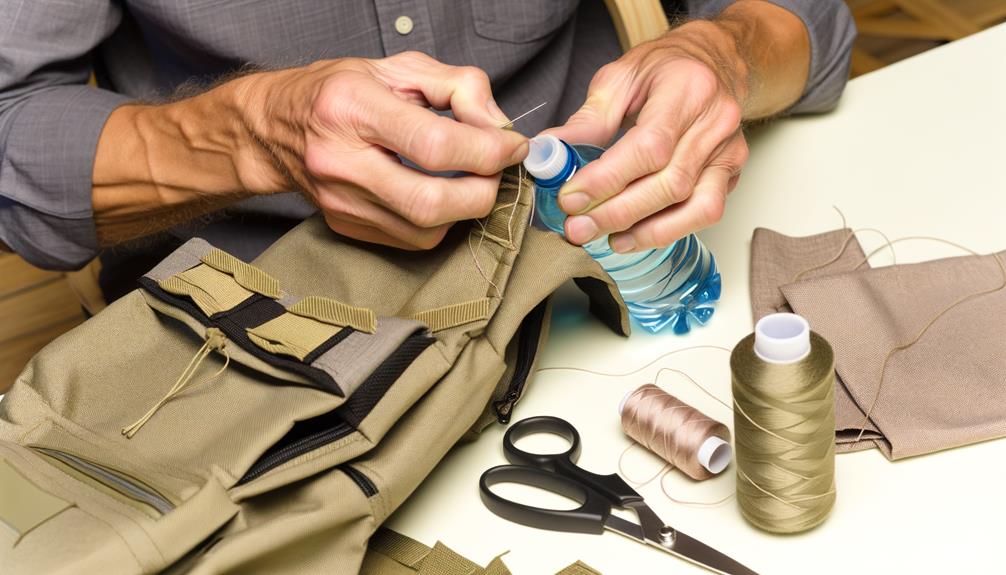
Gather Your Materials
Before you start sewing, make certain you've gathered all the necessary materials to guarantee a smooth process.
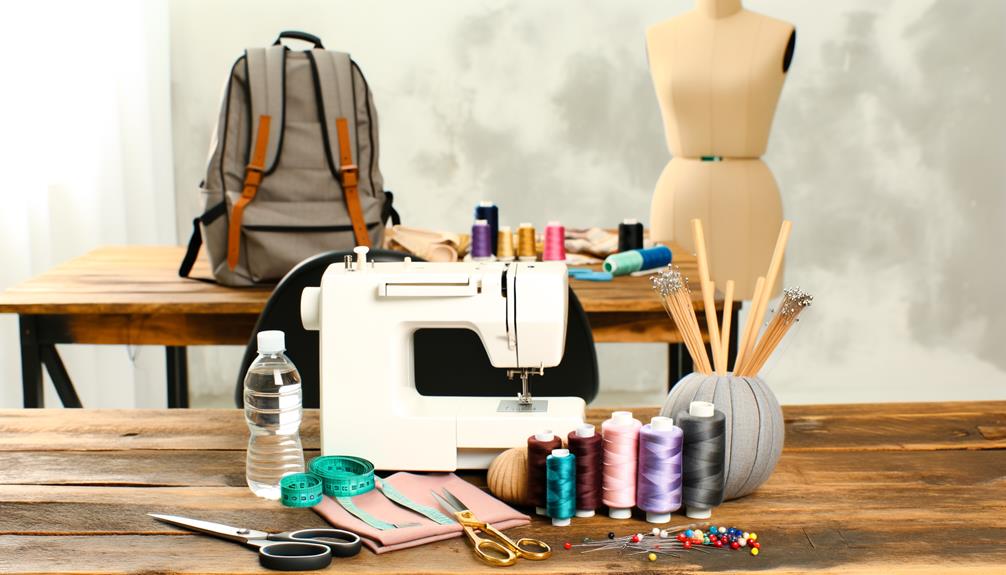
You'll need sturdy fabric for the holder, matching thread, a sewing machine, and a needle.
Don't forget a pair of sharp fabric scissors and pins to hold pieces in place.
A measuring tape is essential for accurate dimensions, and a fabric marker or chalk will help with marking.
You'll also need a seam ripper for any mistakes and a lighter or fray check to seal raw edges.
Finally, have your backpack ready to attach the holder.
With everything in hand, you're well-prepared to move forward without interruptions, ensuring your water bottle holder is securely and neatly sewn onto your backpack.
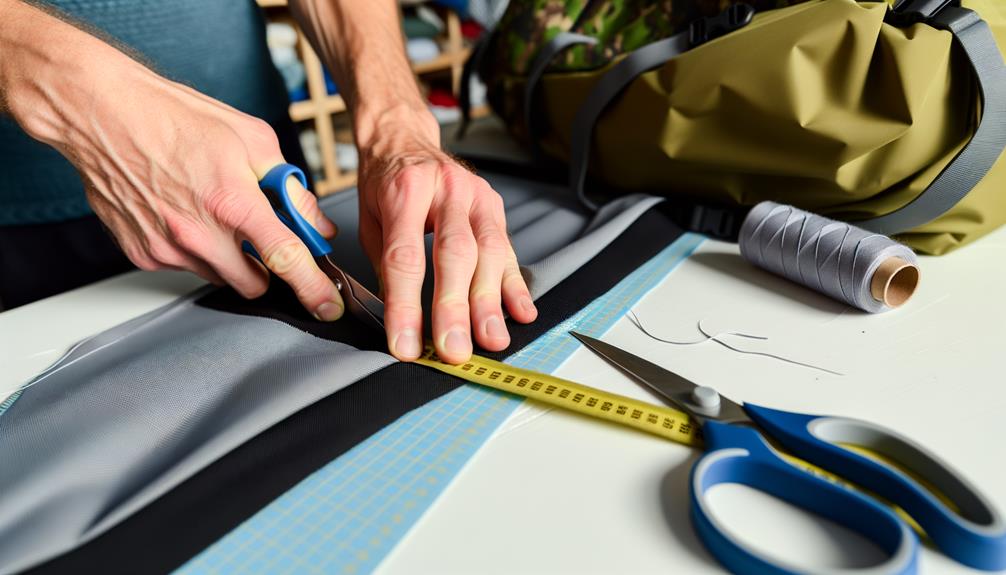
Measure and Cut Fabric
Start by selecting a durable fabric that matches your backpack.
Measure the circumference and height of your water bottle to determine the size of the fabric pieces you'll need.
Mark and cut the fabric carefully to guarantee accurate pieces for sewing.
Choose Fabric Type
To begin, select a durable fabric like canvas or nylon that complements your backpack's material. These fabrics are sturdy and resistant to wear, guaranteeing your water bottle holder lasts.
Lay out your fabric on a flat surface. Verify it's free of wrinkles for accurate cutting.
Using a sharp pair of fabric scissors, cut the fabric to your desired dimensions. Precision is key; a clean cut will make sewing easier and result in a professional-looking holder.
For added durability, consider cutting double layers if your fabric is thin.
Determine Measurements
Measure your water bottle's height and circumference to determine the fabric dimensions needed for the holder.
Use a measuring tape to get the height from the bottle's base to the top. For the circumference, wrap the tape around the widest part of the bottle. Note these measurements down.
To guarantee a snug fit, add an extra half-inch to the circumference for seam allowances. For the height, add one inch for the top hem and bottom seam. If you're planning to add a drawstring or elastic, consider adding an extra inch to the height for casing.
Be precise with your measurements, as accuracy is vital for a well-fitting holder. Once you have these measurements, you're ready to proceed.
Cut Fabric Pieces
Carefully lay out your fabric and use your measurements to mark the dimensions for the water bottle holder with chalk or a fabric pen.
Confirm your lines are straight and accurate, using a ruler or measuring tape for precision. Double-check your measurements to avoid any mistakes.
Once marked, take a sharp pair of fabric scissors and cut along the lines carefully. It's essential to cut smoothly to prevent fraying.
If you're using a fabric that frays easily, consider using pinking shears to cut the edges.
Take your time to verify each piece is cut precisely to match your measurements. Misaligned pieces can make sewing difficult and result in a poorly fitting holder.
Accuracy now will save you time later.
Prepare the Holder Base
Begin by selecting a sturdy fabric that complements your backpack and will withstand the weight of a filled water bottle. Cut a circular piece of this fabric, ensuring it's slightly larger than the base of your water bottle for a snug fit. Use a ruler to measure the diameter accurately and mark it with a fabric pen. Precision is key here.
Next, reinforce the edges of the circular fabric piece by folding them over about a quarter-inch and ironing them flat. This will prevent fraying and add durability.
Then, use a sewing machine or needle and thread to sew a tight zigzag stitch along the folded edge. This creates a clean, reinforced base for your water bottle holder, ready for the next steps. Make sure to backstitch at the beginning and end to secure the seam properly. This sturdy foundation will help the holder maintain its shape, even when carrying a full bottle. Now that the reinforced base is complete, you can focus on additional steps, such as adjusting the size or adding features to make it easier to access when you need to terraria fill water bottle during outdoor adventures.
Sew the Side Seams
To create the side seams, cut a rectangular piece of fabric that matches the circumference and height of your water bottle. Fold the fabric in half, right sides together, aligning the edges. Pin along the open edge to secure it. Set your sewing machine to a straight stitch and sew along the pinned edge, maintaining a 1/4-inch seam allowance. Backstitch at the beginning and end to secure the seam.
| Step | Description |
|---|---|
| 1 | Cut fabric to size |
| 2 | Fold and pin edges |
| 3 | Sew with straight stitch |
| 4 | Backstitch ends |
Turn the fabric right side out. Press the seam flat with an iron to create a crisp edge. Your side seams are now complete!
Attach Elastic Band
With the side seams completed, you'll now attach the elastic band to secure the water bottle in place.
First, measure the circumference of your water bottle and cut a piece of elastic band 1-2 inches shorter. This guarantees a snug fit.
Position the elastic band horizontally near the top edge of the holder, leaving enough space for the bottle to slide in easily.
Pin the elastic band in place, making sure it's evenly stretched.
Using a zigzag stitch, sew the elastic band onto the holder, stretching it slightly as you sew. This will maintain its elasticity.
Once done, remove the pins and test the fit by inserting the water bottle. Adjust if necessary to make sure it stays securely.
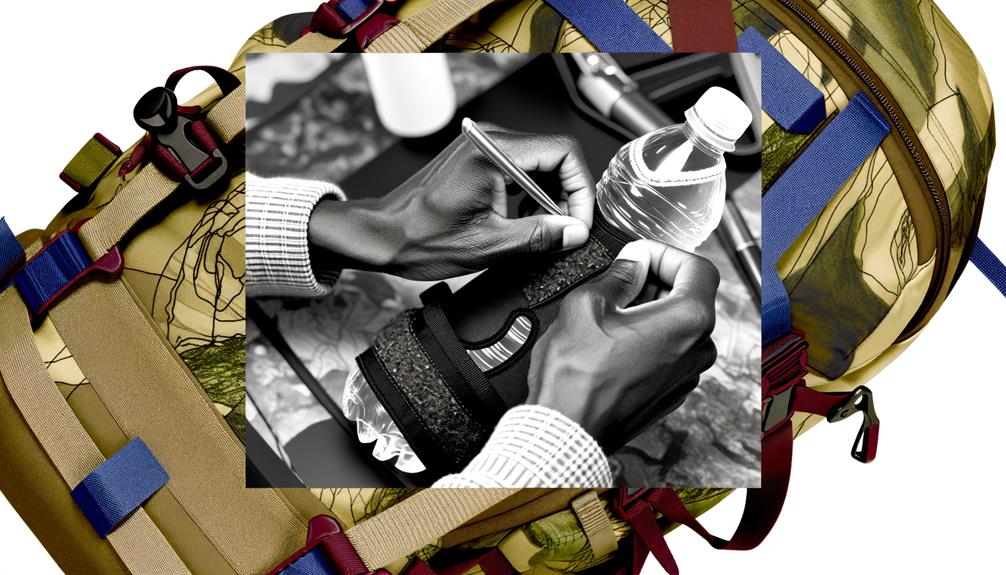
Secure Holder to Backpack
Now that the holder is complete, position it on your backpack where it's most convenient for you to reach.
Verify the holder is aligned properly and sits flat against your backpack. Use straight pins to temporarily secure the holder in place.
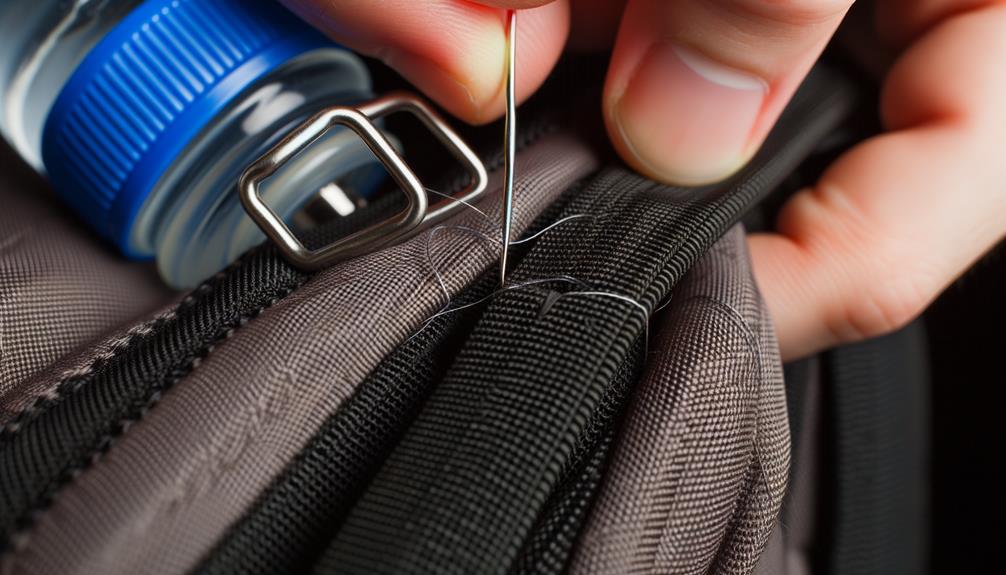
Next, thread your needle with a strong, durable thread that matches your backpack. Start sewing from the top corner of the holder, using small, even stitches.
Continue sewing along the edges, making sure to secure all sides firmly. Double-stitch the top edges for extra strength, especially if you plan to carry heavy bottles.
Once finished, tie off the thread securely and trim any excess. Remove the pins and smooth out the holder to verify it's firmly attached.
Test the Holder's Fit
Give the holder a gentle tug to confirm it's securely fastened to the backpack. Next, place your water bottle inside the holder. Check if it fits snugly without being too tight or too loose. Walk around with the backpack to see how the holder performs under real conditions. Ascertain the holder doesn't sway excessively or cause discomfort. If adjustments are needed, note the areas for improvement.
| Test Aspect | Criteria | Outcome |
|---|---|---|
| Security | Holder remains attached | Pass/Fail |
| Fit | Bottle fits snugly | Pass/Fail |
| Stability | Minimal sway when walking | Pass/Fail |
| Comfort | No discomfort during use | Pass/Fail |
| Adjustments | Areas needing improvement noted | List |
This method confirms your water bottle holder is both functional and comfortable.
Conclusion
You've successfully sewn a water bottle holder onto your backpack!
Did you know that 75% of hikers find added compartments improve their overall experience? With your new holder, you'll keep hydrated and organized on your adventures.
Remember, the key steps were measuring accurately, sewing securely, and attaching firmly. Test its fit, and you're good to go.
Now, enjoy the convenience and functionality of your customized backpack on every journey. Happy hiking!