How to Replace Water Bottle on Dispenser
To replace the water bottle on a dispenser, gather a new sealed bottle, a lint-free cloth, and food-safe sanitizing solution. Wash your hands thoroughly.
Turn off and unplug the dispenser. Remove the empty bottle carefully, avoiding spills.
Inspect the new bottle for damage and clean the spout. Align the bottle neck with the dispenser's opening, then lower it slowly to puncture the seal without causing leaks.
Secure the bottle in place, ensuring no air bubbles. Turn the dispenser back on and check for leaks.
Finally, dispose of the old bottle properly. There's more to explore about keeping your dispenser in top shape.
Key Takeaways
- Turn off and unplug the dispenser to ensure safety before replacing the water bottle.
- Lift the empty bottle straight up carefully to avoid spills and set it aside securely.
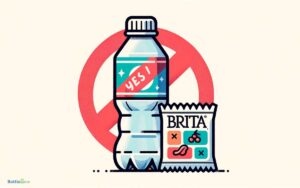
- Inspect the new bottle for any damage and ensure the cap is securely fastened.
- Align the new bottle's neck with the dispenser's spike, and lower it slowly to puncture the seal.
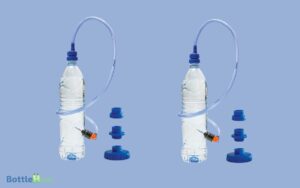
Gather Necessary Supplies
To replace the water bottle on your dispenser, first gather essential supplies such as a new water bottle, a cleaning cloth, and sanitizing solution.
Begin by selecting a sealed water bottle to guarantee it's free from contaminants.
You'll need a lint-free cleaning cloth to wipe down the bottle and dispenser surfaces.
A sanitizing solution is vital for disinfecting the bottle cap and dispenser spout.
Make certain the sanitizing solution is food-safe and effective against common bacteria.
Lay these supplies out within easy reach.
Double-check that the water bottle is the correct size for your dispenser model.
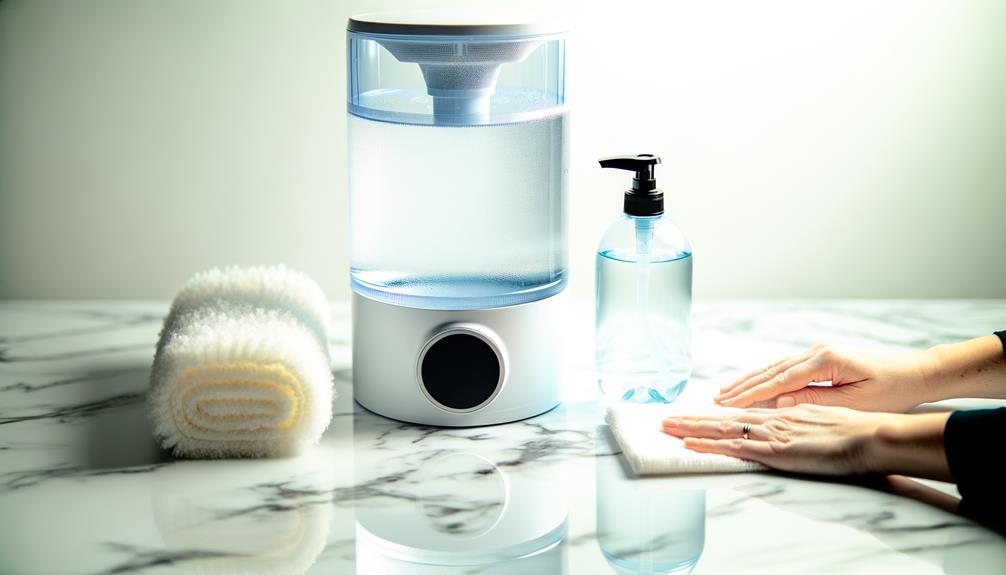
Wash Your Hands
Before handling the new water bottle, wash your hands thoroughly to guarantee cleanliness.
Use soap and water, scrubbing for at least 20 seconds to remove any contaminants.
After rinsing, dry your hands completely with a clean towel or air dryer.
Proper Handwashing Technique
Ensuring proper handwashing technique involves thoroughly scrubbing your hands with soap and water for at least 20 seconds.
Start by wetting your hands with clean, running water. Apply enough soap to cover all hand surfaces.
Rub your hands together, making sure to lather the backs of your hands, between your fingers, and under your nails. Don't forget your thumbs and wrists. Continue scrubbing all areas meticulously.
Rinse your hands well under clean, running water. Finally, dry your hands using a clean towel or air dryer.
This method effectively removes dirt, viruses, and bacteria, minimizing the risk of contamination. Proper handwashing is essential, especially before handling the new water bottle for your dispenser.
Duration of Handwashing
Maintaining the proper duration of handwashing, which is at least 20 seconds, is critical for effective germ removal and guaranteeing your hands are sufficiently clean before handling the new water bottle.
Start by wetting your hands with clean, running water. Apply soap and lather by rubbing your hands together, making sure you cover all surfaces, including the backs of your hands, between your fingers, and under your nails.
Scrub your hands for no less than 20 seconds—consider singing the 'Happy Birthday' song twice for timing. Rinse thoroughly under clean, running water.
This precise duration is essential to break down and remove harmful pathogens that might compromise the cleanliness of your water dispenser.
Make certain you follow this process meticulously.
Drying Hands Properly
After washing your hands, it's crucial to dry them thoroughly to prevent any remaining moisture from becoming a breeding ground for bacteria. Use a clean, dry towel or a paper towel.
Begin by patting your hands gently, focusing on the spaces between your fingers and under your nails. Avoid rubbing vigorously to prevent skin irritation.
If using a hand dryer, verify it's a high-efficiency model that completely dries your hands within 20 to 30 seconds. Position your hands under the airflow, moving them slightly to verify even drying.
Remember, improper drying can negate the benefits of handwashing, so take the time to do it right.
Once your hands are dry, you're ready to proceed with replacing the water bottle on the dispenser.
Turn Off the Dispenser
First, locate the power switch on your dispenser, usually found at the back or side.
Turn off the power to guarantee there's no risk of electric shock or malfunction.
Always take this step to maintain safety and prevent any accidental spills.
Locate Power Switch
Locate the power switch on the back or side of the dispenser and turn it off to guarantee safety during the water bottle replacement.
First, inspect the dispenser thoroughly to find the switch. Typically, it's a small, often red or black, toggle switch.
Confirm the dispenser is unplugged from the power source to avoid any electrical hazards. Firmly flip the switch to the 'off' position. You should hear or feel a slight click indicating it's disengaged.
This action confirms the cooling and heating elements are inactive, preventing any risk of electric shock or burns.
Ensure Safety Precautions
Confirm the dispenser is switched off and unplugged to guarantee all safety precautions are in place before proceeding with the water bottle replacement.
Begin by locating the power switch, typically found at the back or side of the dispenser. Toggle the switch to the 'off' position.
Next, disconnect the power cord from the electrical outlet to prevent any risk of electrical shock or malfunction.
Double-check that the dispenser is completely de-energized by trying to dispense water; no water should be released.
Doing this guarantees that you're working in a safe environment, free from potential electrical hazards.
These steps are essential for your safety and for maintaining the integrity of the dispenser's components during the replacement process.
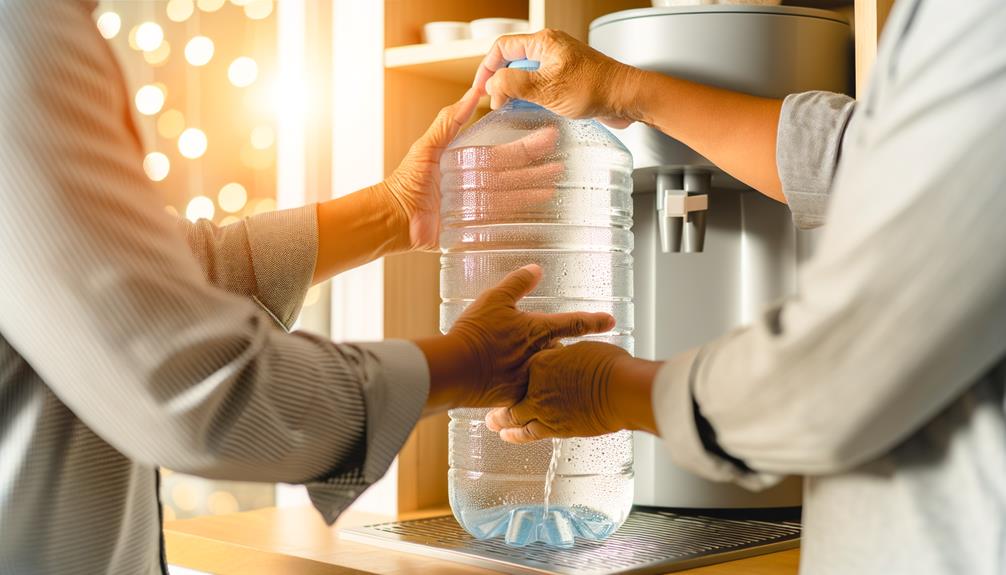
Remove the Empty Bottle
Gently lift the empty water bottle straight up to avoid spilling any remaining water. Confirm your grip is firm but gentle to prevent the bottle from slipping. Place the bottle on a flat surface and check for any leftover droplets before disposing of or recycling it. If you’d like a convenient way to carry your bottle, you might consider learning how to sew a bottle holder for easy transport. A well-made holder can provide a secure grip and prevent accidental drops while on the go.
As you lift, maintain a steady pace to minimize any sudden movements that could cause a spill. Once the bottle is free from the dispenser, set it aside in a safe location.
Key points to remember:
- Maintain a firm grip: This prevents the bottle from slipping.
- Lift steadily: Avoid jerky movements to reduce the risk of spillage.
- Place safely: Confirm the empty bottle is set down securely.
Following these steps confirms a smooth, spill-free removal process.
Inspect the New Bottle
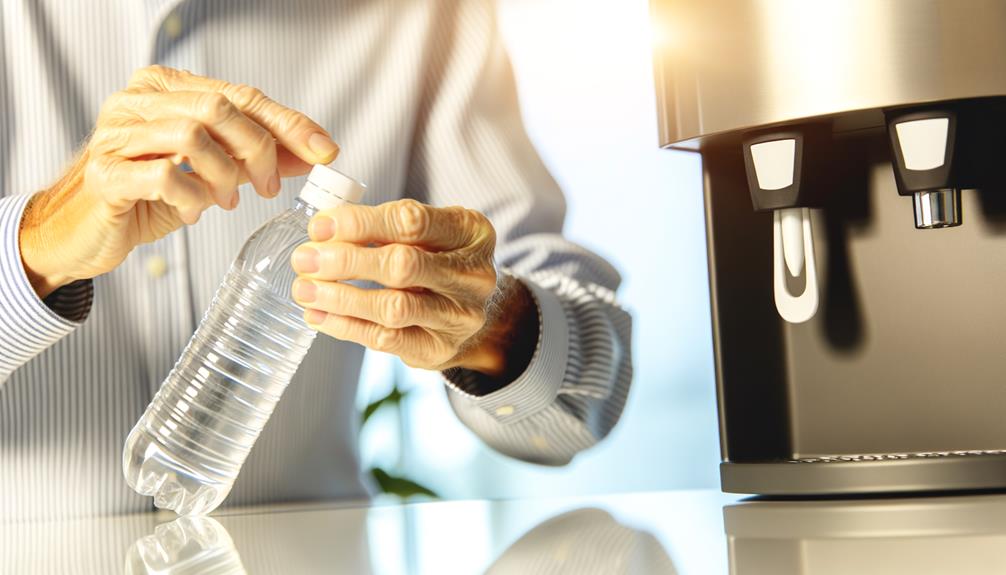
Before placing the new bottle on the dispenser, thoroughly check it for any visible damage or leaks. Examine the bottle's exterior for cracks, dents, or punctures. Gently press around the cap to verify it's securely fastened and intact. Additionally, inspect the seal to make certain it's not broken or compromised.
Here's a quick checklist to guide your inspection:
| Checkpoint | What to Look For | Action Required |
|---|---|---|
| Bottle Exterior | Cracks, dents, punctures | Replace if damaged |
| Cap | Secure fit, no leaks | Tighten or replace cap |
| Seal | Unbroken, intact | Do not use if seal is broken |
Clean the Dispenser Spout
To guarantee ideal hygiene, thoroughly clean the dispenser spout using a cloth dampened with a mild disinfectant solution.
Focus on removing any visible residue or buildup. Make certain you cover all areas of the spout, as this is where water flows directly into your cup.
Here are key steps to follow for effective cleaning:
- Use a clean, lint-free cloth: Prevent fibers from contaminating the spout.
- Apply a mild disinfectant: Avoid harsh chemicals that can damage the spout or leave harmful residues.
- Wipe thoroughly: Make certain every part of the spout is cleaned, including hard-to-reach areas.
Position the New Bottle
First, align the water bottle's neck with the dispenser's opening to guarantee proper placement.
Next, remove or secure the bottle cap, depending on your dispenser model.
Align the Water Bottle
Make certain the new water bottle's cap is removed and the bottle is held securely before positioning it over the dispenser's spike.
Carefully align the bottle's opening with the dispenser's spike to guarantee a proper fit and avoid spillage.
Lower the bottle slowly to allow the spike to puncture the seal without causing water to splash.
Pay attention to:
- Bottle Angle: Keep the bottle as vertical as possible.
- Spike Location: Guarantee the spike is centered under the bottle's opening.
- Steady Hands: Maintain a firm grip to control the bottle's movement.
Secure the Bottle Cap
Make certain the new bottle is securely seated on the dispenser by pressing down firmly on its top to engage the seal and prevent any air bubbles from entering the system. This action guarantees a tight fit, which is essential for maintaining the integrity of the water flow.
Check the bottle cap for any damages or irregularities before proceeding. Confirm the cap's gasket is intact and properly aligned. If the cap isn't secure, water may leak or air can enter, disrupting the dispenser's operation.
Additionally, verify that the bottle's spout aligns perfectly with the dispenser's receiving valve. A misalignment could cause improper sealing, leading to potential leaks or air gaps.
Place Bottle Onto Dispenser
Having guaranteed the bottle cap is secure, carefully lift the new bottle and position it above the dispenser's receiving valve. Align the bottle's opening with the valve, ensuring a straight descent.
To avoid spills or air bubbles, follow these steps:
- Check alignment: Make sure the bottle's neck is centered over the valve.
- Maintain control: Use a firm grip to manage the bottle's weight.
- Gradual placement: Lower the bottle slowly to allow the valve to puncture the cap smoothly.
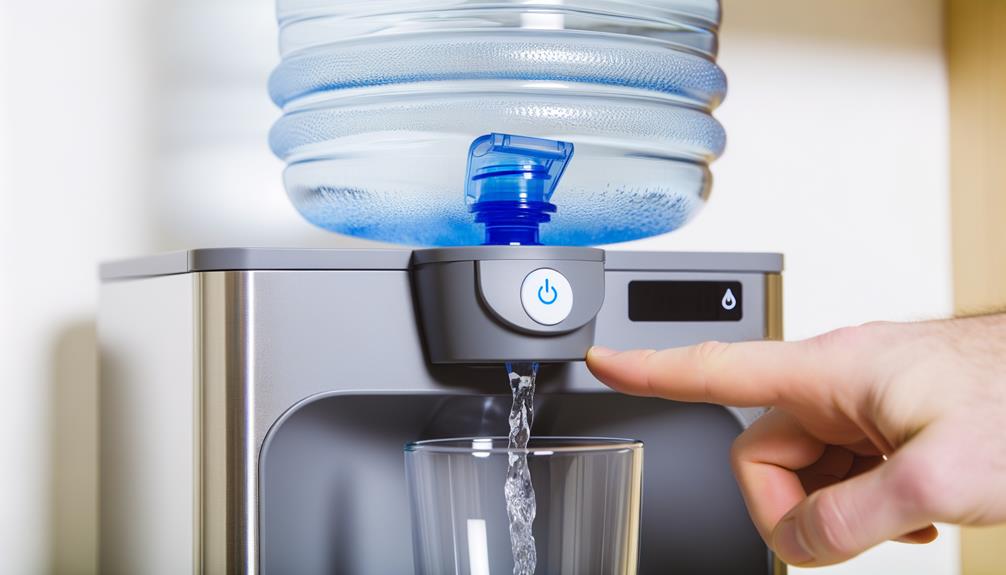
Secure the Bottle in Place
To secure the bottle in place, align the bottle's neck with the dispenser's spike or valve, guaranteeing a snug and airtight fit.
Carefully lower the bottle so that the spike punctures the seal without spilling water. Firmly press down until the bottle is securely seated.
Check for any air bubbles escaping, which would indicate a proper seal. If you notice any leaking, slightly adjust the bottle to re-establish the seal.
Confirm the bottle sits level and stable on the dispenser. Inspect the dispenser's base to verify that the bottle is correctly positioned, preventing any tilting or wobbling.
Properly securing the bottle is essential for maintaining the machine's functionality and preventing water spillage or contamination.
Turn On the Dispenser
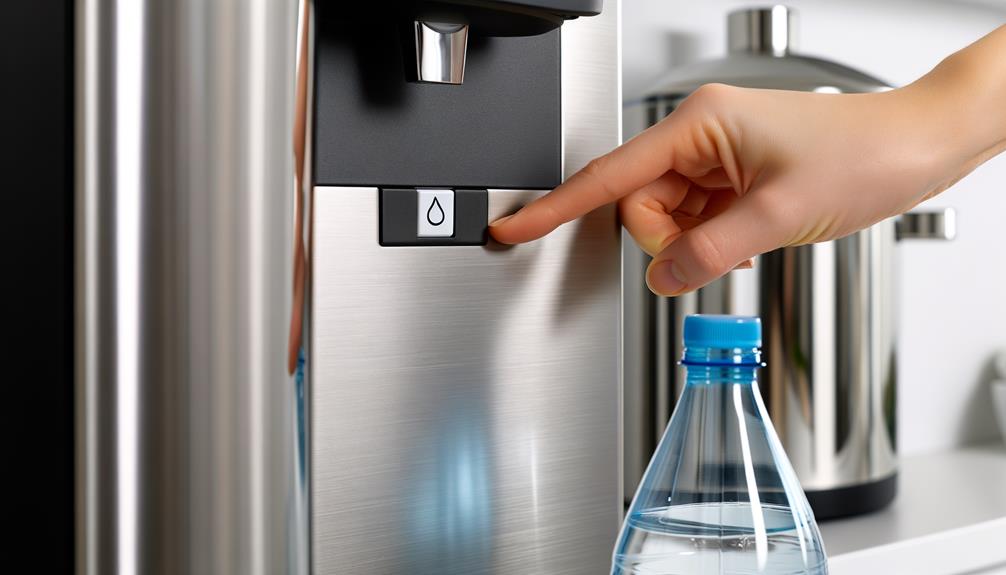
Once the bottle is securely in place, promptly switch on the dispenser by pressing the power button typically located on the front or side of the unit.
Verify the device is plugged into a power source. Watch for indicator lights or digital displays to confirm the unit is powered on. Pay attention to any sounds that signify the dispenser is operational.
Key points to check once the dispenser is turned on:
- Power Indicator Light: Confirm the light is illuminated.
- Cooling/Heating Functions: Verify these are activated if your unit includes them.
- Operational Sounds: Listen for any humming or clicking noises.
Following these steps guarantees your water dispenser operates efficiently and effectively.
Check for Leaks
After powering on the dispenser, carefully inspect the area around the bottle connection and the base of the unit for any signs of water leaks.
Look closely at the seal where the bottle meets the dispenser. Verify that no water is dripping or pooling.
Examine the drip tray and the floor around the unit for any moisture.
If you notice any leaks, turn off the dispenser immediately and double-check the bottle's positioning.
Make sure the bottle cap isn't cracked and that it's securely attached.
If leaks persist, the seal or the bottle might be defective.
Addressing leaks promptly helps prevent water damage and guarantees your dispenser operates efficiently.
Dispose of the Old Bottle
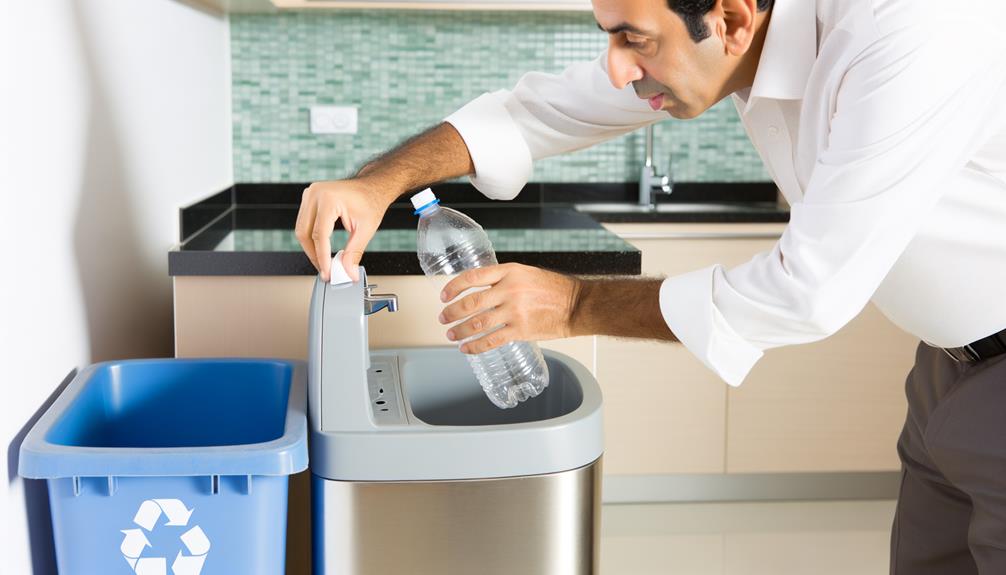
Before disposing of the old bottle, make certain it's completely empty and free of any residual water. Ensuring the bottle is empty prevents spills and makes handling easier.
Next, follow these steps for proper disposal:
- Rinse the bottle: Rinse out any remaining water or residue.
- Inspect for damage: Check for cracks or damage to determine if it can be reused or needs recycling.
- Cap the bottle: Secure the cap to avoid any remaining drops spilling out.
Conclusion
Replacing your water bottle dispenser is a straightforward process.
Remember to gather supplies, wash your hands, and turn off the dispenser before starting.
A friend of mine once skipped the step of checking for leaks and ended up with a flooded kitchen.
By following these detailed steps, you can guarantee a smooth replacement without any mishaps.
Always inspect the new bottle and secure it properly before turning the dispenser back on.