How to Replace Brita Water Bottle Filter
To replace your Brita water bottle filter, first gather a new filter, clean cloth, and access to clean water. Unscrew the cap and remove the old filter by pulling it straight out.
Rinse the new filter under cold water for 15 seconds and verify it's free from carbon dust and defects. Insert the new filter into the housing until it clicks securely, then reassemble the bottle by attaching the cap and aligning the straw.
Rinse the reassembled bottle thoroughly, fill it with clean tap water, and check for leaks before use. If you follow these steps, your bottle will function effectively.
Key Takeaways
- Unscrew the cap and remove the old filter by pulling it out firmly.
- Rinse the new filter under cold water for 15 seconds to remove carbon dust.
- Insert the new filter into the housing until it clicks into place.
- Reattach the cap, ensuring it is tightly secured to prevent leaks.
Gather Your Materials
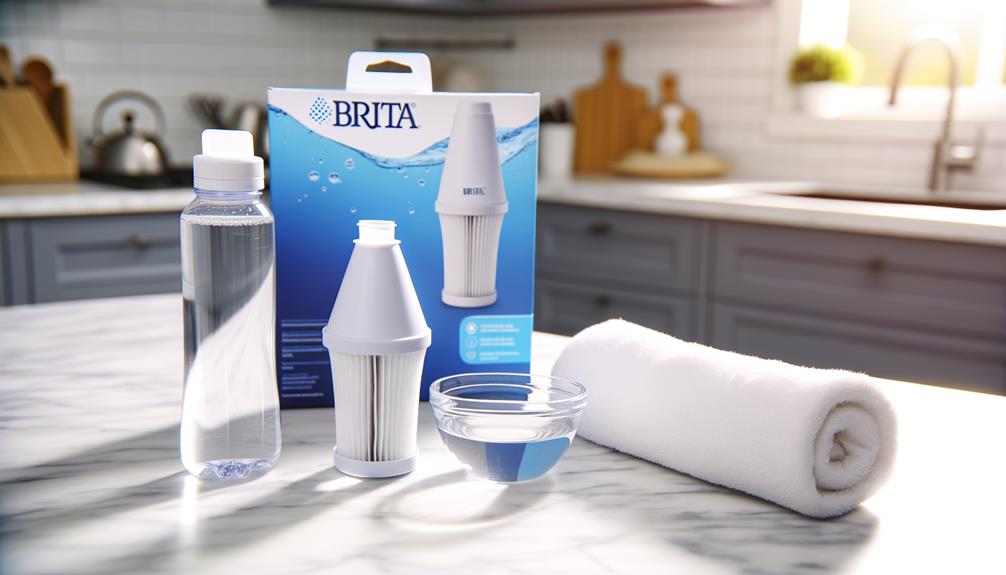
Before you begin, make certain you have a new Brita water bottle filter, a clean cloth, and access to clean water. These materials are fundamental for a smooth and effective filter replacement process.
The new filter guarantees optimal filtration, the clean cloth helps maintain hygiene, and access to clean water is essential for rinsing and testing.
First, confirm that the new Brita filter is the correct model for your water bottle.
Next, lay out the clean cloth on a flat surface to place the bottle parts during the replacement process. Make sure the cloth is large enough to hold all the parts without overcrowding. This will help keep everything sanitary and organized as you work. If you’re unsure how to return 5 gallon bottle after use, check with your water supplier for their specific guidelines on returns and exchanges.
Having access to clean water allows you to rinse the new filter before installing it, which is critical for removing any loose carbon particles.
Make sure all materials are within reach to streamline the process.
Remove the Old Filter
With your materials prepared, start by unscrewing the cap of your Brita water bottle to access the old filter. Hold the bottle steady, making sure it doesn't tip over. Grasp the old filter firmly and pull it straight out. A slight wiggle might be necessary if it feels stuck. Discard the used filter responsibly.
Here's a quick reference table to promote efficiency:
| Step | Action |
|---|---|
| 1 | Unscrew the bottle cap |
| 2 | Hold the bottle steady |
| 3 | Grasp and pull the filter |
| 4 | Discard the old filter |
Make sure no debris remains inside the bottle's filter compartment before proceeding. This precision will guarantee a smooth installation for the new filter and maintain the integrity of your water quality.
Prepare the New Filter
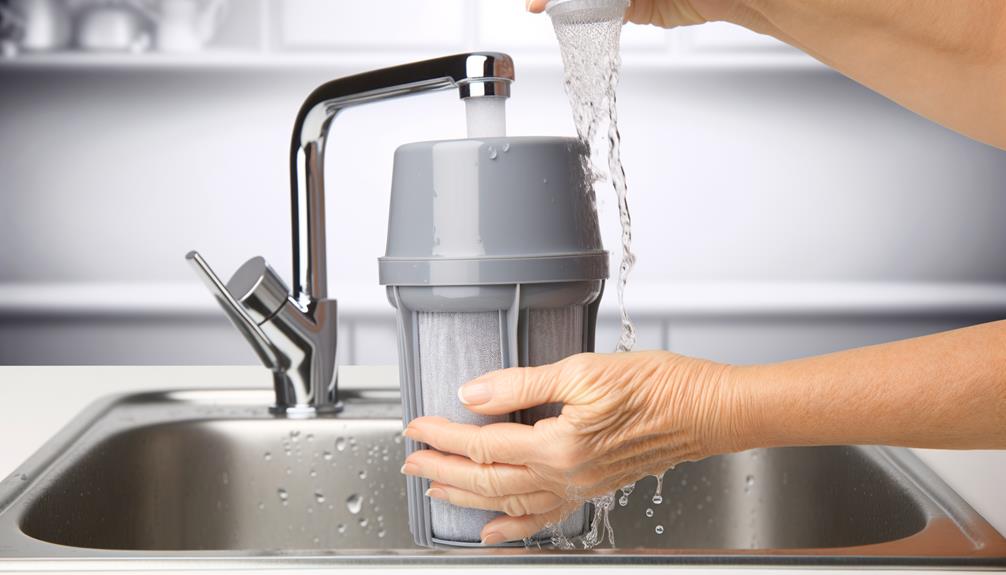
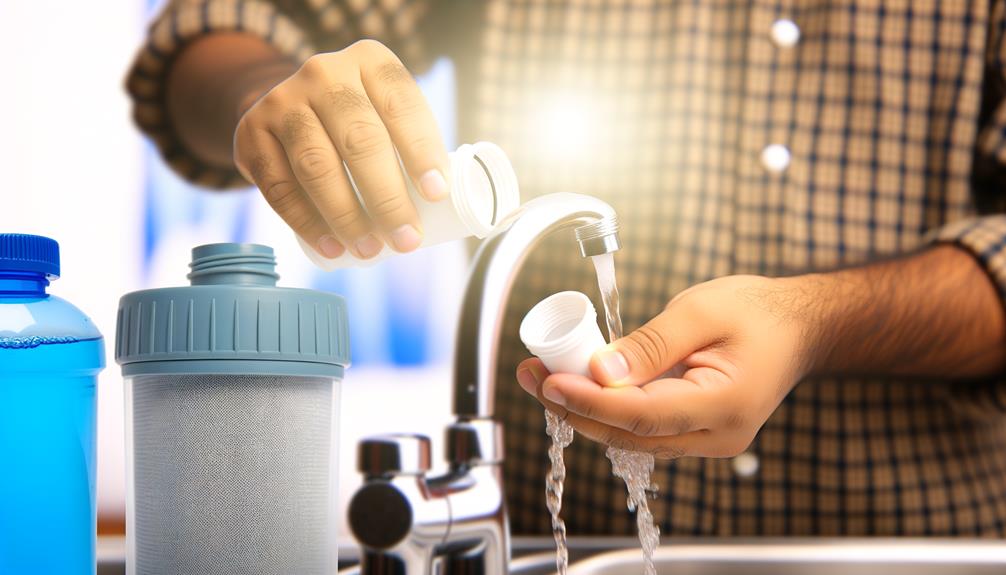
Make certain the new filter is properly prepped by rinsing it under cold water for 15 seconds.
Hold the filter under the faucet and rotate it to verify all surfaces are thoroughly wetted. This step removes any loose carbon dust and primes the filter for peak performance. After rinsing, shake the filter gently to remove excess water.
Next, check for any visible damage or defects. It's vital to inspect the filter to confirm it's in perfect condition before installation.
Verify that the filter is compatible with your Brita water bottle model. Compatibility guarantees proper fit and function, preventing leaks or reduced filtration efficiency.
Keep the filter clean and ready for the next step by placing it on a clean, dry paper towel.
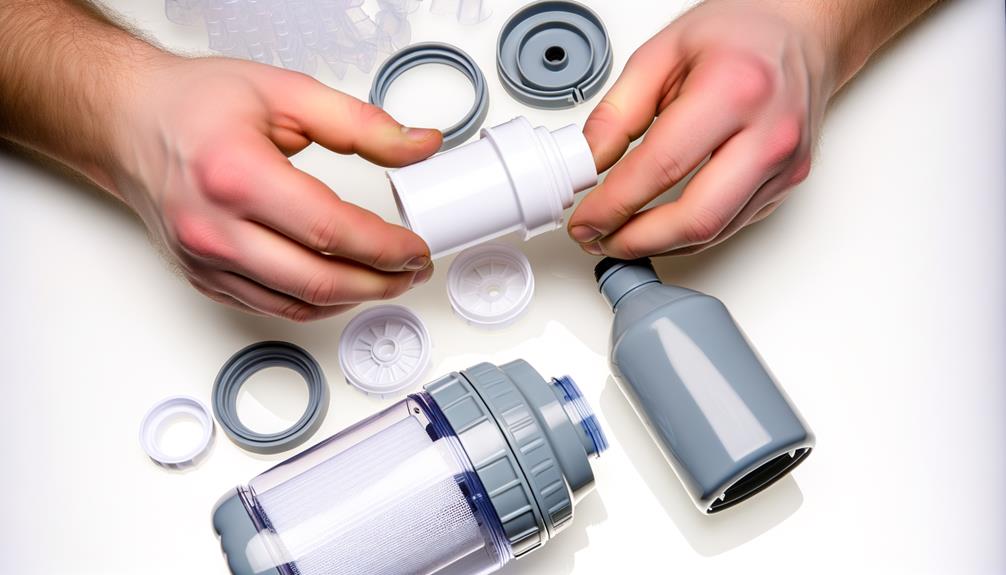
Insert the New Filter
Gently insert the new filter into the bottle's filter housing, making sure it clicks securely into place. Align the filter with the grooves inside the housing to prevent any misalignment.
Push it in until you hear or feel a click, indicating it's properly seated. Double-check by lightly tugging on the filter; it should remain firmly in place if inserted correctly. This step is essential for ideal filtration performance.
Avoid forcing the filter, as this could damage the components. If it doesn't fit easily, recheck alignment. Proper insertion guarantees the filter can effectively remove impurities from the water.
Confirm the filter's orientation matches the bottle design, as incorrect placement could compromise water flow and filtration quality.
Reassemble the Bottle
Carefully reattach the bottle's cap by aligning it with the threads and twisting it clockwise until securely tight.
Make certain the cap is seated properly to prevent any leaks.
Next, insert the straw into the designated opening on the underside of the cap.
Push it firmly into place, guaranteeing it's snug and won't dislodge during use.
Double-check that the filter is positioned correctly within the straw.
Now, attach the mouthpiece by aligning it with the opening on top of the cap and pushing down until it clicks into place.
Confirm all components are secure and properly aligned.
This step guarantees ideal functionality and prevents leaks or malfunctions.
You've now successfully reassembled your Brita water bottle.
Rinse and Test
Why not give your reassembled Brita water bottle a thorough rinse under cold water to make certain it's clean and ready for use?
Hold the bottle upside down and let the water flow through the spout and all components. This guarantees any residual particles are washed away.
Next, fill the bottle with cold tap water and secure the lid tightly.
Squeeze the bottle to force water through the filter, ensuring it functions correctly. Check for any leaks around the lid or spout.
If everything's intact, take a sip to confirm the water tastes clean and filtered. If you notice any off tastes or issues, recheck the assembly steps.
Your water bottle is now ready for daily hydration.
Conclusion
You've gathered your materials, removed the old filter, and prepped the new one.
You've inserted it, reassembled the bottle, and now, the moment of truth: rinse and test.
Will your water taste as crisp and clean as it should? You'll take that first sip, and everything hinges on it.
As you bring the bottle to your lips, you can't help but wonder—did you do everything right?
You'll know in just a second.