How to Remove Brita Water Bottle Mouthpiece
To remove the mouthpiece of your Brita water bottle, start by gathering a small flathead screwdriver and needle-nose pliers. Identify your mouthpiece type, such as a pull-up spout or screw-on cap.
Prepare by inspecting for damage and confirming cleanliness. Twist the bottle lid counterclockwise, then grip and twist the mouthpiece gently to detach it.
If it's stuck, submerge it in warm water for five minutes to loosen debris. Clean it thoroughly with mild soap, rinse, and dry using a lint-free cloth.
Once dried, reassemble carefully. Mastering this process will guarantee a clean and efficient removal.
Key Takeaways
- Identify the type of mouthpiece on your Brita water bottle (e.g., pull-up spout, push-button lid, etc.).
- Twist the lid counterclockwise while holding the bottle upright to loosen it.
- Soak the mouthpiece in warm water for five minutes to loosen debris and mineral buildup.
- Gently twist the mouthpiece counterclockwise to unscrew it, ensuring your hands are dry to prevent slippage.
Gather Necessary Tools
To begin, make sure you have a small flathead screwdriver and a pair of needle-nose pliers on hand.
These tools are essential for safely and effectively removing the Brita water bottle mouthpiece. The small flathead screwdriver will help you pry open the tight spaces without causing damage, while the needle-nose pliers will allow you to grip and maneuver the mouthpiece components with precision.
Confirm the screwdriver's tip is narrow enough to fit into the small gaps, and the pliers' jaws are thin but strong.
Having these tools ready guarantees you're prepared to tackle the task efficiently, fostering a sense of mastery and inclusion within the community of Brita water bottle users.
Identify Mouthpiece Type
Frequently, identifying the type of mouthpiece on your Brita water bottle is the essential first step in the removal process.
Different mouthpieces require specific techniques for safe and efficient removal. Examine your bottle carefully to determine which type you have.
Here are common types you might encounter:
- Pull-up Spout: A spout that you pull up to drink and push down to close.
- Push-button Lid: A lid that opens with the press of a button.
- Squeeze Straw: A flexible straw that requires squeezing the bottle for water flow.
- Flip Straw: A straw that flips up for use and folds down when not in use.
Identifying the correct mouthpiece guarantees you apply the right technique, avoiding damage.
Prepare the Bottle
First, gather all necessary cleaning tools, such as a small brush, mild detergent, and a clean cloth.
Next, inspect the bottle and mouthpiece for any visible damages or wear.
These steps guarantee you're ready for a smooth mouthpiece removal process.
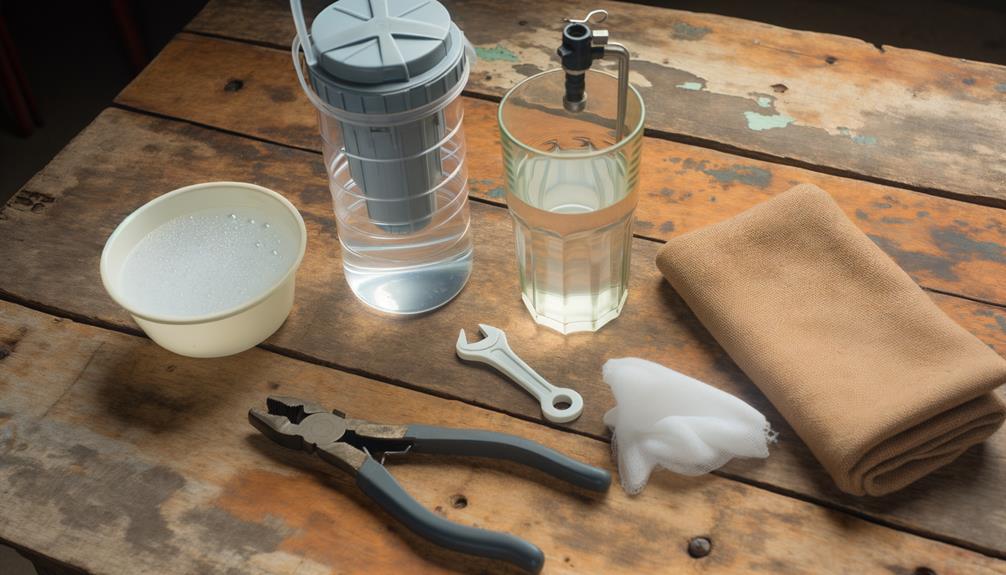
Gather Necessary Cleaning Tools
Before you start the cleaning process, make sure you have a small brush, mild dish soap, and clean water on hand to effectively prepare your Brita water bottle. You'll need these tools to guarantee every part of your bottle gets thoroughly cleaned.
Gather the following items:
- Small brush: Ideal for scrubbing hard-to-reach areas.
- Mild dish soap: Gentle yet effective for breaking down residues.
- Clean water: Essential for rinsing off soap and debris.
- Soft cloth: For drying the bottle without leaving scratches.
Having these tools ready will streamline the process and guarantee your Brita water bottle is cleaned thoroughly and efficiently.
Check for Damages
Carefully inspect your Brita water bottle for any cracks, leaks, or signs of wear that could compromise its performance.
Start by examining the bottle's exterior, paying close attention to the seams and base.
Next, remove the cap and check the threading for any deformations that may affect the seal.
Inspect the mouthpiece itself for any tears or damage that could impede water flow or harbor bacteria.
Don't forget to look inside the bottle for any discoloration or residue buildup.
If you find any issues, it's best to address them immediately to guarantee peak functionality.
A thorough inspection not only prolongs the life of your bottle but also keeps you connected to a community that values quality and reliability.
Loosen the Lid
Twist the lid counterclockwise to loosen it, guaranteeing you maintain a firm grip on the bottle to prevent any spillage. This step is essential because a secure hold allows you to apply the necessary torque without risking a mess.
While loosening the lid, remember to:
- Check the threads: Verify they're not worn out or damaged.
- Keep the bottle upright: Avoid tilting to prevent accidental spills.
- Use both hands: One to hold the bottle, the other to twist the lid.
- Watch for resistance: If the lid feels stuck, apply gentle pressure.
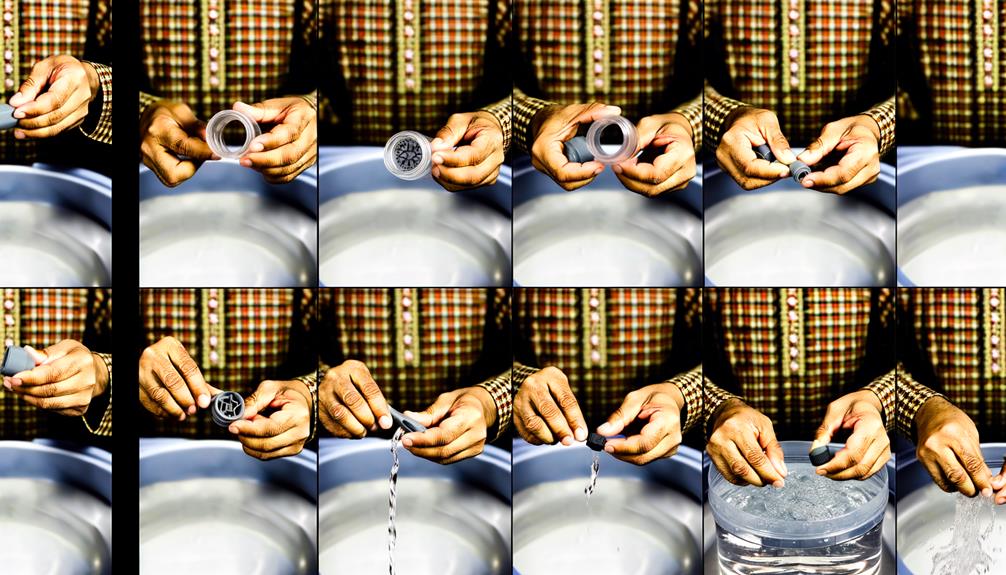
Gently Twist Mouthpiece
Grip the mouthpiece firmly with one hand while stabilizing the bottle with the other.
Apply a counterclockwise motion to unscrew the mouthpiece, ensuring you don't use excessive force.
This technique helps you avoid damaging the components while effectively removing the mouthpiece.
Grip and Stabilize Firmly
To remove the Brita water bottle mouthpiece, start by ensuring you have a firm grip on both the bottle and the mouthpiece to prevent slippage. Stabilize the bottle by holding it with your non-dominant hand. Position your dominant hand on the mouthpiece. Gently pull the mouthpiece upward while applying slight pressure to detach it from the bottle. If you encounter resistance, try twisting it slightly while pulling to ease removal. For more details on maintenance and how to use Brita bottle features effectively, refer to the user manual.
Here's a detailed checklist to guide you:
- Ensure Dry Hands: Moisture can cause slipping.
- Use a Towel: Wrap it around the bottle for better traction.
- Apply Equal Pressure: Distribute the force evenly to avoid damaging the components.
- Check Alignment: Make sure your hands are correctly positioned.
Counterclockwise Motion Technique
Gently twisting the mouthpiece counterclockwise is crucial for safely removing the Brita water bottle mouthpiece without causing any damage.
Start by holding the bottle firmly in one hand. With your other hand, grasp the mouthpiece securely.
Apply a steady, controlled force as you twist the mouthpiece in a counterclockwise direction. Verify your grip is consistent and your movements are smooth to avoid any abrupt jerks.
This method guarantees the internal threads align correctly, preventing wear and tear. You'll feel a slight release as the mouthpiece begins to loosen.
Continue this motion until the mouthpiece detaches completely.
Avoid Excessive Force
Maintaining a steady and controlled motion is essential, but you should also avoid applying excessive force to prevent damage to the mouthpiece or bottle. Gently twist the mouthpiece, making sure you're not using unnecessary strength. Here's a detailed approach to help you:
- Grip Firmly: Hold the bottle securely to avoid slippage.
- Align Properly: Make sure the mouthpiece is correctly aligned before twisting.
- Twist Gradually: Apply even, gradual pressure while twisting counterclockwise.
- Listen for Clicks: Pay attention to any clicks or resistance, indicating it's loosening.
Use Warm Water
Applying warm water effectively loosens any stubborn residue around the Brita water bottle mouthpiece, making removal easier. Start by filling a bowl with warm (not hot) water. Submerge the mouthpiece fully for about five minutes. This helps break down any mineral build-up or trapped debris.
Here's a quick guide:
| Step | Instructions |
|---|---|
| 1 | Fill a bowl with warm water. |
| 2 | Submerge mouthpiece for 5 mins. |
| 3 | Remove and gently twist. |
After soaking, gently twist and pull the mouthpiece to detach it. Verify you've allowed adequate soaking time, as rushing this step might leave residue behind. This warm water technique not only aids in cleaning but also maintains the longevity of your Brita bottle components.
Apply Mild Soap
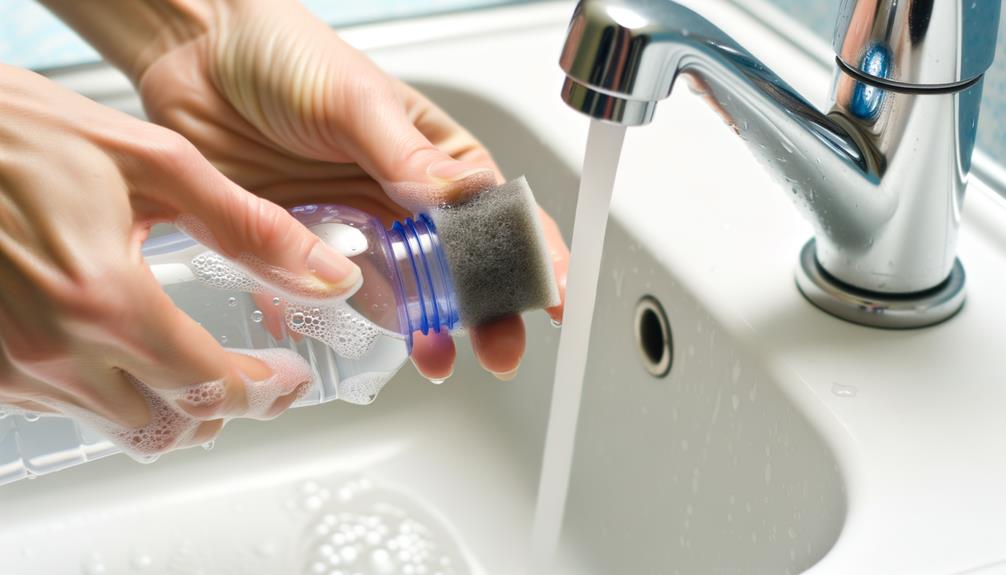
Once you've soaked the mouthpiece, use a mild soap to scrub away any remaining residue or buildup. This step guarantees that all contaminants are effectively removed.
Choose a soft-bristled brush for scrubbing to avoid damaging the mouthpiece. Apply a small amount of soap and gently scrub in circular motions.
- Soft-bristled brush: Guarantees gentle yet effective cleaning.
- Circular motions: Maximizes coverage and effectiveness.
- Small amount of soap: Prevents excessive suds and residue.
- Consistency: Stick with mild soap to avoid harsh chemicals.
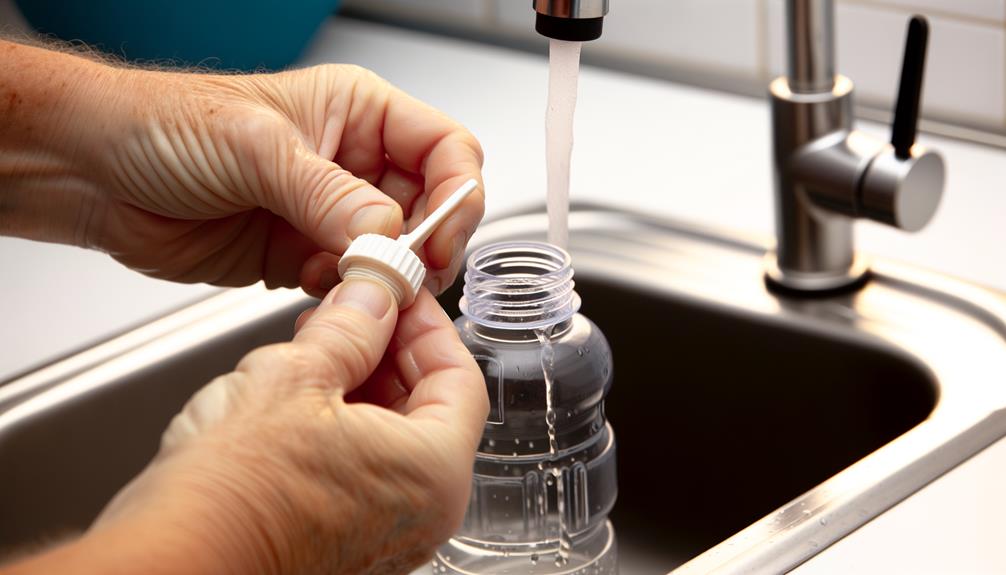
Rinse Thoroughly
Thoroughly rinse the mouthpiece under warm running water to make certain all soap and loosened debris are completely washed away.
Hold the mouthpiece at an angle to make sure water flows through every crevice.
Rotate the piece to target all surfaces, including any grooves or small openings.
Use your fingers to gently rub the mouthpiece as you rinse, aiding in the removal of any remaining residues.
Make certain the water runs clear, indicating all soap and debris are gone.
Pay special attention to the valve area, as this section can trap unwanted particles.
Dry and Reassemble

After making certain the mouthpiece is rinsed clean, you'll need to dry it completely to prevent any bacterial growth before reassembling.
Use a clean, lint-free cloth to thoroughly dry the mouthpiece. Pay special attention to all crevices and hard-to-reach areas.
Here are some detailed steps to make sure it's dried properly:
- Air Dry: Place the mouthpiece on a clean towel in a well-ventilated area.
- Pat Dry: Use a lint-free cloth to pat down the surface.
- Use a Hair Dryer: Set it to a cool setting to avoid any heat damage.
- Inspect: Make certain there's no moisture left before proceeding.
Conclusion
Just like a skilled craftsman meticulously disassembles and reassembles a delicate clock, you've now mastered the nuanced art of removing and cleaning your Brita water bottle mouthpiece.
By following each detailed step—gathering tools, identifying the mouthpiece, and using warm water and mild soap—you've guaranteed your bottle is pristine and ready for use.
Remember, precision and care yield the best results.
So, cherish your refreshed bottle, just as a craftsman admires a perfectly tuned clock.