How to Remove Algae From 5 Gallon Water Bottle
To remove algae from your 5-gallon water bottle, start by inspecting for green, brown, or black patches and any musty odors. Prepare a cleaning solution of 1 tablespoon bleach per gallon of water.
Empty and rinse the bottle thoroughly with warm water. Pour the cleaning solution in, ensuring it coats all surfaces, and let it sit for 30 minutes.
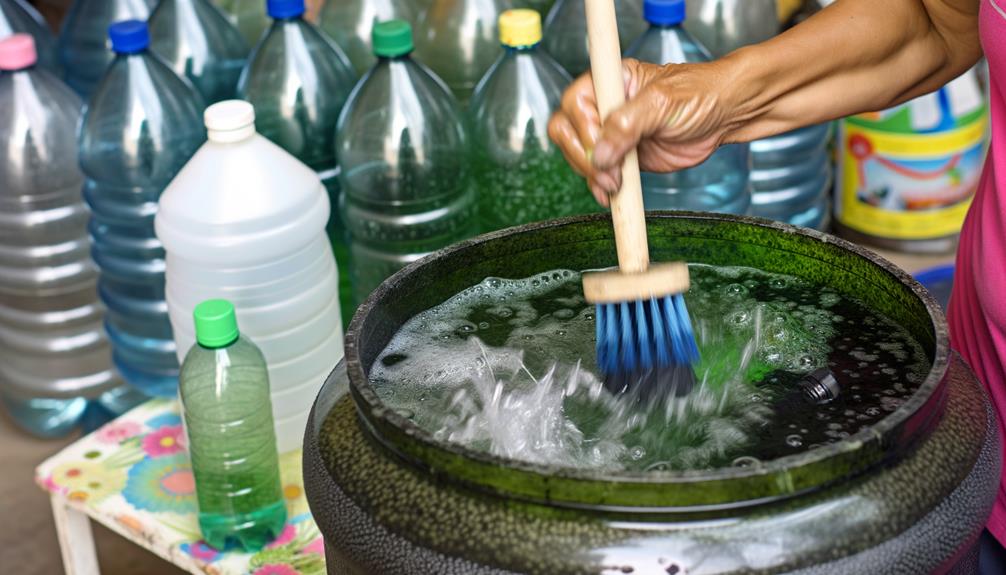
Use a long-handled bottle brush with stiff bristles for scrubbing. Rinse thoroughly with clean water and let it air dry upside down for at least 24 hours.
Follow these steps for a sanitized, algae-free bottle. For more detailed procedures, keep following.
Key Takeaways
- Inspect the bottle for algae patches, odors, and floating particles.
- Prepare a cleaning solution using bleach, white vinegar, or hydrogen peroxide.
- Empty and rinse the bottle thoroughly with warm water.
- Apply the cleaning solution, ensuring full coverage, and let it sit for 30 minutes.
Identify Algae Presence
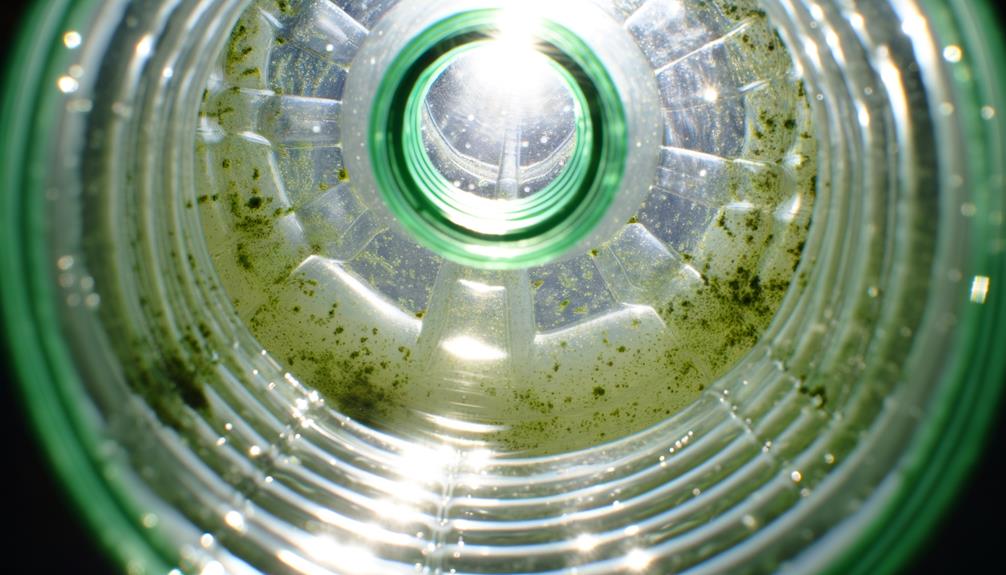
To determine if algae are present in your water bottle, inspect the interior surfaces for green, brown, or black patches, which are indicative of algal growth.
Use a flashlight to enhance visibility, focusing on crevices and hard-to-reach areas. Algae can thrive in damp, poorly-lit environments, often adhering to the bottle's walls.
Pay attention to the smell; a musty or earthy odor can signal algae presence. Additionally, agitate the water and observe for any floating particles or discoloration.
Collect a water sample and examine it under a microscope for definitive identification.
Identifying algae is essential because their presence can affect the taste and safety of your drinking water, necessitating immediate cleaning and preventive measures.
Gather Cleaning Supplies
Begin by assembling all necessary cleaning supplies to effectively remove algae from your water bottle. Your primary goal is to guarantee you have the right tools to perform a thorough cleaning.
- Cleaning Solution: Use a mixture of water and bleach (1 tablespoon of bleach per gallon of water) to sanitize the bottle. Alternatively, a commercial bottle-cleaning solution can be used.
- Bottle Brush: A long-handled bottle brush with stiff bristles will help you scrub the inner surfaces, reaching all nooks and crannies.
- Protective Gear: Wear rubber gloves and eye protection to prevent skin and eye contact with cleaning agents.
Having these supplies ready guarantees you can tackle the algae effectively, maintaining water purity and bottle integrity.
Empty and Rinse Bottle
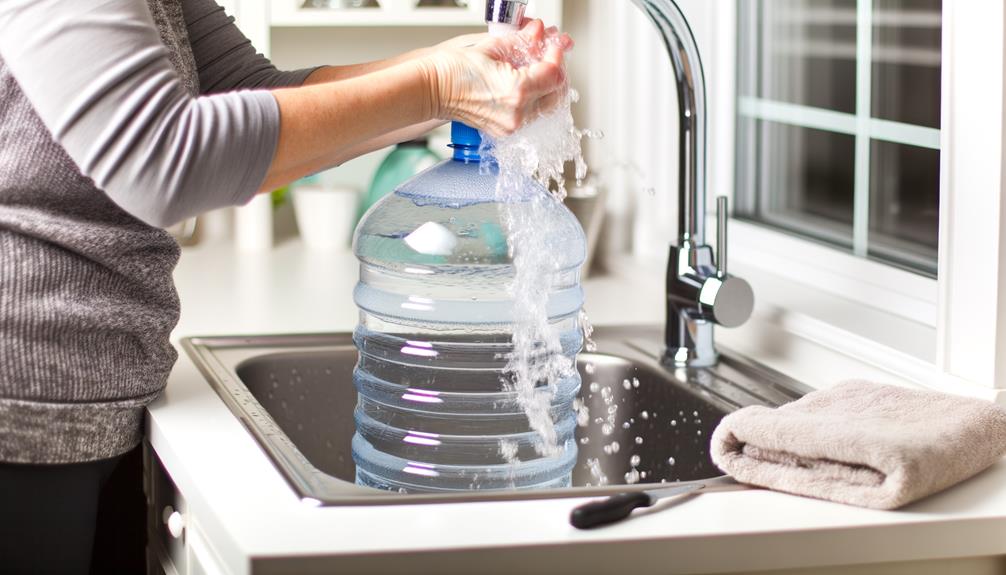
After gathering your cleaning supplies, empty the water bottle completely to prepare it for the cleaning process. Make sure you pour out all the water to avoid diluting the cleaning agents you'll use later.
Once the bottle is empty, rinse it thoroughly with warm water. This step removes loose debris and reduces the initial algae load. Aim the water stream at the bottle's interior walls, ensuring every surface is contacted.
For ideal results, use a high-pressure nozzle to enhance the rinsing efficiency. Data shows that warm water can effectively loosen algae, making subsequent cleaning steps more effective.
Don't skip this step; it's essential for maximizing the efficacy of your cleaning solution in the next phase.
Apply Cleaning Solution
Select an appropriate cleaning solution such as a mixture of white vinegar and water, hydrogen peroxide, or a specialized bottle cleaning agent. Using a solution tailored for algae removal guarantees effective sanitation.
Follow these steps:
- Mixture Preparation: Combine 1 cup of white vinegar with 1 gallon of water, or use a 3% hydrogen peroxide solution, making sure of thorough mixing.
- Application: Pour the cleaning solution into the bottle, making sure it reaches all surfaces. Swirl the solution around to cover the interior evenly.
- Soak Time: Allow the solution to sit in the bottle for at least 30 minutes. This dwell time is essential for breaking down algae and disinfecting the bottle.
These steps will help you achieve a clean, algae-free water bottle.
Rinse and Dry Thoroughly
Thoroughly rinse the bottle with clean, running water to remove any residual cleaning solution and loosened algae. Make certain the water reaches all interior surfaces, including the neck and base. Use at least two full rinses, each lasting a minimum of one minute, to guarantee complete removal of contaminants. Shake the bottle vigorously during each rinse to help dislodge any remaining particles and ensure a thorough clean. After rinsing, inspect the bottle carefully for any lingering residue, and repeat the process if necessary. If you’re also cleaning the cap, you may need to research how to remove 5gallon cap properly to avoid damaging it during the cleaning process.
After rinsing, invert the bottle to drain excess water.
Dry the bottle thoroughly by placing it upside down on a clean, dry surface. Allow it to air dry for at least 24 hours to make sure all moisture evaporates, preventing future algae growth. You can expedite drying by using a clean, lint-free cloth or a fan.
Verify dryness by checking for any lingering moisture before refilling.
Conclusion
You've successfully banished every last trace of algae from your 5-gallon water bottle, making it cleaner than a lab-grade beaker.
By following these precise steps and using the right materials, you've guaranteed your water remains safe and pure.
Remember, regular maintenance is key—don't let algae build-up become a monstrous task.
Keep track of your cleaning schedule and use data-driven methods to prevent future growth.
Your water bottle's longevity and hygiene are now secured.