How to Refill Nasal Spray Bottle? Step by Step Guide!
To refill your nasal spray bottle, start by disassembling and sterilizing all components in boiling water for 5 minutes. Let them air dry on a clean towel.
Prepare your saline solution by mixing distilled water with non-iodized salt to a concentration of 0.9% sodium chloride. If desired, add a pinch of baking soda as a pH buffer. Make sure the solution is fully dissolved and at room temperature.
Using a sterile funnel, carefully pour the solution into the bottle. Reassemble the spray mechanism, making certain the nozzle clicks securely into place. Stored correctly, your nasal spray is now ready for use, with further insights awaiting to enhance your proficiency.
Key Takeaways
Understand Nasal Spray Bottle
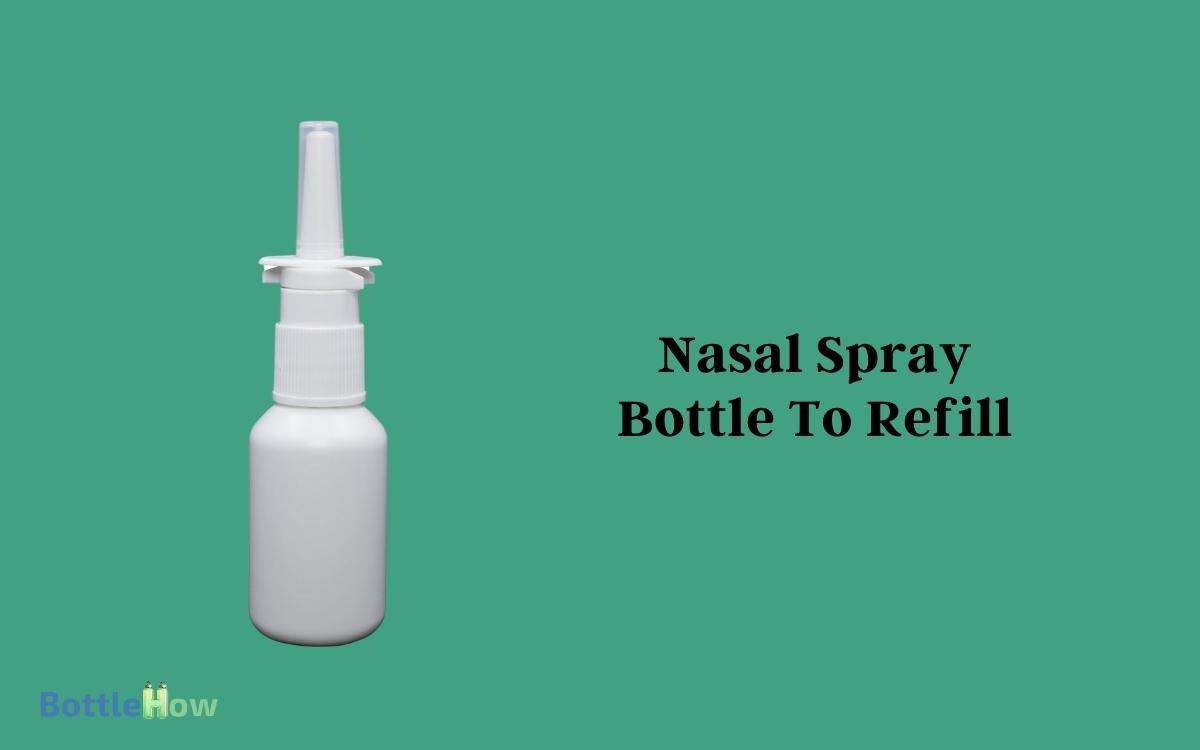
A Nasal Spray Bottle is a specialized container designed for administering medications or saline solutions directly into the nasal passages. It typically features a pump or squeeze mechanism that delivers a fine mist or liquid for effective absorption. Many people opt to create their own solutions using a diy nasal spray bottle, allowing for customization based on individual needs. Proper cleaning and maintenance of the bottle are essential to ensure hygiene and prevent contamination.
It features a fine mist nozzle that ensures an even and gentle distribution of the spray, making it effective for treating nasal congestion, allergies, and other sinus-related conditions.
The bottle is usually compact and portable, making it convenient for on-the-go use. Its ergonomic design allows for easy handling and precise application.
Often equipped with a child-resistant cap, the nasal spray bottle ensures safe usage. The clear labeling helps users identify the contents and dosage instructions, ensuring proper and effective treatment.
Gather Required Materials
First, make sure you have a clean, empty nasal spray bottle, distilled water, and a measuring tool at your disposal. It’s important to use distilled water as it’s free from impurities that could compromise the sterility of your nasal spray solution.
Measuring tools, such as a graduated cylinder or a small measuring spoon, are essential for precise formulation. This exact measurement ensures you maintain the integrity of the solution, which is essential for its effectiveness and safety.
Additionally, you’ll need the active ingredients prescribed or recommended for your nasal solution. Depending on your needs, this might include saline or specific medicated solutions.
Ensuring you have all components ready streamlines the process and helps you serve those in need with efficiency and accuracy.
Clean the Bottle Thoroughly
Before you refill your nasal spray bottle, it’s essential to clean it to prevent contamination.
- First, carefully disassemble the bottle into its individual components.
- Next, sterilize these parts by immersing them in boiling water for a few minutes, then allow them to dry completely before reassembling.
Disassemble Components Carefully
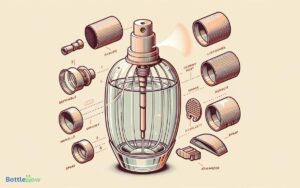
To guarantee thorough cleaning, carefully disassemble the nasal spray bottle into its individual components. Start by removing the cap, which you’ll pull straight off the top.
Next, gently twist and pull the nozzle away from the bottle. Some models might’ve a locking mechanism, so be sure to turn it in the direction indicated, often marked on the bottle itself.
After detaching the nozzle, extract the tube inside the bottle by pinching and pulling it out slowly. This tube is essential as it guides the liquid to the nozzle.
Lay out all parts on a clean, dry surface. By dismantling the bottle, you’ll ensure each component is accessible for a complete and effective cleaning, optimizing the bottle’s functionality for your next refill.
Sterilize With Boiling Water
Sterilize each component by submerging them in boiling water for five minutes to eliminate any bacteria or contaminants.
This step is essential for ensuring the safety and effectiveness of your nasal spray. It’s important to maintain precision during this process to avoid damaging the bottle and its components.
Here’s a quick guide to help you keep track of the sterilization process:
| Component | Sterilization Time |
|---|---|
| Bottle | 5 minutes |
| Spray Mechanism | 5 minutes |
| Cap | 5 minutes |
| Tube | 5 minutes |
| Nozzle | 5 minutes |
Make sure you have a timer handy to monitor the process accurately. This approach helps prevent any oversight, ensuring that each part is properly sterilized and ready for the next step.
Dry Before Reassembling
After sterilizing, make sure all components are completely dry before reassembly to prevent any bacterial growth.
Lay out each part on a clean, dry towel in a well-ventilated area. It’s important you allow them to air-dry completely; this might take several hours.
If you’re in a hurry, you can gently blot the parts with a sterile lint-free cloth, but avoid rubbing as this can transfer fibers or residue.
Ensure no moisture remains, especially in the nozzle and tube, as these areas are prone to harboring bacteria. Using a magnifying glass might help you inspect these smaller parts more thoroughly.
Once you’re certain they’re dry, you’re ready to move on to the next step of reassembling your nasal spray bottle.
Prepare the Solution
You’ll need to mix a saline solution by combining distilled water with non-iodized salt in a sterilized container. Make sure you measure the ingredients accurately to maintain the solution’s isotonicity, which is vital for preserving nasal health and comfort.
Here’s a simple guideline for the proportions:
| Ingredient | Quantity | Purpose |
|---|---|---|
| Distilled water | 1 cup (240ml) | Solvent |
| Non-iodized salt | 1/2 tsp (2.5g) | Provides isotonicity |
| Baking soda (optional) | 1/4 tsp (1.25g) | pH buffer |
Stir the solution until the salt and optional baking soda are completely dissolved. This mixture mimics the body’s own fluids, making it safe and effective for nasal application. Always ensure the solution is at room temperature before using.
Sterilize All Components
Once your saline solution is ready, make sure all components of the nasal spray bottle are sterile before refilling. Sterilization is important to prevent the introduction of bacteria into your nasal passages, which could lead to infections.
Here’s how you can guarantee that each part is properly sterilized:
- Disassemble the Bottle: Carefully take apart the nasal spray bottle, separating the nozzle, cap, and container.
- Use Boiling Water: Submerge all parts in boiling water for at least 5 minutes to kill any bacteria or viruses.
- Dry Thoroughly: After boiling, remove the components and let them air dry on a clean towel to prevent any moisture from fostering bacterial growth when you refill the bottle.
Refill the Nasal Spray
Fill the sterilized nasal spray bottle with the saline solution, making sure not to overfill to maintain peak spray mechanism function.
It’s important to use a saline solution that’s isotonic and free from any additives or preservatives to guarantee safety and efficacy.
You’ll want to pour the solution carefully, ideally using a small funnel to avoid spills and contamination.
If you’re preparing the solution yourself, ensure it’s at the correct concentration—typically a mixture of 0.9% sodium chloride in sterile water. This mimics the natural salt concentration found in your body, making it gentle on your nasal passages.
Always handle the solution with clean hands and use sterile equipment to prevent introducing any bacteria into the bottle.
Reassemble the Spray Mechanism
After filling the bottle with saline solution, carefully align the nozzle with the top of the spray mechanism to guarantee a secure fit.
Gently press down until you hear a subtle click, indicating that the nozzle is properly attached and secure. This precision guarantees the spray mechanism operates efficiently and safely.
Here are a few key steps to keep in mind:
- Ensure Alignment: The nozzle should be directly centered over the spray bottle’s opening.
- Apply Gentle Pressure: Push down on the nozzle until it snaps into place, avoiding excessive force to prevent damage.
- Check Secureness: Make sure the nozzle doesn’t wiggle and is firmly attached, reducing the risk of leaks or malfunction during use.
Perform a Safety Check
Before using your newly refilled nasal spray bottle, always conduct a thorough safety check to guarantee its functionality and safety.
First, verify the nozzle isn’t clogged. Try spraying it into the air a few times. If it’s blocked, soak in warm water and try clearing with a fine needle.
Next, inspect the bottle and cap for any cracks or damage that might compromise the seal or sterility. Confirm the spray mechanism works smoothly and consistently delivers the correct dosage.
This step is important as it ensures you’re administering the right amount of medication or saline solution.
Don’t forget to check the expiration date of the solution you’ve used to refill; it’s essential for maintaining effectiveness and safety.
Storage and Maintenance Tips
After confirming that your nasal spray bottle is in good working condition, let’s focus on how to properly store and maintain it to extend its usability. Proper storage and maintenance guarantee that the device remains effective and safe for use each time you need it.
Here are some key tips:
- Temperature Control: Store your nasal spray in a cool, dry place away from direct sunlight and heat sources to prevent degradation of the solution.
- Cap Security: Always make sure the cap is securely fastened after each use to avoid contamination and evaporation of the nasal solution.
- Regular Cleaning: Clean the nozzle with warm water and let it air dry weekly to prevent blockages and buildup of bacteria.
Adhering to these practices will maximize the effectiveness and lifespan of your nasal spray.
Conclusion
Just as a well-tended garden flourishes, your nasal spray, when properly refilled and maintained, ensures peak performance.
Assure all components are sterile before assembling them, akin to planting seeds in fertile soil.
Regular cleaning and proper storage, much like watering and sunlight, are essential for its efficacy.
By following these meticulous steps, you safeguard not only the device’s longevity but also your health, reaping the benefits of a well-maintained tool in your healthcare regimen.

