How to Paint a Plastic Water Bottle
Painting a plastic water bottle is a creative and eco-friendly project. First, gather your supplies: acrylic paint, paintbrushes, painter's tape, clear sealant, fine-grit sandpaper, and a tack cloth.
Clean the bottle thoroughly, remove any labels, and sand the surface lightly for better paint adhesion. Apply a plastic-specific primer and let it dry completely.
Now, you can paint your base coat, followed by adding decorative details with fine-tipped brushes or paint pens. Once the paint dries, apply a clear acrylic sealant to protect your artwork.
Placing it in a well-lit area can truly showcase your artistic flair, and there's more to explore for perfect results.
Key Takeaways
- Clean and dry the bottle thoroughly to remove any grime or residue.
- Sand the surface gently with fine-grit sandpaper for better paint adhesion.
- Apply a plastic-specific primer evenly and allow it to dry completely.
- Use acrylic paint or spray paint designed for plastic, applying in thin, even coats.
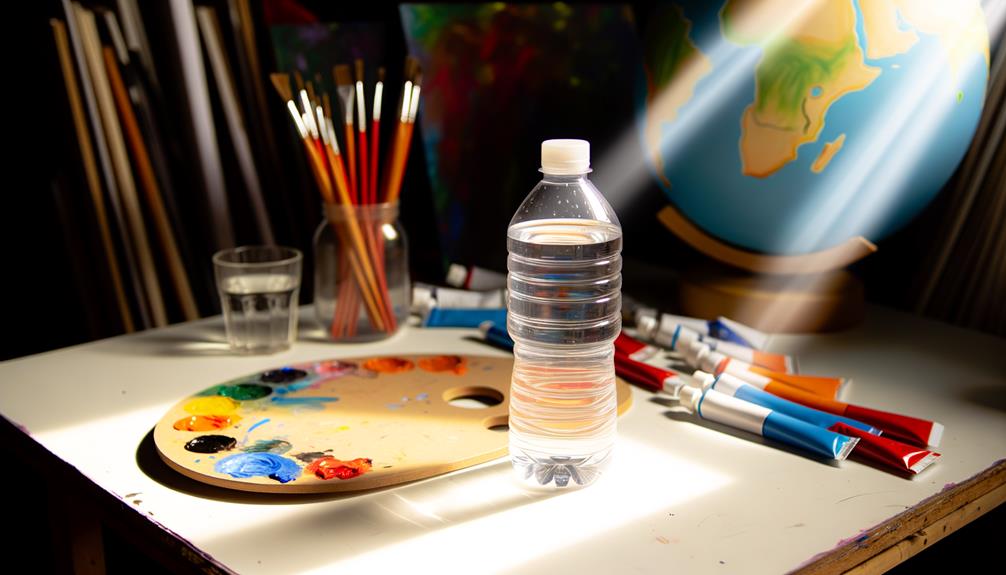
Gather Your Supplies

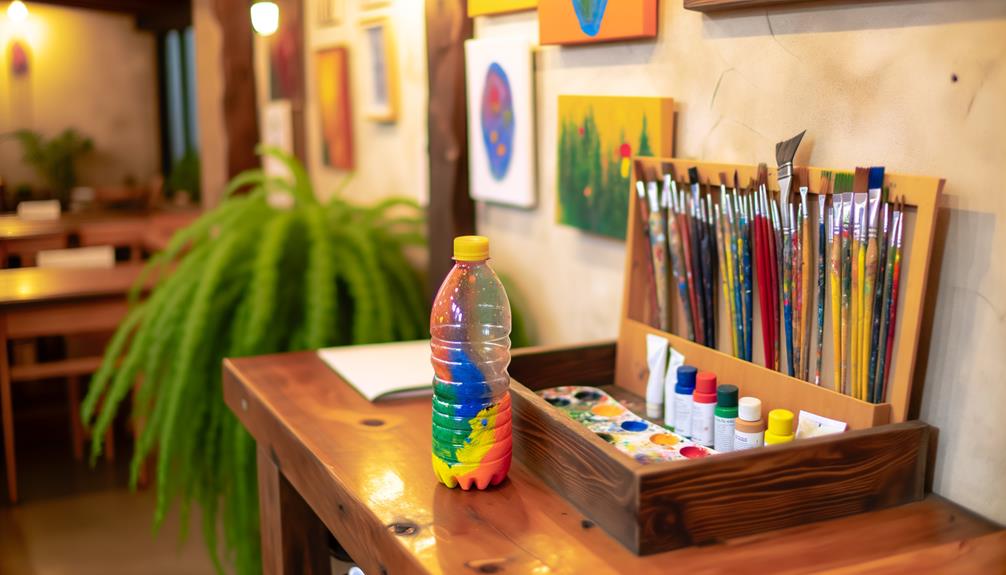
To begin your project, you'll need to gather a few essential supplies to guarantee a smooth and successful painting process.
First, pick up a plastic water bottle, as this will be your canvas. You'll also need acrylic paint, as it adheres well to plastic.
Don't forget paintbrushes of varying sizes for detailed work and larger areas. A palette will help you mix colors easily.
Grab some painter's tape to create clean lines and protect areas you don't want painted. Additionally, having a primer specifically for plastic surfaces guarantees better paint adhesion.
Finally, a clear sealant will protect your artwork from chipping.
With these supplies, you're well-prepared to create a stunning and durable design on your plastic water bottle.
Clean the Bottle
Before you start painting, make certain the bottle is thoroughly cleaned to affirm the paint adheres properly.
Begin by rinsing the bottle with warm water to remove any residual contents. Use a mild dish soap and a sponge to scrub the exterior, focusing on any grime or grease. Rinse off all soap thoroughly and make sure no residue remains.
Next, fill a basin with equal parts water and white vinegar. Submerge the bottle and let it soak for 10-15 minutes. This step helps to remove any lingering oils or contaminants.
After soaking, rinse the bottle well with clean water and dry it completely with a lint-free cloth. A spotless, dry surface is essential for the best painting results. Make sure there is no moisture left, as even a small amount can affect the paint’s adhesion. If you make a mistake or want to change your design, learning how to remove paint from bottle surfaces can be helpful—rubbing alcohol or acetone can work well for most paints. Once the bottle is clean and dry, you can begin applying your chosen colors smoothly and evenly.
Remove Labels

Begin by peeling off any labels on the bottle, making certain you remove as much of the adhesive as possible. Use your fingernails or a plastic scraper to lift the edges of the label. If the adhesive is stubborn, try soaking the bottle in warm, soapy water for a few minutes. This helps to loosen the glue, making it easier to remove.
| Step | Description | Tools Needed |
|---|---|---|
| 1 | Peel off label | Fingernails, plastic scraper |
| 2 | Soak in warm, soapy water | Bowl, dish soap, warm water |
| 3 | Scrub off remaining adhesive | Sponge, dish soap |
| 4 | Rinse thoroughly | Water |
| 5 | Dry completely | Towel |
Take your time to make certain the bottle is free of any residue before moving on.
Sand the Surface
Sanding the surface guarantees that the paint adheres properly to the plastic, giving you a smooth and durable finish.
Start by choosing a fine-grit sandpaper, around 220 to 300 grit. Hold the water bottle firmly and sand it gently in circular motions. This will create tiny scratches that help the paint stick better. Be thorough but avoid pressing too hard, as you don't want to damage the plastic.
After sanding, wipe the bottle with a damp cloth to remove any dust or plastic particles. Let it dry completely before moving on to the next step.
Taking the time to sand the surface makes sure that your painting efforts won't go to waste and that the final result looks professional and lasts longer.
Apply Primer
To guarantee your paint adheres well, start by choosing a primer specifically designed for plastic surfaces.
Next, clean the bottle thoroughly to remove any dust or oils.
Choose Appropriate Primer
Selecting the right primer is essential because it guarantees the paint adheres properly to the plastic surface, providing a smooth and durable finish.
When choosing a primer for your plastic water bottle, consider the following:
- Plastic-Specific Primer: Verify the primer is designed specifically for plastic surfaces. This helps the paint bond effectively and last longer.
- Spray or Brush-on: Decide between a spray primer or a brush-on type. Spray primers offer even coverage and are easier to apply, while brush-on primers can be more precise for detailed areas.
- Drying Time: Check the drying time on the primer's label. Faster-drying primers can speed up your project, but verify it's fully dry before painting.
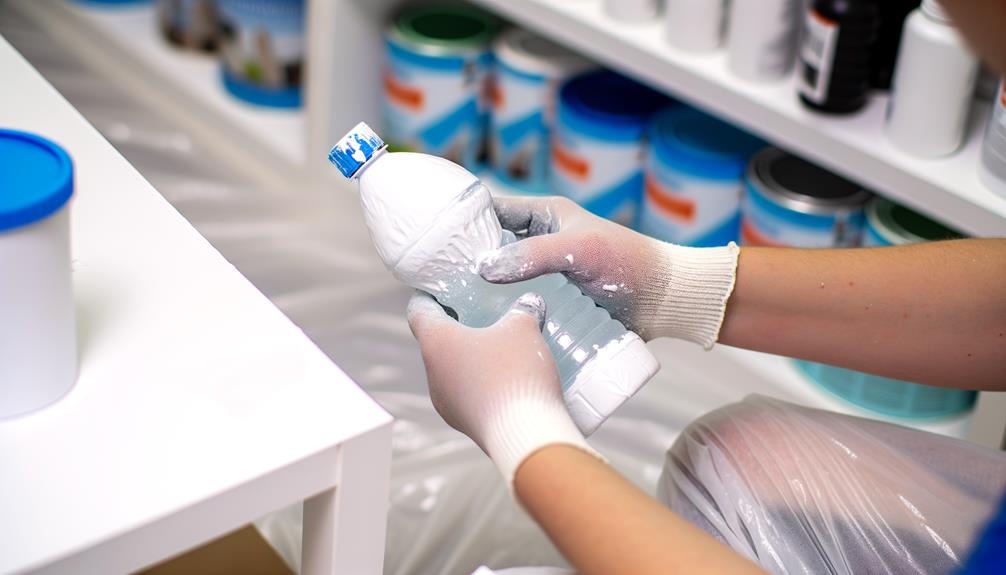
Clean Surface Thoroughly
Regularly, you'll need to clean the surface thoroughly to ascertain the primer adheres well and provides a long-lasting finish.
Start by washing the bottle with warm soapy water to remove any dirt, grease, or residues. Use a soft sponge to scrub gently. Rinse it completely to verify no soap is left behind, then dry it with a clean towel.
Once it's dry, wipe the surface with rubbing alcohol on a lint-free cloth to eliminate any remaining oils. Let the bottle air dry for a few minutes.
This step is essential as any leftover contaminants can prevent the primer from sticking properly.
Now, your plastic water bottle is ready for the primer application, guaranteeing a smooth and durable paint job.
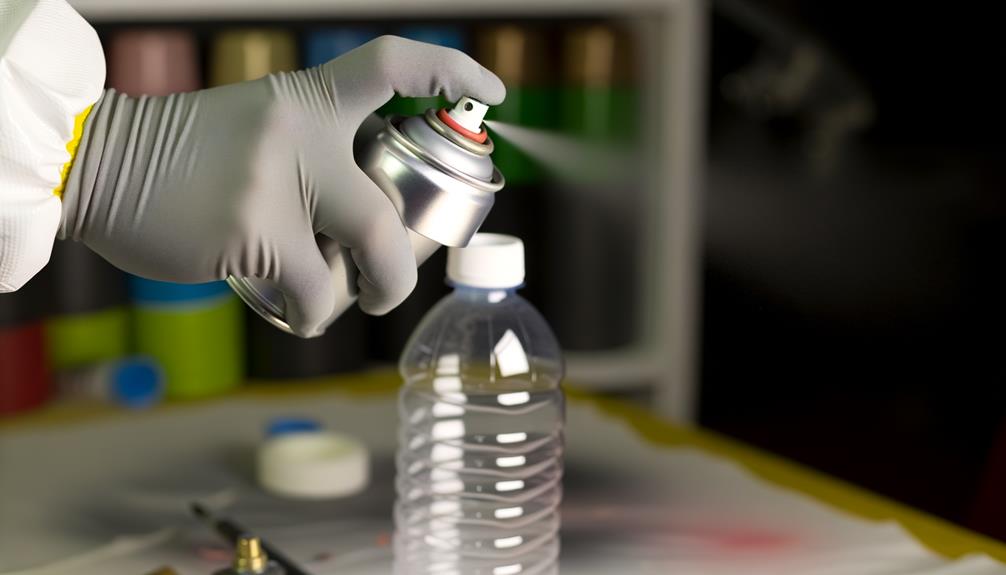
Apply Even Coats
Now that your bottle is clean and dry, shake the primer can vigorously for a few minutes to verify it's thoroughly mixed. This step is essential for an even coat.
When applying the primer, follow these steps:
- Hold the can 6-8 inches away: This distance verifies a smooth, even layer without drips.
- Spray in short, light bursts: Move in a sweeping motion to cover the surface uniformly.
- Let it dry completely: Allow the primer to dry as per the instructions on the can, usually around 15-20 minutes.
Don't rush this process. Taking your time verifies a smooth base for your paint to adhere to, which will ultimately lead to a more professional-looking finish on your plastic water bottle.
Choose Your Paint
Now that your primer is ready, it's time to choose the right paint.
You'll want to contemplate different types of paints like acrylic, spray paint, and paint markers, each offering unique finishes and ease of application.
Think about your desired result and choose a method that aligns with your creative vision.
Types of Paints
Choosing the right paint is essential for ensuring your plastic water bottle project looks vibrant and lasts long. Not all paints adhere well to plastic, so it's vital to choose the correct type.
Here are three recommendations:
- Acrylic Paint: It's versatile and dries quickly. Make sure it's labeled for plastic use.
- Spray Paint: Opt for spray paints designed specifically for plastic. They provide even coverage and are easy to use.
- Paint Pens: For detailed designs, paint pens offer precision and control. Look for ones that are compatible with plastic surfaces.
Each type has its specific benefits, so consider your project's needs and your comfort level with each method.
Happy painting!
Paint Application Methods
To achieve the best results when painting your plastic water bottle, it's important to understand the different application methods available for your chosen paint. Each method has its own benefits and drawbacks, and selecting the right one can make your project smoother and more enjoyable. Here's a quick comparison to guide you:
| Method | Pros | Cons |
|---|---|---|
| Brush Painting | Great control, detailed work | Time-consuming, streaks possible |
| Spray Painting | Even coverage, fast | Requires ventilation, overspray |
| Sponge Painting | Unique textures, easy cleanup | Less precision, can be messy |
Choose the method that best suits your project's needs. If you prefer detailed work, go with a brush. For quick and even coverage, opt for spray painting. Sponge painting offers unique textures, ideal for creative designs.
Paint the Base Coat
Start by shaking the can of primer for at least one minute to confirm it's well-mixed and ready for application. This step guarantees an even coat and good adhesion.
Hold the bottle horizontally, and spray the primer from about 8-12 inches away in even, sweeping motions. Make sure to cover the entire surface without creating drips or puddles.
Here are three steps to follow:
- Apply the Primer: Use light coats to avoid runs. Let each coat dry for about 15 minutes.
- Sand Lightly: After the primer dries, lightly sand the surface with fine-grit sandpaper to create a smooth base.
- Clean Off Dust: Wipe the bottle with a tack cloth to remove any dust before applying the base paint coat.
You've now prepped the bottle for painting!
Add Decorative Details
Now that the base coat is dry, you can begin adding decorative details to make the plastic water bottle truly unique.
Start by choosing your color palette and gather fine-tipped brushes or paint pens. Lightly sketch your design with a pencil if you need a guide.
Consider adding patterns like stripes, dots, or floral motifs. Use a steady hand and take your time to guarantee precision.
Layer different colors to create depth and dimension. You might also experiment with stencils for consistent shapes.
Don't forget to add small highlights or shadows to enhance your design.
Be creative and have fun—the goal is to make the bottle a reflection of your personal style.
Let It Dry
Once you've finished your decorative details, allow the paint to dry completely to confirm your design remains intact and vibrant. Patience is key here. Rushing this step can lead to smudged or chipped paint.
Follow these steps to let your bottle dry properly:
- Choose a well-ventilated area: Confirm your drying space has good airflow to help the paint cure evenly.
- Place the bottle on a stable surface: Use a drying rack or a flat surface to keep the bottle steady and upright.
- Wait the recommended time: Refer to your paint's instructions for the drying time. Typically, it takes several hours.
Apply Sealant
Now that your paint is dry, it's time to protect your work with a sealant.
Choose a sealant appropriate for plastic surfaces, and make sure you're in a well-ventilated area.
Apply the sealant in even coats, allowing each layer to dry thoroughly before adding the next.
Choose Appropriate Sealant
To guarantee your painted plastic water bottle remains vibrant and durable, it's crucial to carefully select an appropriate sealant for the job. A good sealant will protect your design from scratches, moisture, and fading.
Here's a methodical approach to choosing the best sealant:
- Type of Sealant: Opt for a clear acrylic sealer, as it provides a glossy finish and robust protection. Look for one labeled specifically for plastic.
- Application Method: Choose between spray and brush-on sealants. Spray sealants offer smoother coverage, while brush-on types allow for more control.
- Drying Time: Consider the drying time. Fast-drying sealants can speed up your project, but verify they don't compromise durability.
Ensure Proper Ventilation
Proper ventilation is essential when applying the sealant to make certain your workspace remains safe and the sealant cures correctly.
Start by choosing a well-ventilated area, preferably outdoors or in a room with windows and fans. Open windows and use fans to circulate fresh air, reducing inhalation of fumes. Avoid enclosed spaces to prevent buildup of harmful vapors.
Wear a mask designed for painting projects to protect yourself further. Before you begin, make sure pets and children aren't in the workspace.
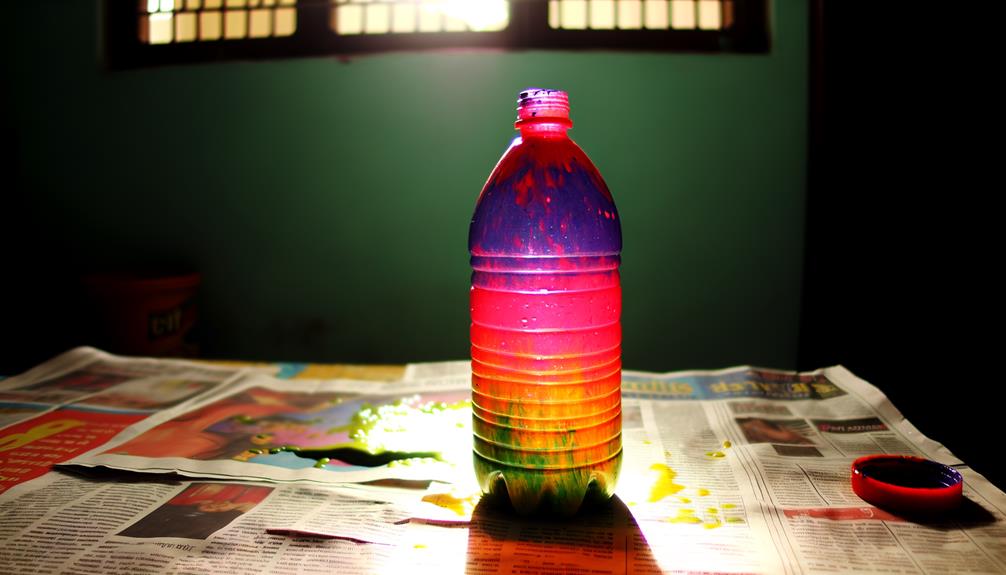
Lay down a drop cloth or old newspapers to catch any drips. Once your area is prepped and ventilated, you can proceed with confidence, knowing you've created a safe environment for applying the sealant.
Apply Even Coats
Start by shaking the sealant can thoroughly to confirm the contents are well-mixed for an even application.
Hold the can about 12 inches from the bottle and spray a light, even coat. Don't rush; let each coat dry fully before applying the next. This guarantees a smooth, professional finish.
Here's a simple process to follow:
- First Coat: Spray lightly, covering all surfaces. Let it dry for about 10-15 minutes.
- Second Coat: Apply another even coat, ensuring no drips or thick spots. Allow it to dry completely.
- Final Coat: Apply a final, light coat to seal everything in. Let it cure for at least 24 hours.
This methodical approach will give your painted bottle a durable, polished look.
Display Your Creation
Your newly painted plastic water bottle deserves a place of prominence where it can be admired and appreciated. Start by choosing a spot that gets good lighting to highlight the colors and details. A shelf or mantel in your living room or kitchen works well.
You can even create a dedicated display area with a few other painted items or complementary pieces to enhance the visual appeal.
Make sure the bottle is stable and secure to prevent accidental falls. If you prefer functional display, use it as a vase for fresh or dried flowers.
Don't forget to clean it gently to preserve your artwork. By thoughtfully displaying your creation, you'll inspire others and add a personal touch to your space.
Conclusion
You've now transformed an ordinary plastic water bottle into a personalized piece of art.
Remember Jane, who turned her bottle into a vibrant pencil holder for her desk? Your creativity has no bounds.
Just follow each step—clean, sand, prime, decorate, dry, and seal—and you'll achieve stunning results.
Don't rush the process; each stage is essential.
Display your creation proudly, knowing you've given something disposable a new, beautiful life.
Happy crafting!