How to Open Nasal Spray Bottle to Refill? Quick Guide!
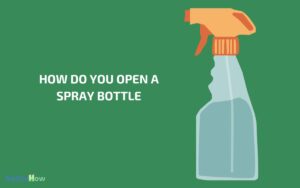
To open your nasal spray bottle for refilling, first identify if it’s a screw-top, snap-top, or pump-actuated. For screw-tops, simply twist the cap counterclockwise. Snap-tops require you to grip the cap firmly and pull it up vertically with steady pressure.
Next, disassemble all parts, clean them with soapy water, and sterilize using a gentle disinfectant. Once dry, use a small funnel to refill the bottle with a sterilized solution, such as distilled water.
Carefully reassemble the bottle, making sure it’s sealed properly. This process guarantees the efficacy and safety of your nasal spray. Further steps will shed light on additional precautions.
Key Takeaways
Gather Necessary Materials
Before you start, make sure you have all necessary materials on hand, including a clean cloth, distilled water, and a small funnel. You’ll also need a pair of gloves to maintain sterility and a gentle yet effective disinfectant for cleaning the external parts of the bottle before opening it.
Creating a sterile environment is crucial to prevent contamination of the contents, as this could compromise the efficacy of the nasal spray and potentially harm the user. Make certain the area is well-lit and free from any potential disturbances.
Having everything prepared and easily accessible will streamline the process, allowing you to serve those in need efficiently and safely. Remember, precision in preparation sets the foundation for successful service.
Identify the Bottle Type
Now that you have prepared your workspace and materials, it’s important to determine the type of nasal spray bottle you’re working with. Nasal spray bottles vary in design and mechanism, which influences the method of opening them for refilling.
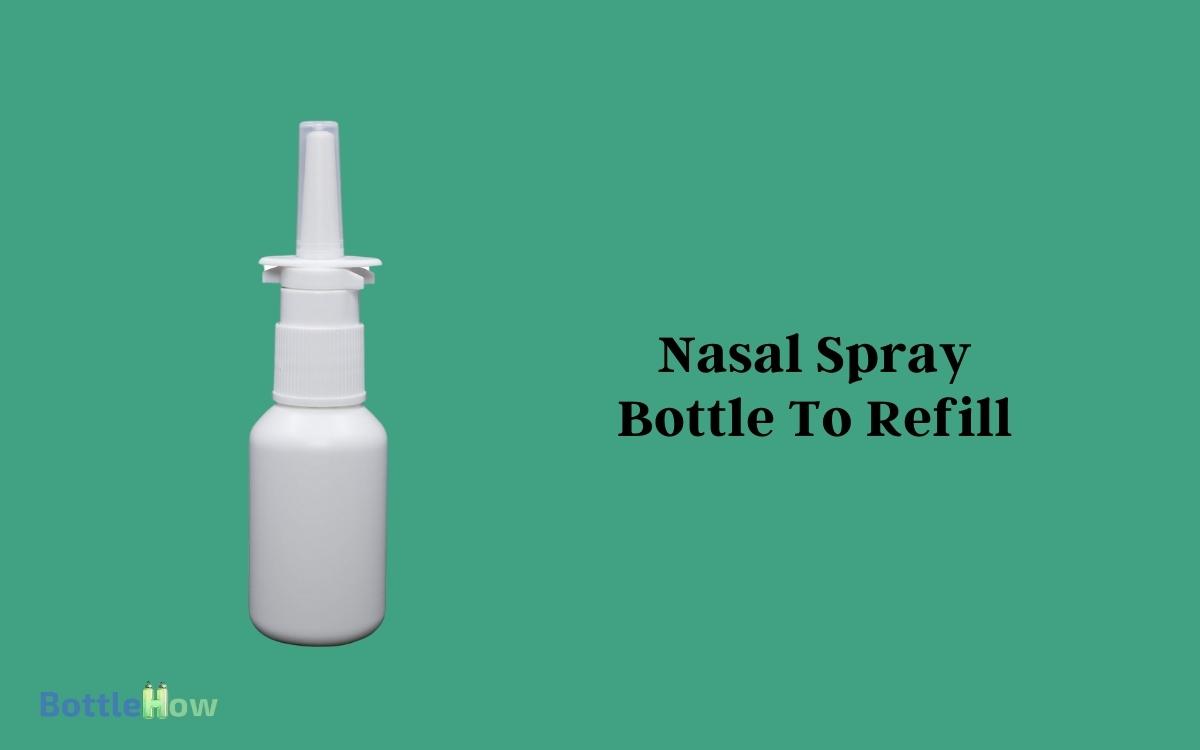
Common types include the screw-top, snap-top, and pump-actuated. Screw-top bottles typically have a threaded neck that unscrews easily, allowing for straightforward access.
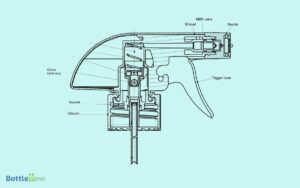
Snap-top bottles, however, often require a specific technique to release the top without causing damage. Pump-actuated models integrate the spray mechanism directly into the bottle’s cap and can be more complex to disassemble.
Identifying your bottle type is essential; it ensures you approach the refilling process with the correct method, enhancing both efficiency and safety.
Safely Remove the Cap
To safely remove the cap from your nasal spray bottle, you’ll need to start by gripping the cap firmly.
Next, twist the cap gently to avoid damaging the nozzle or the locking mechanism.
Grip Cap Firmly
Securely grip the cap of your nasal spray bottle to guarantee safe removal. It’s crucial that you use a firm, steady hold to prevent any slippage which could lead to spillage or damage.
Position your thumb and index finger around the top of the cap, making sure that you’ve got a full, secure grasp. This technique not only safeguards the integrity of the bottle’s contents but also ensures that you can proceed with confidence in the next steps of the process.
Twist Cap Gently
Once you’ve established a firm grip on the cap, gently twist it counterclockwise to begin the removal process. This method guarantees that the cap loosens without excessive force, which might damage the threading or the cap itself.
It’s essential to maintain a steady, controlled motion. As you perform this action, you might feel a slight release of pressure an indication that the seal is breaking.
Lift Cap Off
Carefully lift the cap off the nasal spray bottle, making sure it’s completely detached. As you perform this step, it’s important to maintain a gentle yet firm grip to avoid damaging the nozzle or the cap itself. If you’re unsure how to open Otrivin bottle properly, refer to the instructions on the packaging to prevent any accidental spills or breakage. Once the cap is removed, check the nozzle for any blockages or debris that might obstruct the spray. Ensuring the bottle is clean and intact will help maintain its effectiveness and hygiene.
Here’s how you can guarantee a smooth process:
- Stabilize the Bottle: Hold the bottle firmly with one hand to prevent it from slipping.
- Grip the Cap: Use your other hand to gently grasp the cap, avoiding excessive force.
- Twist Slightly: If the cap resists, a slight twist may help loosen it without causing harm.
- Lift Vertically: Pull the cap upwards in a straight line to avoid stressing any part of the bottle or mechanism.
This method ensures the integrity of your nasal spray bottle remains intact for effective refilling and continued use.
Clean and Sterilize Components
Before refilling your nasal spray bottle, you must thoroughly clean and sterilize all components to guarantee safety and effectiveness.
Start by disassembling the bottle into its individual parts: the nozzle, cap, and container. Wash each part with warm soapy water, using a small brush to remove any residue from hard-to-reach areas. Rinse thoroughly under running water.
Next, soak the components in a sterilizing solution or use boiling water for at least five minutes to kill any bacteria or viruses. Allow the parts to air dry on a clean towel in a dust-free environment.
This meticulous cleaning prevents contamination and ensures the nasal spray functions properly, maintaining the health and safety of those you’re aiming to help.
Refill With Desired Solution
Once you’ve cleaned and sterilized the nasal spray components, you’re ready to refill the bottle with the appropriate solution.
Confirm that the solution you choose is suitable for nasal delivery and adheres to safety guidelines to prevent irritation or infection.
Carefully measure and transfer the solution into the bottle, avoiding any contamination.
Select Appropriate Solution
Select the appropriate saline or medicated solution that matches your original nasal spray’s formulation. It’s important to confirm compatibility to maintain efficacy and safety.
Here’s how you can choose the right solution:
- Check the Active Ingredients: Verify that the active components of the refill solution are identical to those in the original formula.
- Consider the Concentration: Make sure the concentration levels (e.g., percentage of saline) match.
- Examine pH Levels: The pH should be similar to avoid irritation.
- Review Additives: Confirm that the preservatives and any additional substances are suitable.
Safety and Precautions
After selecting the correct refill solution, make sure you follow these safety precautions to avoid contamination and guarantee proper dosage.
Always use sterile equipment when handling the solution to prevent any bacterial transfer. It’s essential that you don’t touch the nozzle or the inside of the cap with your fingers, as this can introduce germs.
If you’re refilling a prescription nasal spray, verify the concentration matches exactly; differing strengths can lead to under or overdosing. Additionally, check the expiration date of the refill solution. Expired solutions can degrade and lose effectiveness, potentially harming your health.
Reassemble and Store Properly
Make sure you tightly screw the cap back on the nasal spray bottle to prevent any leakage or contamination.
After refilling, reassembling your nasal spray correctly is vital for maintaining its effectiveness and ensuring safety.
Here are the steps you should follow:
- Check the Nozzle: Ensure the nozzle is clear of any blockages and properly attached.
- Test the Spray: Perform a test spray into the air to verify the mechanism works smoothly.
- Wipe Down: Clean the outside of the bottle with an alcohol wipe to remove any fingerprints or contaminants.
- Store Correctly: Keep the nasal spray in a cool, dry place away from direct sunlight.
Conclusion
As you reassemble your nasal spray bottle, remember, it’s no coincidence that maintaining cleanliness enhances effectiveness just as clear airways ease breathing. Your meticulous attention to sterilizing and refilling parallels the care you take in preserving health.
Store your bottle properly to guarantee its longevity and efficacy, mirroring how structured care can greatly improve life’s daily routines. This careful process isn’t just about refilling; it’s a commitment to sustained well-being.

