How to Open Blender Bottle
To open your Blender Bottle efficiently, first inspect it for any visible damage or debris on the lid and seal. Firmly grip the base of the bottle with a dry hand, avoiding the top to maintain leverage.
Locate the flip cap by identifying the hinged tab at the bottle's top, and apply upward pressure to open it. To unscrew the lid, hold the bottle firmly and twist the lid counterclockwise using a steady grip, ensuring no cross-threading.
Once open, gently remove the BlenderBall whisk. If you'd like more detailed steps and tips, there's plenty more to explore.
Key Takeaways
- Firmly grip the base of the bottle with one hand for stability.
- Locate and lift the flip cap using its protruding tab for easy access.
- Twist the lid counterclockwise to unscrew, ensuring a secure grip.
- If resistance is felt, realign the threads and retry unscrewing gently.
Inspect the Blender Bottle
Before you try to open your Blender Bottle, take a moment to inspect it for any visible damage or defects that could affect its functionality.
Examine the lid closely for any cracks or chips, as these can compromise the seal and lead to leaks.
Check the threading on both the lid and the bottle to verify they're not worn or damaged, which could hinder proper closure.
Look at the gasket or seal inside the lid; it should be intact and free from debris.
Also, confirm the BlenderBall whisk is present and in good condition.
A thorough inspection helps you identify potential issues early, guaranteeing your bottle functions correctly and safely when you open and use it.
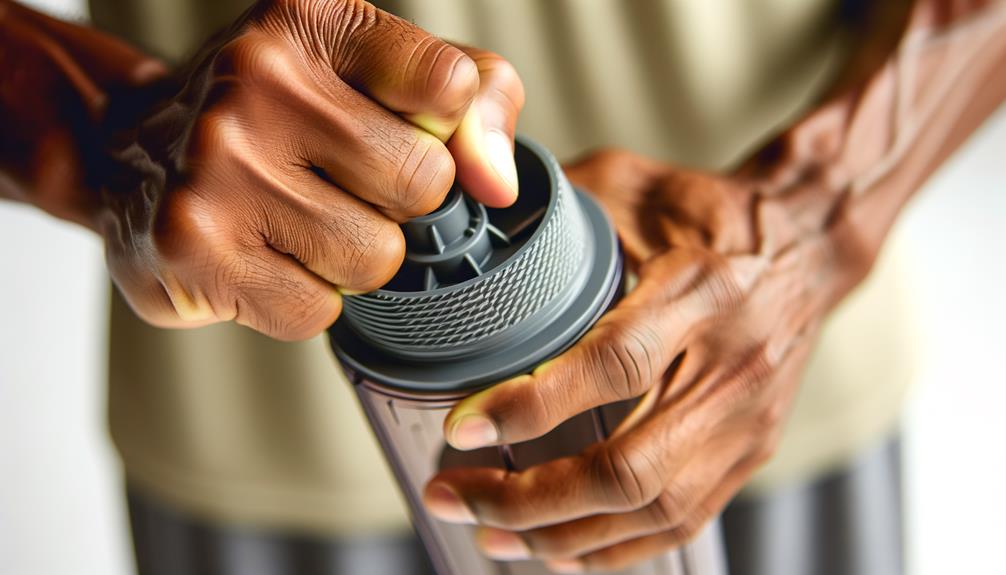
Grip the Bottle Firmly
After completing your inspection, make certain you grip the bottle firmly by wrapping your hand around its base, providing a stable hold that facilitates easy lid removal. Ensure that your fingers are positioned securely to prevent slipping, especially if the bottle is made of smooth plastic. Apply gentle yet steady pressure as you twist the lid counterclockwise, using controlled force to avoid spills. If you’re unsure about how to open micellar water bottles with pump dispensers, check for a locking mechanism that may need to be released before use.
Position your fingers so they encircle the bottle, allowing your thumb to rest comfortably against the side. This grip guarantees the bottle won't slip while applying pressure to open the lid.
Maintaining a stable hold is vital, especially if the bottle is wet or contains liquid. Make sure your hand is dry for the best grip.
Avoid gripping too close to the top, as this can reduce leverage and make the lid harder to open. A firm grasp at the base offers the most control and stability, setting you up for success.
Locate the Flip Cap
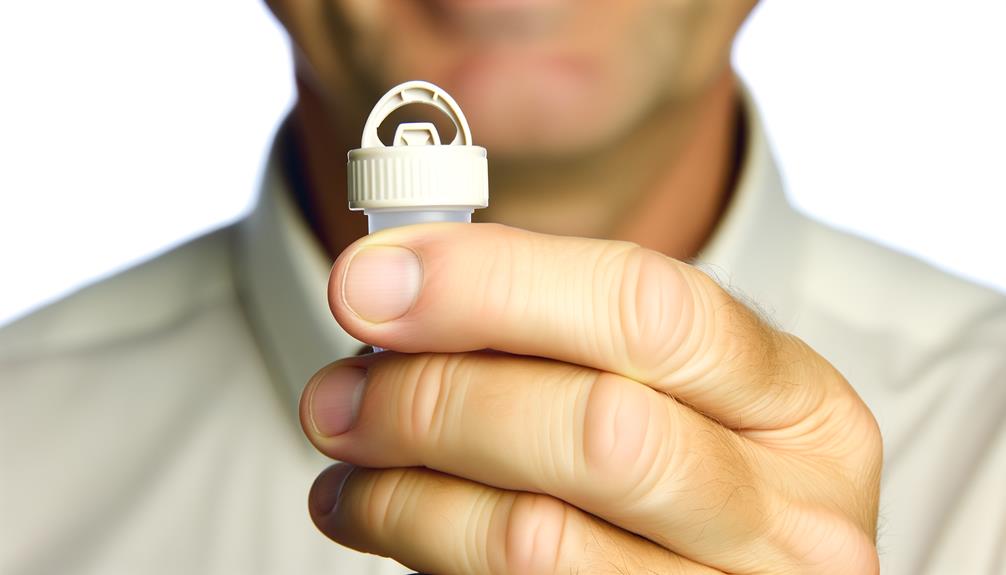
To locate the flip cap, identify the hinged section at the top of the lid, which typically features a small tab or indentation for easy access.
Examine the lid closely and you'll notice a distinct line running across it, indicating the separation between the flip cap and the main lid. This hinge mechanism allows the cap to pivot open and closed.
Look for the small protruding tab; it's designed to give your fingers a grip point. You might also see a slight depression or textured area near the tab, enhancing your ability to grasp it securely.
Familiarizing yourself with these features guarantees you can easily find and operate the flip cap without unnecessary struggle.
Open the Flip Cap
To open the flip cap, first locate the hinge at the back of the cap.
Place your thumb near the hinge for leverage and apply upward pressure with your fingers on the front lip of the cap.
This motion will release the cap from its sealed position, allowing it to open smoothly.
Locate Flip Cap Hinge
You'll need to locate the hinge on the flip cap, which is typically positioned opposite the spout to guarantee smooth opening. The hinge connects the flip cap to the main lid, allowing it to pivot easily. Identifying this component is essential for efficient use.
Here's a breakdown of the hinge's features:
| Feature | Description | Importance |
|---|---|---|
| Position | Opposite the spout | Assures cap pivots smoothly |
| Material | Often made of durable plastic or metal | Provides longevity and resilience |
| Flexibility | Designed to bend without breaking | Facilitates repeated use |
Understanding these aspects will help you handle the flip cap with ease and prevent any potential damage during use.
Apply Upward Pressure
Once you've identified the hinge, apply firm but gentle upward pressure on the flip cap to initiate the opening.
Position your thumb under the lip of the cap, making sure it's centered for balanced force. Simultaneously, use your index finger to stabilize the bottle.
Push upwards with your thumb while maintaining a steady grip on the bottle with your other fingers. You should feel a slight resistance as the cap begins to lift.
Continue applying upward pressure until the cap fully snaps open. This method prevents unnecessary strain on the hinge and guarantees a smooth, controlled opening.
If the cap is stubborn, a small increase in pressure should suffice, but avoid excessive force to prevent damage.
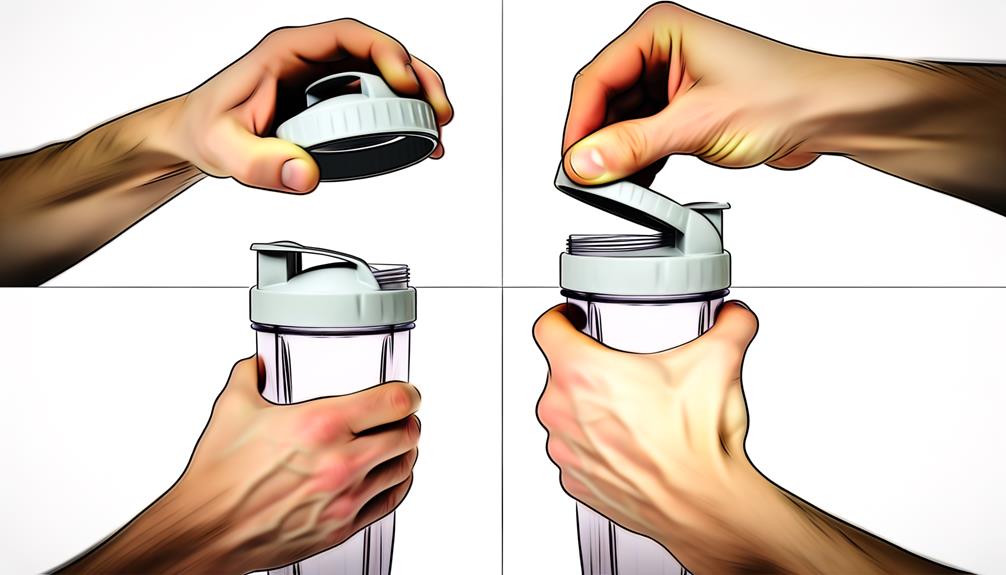
Unscrew the Lid
Place one hand firmly around the base of the bottle and the other on the lid.
Twist the lid counterclockwise to loosen it.
If you encounter any resistance, make sure your grip is secure and try again with steady pressure.
Proper Hand Placement
Grasp the Blender Bottle firmly with one hand, guaranteeing your fingers and thumb encircle the base of the lid to provide a secure grip.
Position your dominant hand over the top of the lid, letting your thumb rest on the textured grip area. This positioning maximizes control and leverage.
Make sure your grip is tight but comfortable to prevent slipping. The base of the lid often has a textured band designed to enhance grip, so utilize this feature.
Maintain even pressure around the lid's circumference to avoid applying force unevenly, which can cause difficulty in unscrewing.
Proper hand placement guarantees you apply consistent force, minimizing the risk of spillage or damage during the unscrewing process.
Twist Counter Clockwise
With your hands properly positioned, twist the lid counterclockwise to begin unscrewing it.
Make certain your grip is firm but not excessive to avoid slipping. Use your dominant hand to twist the lid, applying gentle, consistent pressure.
Maintain a stable grip on the bottle with your other hand to prevent it from moving. As you twist, pay attention to the ease with which the lid turns.
If the lid has been tightly secured, you may need to exert more force initially. Continue twisting until you feel the threads disengage and the lid starts to lift away from the bottle.
This process should be smooth if performed correctly, allowing you to remove the lid without difficulty.
Check for Resistance
As you continue to unscrew the lid, pay close attention to any resistance that may indicate the threads are still engaged. If you feel resistance, stop twisting and assess if the lid is cross-threaded.
Cross-threading occurs when the threads don't align properly, potentially damaging the bottle. To fix this, gently twist the lid back in the clockwise direction to realign the threads.
Once realigned, try unscrewing again counterclockwise. Verify you maintain even pressure and a consistent motion to avoid wobbling. If there's no resistance, the lid should come off smoothly.
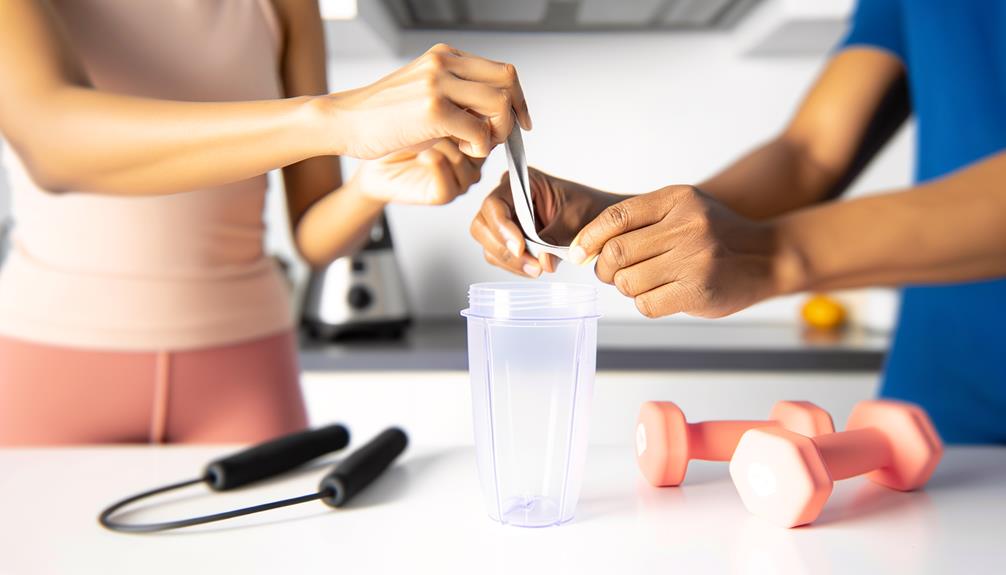
Remove the Blender Ball
To remove the Blender Ball, first verify the lid is fully unscrewed from the bottle to provide ample space for extraction.
Carefully tilt the bottle to a slight angle to prevent the ball from slipping out uncontrolled. Use your fingers to grasp the Blender Ball gently, guaranteeing a firm but non-damaging hold on the metal wire.
Slowly lift it out of the bottle, paying close attention to avoid any sudden movements that could cause spills or drops. Once the ball is free, inspect it for any residue or buildup that may need cleaning.
Place it in a safe, clean spot to prevent contamination. This step is essential to maintain hygiene and guarantee the Blender Ball's longevity and performance.
Close and Secure
Make certain the lid aligns perfectly with the bottle threads before you start twisting it closed.
Hold the bottle firmly in one hand and use the other to place the lid on top.
Gently press down and rotate the lid clockwise. You should feel the threads engage smoothly.
Continue twisting until the lid is snug and secure, but don't over-tighten, as this can damage the threads.
Finally, confirm the flip cap is snapped shut. A properly closed flip cap will click audibly, indicating it's sealed.
Double-check by gently shaking the bottle; there should be no leaks.
This process guarantees your Blender Bottle remains watertight and reliable for mixing your favorite drinks.
Conclusion
You've now mastered the art of opening your Blender Bottle.
With a firm grip and a keen eye, you've released each step like a pro.
The flip cap and lid no longer stand as barriers but as gateways to your nutritional goals.
Remember, the Blender Ball is your secret weapon, ensuring smooth shakes every time.
So, close it up securely, and you're ready to blend your way to better health.
Happy shaking!