How to Get Mold Out of Water Bottles? Cleaning Methods
To get mold out of water bottles, start by mixing one tablespoon of baking soda with warm water and scrubbing the bottle’s interior using a bottle brush. Next, prepare a solution of equal parts white vinegar and water, and shake it inside the bottle, letting it sit for at least 10 minutes before rinsing thoroughly.
For deep cleaning, mix one teaspoon of unscented bleach with one quart of water, pour it in the bottle, and let it sit for five minutes before rinsing multiple times to remove any bleach residue. Learn extensive preventive measures and maintenance tips to keep your bottle mold-free.
Key Takeaways
- Use a solution of equal parts white vinegar and water, shake, and let sit for 10 minutes before rinsing thoroughly.
- Scrub the bottle’s interior with a bottle brush and a tablespoon of baking soda mixed with warm water.
- Mix one teaspoon of unscented bleach with one quart of water, let sit for five minutes, and rinse thoroughly.
- Regularly clean the bottle after each use with hot soapy water to prevent mold growth.
Identifying Mold in Bottles
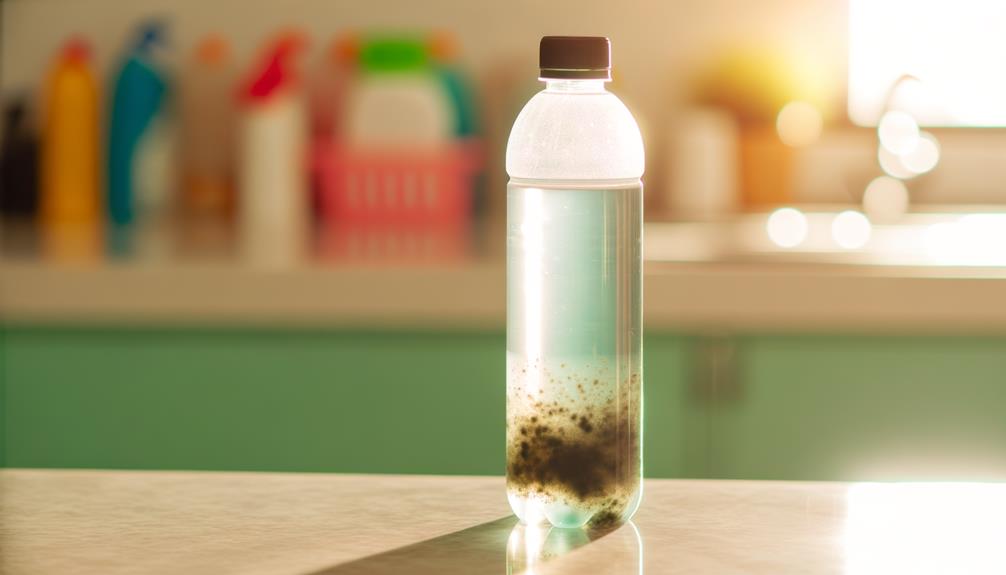
Identifying mold in bottles involves inspecting for black, green, or white fuzzy spots, often accompanied by a musty odor.
You’ll need to closely examine the interior surfaces of the bottle, particularly around the cap and any crevices where moisture can accumulate.
Use a flashlight to enhance visibility, as mold can sometimes be hidden in hard-to-see areas.
Pay attention to any off-putting smells emanating from the bottle, as mold often produces a distinctive, musty odor.
If you notice any discoloration or unusual texture on the bottle’s surfaces, it’s likely mold.
Mold can pose health risks, so identifying it accurately is essential.
Regular inspection helps guarantee that your bottle remains safe for use, preventing any potential health concerns.
Essential Cleaning Supplies
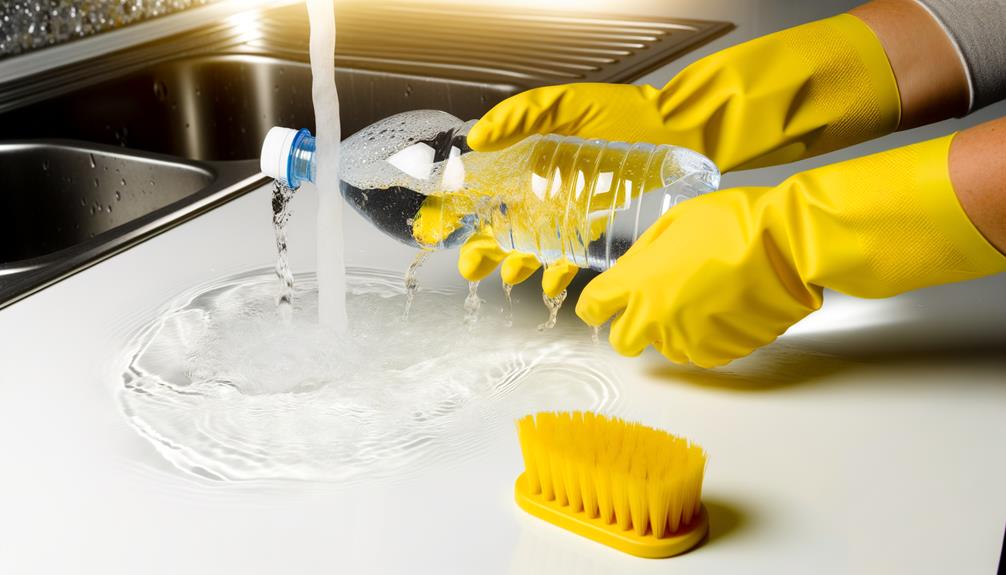
To effectively clean mold from your water bottle, you’ll need an assortment of essential cleaning supplies designed to reach and sanitize every corner. Begin with a bottle brush, which provides the necessary reach to clean the interior walls. Use white vinegar, a powerful natural disinfectant, to kill mold spores effectively. Baking soda is another critical component, as it helps scrub away stubborn mold. A detailed list of these items is below:
| Cleaning Supply | Purpose | Notes |
|---|---|---|
| Bottle Brush | Reach interior walls | Confirm it fits your bottle’s size |
| White Vinegar | Natural disinfectant | Use undiluted for best results |
| Baking Soda | Scrubbing agent | Mix with water to form a paste |
These supplies will guarantee a thorough and effective cleaning process.
Pre-Cleaning Steps
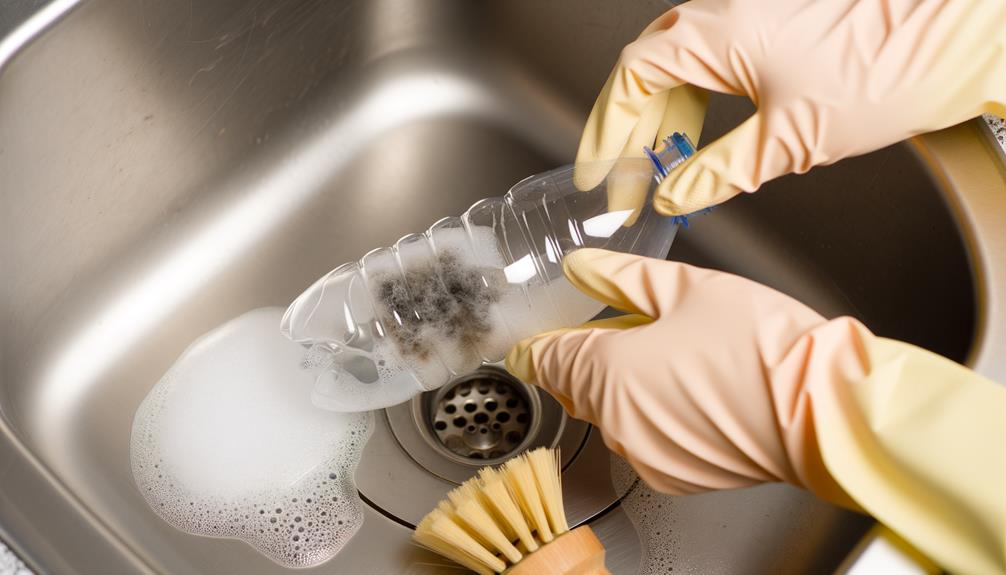
First, gather all necessary cleaning supplies such as a brush, dish soap, and white vinegar.
Then, carefully inspect the bottle, paying close attention to hard-to-see areas like the cap and straw for any signs of mold.
This initial assessment guarantees you know where to focus your cleaning efforts.
Gather Cleaning Supplies
You’ll need to gather specific cleaning supplies to effectively remove mold from your water bottle.
Start with a bottle brush, essential for scrubbing hard-to-reach areas.
Next, have white vinegar and baking soda on hand; these are natural disinfectants proven to combat mold.
Hydrogen peroxide can also be used for its antifungal properties.
Don’t forget a mild dish soap to break down residues and a microfiber cloth for drying.
Make sure you have access to hot water, as heat aids in sanitization.
Additionally, a pair of rubber gloves will protect your skin during cleaning.
Inspect for Mold
With your cleaning supplies in hand, closely examine your water bottle for any visible signs of mold, paying special attention to the cap, straw, and other tight areas where mold often hides. Use a flashlight for better visibility. Mold can appear as black, green, or white spots.
| Area | Common Mold Signs | Inspection Tips |
|---|---|---|
| Cap | Dark spots, slimy residue | Remove and inspect threads |
| Straw | Discoloration, film | Look through the straw’s length |
| Bottle Interior | Specks, stains | Shine a light inside, use a brush |
Thoroughly check these areas to confirm you identify all mold-affected spots. This step is essential for effective cleaning and preventing mold regrowth.
Using Baking Soda
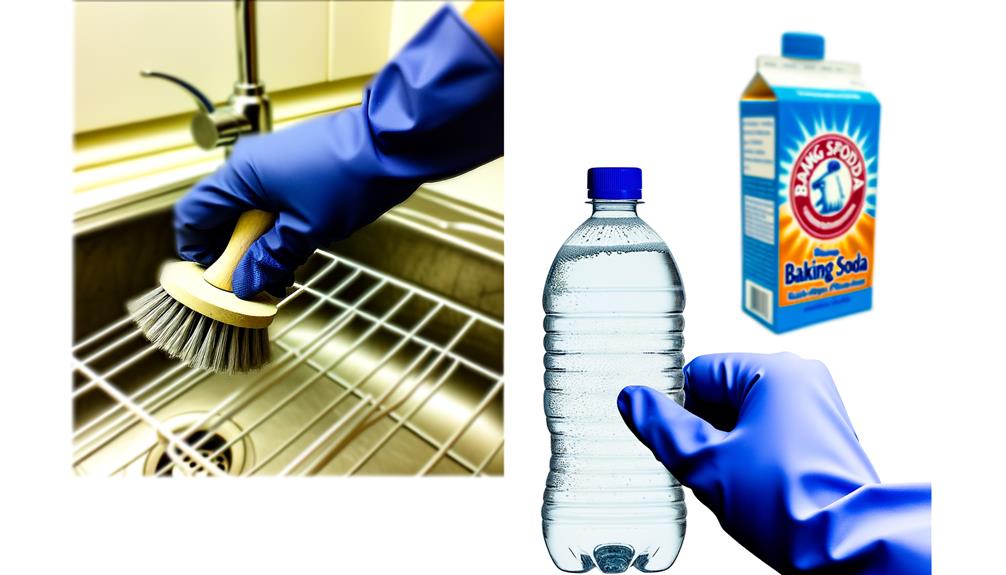
To start, prepare a baking soda solution by mixing one tablespoon of baking soda with warm water.
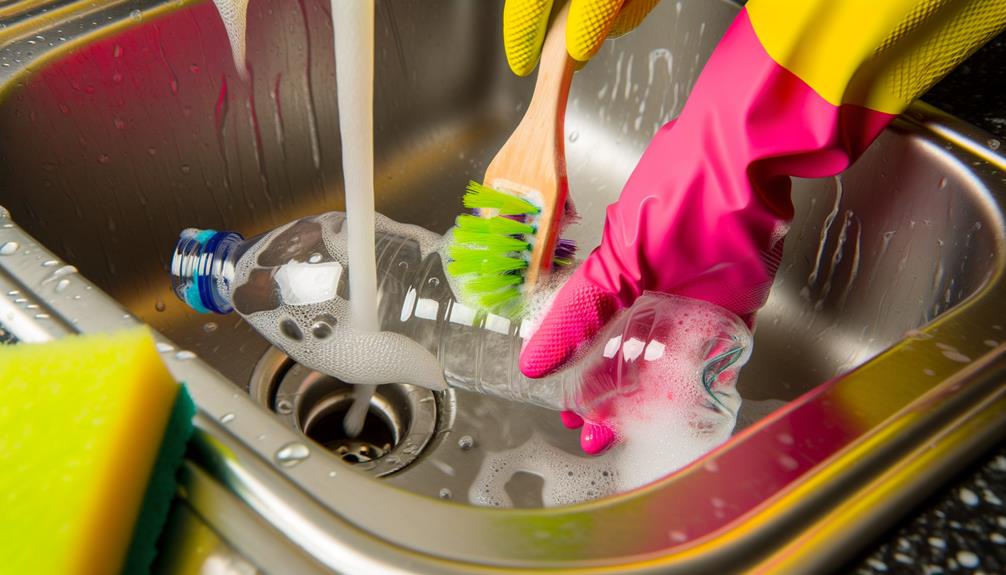
Use a bottle brush to scrub the interior thoroughly, paying attention to any areas with visible mold.
Baking Soda Solution Preparation
How exactly do you prepare a baking soda solution to effectively remove mold from your water bottle? First, gather your materials: baking soda, water, and a measuring spoon. Mix one tablespoon of baking soda with four cups of warm water. Stir until the baking soda completely dissolves.
Here’s a handy table for reference:
| Ingredient | Quantity | Notes |
|---|---|---|
| Baking Soda | 1 tablespoon | Make certain it’s fresh |
| Warm Water | 4 cups | Approximately 40°C (104°F) |
| Measuring Spoon | 1 unit | For accurate measurement |
Pour this solution into your water bottle, filling it halfway. Close the bottle and shake it vigorously for a few minutes. This makes sure the solution reaches all surfaces, ready for the next cleaning step.
Scrubbing Techniques
Begin by applying the baking soda solution to a bottle brush, making certain the bristles are well-saturated.
Insert the brush into the water bottle, focusing on areas with visible mold. Use firm, circular motions to dislodge mold from the inner surfaces.
Pay special attention to the bottom of the bottle and any crevices, as mold often thrives in these areas.
Repeat the scrubbing process until you’ve thoroughly cleaned every part of the interior.
For stubborn mold, reapply the baking soda solution and scrub again.
Make sure that the brush reaches all corners to remove any residual mold spores.
Consistent, detailed scrubbing guarantees that the mold is effectively removed, preventing further contamination.
Rinsing and Drying
Rinse the water bottle thoroughly with warm water to remove any residual baking soda and dislodged mold particles.
Verify the water reaches all areas of the bottle, especially the cap and threads. After rinsing, shake out excess water and inspect for any remaining debris.
Next, dry the bottle completely to prevent mold regrowth. Use a clean, dry cloth to wipe the interior and exterior. Make sure to pay extra attention to any crevices where moisture might linger, as even a small amount of dampness can encourage mold to return. If needed, let the bottle air dry upside down in a well-ventilated area before using it again. Taking these steps will not only help remove mold from bottle seal areas but also keep your bottle fresh and safe for everyday use.
For hard-to-reach areas, such as the bottle’s neck, employ a bottle brush or swab. Leave the bottle upside down on a drying rack in a well-ventilated area to confirm all moisture evaporates.
Avoid sealing the bottle until it’s fully dry, as trapped moisture can encourage mold. Regularly repeat this process to maintain cleanliness.
Vinegar and Water Solution
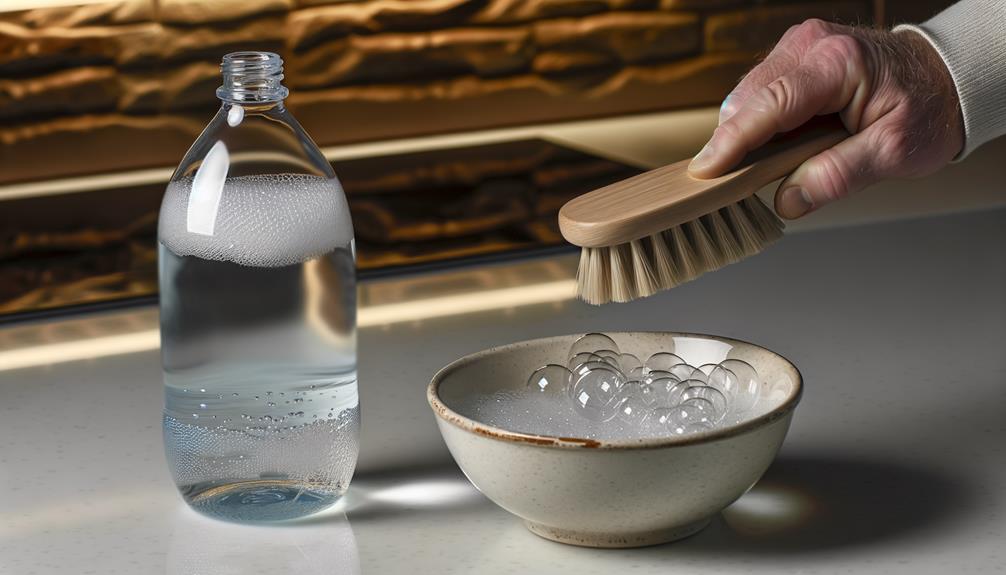
To effectively remove mold from water bottles, mix equal parts of white vinegar and water to create a potent cleaning solution.
Vinegar’s acetic acid content disrupts mold cell membranes, causing them to break down.
Pour the solution into the bottle, ensuring it fills all affected areas.
Close the bottle and shake vigorously for about 30 seconds to dislodge mold particles.
Let the solution sit for at least 10 minutes to enhance the antimicrobial action.
Use a bottle brush to scrub the interior, paying extra attention to crevices and the cap.
Thoroughly rinse the bottle with warm water to remove any residual vinegar.
Dry completely by air drying upside down on a clean rack to prevent mold regrowth.
Deep Cleaning With Bleach
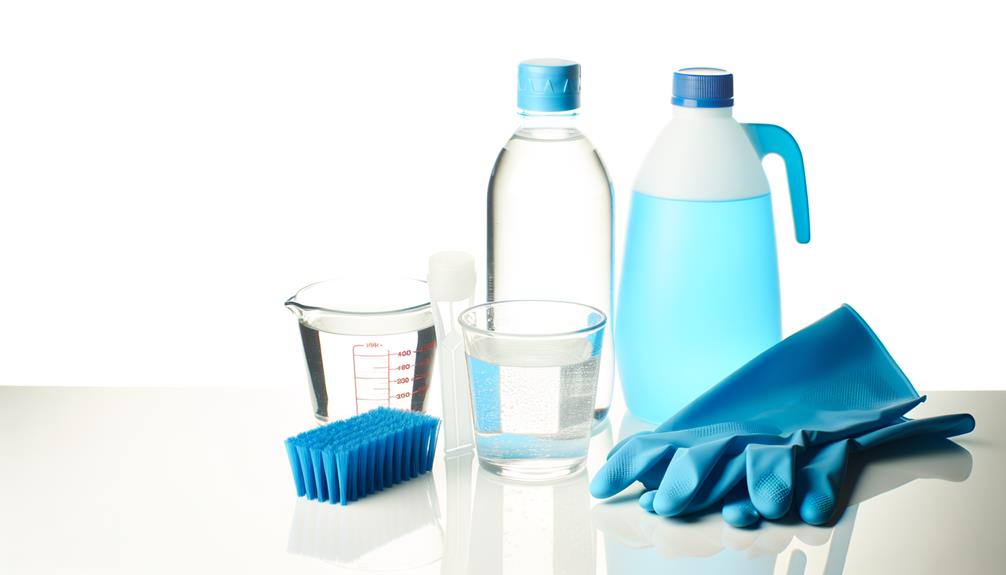
For a thorough disinfection, a bleach solution can effectively eliminate mold spores from your water bottle.
Start by mixing one teaspoon of unscented bleach with one quart of water.
Pour the solution into your bottle and guarantee it touches all surfaces by shaking it vigorously.
Let it sit for five minutes to allow the bleach to work its magic.
Afterward, rinse thoroughly with clean water to remove any bleach residue.
- Use only unscented bleach to avoid harmful chemicals.
- Ascertain the solution reaches all parts of the bottle, including the cap.
- Five minutes is sufficient for disinfection; longer isn’t necessary.
- Rinse multiple times to ensure no bleach remains.
Preventing Future Mold
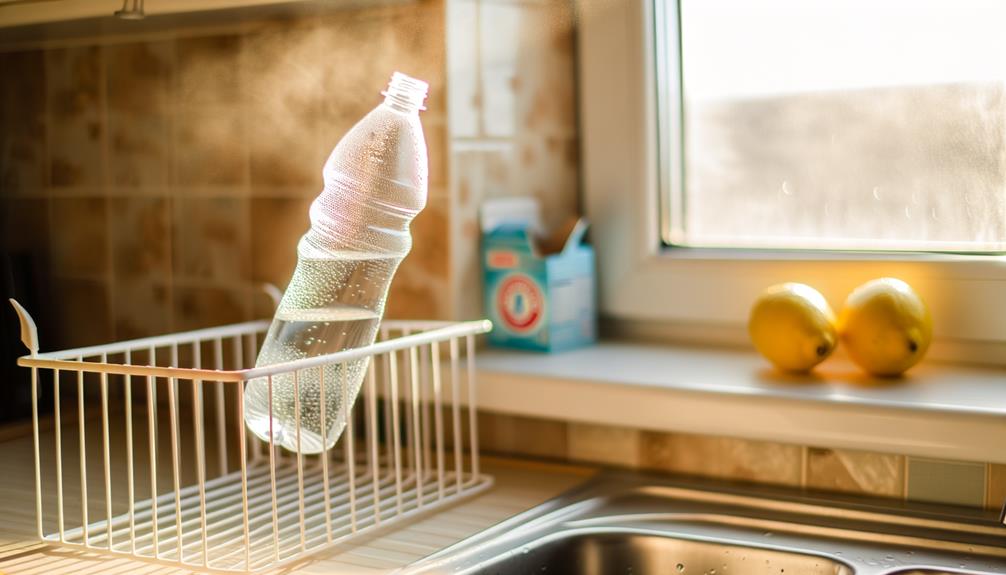
After thoroughly cleaning your water bottle, it’s crucial to adopt practices that prevent mold growth in the future.
First, make sure the bottle is completely dry before storage; moisture is a key factor in mold development.
Use a bottle brush to scrub daily, focusing on crevices and the lid.
Opt for stainless steel or glass bottles, as they’re less prone to mold compared to plastic.
Avoid leaving sugary drinks in the bottle for extended periods; sugar promotes mold growth.
Store the bottle with the cap off to allow airflow.
Regularly inspect the bottle for signs of mold.
Conclusion
In removing mold from water bottles, remember that 60% of Americans regularly use reusable bottles, making cleanliness vital.
You’ve learned to identify mold, gather essential supplies, and pre-clean effectively.
Using baking soda, a vinegar solution, or bleach guarantees thorough cleaning.
To prevent future mold, always dry your bottle completely after each use.
By following these steps, you’ll maintain a healthy, mold-free bottle, safeguarding your water stays clean and safe to drink.


