How to Fix Owala Water Bottle Lid? A Complete Guide
To fix your Owala water bottle lid, first inspect the lid for cracks, worn gaskets, or misaligned parts. Use a screwdriver to remove screws if needed and tweezers for small adjustments.
For leaks, clean thoroughly and apply food-grade silicone to the gasket. If the button jams, clear any obstructions and lubricate with silicone grease.
Replace a broken spout by twisting it off and installing a new one. Always tighten loose components carefully and check for mold using a flashlight.
Ensuring these steps are followed guarantees better chances of resolving your issue, and there’s more to explore for extensive fixes.
Key Takeaways
- Inspect the gasket or O-ring for wear and replace if damaged.
- Clean all lid components thoroughly with warm, soapy water.
- Tighten any loose screws or hinges on the lid.
- Use food-grade silicone lubricant on the gasket to improve sealing.
Identify the Problem
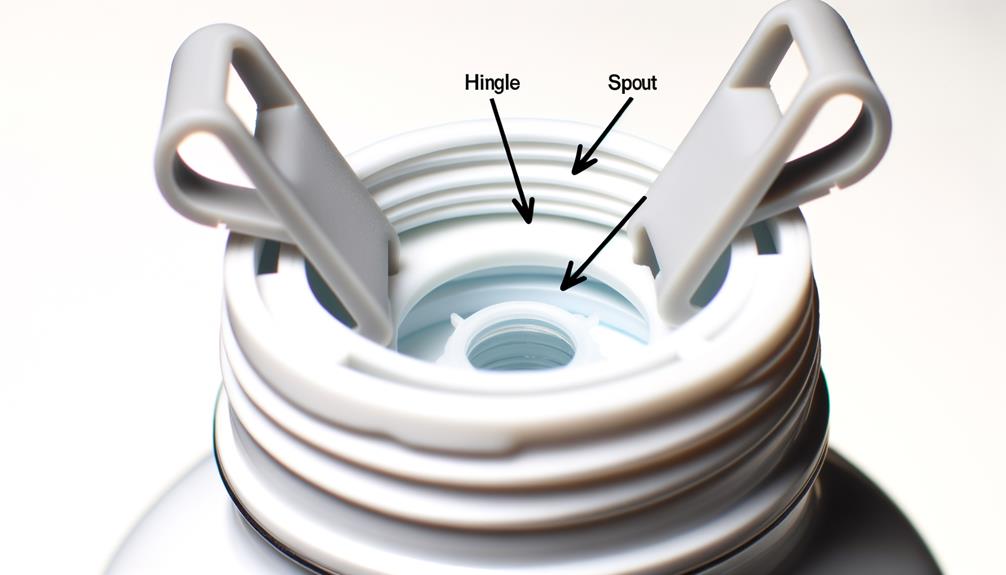
Before you can fix your Owala water bottle lid, you need to pinpoint exactly what’s causing the issue.
First, check if the lid is cracked or damaged. Hold it up to a light source to inspect for any hairline fractures.
Next, examine the sealing gasket or O-ring for any wear, tear, or misalignment. If the bottle leaks, it might be due to a compromised gasket.
Also, verify the lid’s threading isn’t stripped or worn out, which can prevent a proper seal.
Finally, test the spout mechanism by opening and closing it several times to see if it’s sticking or not functioning smoothly.
Identifying the exact problem will guide you in the right direction for repairs.
Gather Necessary Tools
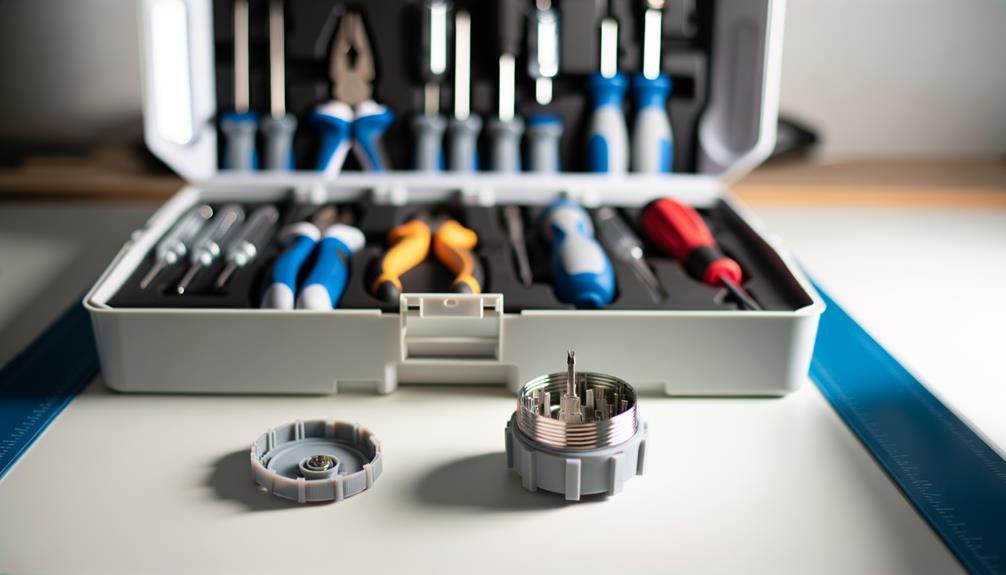
To fix your Owala water bottle lid, gather essential tools like a small screwdriver, a pair of tweezers, and a replacement gasket or O-ring.
Start by locating a small Phillips or flat-head screwdriver to unscrew any tiny screws securing the lid components. A pair of fine-tipped tweezers will help you carefully remove or adjust small parts without causing damage.
Finally, verify you have a compatible replacement gasket or O-ring, as these parts are often the culprits behind leaks or loose lids. Having these tools at hand will streamline the repair process and prevent unnecessary interruptions.
Organize your workspace to keep everything within reach, guaranteeing a smooth and efficient repair experience.
Fix a Leaking Lid
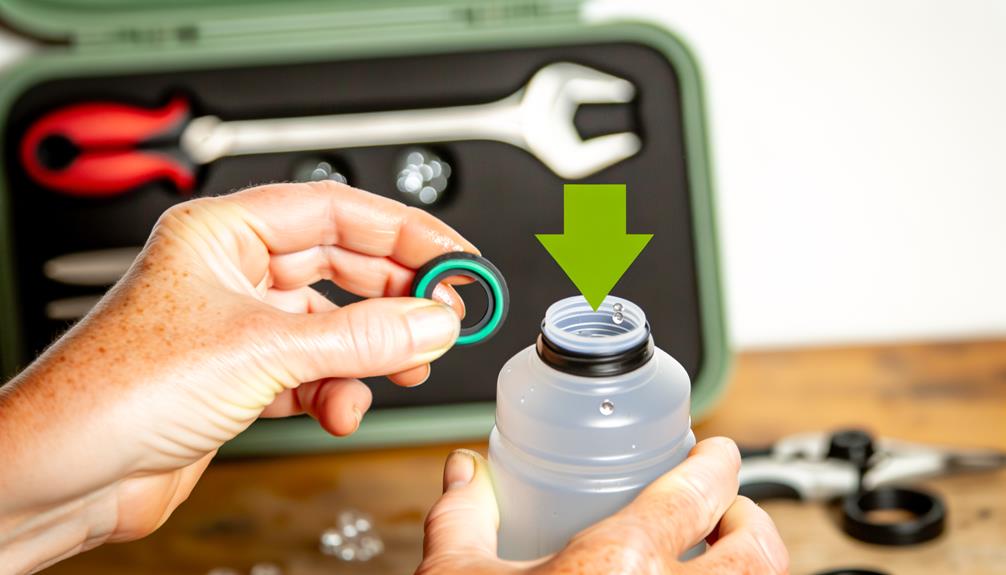
Start by unscrewing the lid and inspecting the gasket or O-ring for any visible wear or damage. A worn gasket can cause leaks, so replace it if necessary. Verify the gasket is seated correctly in its groove. If it’s out of place, leaks are inevitable.
Next steps:
- Clean the Lid: Use warm, soapy water to clean the lid thoroughly. Residue or debris can compromise the seal.
- Check Tightness: Reassemble the lid and screw it back on securely but avoid over-tightening.
- Test for Leaks: Fill the bottle with water and shake it. If it leaks, recheck the gasket placement.
- Lubricate the Gasket: Apply a food-grade silicone lubricant to the gasket. This can improve the seal and prevent future leaks.
Following these steps will help you fix a leaking lid effectively.
Repair a Jammed Button
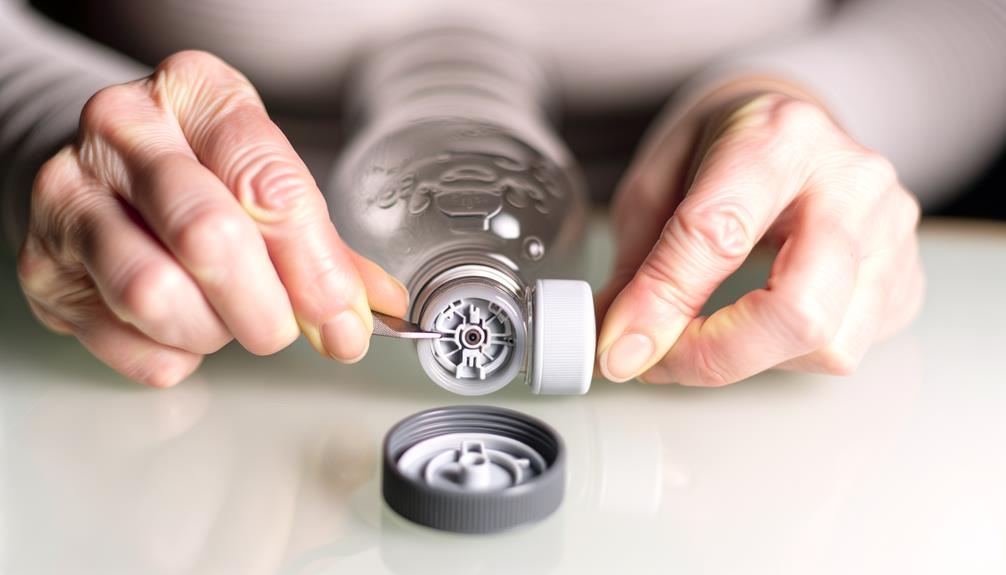
Begin by examining the button to identify any visible obstructions or debris that might be causing it to jam. Use a small brush or compressed air to remove any particles around the button.
If the button remains stuck, gently pry it up using a flat tool like a small screwdriver, taking care not to damage the plastic.
Check the internal mechanism by unscrewing the lid and inspecting the spring and button assembly. Ascertain the spring is properly seated and not bent or broken.
Lubricate the button with a food-safe silicone grease to guarantee smooth operation.
Reassemble the lid and test the button. If it still jams, consider contacting Owala customer support for further assistance.
Replace a Broken Spout
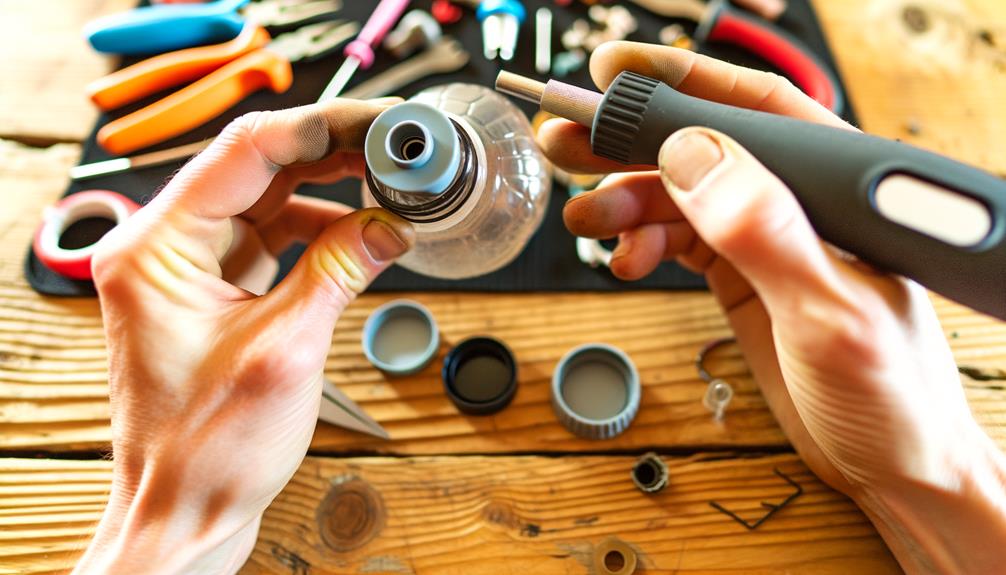
First, identify the damaged spout by examining it for cracks or leaks.
Once confirmed, carefully remove the broken spout by twisting it counterclockwise.
Install the new spout by aligning it with the opening and twisting it clockwise until it’s securely in place.
Identifying Damaged Spout
Carefully examine your Owala water bottle’s spout for any visible cracks, chips, or wear that might impede its functionality. Start by holding the spout up to a light source to spot any fine cracks. Run your fingers along the edges to detect any chips. Look for wear or discoloration that suggests material degradation.
Pay close attention to the following:
- Cracks: Even small ones can lead to leaks.
- Chips: Sharp edges can be uncomfortable and unsafe.
- Discoloration: Indicates potential material fatigue.
- Loose Fit: May suggest the spout is no longer sealing properly.
Addressing these issues promptly will guarantee your bottle remains functional and safe for use. Identifying these signs early can save you from bigger problems later.
Installing New Spout
Once you’ve identified a damaged spout, the next step is to install a new one to confirm your Owala water bottle remains leak-proof and safe to use. Begin by unscrewing and removing the old spout. Verify the replacement spout matches your bottle type.
| Step | Action | Description |
|---|---|---|
| 1 | Remove old spout | Unscrew and lift off the damaged spout. |
| 2 | Clean area | Wipe the opening and surrounding area. |
| 3 | Install new spout | Align and screw in the new spout securely. |
Make sure the new spout is tightly fitted to avoid leaks. Test by filling the bottle with water and checking for any drips. Your Owala bottle should now function perfectly with its new spout.
Clean the Lid Thoroughly
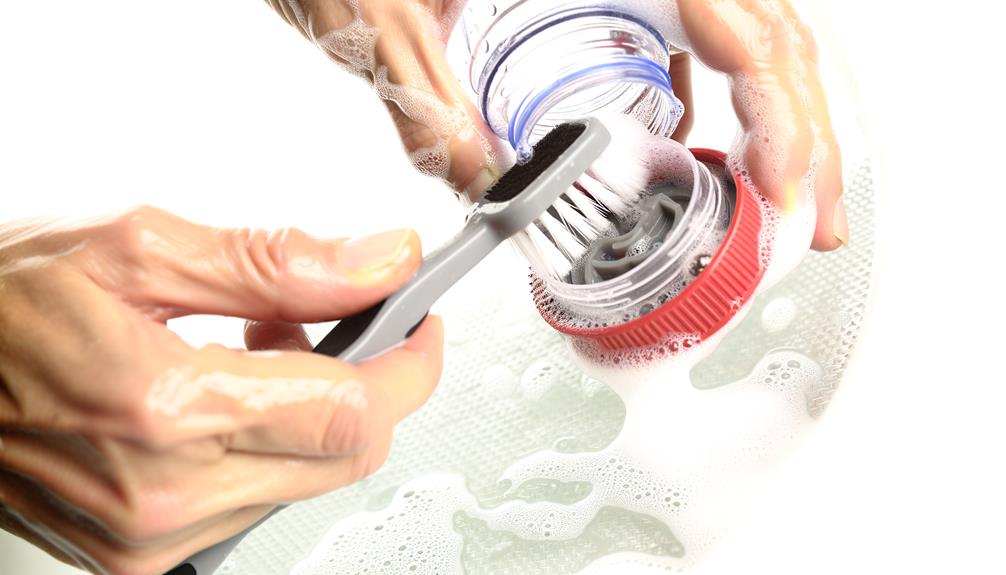
To clean the lid thoroughly, start by removing any residue buildup with a gentle scrub brush.
Next, disassemble the lid components to guarantee you can reach all hidden areas.
Use proper cleaning tools like a bottle brush and mild dish soap for the best results.
Remove Residue Buildup
Start by disassembling the lid components to guarantee all parts are accessible for thorough cleaning.
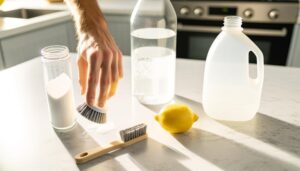
Use warm, soapy water and a soft brush to scrub away any residue buildup. Pay special attention to crevices and hard-to-reach areas. For stubborn grime, consider using a mixture of vinegar and baking soda.
Follow these steps:
- Submerge the lid parts in warm soapy water.
- Scrub each component meticulously, especially around seals and threads.
- Rinse thoroughly with clean water to remove any soap or cleaning solution.
- Dry each part completely before reassembling to prevent mold growth.
Disassemble Lid Components
Carefully twist and pull apart each component of the Owala water bottle lid to confirm every part is exposed for cleaning. Start by unscrewing the main lid from the bottle. Next, detach the spout cover and any silicone seals. Confirm you also remove the drinking straw, if applicable. Lay out all the parts in an organized manner for thorough cleaning. Here’s a helpful table to guide you:
| Component | Action |
|---|---|
| Main Lid | Unscrew |
| Spout Cover | Detach |
| Silicone Seals | Remove |
| Drinking Straw | Take out |
| Small Parts | Separate carefully |
Confirm every component is fully separated to clean each nook and cranny. This disassembly process is essential for maintaining proper hygiene and function.
Use Proper Cleaning Tools
With your disassembled lid components laid out, make sure you use a small brush or pipe cleaner to scrub each piece thoroughly. Focus on cleaning every crevice to remove any buildup or residue.
Follow these steps to guarantee a spotless lid:
- Soak Components: Submerge the pieces in warm, soapy water for ten minutes to loosen grime.
- Scrub Thoroughly: Use a small brush or pipe cleaner to reach tight spots, making sure no residue remains.
- Rinse Well: Rinse each component under running water to remove soap and loosened debris.
- Dry Completely: Pat dry with a clean towel and air dry to prevent moisture buildup.
Tighten Loose Components
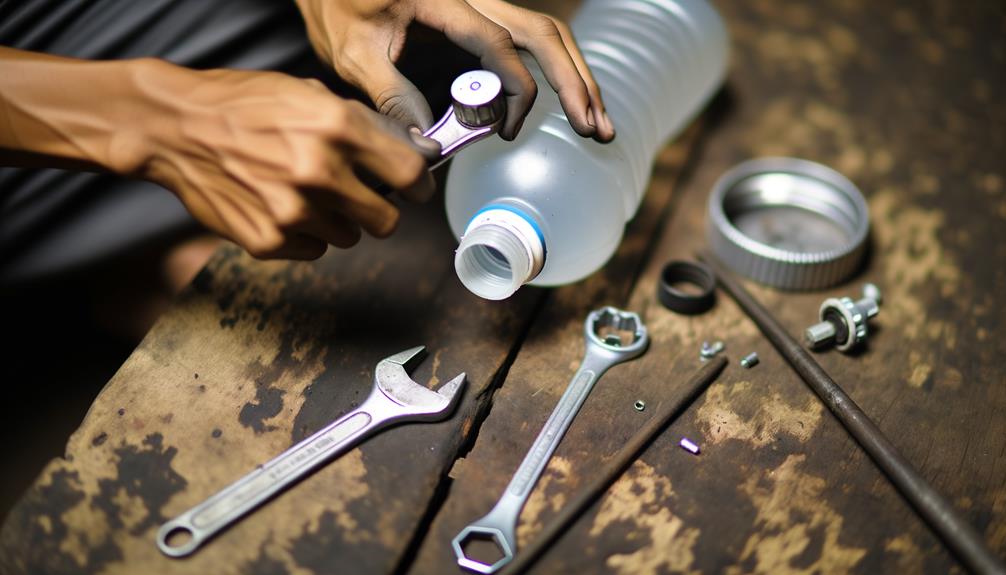
Make certain all screws and hinges on the Owala water bottle lid are securely tightened using a small Phillips head screwdriver.
Begin by locating all visible screws on the lid. Gently insert the screwdriver tip into each screw and turn it clockwise until snug. Be careful not to overtighten as this can strip the screws or damage the lid.
Next, inspect the hinges connecting the lid to the bottle. Tighten any loose hinge screws in the same manner. If the hinges are damaged or misaligned, consider replacing them to ensure smooth operation. Keeping the hinges in good condition will help maintain the bottle’s longevity and prevent leaks. If you’re unsure about how to open Contigo bottle properly, refer to the user manual for specific instructions.
If the lid still feels loose, check for hidden screws under any rubber or plastic coverings and tighten those as well.
Ensuring all components are secure will help maintain the functionality and longevity of your Owala water bottle lid.
Check for Mold
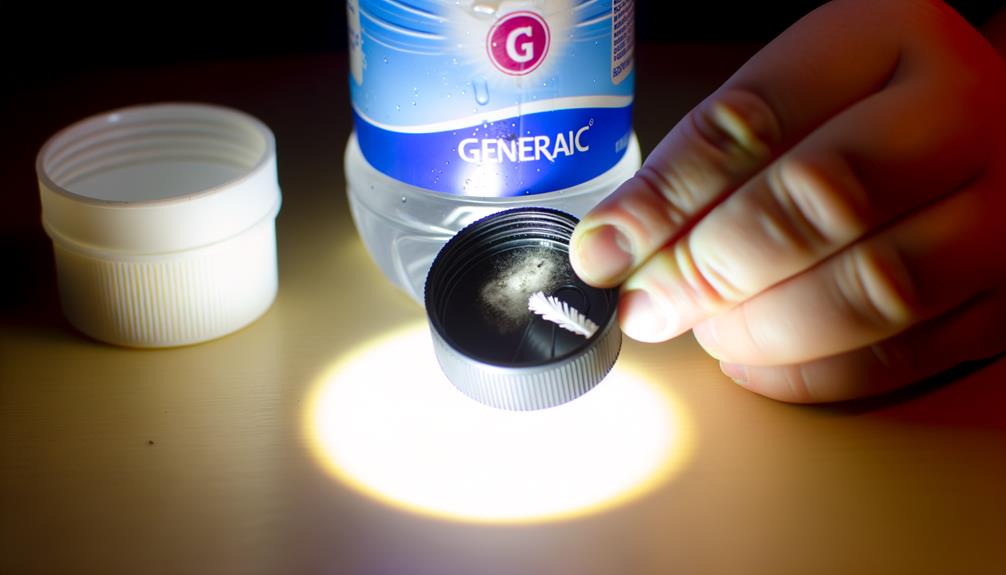
Check your Owala water bottle lid for any signs of mold, paying close attention to hard-to-reach areas and crevices. Mold can compromise your health and the bottle’s functionality.
Follow these steps:
- Inspect Thoroughly: Use a flashlight to examine every part of the lid, especially under seals and in grooves.
- Disassemble if Possible: If your lid can be taken apart, do so to get a better look inside.
- Clean with Vinegar: Mix equal parts water and white vinegar. Use a toothbrush to scrub the moldy areas.
- Rinse and Dry: Rinse thoroughly with hot water and let it air dry completely before reassembling.
Following these steps guarantees your Owala lid stays clean and safe for use.
Contact Customer Support
If cleaning and inspecting don’t resolve the issue, contact Owala’s customer support for further assistance.
Start by visiting Owala’s official website. Navigate to the ‘Contact Us‘ section, typically found at the bottom of the homepage. Fill out the provided form with your personal information, including the product details and a description of the problem. Attach any relevant photos to illustrate the issue clearly.
Alternatively, you can call their customer support number, listed on the website, for immediate assistance. Make certain you have your purchase receipt and product details on hand.
Owala’s team is well-equipped to guide you through troubleshooting steps or arrange a replacement if necessary. Prompt communication guarantees a quicker resolution to your problem.
Conclusion
By following these steps, you should be able to fix your Owala water bottle lid efficiently.
Whether you’re dealing with a leaking lid, a jammed button, or a broken spout, taking the time to troubleshoot and repair can save you from buying a new bottle.
Remember, a clean and well-maintained lid guarantees the longevity of your bottle.
If all else fails, don’t hesitate to contact customer support for further assistance.
Happy hydrating!

