How to Clean Yeti Water Bottle? Step-by-Step Guide
To clean your Yeti water bottle, start by gathering a soft-bristled bottle brush, mild dish soap, warm water, and a non-abrasive sponge. Disassemble the bottle, removing the cap and rubber gasket.
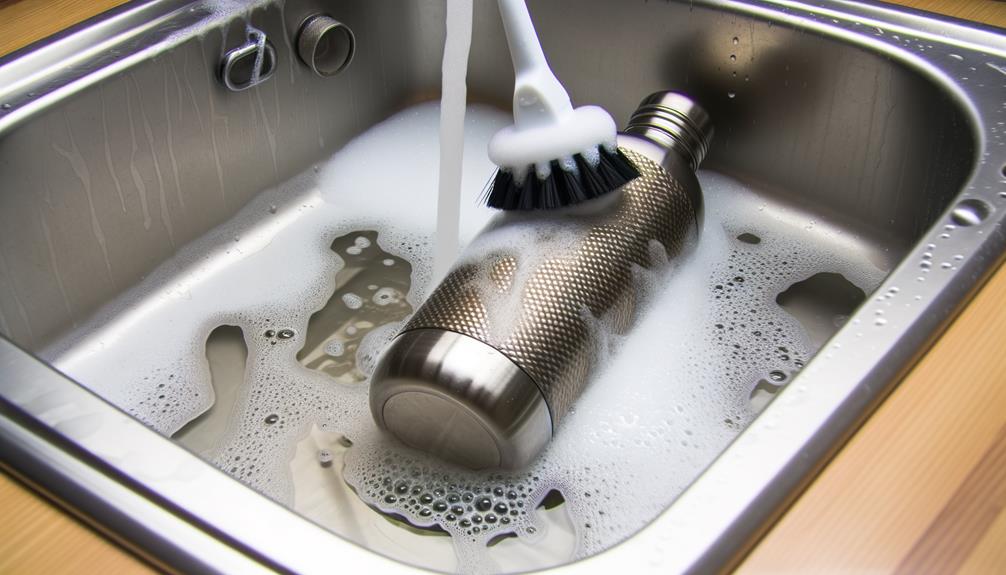
Hand wash all components in warm, soapy water, giving special attention to crevices and threads. For a deep clean, soak the bottle in a solution of baking soda and water for 15 minutes, then scrub with the bottle brush.
Rinse thoroughly and dry completely with a clean towel or by air drying. Reassemble your bottle once all parts are moisture-free.
Now that you’ve got the basics, there’s more to explore!
Key Takeaways
- Disassemble the bottle, including the cap and rubber gasket, for thorough cleaning.
- Use warm, soapy water with a soft-bristled brush or non-abrasive sponge to clean all parts.
- Soak in a baking soda solution for 15 minutes to tackle stubborn stains or odors.
- Scrub the interior with a bottle brush, focusing on the bottom and sides.
Gather Your Supplies
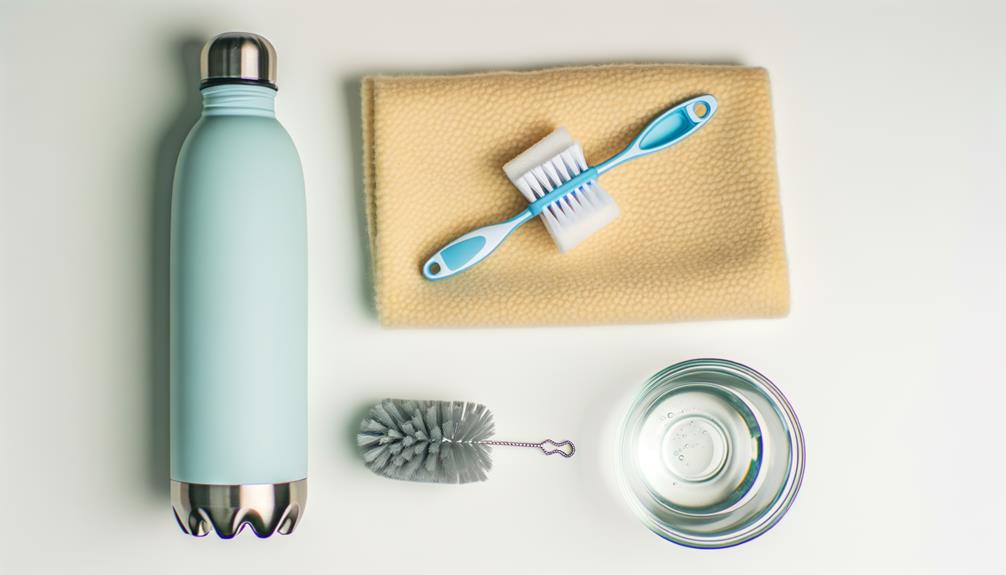
Before you start cleaning your Yeti water bottle, you’ll need to gather a few essential supplies.
First, get a soft-bristled bottle brush to reach every corner without scratching the surface. Next, have mild dish soap on hand, as it’s gentle yet effective at removing grime. You’ll also need warm water to activate the soap’s cleaning properties.
Additionally, grab a small, non-abrasive sponge for scrubbing the cap and threads. Don’t forget a clean, dry towel for drying the bottle afterward.
Finally, consider having white vinegar or baking soda for a deeper clean to tackle stubborn odors or stains.
With these supplies ready, you’re now prepared to clean your Yeti water bottle thoroughly and efficiently.
Disassemble the Bottle
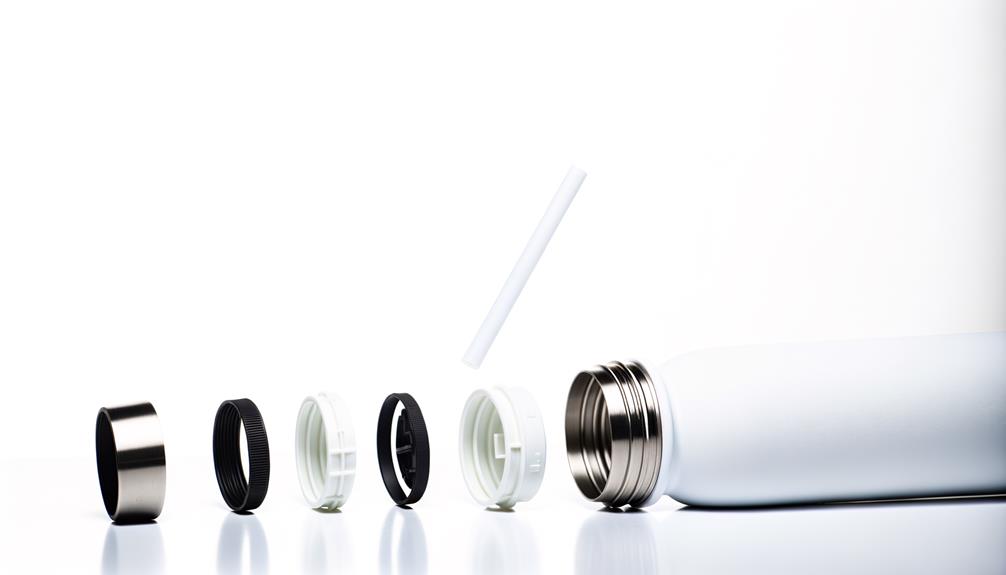
Start by unscrewing the bottle cap and setting it aside.
Next, carefully remove the rubber gasket from the cap, ensuring you don’t damage it.
These steps will allow for a thorough cleaning and help maintain your bottle’s functionality.
Remove Bottle Cap
Gently twist the bottle cap counterclockwise to begin disassembling your Yeti water bottle. Apply steady pressure to guarantee smooth movement without forcing it. As the cap loosens, lift it off carefully to avoid spilling any residual liquid. If you encounter resistance, double-check that you are turning the cap in the correct direction and try again with a firm but controlled grip. Once the cap is removed, set it aside on a clean surface to prevent contamination. Following these steps ensures you understand how to open a Yeti bottle safely and efficiently.
Inspect the cap for any visible dirt or debris, as this will need cleaning later. Place the cap aside in a clean area, making certain it won’t get contaminated.
Be mindful of any additional parts attached to the cap that might need removal for thorough cleaning. This step is vital for accessing all areas that come into contact with liquids, making certain your bottle remains hygienic.
Now, you’re ready to proceed to the next part of the disassembly process.
Separate Rubber Gasket
With the cap set aside, locate the rubber gasket seated inside the bottle’s neck and use a small, blunt tool to carefully pry it loose.
Gently work the tool around the edge of the gasket to lift it without causing damage. Avoid using sharp objects that might puncture or tear the rubber.
Once the gasket is free, inspect it for any signs of wear or cracks. This gasket plays an essential role in preventing leaks, so verifying its integrity is important.
Set the gasket aside in a safe place. Cleaning this part separately will guarantee thorough sanitation.
Hand Wash Components
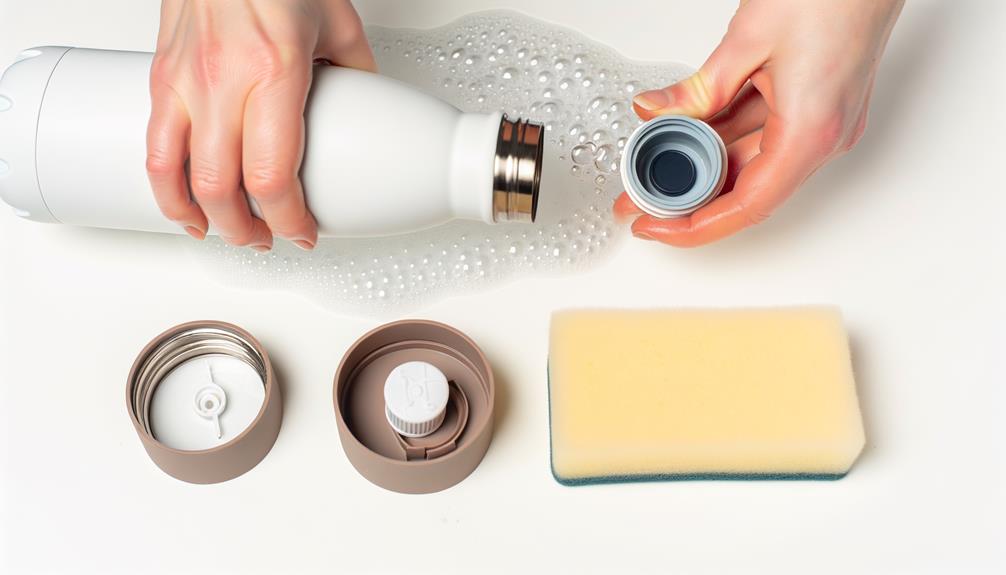
To hand wash your Yeti water bottle, disassemble all removable parts, including the lid, gasket, and straw, if applicable.
Use warm, soapy water and a soft brush or sponge to scrub each component thoroughly. Pay special attention to crevices and threads where grime can accumulate.
For the gasket, gently clean it to avoid stretching or tearing. Rinse each part under running water to confirm all soap residues are removed.
Dry components with a clean towel, or allow them to air dry completely before reassembling. This prevents moisture buildup, which can lead to mold.
Regular hand washing maintains your bottle’s functionality and hygiene, confirming that it remains safe for daily use.
Deep Clean With Baking Soda
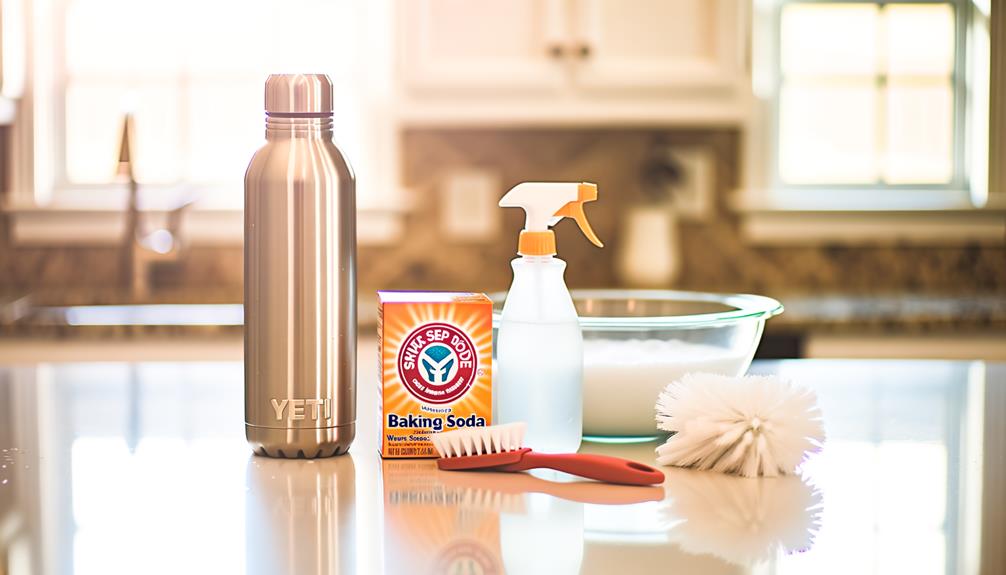
To deep clean your Yeti water bottle, start by preparing a baking soda solution using one tablespoon of baking soda and warm water.
Pour the solution into the bottle and let it sit for at least 15 minutes to break down any residue.
Use a bottle brush to scrub the interior thoroughly, paying close attention to any stubborn spots.
Baking Soda Solution
A baking soda solution provides a thorough and effective method for deep cleaning your Yeti water bottle, ensuring it remains odor-free and pristine. To begin, mix two tablespoons of baking soda with warm water until fully dissolved. Pour this solution into your bottle, seal it, and shake vigorously. Let it sit for at least 30 minutes to break down any stubborn residue.
Here’s a quick reference to guide you:
| Step | Action | Duration |
|---|---|---|
| 1 | Mix baking soda & water | 1 minute |
| 2 | Pour into bottle | 30 seconds |
| 3 | Shake vigorously | 1-2 minutes |
| 4 | Let sit | 30 minutes |
| 5 | Rinse thoroughly | 2-3 minutes |
After soaking, rinse thoroughly with warm water to remove any remaining baking soda.
Scrubbing Techniques
For a thorough deep clean, start by using a bottle brush and some baking soda to scrub the interior surfaces of your Yeti water bottle, focusing on areas with visible buildup.
First, sprinkle a generous amount of baking soda inside the bottle.
Next, dampen your bottle brush and insert it into the bottle.
Use firm, circular motions to scrub the interior, making certain you reach all corners and crevices.
Pay extra attention to the bottom and any areas with stubborn residue.
After scrubbing, rinse the bottle thoroughly with warm water to remove all traces of baking soda and loosened grime.
Finally, let the bottle air dry completely before using it again.
This method makes sure your Yeti bottle remains clean and odor-free.
Use a Bottle Brush
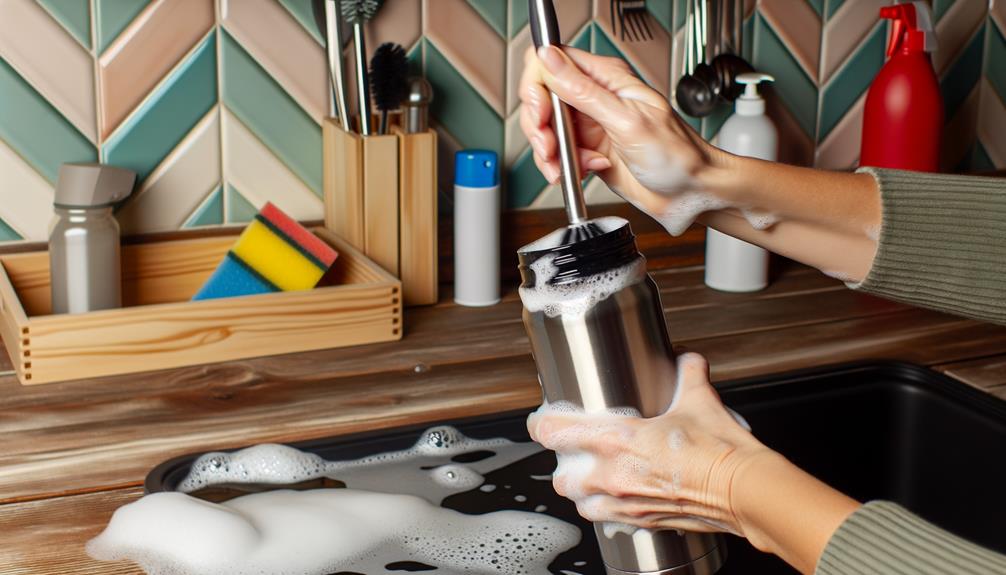
Grabbing a bottle brush with firm bristles is essential for effectively scrubbing the interior of your Yeti water bottle.
First, verify the bottle brush is clean and free of debris. Insert the brush into the bottle and apply gentle pressure while rotating it to reach all surfaces. Pay close attention to the bottom and sides, where residue often accumulates.
If your Yeti has a narrow neck, choose a brush designed for tight spaces to guarantee thorough cleaning. Use a twisting motion to dislodge any stuck-on particles. Rinse the brush periodically to remove loosened debris and continue scrubbing until the interior looks clean.
Regular use of a bottle brush will help maintain the hygiene and longevity of your Yeti water bottle.
Dry and Reassemble
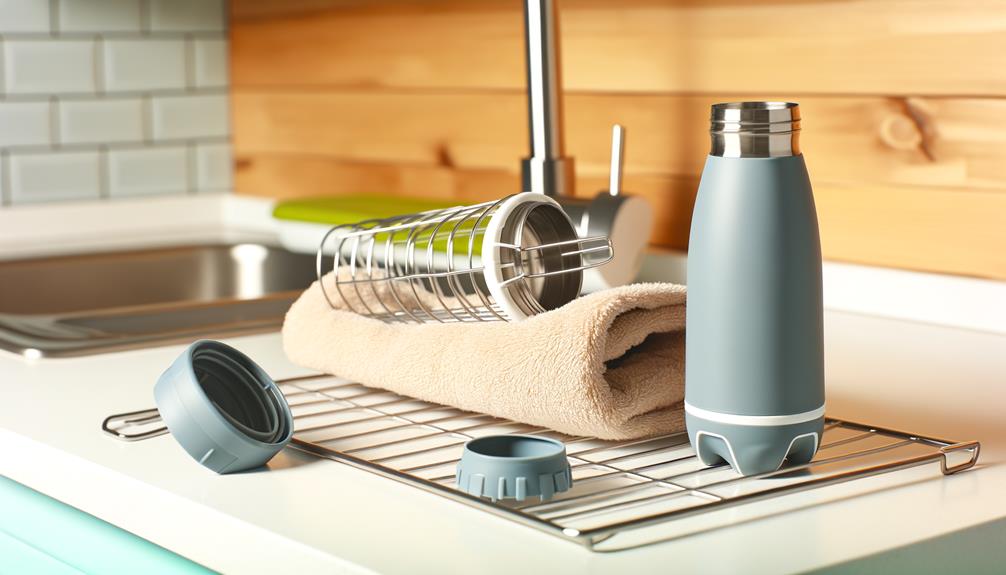
After thoroughly scrubbing your Yeti water bottle, it’s important to dry each component completely before reassembling. Use a clean, dry cloth or let the parts air dry on a drying rack. Moisture left on any component can lead to mold and unpleasant odors.
Here’s a simple checklist to guarantee all parts are dry:
| Component | Drying Method | Notes |
|---|---|---|
| Bottle | Air dry or cloth | Ensure no water remains inside. |
| Lid | Cloth | Pay extra attention to crevices. |
| Gasket/Seal | Air dry or cloth | Double-check for lingering moisture. |
Once everything is dry, reassemble your water bottle by placing the gasket back in the lid, then screwing the lid onto the bottle. This guarantees your Yeti stays clean and ready for use.
Conclusion
To wrap it up, cleaning your Yeti water bottle is as easy as pie.
You’ve gathered your supplies, disassembled the bottle, hand-washed the components, deep-cleaned with baking soda, used a bottle brush, and dried everything meticulously.
Now, reassemble your bottle with care, ensuring every piece is snug.
By following these steps, you’ll keep your Yeti in tip-top shape, ready for your next adventure.
It’s like giving your trusty canteen a thorough spa day.


