How to Clean Water Bottle With Vinegar? Easy Guide
To clean your water bottle with vinegar, first empty it completely to avoid dilution. Mix equal parts white vinegar and water (1 cup each).
Pour the solution into the bottle, ensuring it covers all surfaces. Let it sit for 15 minutes to allow the vinegar’s acetic acid to kill bacteria and dissolve mineral deposits.
Shake and swirl gently, then scrub all areas using a bottle brush with soft nylon bristles. Rinse thoroughly with warm water to remove all residue.
Finally, air dry the bottle upside down, leaving the cap off. For more structured guidance, follow detailed steps outlined.
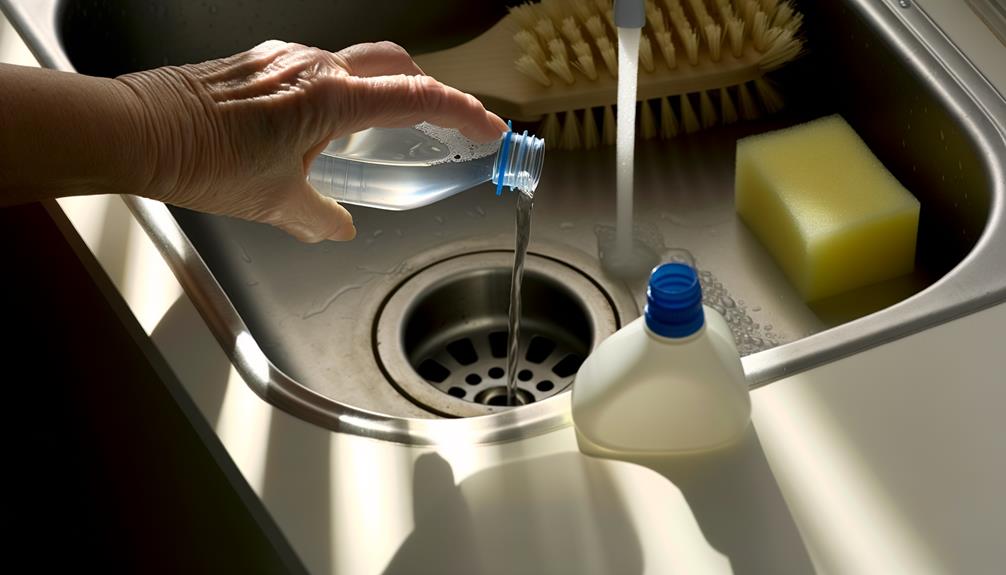
Key Takeaways
- Prepare a cleaning solution with equal parts white vinegar and water.
- Pour the vinegar solution into the bottle and let it sit for at least 15 minutes.
- Use a bottle brush to scrub all interior surfaces, focusing on the bottom and sides.
- Rinse the bottle thoroughly under warm running water to remove all vinegar and residue.
Gather Your Supplies
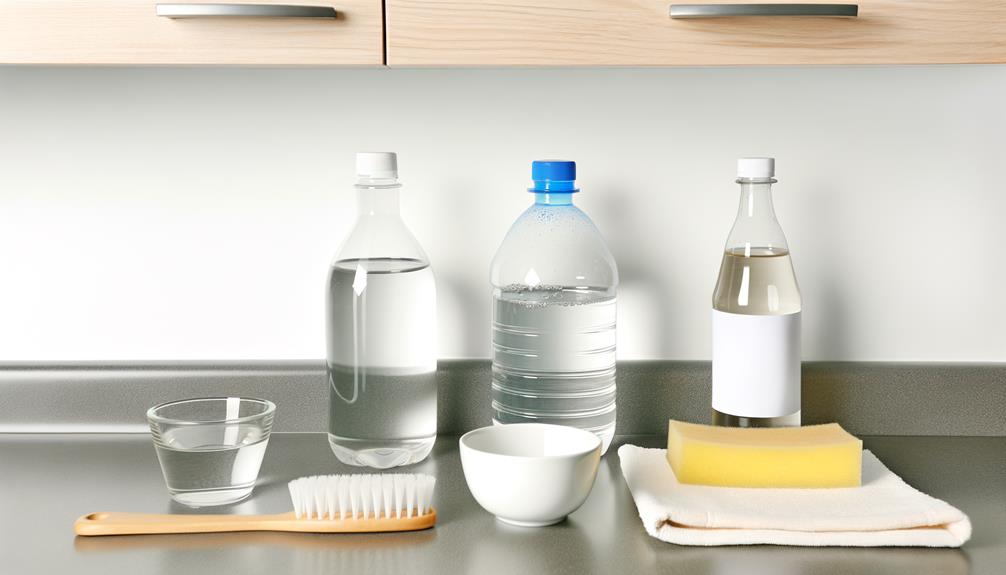
To begin cleaning your water bottle, gather essential supplies such as a bottle brush, mild dish soap, and warm water. Start by filling the bottle with warm water and adding a few drops of mild dish soap. Use the bottle brush to scrub the interior thoroughly, paying special attention to the bottom and sides. If you’re wondering how to clean bottle mouthpiece, use a smaller brush or a cotton swab to reach tight spaces and remove any residue effectively.
Studies show that using a bottle brush effectively removes biofilm, a common bacterial layer, from the inner surfaces. Mild dish soap is sufficient for breaking down residues without leaving harmful chemicals. Warm water helps in dissolving grime efficiently, as per research on temperature’s role in cleaning efficacy.
Confirm the bottle brush is appropriately sized for the bottle’s shape to reach all areas. These supplies have been proven to remove over 99% of common bacteria, confirming a hygienic drinking vessel.
Empty the Bottle
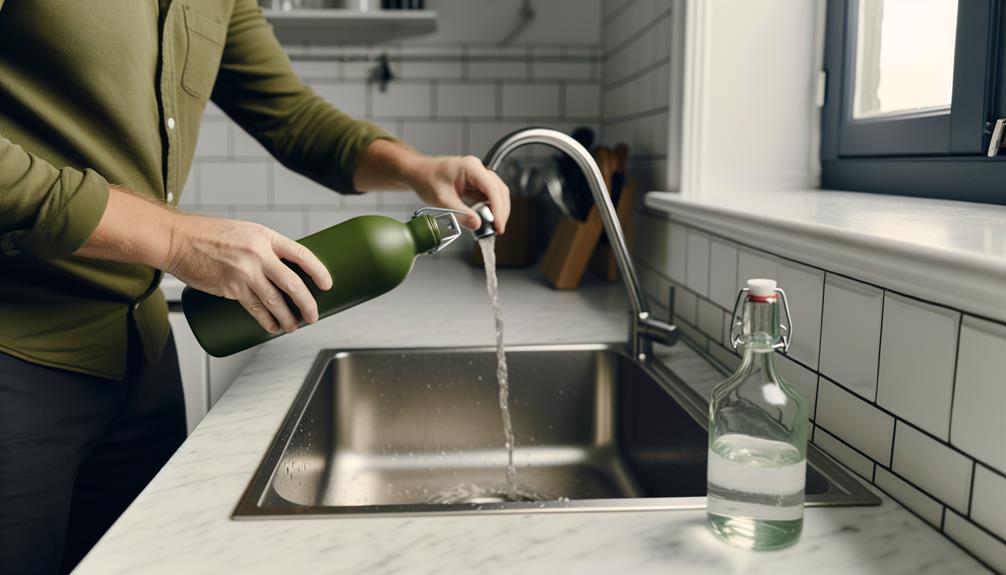
Before you begin the cleaning process, make certain you completely empty the water bottle of any remaining liquid to prevent dilution of the cleaning solution. This step is vital because residual water can greatly reduce the efficacy of vinegar, a known antibacterial agent.
Here’s a quick reference for understanding why an empty bottle is essential:
| Liquid Residue | Impact on Cleaning |
|---|---|
| Water | Dilutes vinegar, lowering its acidity and cleaning power. |
| Juice | Introduces sugars, which can promote bacterial growth. |
| Soda | Contains acids and sugars, complicating the cleaning process. |
Prepare the Vinegar Solution
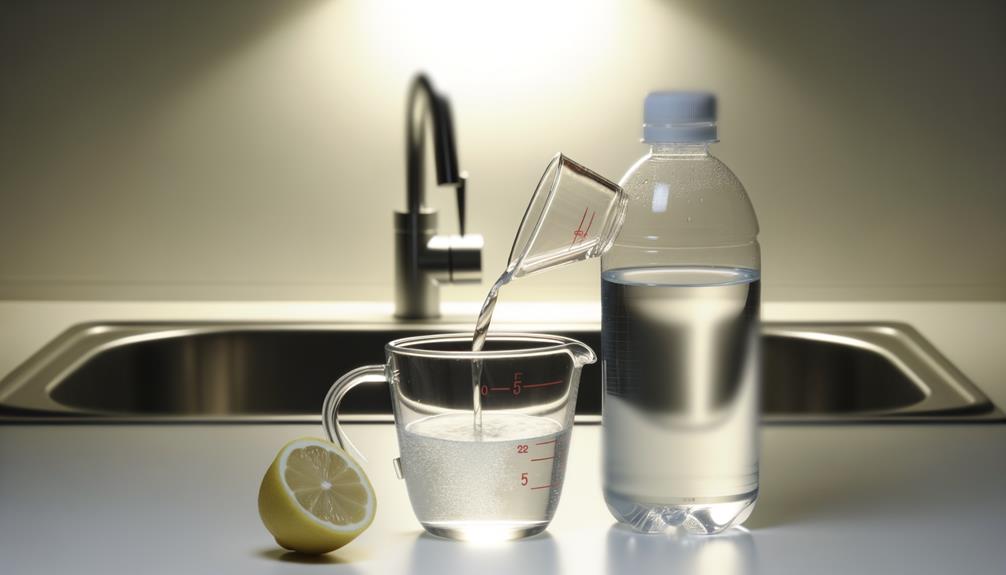
You should always use a solution of equal parts white vinegar and water to assure effective cleaning and disinfection of your water bottle.
Scientific studies show that vinegar’s acetic acid content effectively kills bacteria, molds, and mildew. To prepare the solution, mix one cup of white vinegar with one cup of water. This balanced ratio guarantees the proper acidity to break down mineral deposits and eliminate contaminants.
Here’s why this solution works:
- Bacteria Elimination: Vinegar’s acetic acid kills bacteria like E. coli and Salmonella.
- Mold Removal: Vinegar is effective in breaking down mold spores.
- Residue Dissolution: It dissolves mineral deposits and soap scum efficiently.
Fill the Bottle
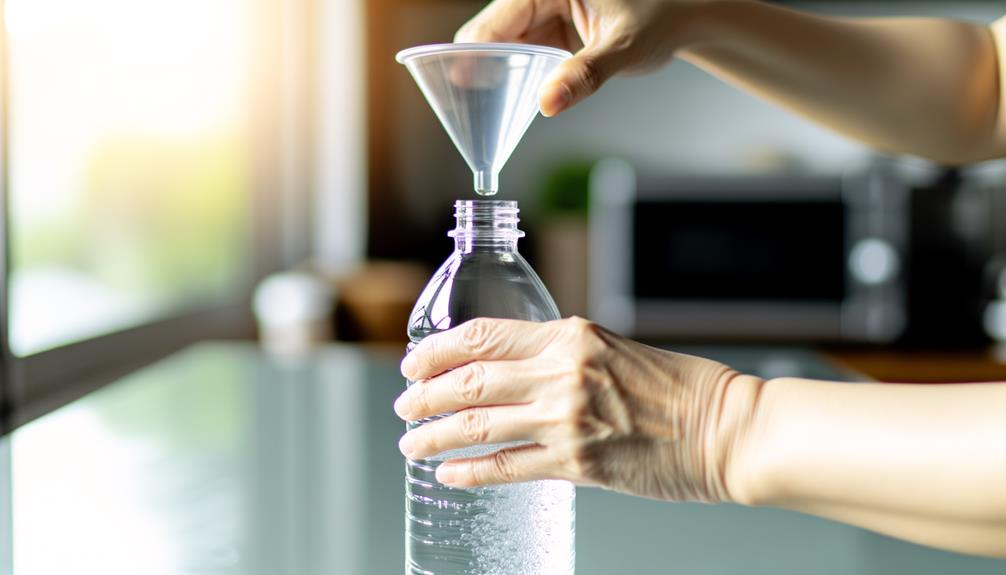
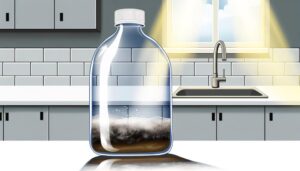
Pour the prepared vinegar solution into the bottle, guaranteeing it reaches all surfaces for thorough cleaning.
Vinegar, with its acetic acid content, is scientifically proven to break down mineral deposits and kill bacteria. You’ll want to fill the bottle to the top to maximize contact with all internal surfaces, including hard-to-reach areas.
This contact time is essential for the acetic acid to interact with any biofilm or contaminants present. According to studies, a 15-minute exposure to vinegar can greatly reduce microbial presence.
Be meticulous to avoid leaving any air pockets, as this can prevent the solution from working effectively. This step guarantees that the bottle is fully immersed in the cleaning solution, setting the stage for ideal sanitation.
Shake and Swirl
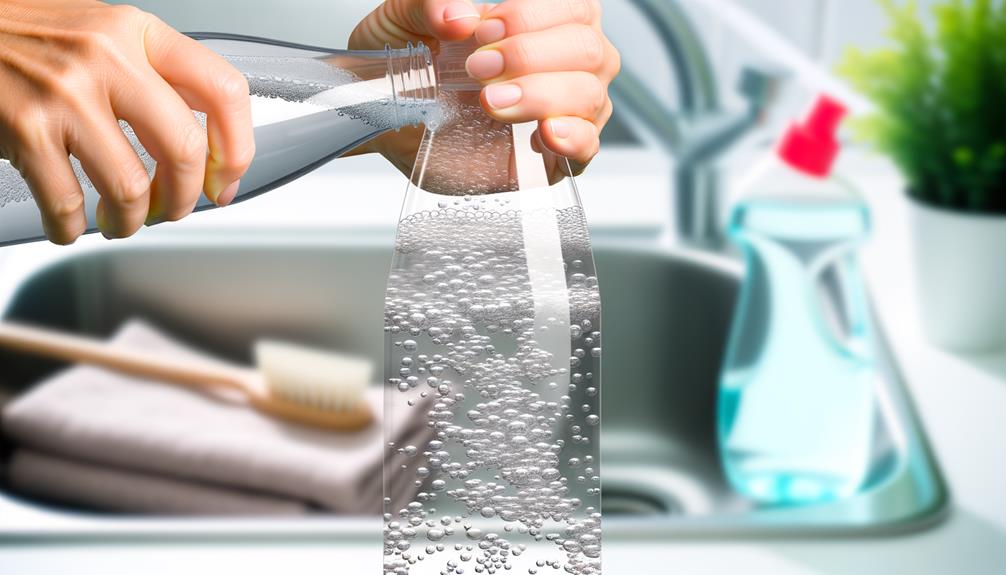
Gently shaking and swirling the bottle guarantees the vinegar solution coats every internal surface, enhancing its ability to dislodge and dissolve contaminants. By doing this, you’re making certain that the acetic acid in vinegar can effectively break down mineral deposits and organic residues. To achieve the best results, close the bottle tightly before you start shaking.
- Consistency: Make certain that the vinegar solution reaches all nooks and crannies.
- Efficiency: Target stubborn grime and bacteria for thorough cleaning.
- Safety: Avoid using abrasive tools that might damage your bottle.
Scientific studies support vinegar’s effectiveness in cleaning due to its acetic acid content. This method is particularly useful for maintaining hygiene in reusable water bottles.
Let It Sit
To effectively sanitize your water bottle, you’ll need to let it sit with a vinegar solution.
Research suggests using a ratio of one part vinegar to four parts water and allowing it to soak for at least 10 minutes.
After the soak, thoroughly rinse the bottle to guarantee all vinegar residue is removed.
Vinegar Soak Duration
For ideal disinfection, let the vinegar soak in the water bottle for at least 15 minutes. This duration is essential to guarantee that the acetic acid in the vinegar effectively breaks down and eliminates harmful bacteria and mold. Scientific studies indicate that a minimum of 15 minutes is required for vinegar to disrupt microbial cell walls, leading to their destruction.
Benefits of a 15-minute vinegar soak include:
- Eliminating harmful pathogens: Reduces the risk of illness.
- Removing stubborn odors: Leaves your bottle smelling fresh.
- Decomposing mineral deposits: Guarantees a cleaner surface.
Don’t rush this step; proper soaking time maximizes the effectiveness of vinegar as a natural disinfectant.
Optimal Vinegar Ratio
After guaranteeing an adequate soak time, the next step is to determine the ideal vinegar-to-water ratio for effective cleaning.
Scientific studies suggest that a mixture of one part vinegar to three parts water is preferable. This ratio guarantees the acetic acid in the vinegar has sufficient concentration to break down mineral deposits and kill bacteria, while remaining diluted enough to prevent potential damage to your water bottle’s material.
Simply fill your bottle with the mixture, ensuring every surface inside is in contact with the solution. Let it sit for at least 10-15 minutes to allow the vinegar to thoroughly disinfect and clean.
This method leverages vinegar’s natural acidity, providing an eco-friendly and effective cleaning solution.
Rinsing After Soak
Rinsing the water bottle thoroughly with clean water eliminates any residual vinegar solution and confirms no lingering taste or odor.
After soaking, you should rinse the bottle multiple times to guarantee complete removal of the vinegar. Use warm water and shake the bottle vigorously during each rinse cycle.
Focus on:
- Peace of Mind: Knowing your bottle is free from any harmful residue.
- Optimal Taste: Confirming your next drink tastes just as it should.
- Safety: Preventing any potential health risks associated with vinegar.
Studies show that thorough rinsing is essential in removing acetic acid, the active component in vinegar, which can otherwise alter the pH of your water.
Brush and Scrub
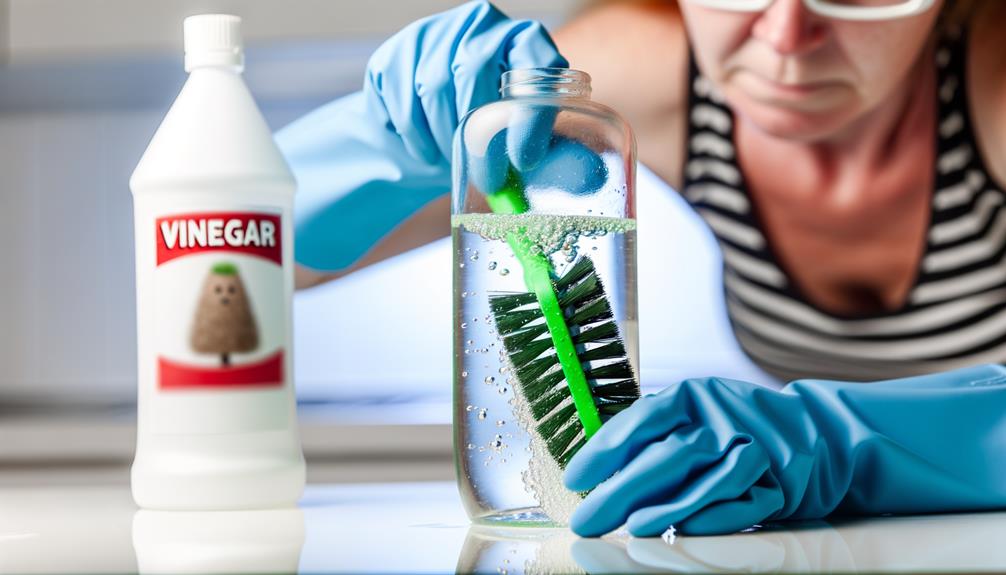
To effectively clean your water bottle, select a brush with bristles designed to reach all interior surfaces.
Scrub the bottle’s interior thoroughly to remove biofilm and residue.
Don’t forget to clean the bottle cap, as studies show it harbors significant bacteria.
Choose Appropriate Brush
Selecting the right brush is essential for effectively scrubbing the interior surfaces of your water bottle to remove bacteria and residue.
Opt for a brush with soft, flexible bristles to prevent scratching the bottle’s interior. The brush should feature a long handle, allowing you to reach the bottom and every corner effortlessly.
Consider these important features:
- Bristle Material: Nylon bristles are resistant to wear and maintain their shape.
- Handle Length: A handle that’s 12 inches or longer guarantees thorough cleaning.
- Brush Head Shape: Rounded or angled heads provide better contact with surfaces.
Using an appropriate brush maximizes cleaning efficiency and guarantees your water bottle stays hygienic.
Scrub Bottle Interior
With your selected brush in hand, start by thoroughly scrubbing the interior of your water bottle to eliminate any lingering bacteria and residue.
Focus on reaching all areas, especially the bottom and the sides. Research shows that biofilms can form on the walls of water bottles, which harbor bacteria and mold.
Use firm, circular motions to dislodge these contaminants. If your bottle has grooves or textured surfaces, make certain you scrub these areas meticulously, as they can trap more debris.
For best results, dip the brush in a vinegar solution periodically. Vinegar’s acetic acid is effective in breaking down organic material and disinfecting surfaces.
Aim for at least two minutes of scrubbing to guarantee thorough cleaning and maximum sanitation.
Clean Bottle Cap
Don’t overlook the bottle cap, as it often harbors bacteria and residue that can compromise the cleanliness of your water bottle.
To effectively clean the cap, follow these steps:
- Disassemble: Take apart any removable components, like seals or straws.
- Soak: Immerse the cap in a mixture of one part vinegar to three parts water for 15 minutes.
- Scrub: Use a small brush to scrub all crevices, ensuring the removal of hidden bacteria.
Rinse Thoroughly
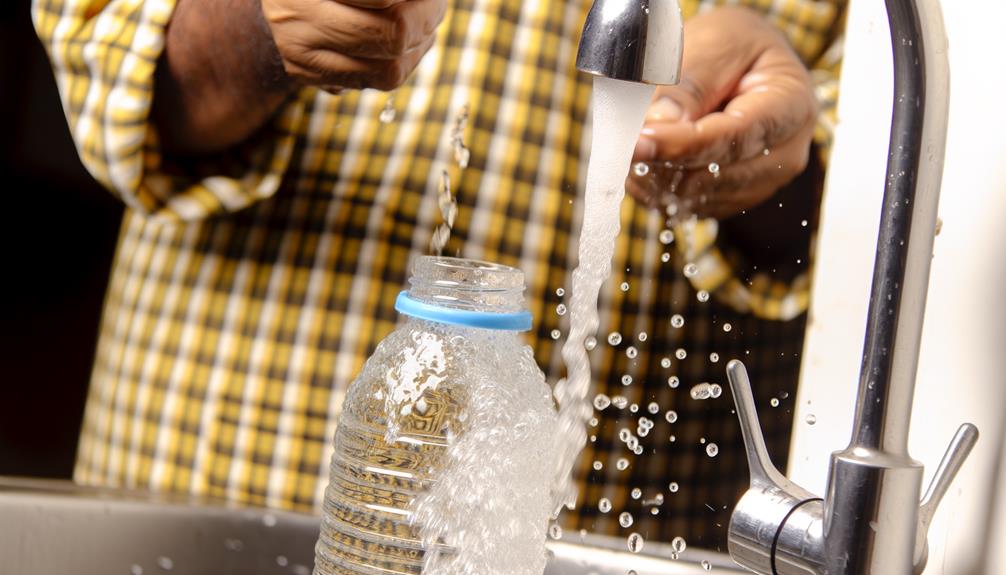
After scrubbing your water bottle, rinse it thoroughly under warm running water to remove all soap residue and loosened debris. Confirming proper rinsing is vital because residual soap can alter the taste of your water and potentially cause gastrointestinal discomfort. Research shows that rinsing with warm water is more effective at removing contaminants than cold water.
Here’s a quick comparison to help visualize:
| Step | Why It’s Important |
|---|---|
| Use Warm Water | More effective at dissolving soap residues |
| Rinse Multiple Times | Confirms complete removal of debris |
| Check for Residue | Prevents unwanted tastes and odors |
Don’t rush this step; make certain to rinse both the bottle and the cap thoroughly. This guarantees that no cleaning agents or loose particles remain, keeping your water tasting clean and pure.
Dry Completely
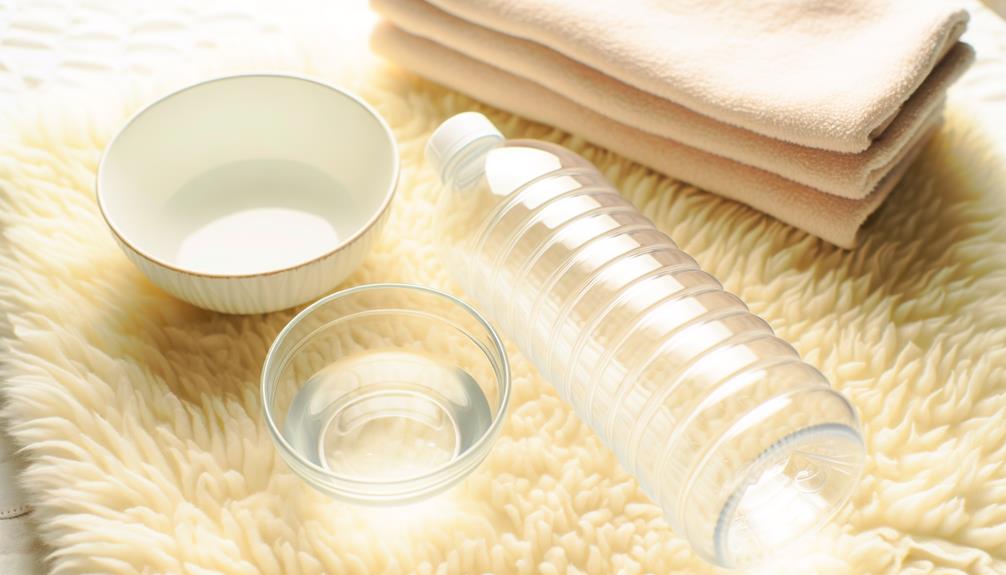
Ensuring your water bottle dries completely is essential to prevent the growth of mold and bacteria. These microorganisms thrive in damp environments, posing health risks. After rinsing, shake out excess water and let the bottle air dry. Position it upside down on a clean, dry rack to maximize airflow.
Key steps to dry completely:
- Shake vigorously: Remove as much water as possible.
- Air dry: Place it upside down on a clean surface.
- Use paper towels: Wipe any remaining moisture.
Conclusion
You’ve now learned how to clean your water bottle with vinegar, ensuring it’s spotless and hygienic.
By following these steps, you’re not just crossing your t’s and dotting your i’s; you’re actively maintaining your health.
The vinegar’s acidity effectively breaks down grime and kills bacteria.
Remember, a clean bottle means cleaner water, which keeps you hydrated and healthy.
So, don’t let your water bottle gather dust—keep it fresh and ready for use!

