How to Clean Water Bottle Mouthpiece? Easy Methods
To clean your water bottle mouthpiece thoroughly, start by gathering essential supplies like a small brush, mild dish soap, white vinegar, and baking soda. Disassemble the bottle, removing all parts, including the mouthpiece and any seals.
Use the small brush or pipe cleaner to scrub all crevices and tight spots. Rinse everything under warm water, ensuring no soap residue remains.
Sanitize by soaking the mouthpiece in a bleach solution or commercial sanitizer, then rinse again. Allow it to dry completely before reassembling.
Ensuring every step is done precisely keeps your bottle safe and germ-free. There’s more to explore for perfect results.
Key Takeaways
- Disassemble the water bottle, removing the mouthpiece and any detachable parts for thorough cleaning.
- Use a small brush or pipe cleaner to scrub inside and around the mouthpiece, focusing on tight spots.
- Rinse the mouthpiece under warm, running water to remove soap and debris.
- Sanitize the mouthpiece by soaking it in a bleach solution or using a commercial sanitizing product.
Gather Your Cleaning Supplies
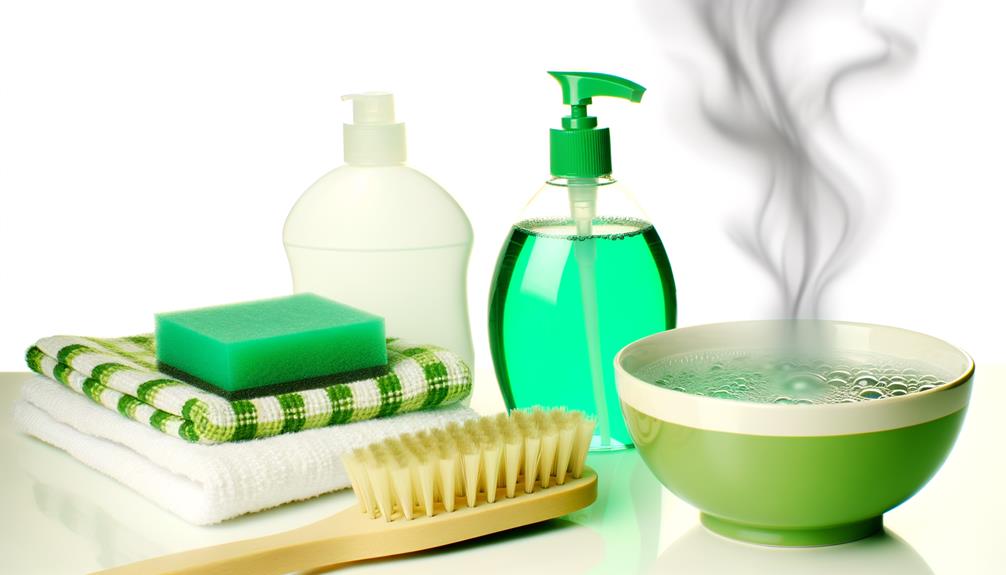
First, gather your cleaning supplies, which include a small brush, mild dish soap, white vinegar, baking soda, and warm water. These tools are essential for effectively cleaning the water bottle mouthpiece. Make sure to disassemble the water bottle if possible, separating the mouthpiece from the lid to reach any hidden residue. Use the small brush with a mixture of mild dish soap and warm water to scrub all surfaces thoroughly. Keeping these supplies on hand makes it easier to clean water bottle while traveling, ensuring you always have a hygienic and fresh drinking experience.
The small brush allows you to reach tight spaces, guaranteeing no residue remains. Mild dish soap, combined with warm water, breaks down grease and grime without damaging the material. White vinegar acts as a natural disinfectant, eliminating bacteria and odors. Baking soda is a gentle abrasive that aids in scrubbing away stubborn deposits.
Disassemble the Water Bottle
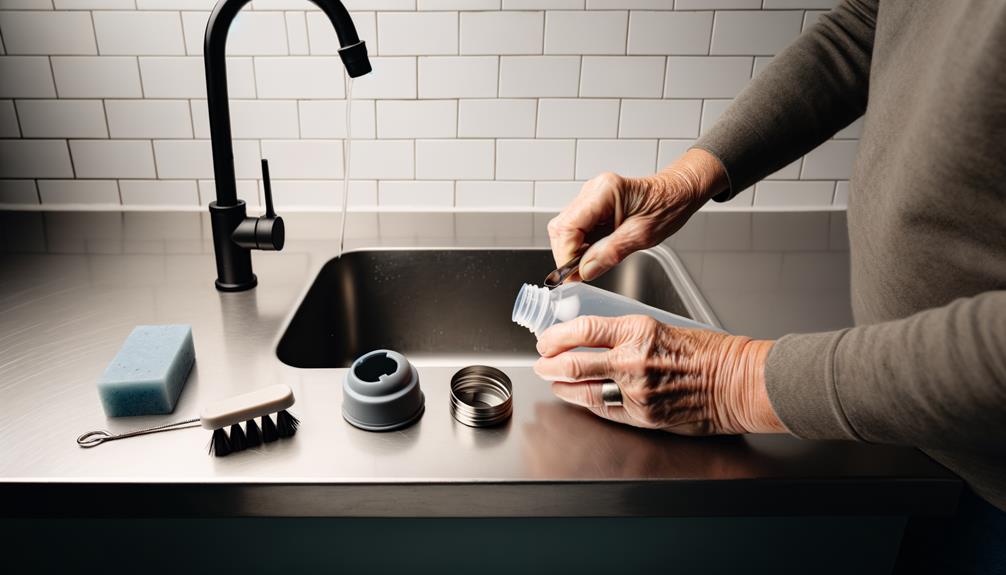
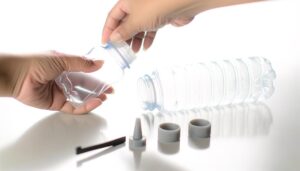
Carefully take apart the water bottle, ensuring each component, including the mouthpiece, lid, and any detachable parts, is separated for thorough cleaning.
Begin by unscrewing the lid and removing any silicone or rubber seals. Detach the mouthpiece from the lid if possible. If your bottle has a straw, remove it as well.
Pay attention to small parts that might be hidden, like valves or additional seals. Place all parts on a clean surface, organizing them to avoid misplacement.
Inspect each piece for buildup or residue. This step is essential for effective cleaning, ensuring you reach all the nooks and crannies.
Clean the Mouthpiece
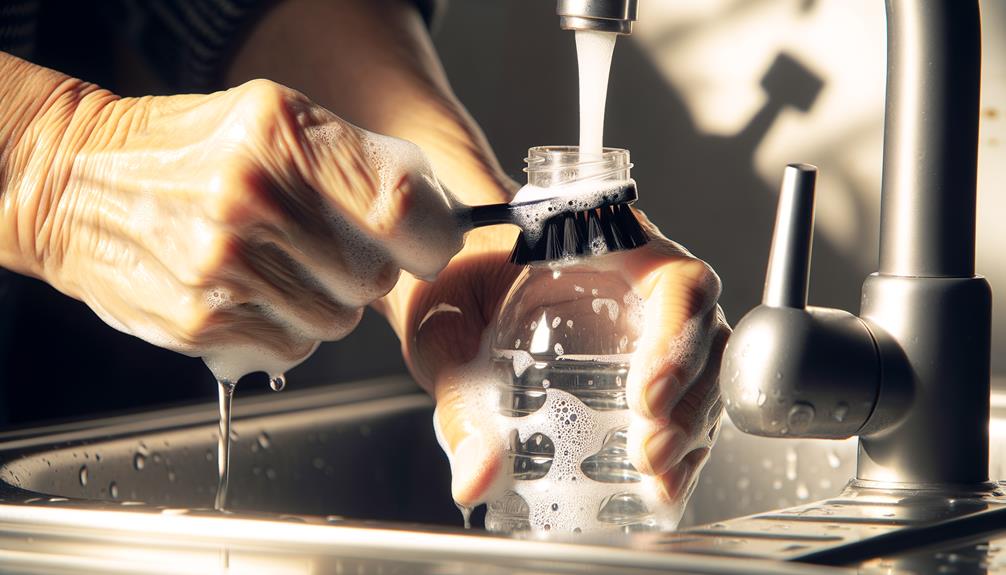
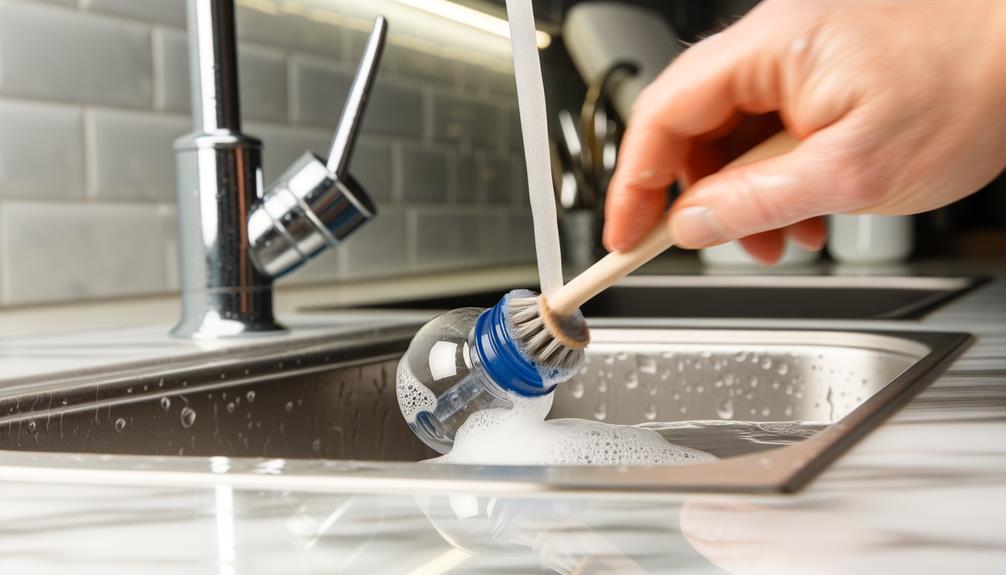
To clean the mouthpiece, use a small brush or pipe cleaner to scrub away any residue or buildup inside and around it. Focus on reaching all crevices and tight spots where bacteria might hide. Employ a toothbrush for larger areas and a pipe cleaner for narrow passages. Regular cleaning prevents mold and bacteria growth, ensuring safe drinking water.
| Tool | Use Case | Frequency |
|---|---|---|
| Small Brush | General scrubbing | Weekly |
| Pipe Cleaner | Narrow passages | Weekly |
| Toothbrush | Larger surface areas | Weekly |
| Cotton Swab | Delicate spots | As needed |
| Mild Detergent | Effective cleaning solution | Weekly |
Ensure thorough cleaning by alternating tools based on the mouthpiece’s design.
Rinse and Sanitize
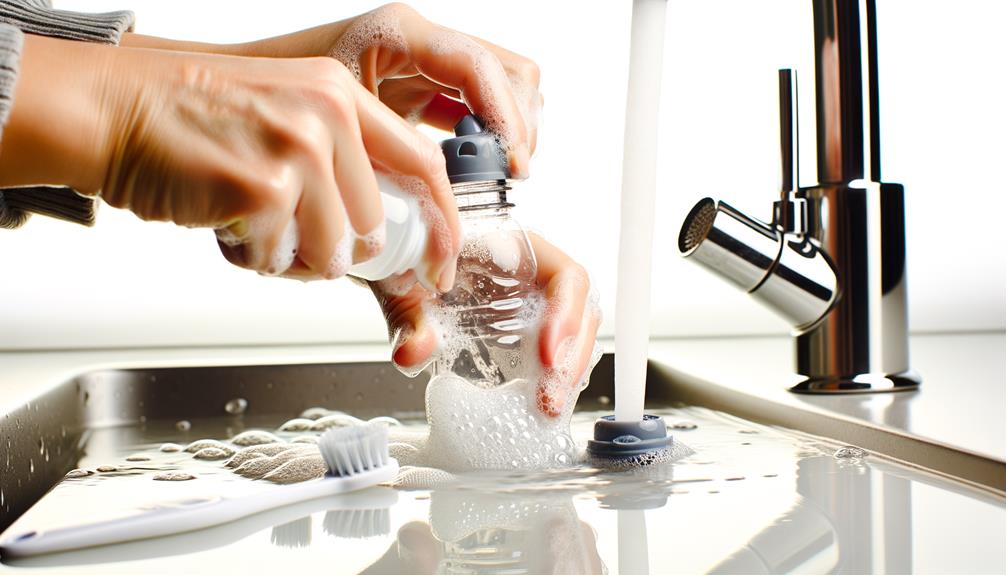
After scrubbing the mouthpiece thoroughly, rinse it under warm, running water to remove any loosened debris and soap residue. Confirm you rinse every crevice, as leftover soap can leave an unpleasant taste and potentially harmful residue.
Next, sanitize the mouthpiece by soaking it in a solution of one tablespoon of unscented liquid bleach per gallon of water. Let it sit for at least two minutes to effectively kill bacteria and germs. Alternatively, you can use a commercial sanitizing solution designed for kitchen utensils.
After soaking, rinse the mouthpiece again under warm, running water to eliminate any traces of the sanitizing solution. This step confirms that the mouthpiece is safe and ready for use.
Dry and Reassemble
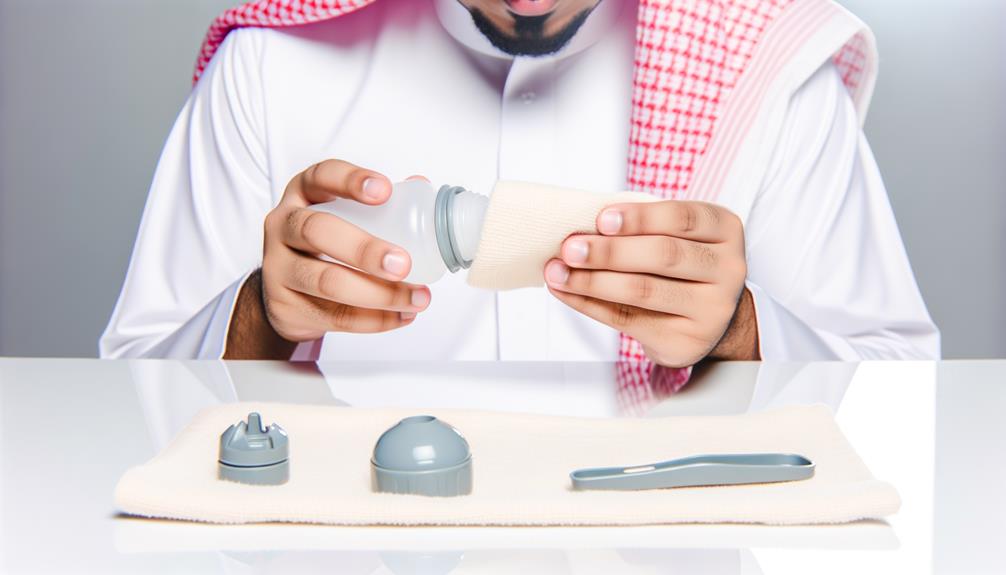
Once you’ve thoroughly rinsed the mouthpiece, guarantee it dries completely to prevent any mold or bacteria growth. Use a clean, dry cloth to pat the mouthpiece dry. Make sure you reach all crevices. If possible, let the mouthpiece air dry in a well-ventilated area for a few hours. Confirm no moisture remains before reassembling.
Next, reassemble the water bottle. Place the dry mouthpiece back onto the bottle, making certain it fits securely. Double-check all seals and connections to avoid leaks. If your water bottle has multiple parts, verify each piece is correctly aligned and tightly fastened.
Maintaining cleanliness and dryness guarantees a safe drinking experience. Regularly follow these steps to keep your water bottle in peak condition.
Conclusion
You’ve now cleansed your water bottle’s mouthpiece—a crucial gatekeeper of your hydration. Just as a well-maintained lighthouse guides ships safely, a clean mouthpiece guarantees your health.
Remember, thorough cleaning isn’t merely routine; it’s a ritual safeguarding your wellness journey. Consistent care symbolizes your commitment to purity and liveliness.
So, keep your cleaning supplies handy and make this process a habit. A clean mouthpiece reflects a clear path to a healthier you.

