How to Clean Takeya Water Bottle? Step By Step Guide
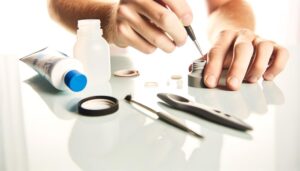
To clean your Takeya water bottle, start by gathering supplies: warm water, dish soap, a bottle brush, and a small brush for the lid. Disassemble the bottle by removing the lid, gasket, silicone components, and straw.
Rinse thoroughly with warm water. Fill with soapy water and scrub inside and out, focusing on hard-to-reach areas.
For stubborn stains, use a baking soda paste or soak in white vinegar. Eliminate any odors with a warm water and vinegar mix, then rinse well.
Dry all parts completely before reassembling to prevent leaks. Ready for more on achieving spotless cleanliness?
Key Takeaways
- Disassemble the bottle, removing the lid, gasket, straw, and silicone components for thorough cleaning.
- Rinse the bottle and parts with warm water to eliminate residual liquids and debris.
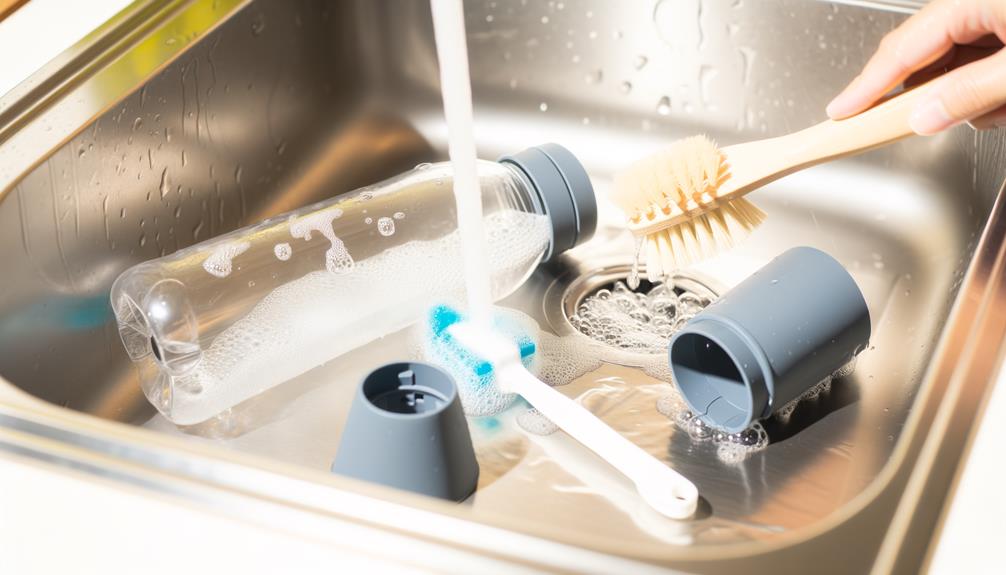
- Clean with warm soapy water using a bottle brush, paying attention to nooks and crevices.
- Use baking soda paste or white vinegar for stubborn stains and odors, followed by thorough rinsing.
Gather Your Supplies
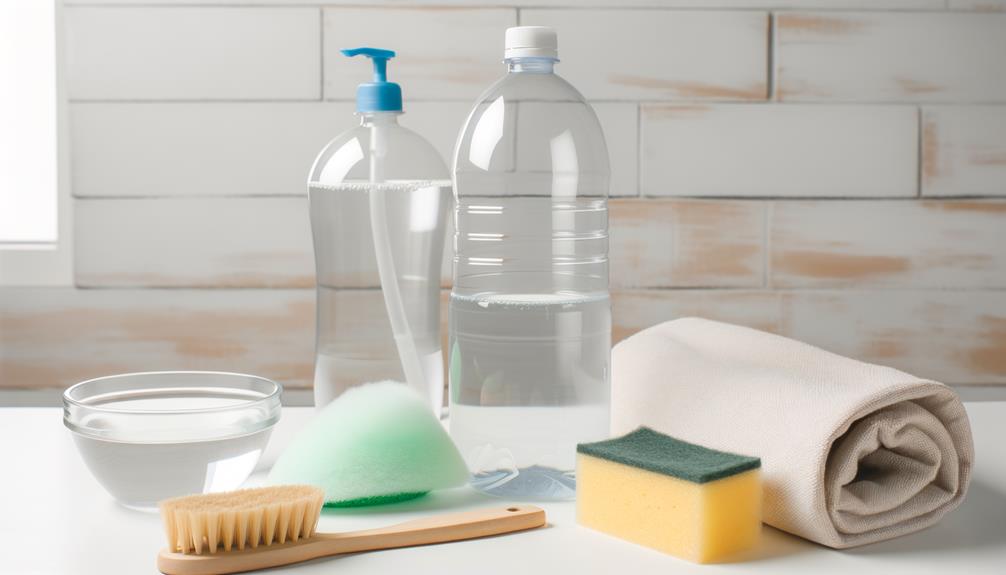
Before you begin cleaning your Takeya water bottle, make certain you have all the necessary supplies ready.
You’ll need warm water, mild dish soap, a bottle brush, a small brush or toothbrush for the lid, and a clean towel.
If you prefer, gather baking soda and white vinegar for a more thorough clean.
Don’t forget a straw brush if your bottle has a straw.
Lay everything out on a clean workspace to guarantee easy access.
This organized approach will make the process efficient and effective.
Having the right tools on hand will help you tackle every nook and cranny of your bottle, confirming it’s sanitized and ready for use.
Now that you’re prepared, you can move on to the next steps.
Disassemble the Bottle
Start by removing the lid from the bottle and taking out the gasket.
Next, separate the straw and spout from the lid.
Remove Lid and Gasket
To disassemble your Takeya water bottle, firmly twist the lid counterclockwise and carefully remove the silicone gasket from the underside of the lid.
Start by gripping the lid securely and applying consistent pressure to twist it off. Once the lid is removed, locate the silicone gasket—this is the rubber ring that guarantees a tight seal.
Gently pry it out using your fingers, being cautious not to stretch or damage it. The gasket can sometimes be snug, so take your time to avoid tearing. This step is essential, as the gasket often harbors hidden grime that can affect your bottle’s cleanliness.
Once separated, you’ve successfully disassembled the main components of your Takeya water bottle, making it ready for a thorough cleaning.
Separate Straw and Spout
Next, firmly grasp the straw and gently twist it counterclockwise to detach it from the spout assembly. This step is essential for a thorough cleaning. Be methodical as you disassemble the bottle to guarantee no parts are damaged or misplaced.
Follow these steps to keep the process organized:
- Inspect: Before detaching, inspect the connection point for any debris or buildup.
- Grip: Use a dry cloth to improve your grip on the straw.
- Twist: Apply gentle, steady pressure to avoid breaking the straw.
- Set Aside: Once detached, place the straw in a safe, clean area.
Detach Silicone Components
With the straw and spout set aside, proceed by carefully removing the silicone components from the bottle.
Start with the silicone ring around the lid. Gently pull it off, guaranteeing you don’t stretch or tear it.
Next, check for any silicone seals inside the lid and the base of the spout. These small pieces are essential for preventing leaks, so handle them with care.
If your Takeya bottle includes a silicone grip or sleeve, slide it off as well.
Each component needs to be detached for thorough cleaning. Lay them out in an organized manner to avoid losing any pieces.
This meticulous disassembly guarantees you’ll clean every part effectively, maintaining the bottle’s integrity and longevity.
Rinse With Warm Water
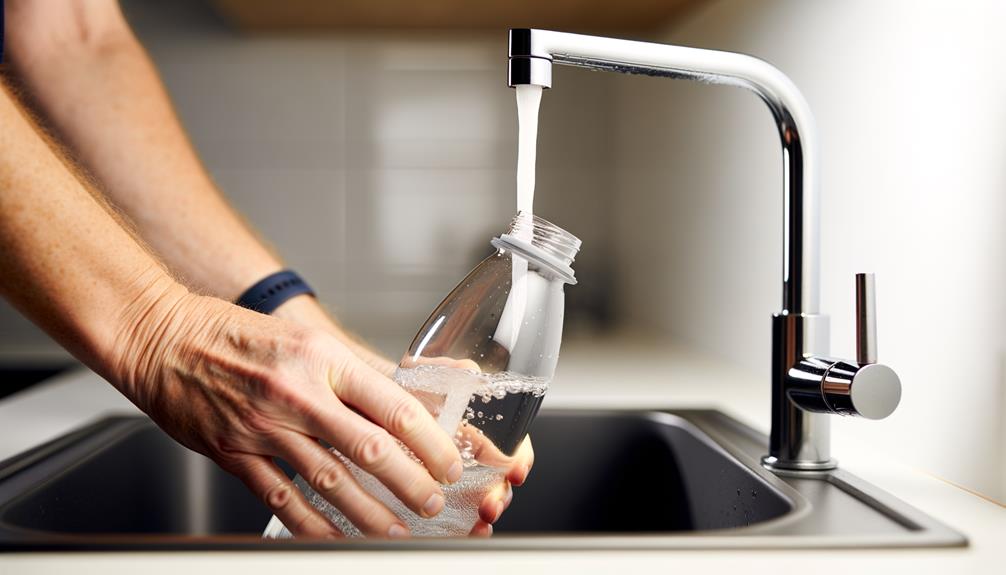
Start by rinsing your Takeya water bottle with warm water to remove any residual liquids.
Make certain to use gentle scrubbing with a soft brush to dislodge any stuck particles.
This step guarantees that your bottle is clean and ready for a deeper clean.
Remove Residual Liquids
To effectively remove any remaining liquids from your Takeya water bottle, thoroughly rinse it with warm water. Follow these steps to guarantee peak cleanliness:
- Fill the bottle halfway with warm water.
- Secure the cap and give it a vigorous shake for several seconds.
- Empty the water, guaranteeing all liquid is poured out.
- Rinse the cap separately with warm water, paying attention to any small crevices.
Use Gentle Scrubbing
After rinsing, grab a soft bottle brush or sponge to gently scrub the interior and exterior surfaces of your Takeya water bottle. Make sure to pay special attention to the lid and any hard-to-reach areas where residue might build up. Rinse thoroughly with warm water to remove any soap or cleaner before allowing the bottle to air dry completely. If you’re also looking for tips on how to clean Contigo bottle, similar methods apply—use a brush or sponge to scrub all surfaces and rinse well to maintain freshness.
Focus on areas where residue might build up, like the bottom and the neck. Use warm water and a mild dish soap to aid in removing any stubborn stains or odors.
Be thorough but gentle to avoid scratching the bottle’s surface. Pay special attention to the lid and the threads, as these spots can harbor bacteria.
Rinse thoroughly with warm water to guarantee all soap is removed. Don’t forget to scrub the mouthpiece or straw, if applicable.
Once scrubbed and rinsed, let the bottle air dry completely before reassembling or storing.
Clean With Soap
Begin by filling your Takeya water bottle with warm water and adding a few drops of dish soap. Swirl the water around to distribute the soap evenly. This helps in loosening any grime or residue clinging to the bottle’s interior.
Make sure you also wash the cap and any detachable parts using soapy water.
To guarantee you’re on the right track, follow these steps:
- Use warm, not hot, water to avoid damaging the bottle.
- Add just a few drops of dish soap; a little goes a long way.
- Shake the bottle to mix the soap thoroughly.
- Remove the cap and clean it separately.
Scrub the Nooks
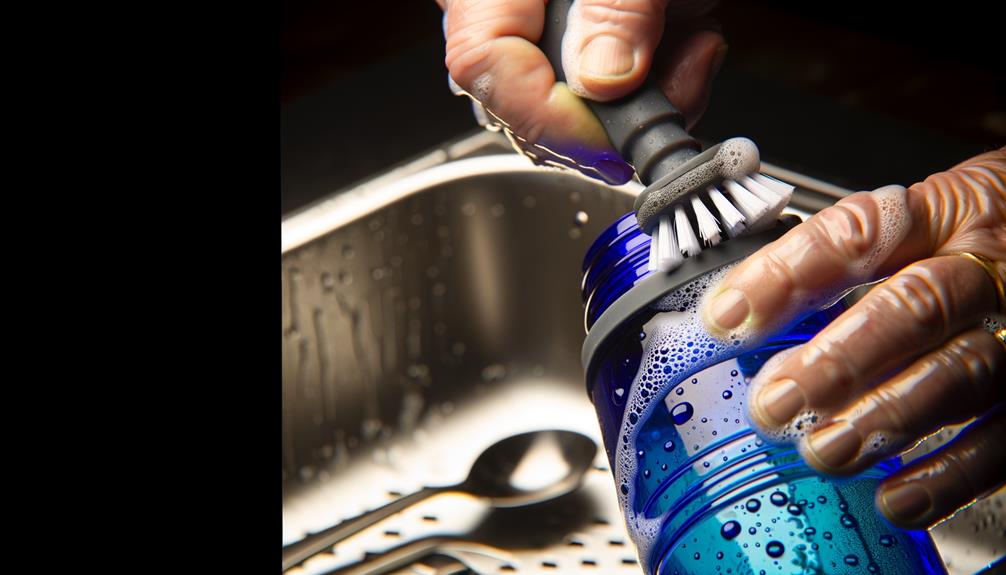
With a bottle brush or a sponge, meticulously scrub all the nooks and crannies inside your Takeya water bottle to make certain no grime or residue is left behind. Focus on the areas where the bottle’s neck meets the body and the bottom corners. Be sure to use a brush that fits comfortably inside the bottle to reach all the tight spots.
| Tool | Purpose |
|---|---|
| Bottle Brush | Reaches deep into the bottle’s corners |
| Small Sponge | Scrubs the neck and bottom effectively |
| Cleaning Cloth | Wipes the exterior and cap thoroughly |
Make sure you don’t overlook the threads of the cap and the bottle’s mouth. A thorough scrub guarantees your bottle remains hygienic and free from any hidden buildup.
Tackle Stubborn Stains
If you encounter any stubborn stains that regular scrubbing can’t remove, it’s time to employ a more targeted approach to guarantee your Takeya water bottle looks as good as new.
First, use a mixture of baking soda and water to create a paste. Apply this paste directly to the stains and let it sit for 15 minutes. Next, scrub the area with a bottle brush.
If the stains persist, try these methods:
- Vinegar Soak: Fill the bottle with white vinegar and let it sit overnight.
- Lemon Juice: Rub fresh lemon juice on the stains and let it sit for 10 minutes.
- Hydrogen Peroxide: Use a diluted hydrogen peroxide solution for tough stains.
- Salt and Ice: Shake a mixture of coarse salt and ice inside the bottle.
This should help you tackle even the most persistent stains.
Eliminate Odors
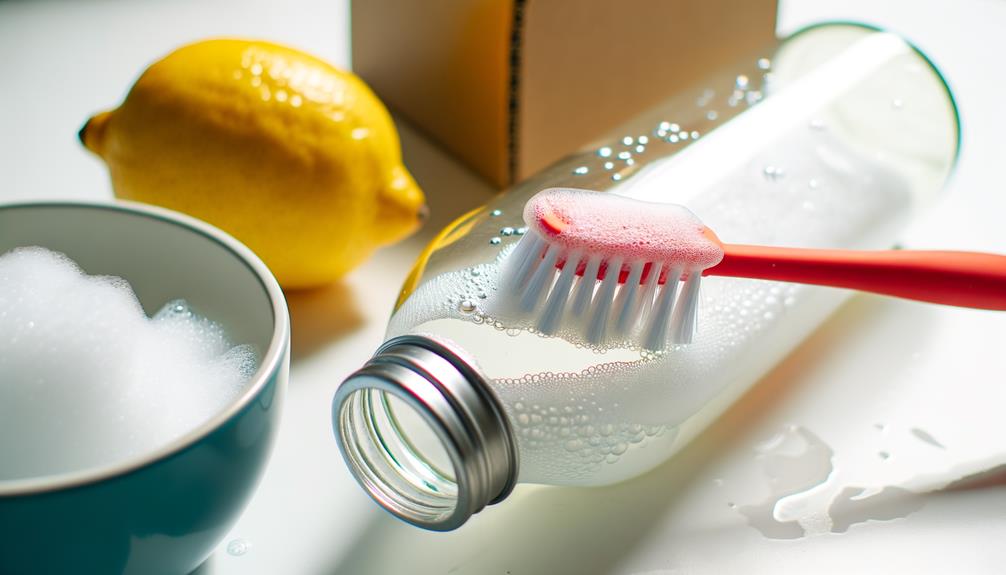
To eliminate odors from your Takeya water bottle, start by filling it with a mixture of warm water and a few tablespoons of white vinegar.
Shake the bottle vigorously to guarantee the solution reaches all corners and surfaces. Let it sit for about 15-20 minutes to allow the vinegar to break down any odor-causing bacteria.
After soaking, use a bottle brush to scrub the interior thoroughly, paying extra attention to the neck and lid areas. Rinse the bottle well with warm water to remove any vinegar residue.
For stubborn odors, repeat the process or try adding a teaspoon of baking soda to the vinegar solution. This combination enhances the deodorizing effect, leaving your bottle fresh and odor-free.
Dry and Reassemble
Make certain every component of your Takeya water bottle is completely dry before reassembling to prevent any mold or mildew growth. Use a clean, dry towel to wipe down the bottle, lid, and any detachable parts. Allow them to air dry for at least an hour in a well-ventilated area.
Inspect each piece: Confirm no moisture remains, especially in nooks and crannies.
Reassemble carefully: Align all parts correctly to avoid leaks.
Check seals and gaskets: These should be dry and properly positioned to maintain the bottle’s integrity.
Test for tightness: Secure the lid and other components without overtightening.
Store properly: Keep your bottle in a dry, clean place when not in use.
Conclusion
Cleaning your Takeya water bottle thoroughly is vital to maintain its longevity and guarantee your drinks stay fresh.
By consistently following these steps, you’ll prevent bacteria buildup and keep odors at bay.
Some argue that regular cleaning isn’t necessary, but evidence shows that neglect can lead to mold and unpleasant smells.
So, don’t skip these vital steps—your health and hydration experience depend on it.
Take control and make bottle maintenance a regular part of your routine.


