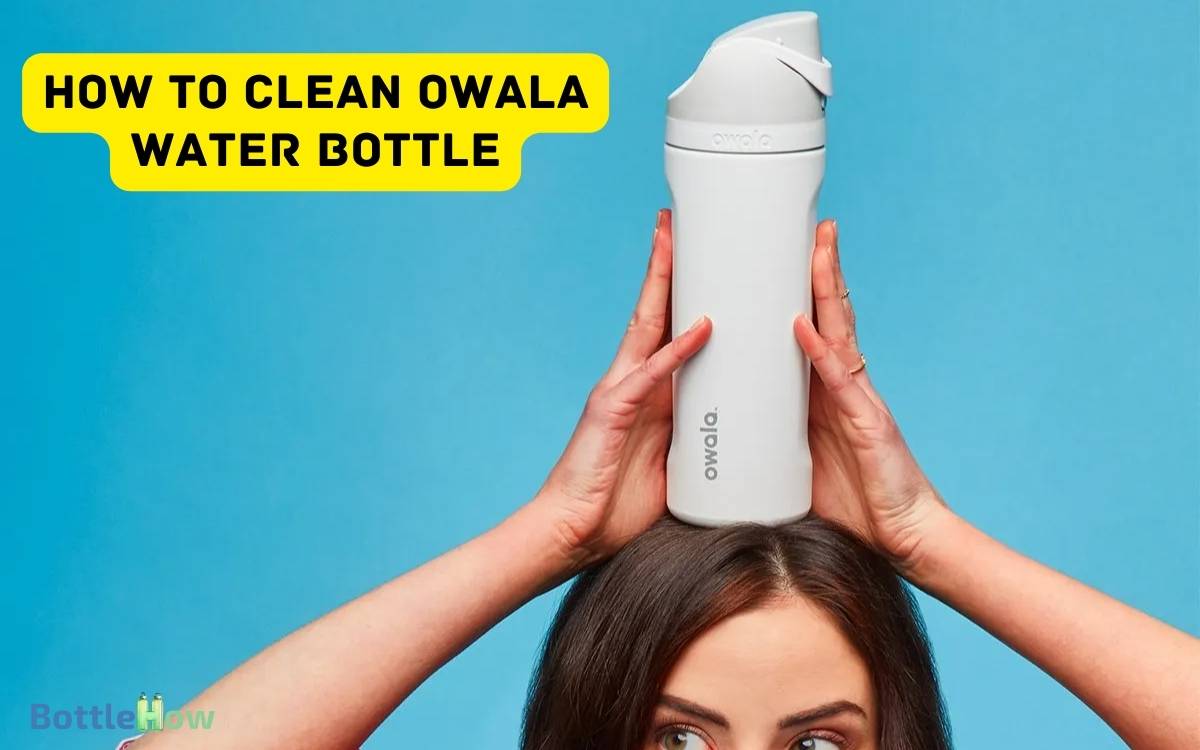
How to Clean Owala Water Bottle? Step by Step Guide!
To clean your Owala water bottle, gather mild dish soap, a soft sponge, and a bottle brush.
- Disassemble the bottle, including the lid and straw.
- Rinse each part with warm water.
- Scrub the interior with the bottle brush, paying attention to the neck and threads.
- For the lid, use a small brush to reach all nooks and crannies.
- Sanitize by filling the bottle halfway with white vinegar and warm water, then shake and let sit for 15 minutes.
- Rinse thoroughly and let all components dry completely.
- Once you reassemble, make sure there’s no misalignment.
Follow these steps to keep your bottle in top condition.

Key Takeaways
Gather Cleaning Supplies
You’ll need a few specific cleaning supplies to make sure your Owala water bottle is thoroughly cleaned.
Start by gathering:
- A mild dish soap
- A soft sponge
- A bottle brush with flexible bristles to reach all corners
- A small brush or old toothbrush for scrubbing the cap and lid areas
- White vinegar or baking soda for deeper cleaning and deodorizing
- A microfiber cloth or a clean dish towel for drying
- A non-abrasive scrub pad if your bottle has hard-to-remove stains
Make sure all supplies are clean and ready for use. Now that you’ve gathered everything, you’re prepared to move on to the next step in the cleaning process.
Disassemble the Bottle
Begin by removing all parts of the Owala bottle, including the lid, straw, and any silicone gaskets. Next, separate the lid components by detaching the spout and any additional pieces.
This step guarantees each part gets thoroughly cleaned and no hidden grime remains.
Remove All Parts
Start by unscrewing the lid from the base of the Owala water bottle to access the interior components. Once the lid is removed, set it aside.
Now, take out any removable parts inside the bottle, such as the straw or inner cap. Gently pull the straw out to avoid damaging it.
Carefully inspect the bottle’s interior for any additional detachable pieces. If your Owala bottle has a silicone gasket or seal, carefully lift it out using your fingers or a small tool to make sure it doesn’t tear.
Make sure you’ve removed all parts, leaving the bottle fully disassembled. This thorough disassembly is essential for an effective and hygienic cleaning process, making certain all areas are accessible.
Separate Lid Components
Carefully examine the lid to identify any detachable parts, such as the spout, silicone ring, or small screws. Begin by twisting the spout counterclockwise to remove it.
Next, gently pry off the silicone ring using a small tool or your fingers. If you notice any screws, use a small screwdriver to unscrew them carefully.
| Step | Action |
|---|---|
| 1 | Twist the spout counterclockwise to detach it. |
| 2 | Pry off the silicone ring gently using a small tool. |
| 3 | Unscrew any visible screws with a small screwdriver. |
Rinse With Warm Water
Start by rinsing all parts of your Owala water bottle with warm water to loosen any debris. Use a mild dish soap to guarantee thorough cleaning, and scrub gently with a bottle brush. Make sure to pay extra attention to the lid and any hard-to-reach areas where residue can build up. Rinse all parts thoroughly with warm water to remove any soap, and allow them to air dry completely before reassembling. If you’re also wondering how to clean Pottery Barn bottle, follow a similar method using warm water, mild soap, and a bottle brush for the best results.
Make sure to rinse well to remove all soap residue, repeating this process after each use.
Temperature and Soap Usage
Rinse your Owala water bottle with warm water to help dissolve any lingering residues and guarantee a thorough clean. Warm water is effective at loosening grime and making it easier to wash away.
After rinsing, apply a small amount of mild dish soap. Choose a non-abrasive, fragrance-free soap to avoid leaving any unwanted scents or residues.
Gently swirl the soap inside the bottle, focusing on areas that tend to accumulate dirt, like the bottom and the mouthpiece. Use a bottle brush if necessary for those hard-to-reach spots.
Make sure the soap reaches every part of the bottle for maximum effectiveness. This method ensures your bottle stays clean and safe for daily use without damaging its materials.
Rinsing Technique Tips
Begin by filling your Owala water bottle with warm water, making sure it reaches every corner and crevice. Swirl the water inside the bottle to help loosen any remaining soap residue or debris.
Pay close attention to the lid, spout, and threads, as these areas often trap grime. Tilt the bottle at different angles to guarantee a thorough rinse. Pour out the warm water and repeat the process until the water runs clear.
For an extra touch of cleanliness, you can dismantle any removable parts and rinse them separately. After rinsing, inspect the bottle to confirm no soap remains. Proper rinsing will keep your Owala water bottle fresh and ready for use.
Frequency of Rinsing
Maintaining a consistent rinsing schedule with warm water is key to ensuring your Owala water bottle remains hygienic and free from unpleasant odors.
Rinse your bottle with warm water daily, especially after each use. This simple step prevents residue buildup and bacterial growth.
Start by emptying any remaining liquid, then fill the bottle halfway with warm water. Swirl the water around for about 30 seconds to dislodge particles.
Pour out the water and repeat if necessary until the interior is thoroughly clean. Don’t forget to rinse the lid and any straws or additional components.
Doing this daily helps maintain cleanliness and extends your bottle’s lifespan. Regular rinsing is an effective, low-effort habit that keeps your bottle fresh.
Use a Bottle Brush
To thoroughly clean your Owala water bottle, follow these steps:
Insert a bottle brush into the bottle’s opening and gently scrub the interior surfaces. Make sure the brush reaches all corners, particularly the bottom where residues often accumulate. Use a brush with soft bristles to avoid scratching the bottle’s surface.
Rotate the brush in a circular motion, applying consistent pressure to dislodge any stubborn debris. Don’t forget to pay attention to the neck and threads of the bottle, as these areas can harbor bacteria.
Rinse the bottle thoroughly with warm water to remove any loosened particles. Repeat the process if necessary until the bottle is spotless.
Regular use of a bottle brush ensures your Owala water bottle remains hygienic and ready for use.
Clean the Lid Thoroughly
- To clean the lid thoroughly, start by disassembling it to access all parts.
- Use a bottle brush to scrub every nook and cranny, ensuring no residue remains.
- After cleaning, let all components air dry completely before reassembling.
Disassemble for Proper Cleaning
Start by unscrewing the lid and separating all removable parts to make certain every component of your Owala water bottle gets thoroughly cleaned.
Carefully dismantle the lid, making sure you remove any rubber gaskets or small pieces that might trap bacteria and grime. Pay special attention to the spout, straw, or any other intricate parts.
To guarantee a meticulous clean, follow these steps:
- Remove the gasket: This small rubber ring often hides dirt and mold.
- Separate the straw: If your bottle has a straw, take it out for individual cleaning.
- Detach the spout: Many lids have spouts or sippers that can be detached.
- Check for hidden parts: Some models have additional pieces that can come apart.
Use Bottle Brush
A bottle brush is essential for reaching every nook and cranny of the lid, guaranteeing no hidden grime remains.
First, choose a brush with firm bristles that can navigate tight spaces. Insert the brush into the lid and scrub all surfaces, focusing on the threading and any crevices that might trap residue. Rotate the brush in a circular motion, applying gentle pressure to dislodge stubborn particles.
Rinse the lid thoroughly with warm water to wash away loosened debris. For any particularly tough spots, add a drop of dish soap to the brush, then scrub and rinse again.
Be thorough to guarantee every part of the lid is clean, preventing buildup that could affect taste or hygiene.
Air Dry Components
After scrubbing and rinsing, lay out all the components on a clean towel to air dry completely. Guarantee each piece, especially the lid, is positioned to allow maximum airflow.
This prevents moisture buildup, which can lead to mold or bacteria growth. Pay particular attention to the straw and small crevices in the lid, as these areas tend to retain moisture.
Guarantee all components are:
- Spread out evenly: Avoid stacking parts to ensure proper drying.
- Placed in a ventilated area: Choose a spot with good air circulation.
- Turned periodically: Rotate pieces to expose all surfaces to air.
- Checked for dryness: Make sure all parts are completely dry before reassembling.
Following these steps guarantees your Owala water bottle remains clean and safe for use.
Wash With Dish Soap
To thoroughly clean your Owala water bottle, follow these steps:
- Pour a small amount of dish soap into the bottle’s opening.
- Fill it halfway with warm water.
- Secure the lid tightly and shake vigorously for about 30 seconds. This action helps to dislodge any residue or buildup inside.
- Use a bottle brush to scrub the interior, paying special attention to the bottom and any crevices.
- Remove the lid and separate any detachable parts, such as the straw or spout.
- Wash these components individually with dish soap and warm water.
- Rinse everything thoroughly to make sure no soap remains.
- Carefully inspect each part to confirm cleanliness.
- Once satisfied, proceed to the next step in your cleaning routine.
Sanitize With Vinegar
With your Owala water bottle now washed and rinsed, it’s time to sanitize it using vinegar to guarantee all bacteria and odors are effectively eliminated.
Fill your bottle halfway with white vinegar, then top it off with warm water. Secure the lid and shake the mixture vigorously for about 30 seconds. Allow it to sit for 15 minutes to make sure thorough sanitization.
Afterward, empty the bottle and rinse it well with warm water.
- Fill halfway with white vinegar: Secures an effective cleaning solution.
- Top off with warm water: Helps dilute the vinegar for easier spreading.
- Shake for 30 seconds: Distributes the solution evenly.
- Let it sit for 15 minutes: Provides time for the vinegar to eliminate bacteria and odors.
This method ensures your bottle is clean and fresh.
Dry Completely
Make sure every part of your Owala water bottle, including the lid and any detachable components, is thoroughly dried to prevent mold and mildew growth.
Start by using a clean, dry towel to wipe down all surfaces. Pay special attention to crevices and threads where moisture can hide. For the lid and smaller parts, a soft cloth or cotton swab can help reach tighter areas.
After towel drying, let the components air dry completely by placing them on a drying rack or clean dish towel in a well-ventilated area. Ensure they aren’t stacked or touching to allow airflow.
Double-check that no moisture remains before you reassemble the bottle to maintain its cleanliness and functionality.
Reassemble the Bottle
Begin reassembling your Owala water bottle by carefully aligning the lid with the bottle’s mouth, making sure that the threads match up perfectly. Gently twist the lid clockwise until it’s securely tightened to prevent any leaks.
Next, insert the straw into the designated hole in the lid, making sure it’s firmly in place. Reattach any additional components, such as removable seals or spouts, by pressing them back into their respective positions.
- Check for Misalignment: Confirm the threads are properly aligned before tightening.
- Secure the Straw: Push the straw until you hear a click, indicating it’s locked in.
- Test for Leaks: Fill the bottle with water and shake it to confirm there are no leaks.
- Inspect Components: Verify all parts are reattached and secure.
Regular Maintenance Tips
Regular maintenance of your Owala water bottle guarantees its longevity and peak performance. Start by rinsing it daily with warm water and mild dish soap.
Make sure you cleanse the lid and straw thoroughly to avoid any bacterial buildup. Every week, perform a deeper clean by soaking the bottle in a mixture of water and white vinegar for 15 minutes.
| Step | Frequency | Method |
|---|---|---|
| Daily Clean | Daily | Warm water and mild dish soap |
| Deep Clean | Weekly | Soak in water and white vinegar for 15 minutes |
| Inspect | Monthly | Check for any wear and tear, replace parts if necessary |
Conclusion
By following these steps, you’ll have your Owala water bottle sparkling clean in no time. Remember, a clean bottle is like a cool breeze on a hot day—refreshing and essential.
Stay diligent with regular maintenance, and you’ll keep your bottle in top shape for years to come. Don’t forget, a little effort goes a long way. So, take care of your bottle, and it’ll take care of you.
Happy hydrating!


