Diy Water Bottle Dispenser: Quick & Easy Guide!
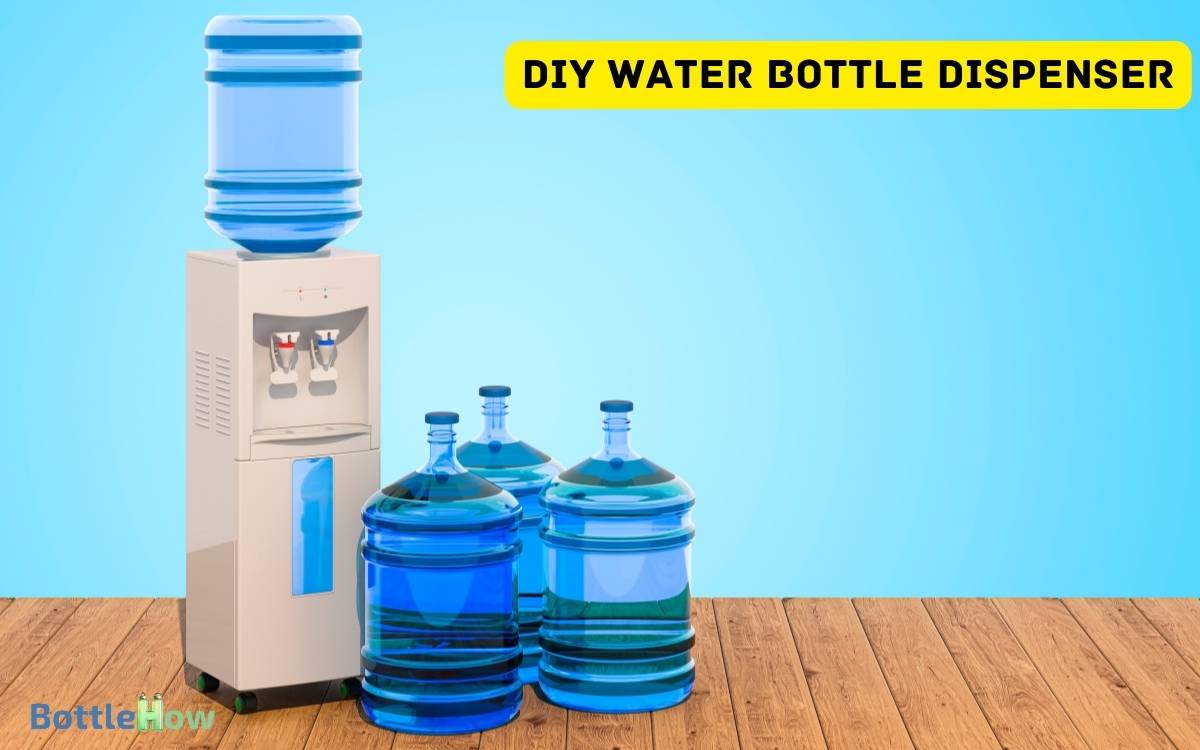
To make a DIY water bottle dispenser, gather sturdy plastic containers, BPA-free bottles, and a dispensing valve.
Clean and sterilize the bottles thoroughly. Construct a stable plywood base with pre-drilled holes and secure it using wood glue and screws.
Attach metal brackets for reinforcement. Install vertical supports and crossbars, then fit the bottle cradle to match the bottle’s contour.
Use a silicone sealant to attach a high-quality spigot and test for smooth operation. Personalize with vinyl decals for a unique look.
Following these instructions precisely will guarantee you create a professional, custom dispenser worth flaunting. Continue for advanced personalization techniques.
Key Takeaways
Materials Needed
To construct a water bottle dispenser, you’ll need a list of essential materials.
- Sturdy plastic container (BPA-free)
- Dispensing valve (preferably a durable ball valve)
- Food-grade silicone sealant
- Drill with various bits
- Measuring tape
- Sandpaper
- Marking tool
These materials will provide a solid foundation for constructing a functional and safe water bottle dispenser.
Preparing the Bottles
First, select appropriate bottle sizes based on your dispenser’s specifications and usage requirements.
Next, meticulously clean and sterilize the bottles using a high-grade sanitizing solution to guarantee no contaminants remain.
Choosing Bottle Sizes
Selecting the best bottle size for your water dispenser involves evaluating factors such as daily water consumption, available storage space, and the dispenser’s compatibility with different bottle dimensions.
First, calculate your household’s daily water usage. Opt for a larger bottle if consumption is high to reduce the frequency of refills.
Measure your storage area to make sure the bottle fits comfortably. Verify the dispenser’s specifications; not all dispensers accommodate every bottle size.
Consider using BPA-free plastic or glass bottles for health and safety. For a more seamless integration, make sure the bottle’s neck and cap are compatible with the dispenser’s inlet.
Cleaning and Sterilizing
Once you’ve selected the appropriate bottle size, maintain excellent hygiene by thoroughly cleaning and sterilizing the bottles before use.
Begin by washing the bottles with warm, soapy water to eliminate surface contaminants. Rinse them thoroughly to remove any soap residue.
Next, sterilize the bottles by boiling them in water for 10 minutes or using a commercial sterilizing solution. Make sure every part, including caps and seals, is sterilized.
Here’s a quick reference table for your cleaning and sterilizing process:
| Step | Description |
|---|---|
| 1. Wash | Warm, soapy water |
| 2. Rinse | Thoroughly with clean water |
| 3. Boil | 10 minutes in boiling water |
| 4. Sterilize Solution | Follow manufacturer’s guidelines |
| 5. Dry | Air-dry on a clean surface |
This meticulous process guarantees your DIY dispenser remains sanitary.
Constructing the Base
Begin by ensuring all required materials, such as plywood, measuring tape, and screws, are readily accessible to streamline the construction process.
Start by measuring and cutting the plywood to the required dimensions using a saw. Sand all edges to prevent splinters.
Align the cut pieces on a flat surface for precise assembly. Pre-drill holes at the designated screw positions to avoid wood splitting.
Use wood glue to reinforce joints before fastening screws. Secure all parts with screws, ensuring they’re flush and level.
Double-check measurements and alignment to maintain structural integrity. Finally, sand the entire base to achieve a smooth finish. This will provide a sturdy foundation for your water bottle dispenser.
Assembling the Dispenser
With the base securely constructed, position the water bottle holder components on the base, making sure each piece aligns with the pre-marked guide lines for accurate assembly.
Attach the vertical supports using wood glue and screws, maintaining perpendicular alignment. Use a carpenter’s square to verify right angles.
Next, secure the horizontal crossbars, ensuring they’re flush with the support edges. For added stability, reinforce the joints with metal brackets. Carefully drill pilot holes before inserting screws to prevent wood splitting.
Assemble the bottle cradle by attaching the curved support arms, making sure they fit snugly around the bottle’s contour. Double-check all connections for tightness.
Adding Functional Features
To enhance your water bottle dispenser, incorporate an easy dispensing mechanism to facilitate user convenience. Additionally, consider using durable materials to ensure long-lasting performance and reliability. You can also create a DIY paracord water bottle holder to keep your bottle secure and easily accessible while on the go. This combination of functionality and convenience will make your water bottle dispenser even more user-friendly.
Implement adjustable flow control to allow users to customize the water output according to their needs.
Select durable material options to guarantee longevity and withstand frequent use.
Easy Dispensing Mechanism
Installing an easy dispensing mechanism in your water bottle dispenser requires integrating a high-quality spigot with a user-friendly lever or push-button system.
| Step | Description |
|---|---|
| 1 | Select durable spigot material |
| 2 | Attach spigot to bottle with watertight seal |
| 3 | Position lever or push-button ergonomically |
| 4 | Test mechanism for smooth operation |
| 5 | Ensure consistent flow |
Adjustable Flow Control
After ensuring a smooth and consistent flow, enhance your water bottle dispenser’s functionality by incorporating adjustable flow control mechanisms.
Start by selecting a high-quality valve, such as a needle valve, which allows precise control over the water flow rate.
Install the valve at the dispensing point by carefully drilling a hole and securing it with water-tight epoxy.
Next, attach a flow restrictor to fine-tune the output, making sure it fits snugly within the tubing. Test the dispenser by adjusting the valve to achieve the desired flow rate.
For added convenience, consider integrating a thumb lever or rotary dial, enabling effortless adjustments.
This setup not only optimizes water usage but also provides a customized experience for different needs.
Durable Material Options
Choosing durable materials for your water bottle dispenser guarantees longevity and enhances its overall functionality.
Start by selecting high-quality, BPA-free plastic or stainless steel for the main body. These materials resist corrosion and wear, ensuring your dispenser stands the test of time.
Consider these options:
- BPA-Free Plastic: Lightweight, easy to mold, and safe for drinking water.
- Stainless Steel: Robust, rust-resistant, and offers a sleek, modern look.
- Silicone Seals: Flexible, watertight, and prevents leakage at connection points.
- Reinforced Tubing: Durable, kink-resistant, and facilitates smooth water flow.
Use food-grade silicone for seals and gaskets to maintain a secure, leak-proof assembly. Opt for reinforced tubing to handle pressure changes without compromising the water flow, enhancing the dispenser’s efficiency and reliability.
Personalizing Your Dispenser
Customizing your water bottle dispenser allows you to integrate specific features and aesthetics that suit your personal preferences and daily needs.
Start by selecting a color palette that complements your space. Use non-toxic, waterproof paints for durability.
For an ergonomic touch, add a silicone handle grip; it’s easy to install and enhances comfort. Incorporate a flow control valve for precise water dispensing. Attach LED lights to the base for a modern look and nighttime visibility.
Don’t forget to label the dispenser with vinyl decals for a polished finish. By incorporating these advanced techniques, you’ll not only enhance functionality but also elevate the visual appeal of your DIY project.
Personalization guarantees your dispenser is uniquely yours and perfectly tailored to your lifestyle.
Conclusion
You’ve now crafted a functional and personalized DIY water bottle dispenser. Isn’t it satisfying to create something both useful and unique?
By mastering advanced techniques and using professional terminology, you’ve guaranteed your dispenser isn’t just practical but also sophisticated. Remember, the key is in the details—from the precise cuts to the perfect fit, every step matters.
Now, enjoy the convenience you’ve built with your own hands and start hydrating in style!


