Diy Rabbit Water Bottle: 5 Easy & Quick Steps!
Building a DIY rabbit water bottle is straightforward and beneficial for your pet.
Regularly check for any leaks or clogging issues. With a few more refinements, you’ll have a reliable hydration solution for your rabbit.
Key Takeaways
Gather Your Materials
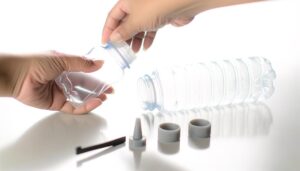
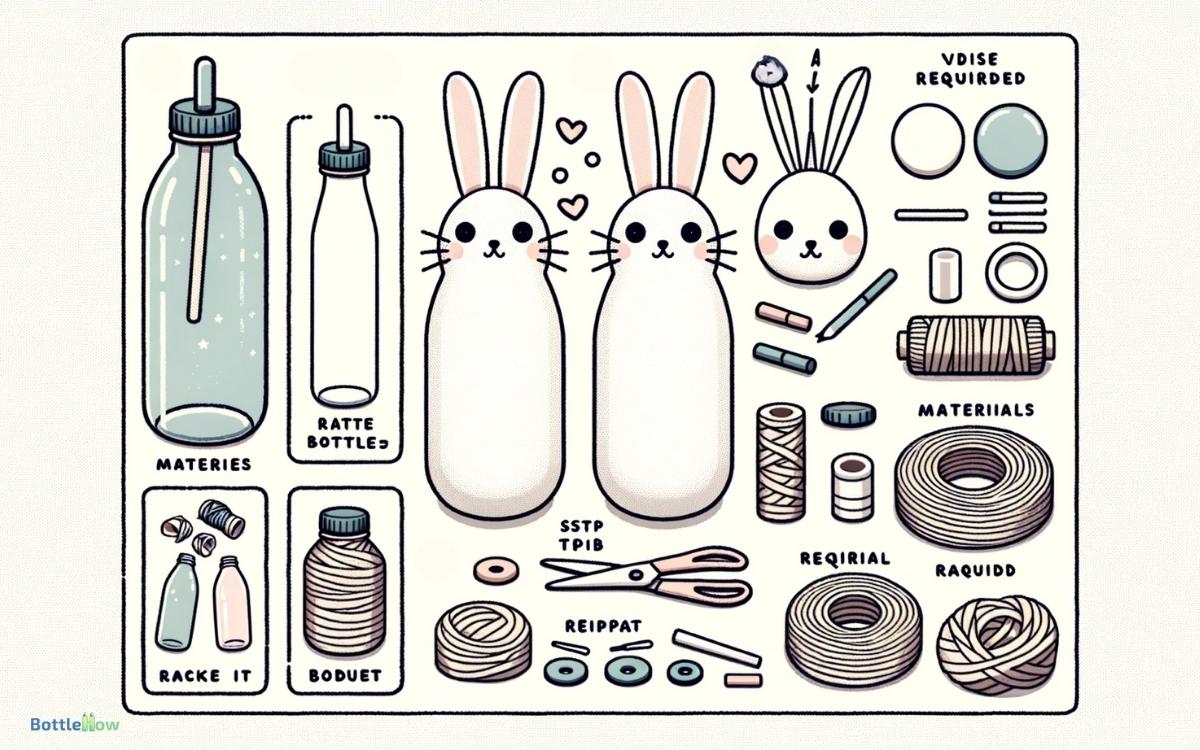
To start building your DIY rabbit water bottle, you’ll need to gather all the necessary materials efficiently.
- First, obtain a clean plastic bottle, preferably one with a tight-sealing cap.
- Next, secure a metal ballpoint tube or spout specifically designed for small animals.
- You’ll also need a strong adhesive, like epoxy, to guarantee the spout stays securely attached.
- Additionally, gather a pair of scissors or a utility knife for cutting, and a drill with a small bit to create a hole for the spout.
- Don’t forget to have some fine-grit sandpaper on hand to smooth any rough edges.
Prepare the Bottle
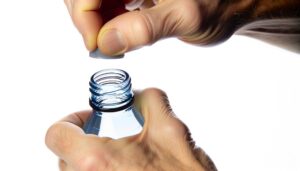
With all your materials gathered, start by thoroughly cleaning the plastic bottle to make sure it’s free of any contaminants.
Use warm, soapy water and a bottle brush to scrub the interior. Rinse thoroughly to remove all soap residues, as any remaining detergent could harm your rabbit. After rinsing, allow the bottle to air dry completely to prevent any mold or bacteria growth.
Next, inspect the bottle for any cracks or damages that could cause leaks. If you find any, replace the bottle to make certain of a secure, hygienic water source.
Mark the spot where you’ll attach the spout, typically near the bottom. Make sure the placement is low enough for your rabbit to comfortably reach, but high enough to avoid bedding contamination.
Assemble the Spout
Carefully align the spout with the marked spot on the bottle, making sure it’s positioned correctly for your rabbit’s ease of access. Hold the spout steady and use a strong adhesive or a rubber grommet to secure it in place.
Confirm the spout is snug and won’t rotate or wiggle, as this could cause leaks. Double-check the angle, making sure it’s slightly tilted downward to facilitate water flow. If the spout has a ball-bearing mechanism, verify it moves freely and isn’t obstructed.
Test the flow by filling the bottle with water and gently pressing the spout. Observe any drips to confirm proper assembly. This step is essential for your rabbit to have consistent access to clean water.
Secure the Bottle
Confirm that the bottle is securely attached to the enclosure using a sturdy clip or bracket designed to hold it in place.
Position the bottle at a height where your rabbit can comfortably reach the spout without straining. Select a spot on the enclosure that’s easily accessible for refilling and cleaning.
Utilize durable, rust-resistant materials for the clip or bracket to guarantee longevity and prevent potential hazards.
Verify that the bottle is level to avoid leaks and spillage. Double-check that the clip or bracket securely holds the bottle; it shouldn’t wobble or shift when your rabbit uses it.
Properly securing the bottle not only guarantees a consistent water supply but also maintains a clean and safe environment for your rabbit.
Test and Adjust
Once the bottle is securely attached, test the water flow by pressing the spout to make sure it’s dispensing water properly. If the water isn’t flowing smoothly, check for clogs or misalignments. Adjust the spout angle if needed.
Confirm the bottle is filled to the correct level; sometimes airlocks can prevent proper flow. Observe your rabbit drinking to verify it can comfortably access the water. If your rabbit appears to struggle, reposition the bottle slightly lower or higher.
Regularly inspect the bottle and spout for any signs of wear or leaks. Consistent checks guarantee your rabbit stays hydrated and the DIY water bottle remains functional and reliable. Your attention to these details will enhance your rabbit’s well-being.
Conclusion
To sum up, you’ve successfully created a DIY rabbit water bottle that guarantees your pet stays hydrated. Did you know that rabbits can drink up to 10% of their body weight in water each day? This highlights the significance of a reliable water source. Ensuring your rabbit has constant access to fresh water is essential for their health and well-being. If you have other small pets, you might also consider making a DIY hamster water bottle to keep them hydrated as well. Providing a dependable water source for all your pets helps prevent dehydration and promotes overall wellness.
By following these steps, you’ve not only saved money but also provided a customized solution for your rabbit. Remember to regularly check and clean the bottle to maintain peak health for your furry friend.

