Diy Pet Water Bottle: Easy & Quick Steps!
Creating a DIY pet water bottle is both economical and customizable.
This method not only saves money but also allows for personalized touches—if you need more detailed steps, keep going.
Key Takeaways
Materials Needed
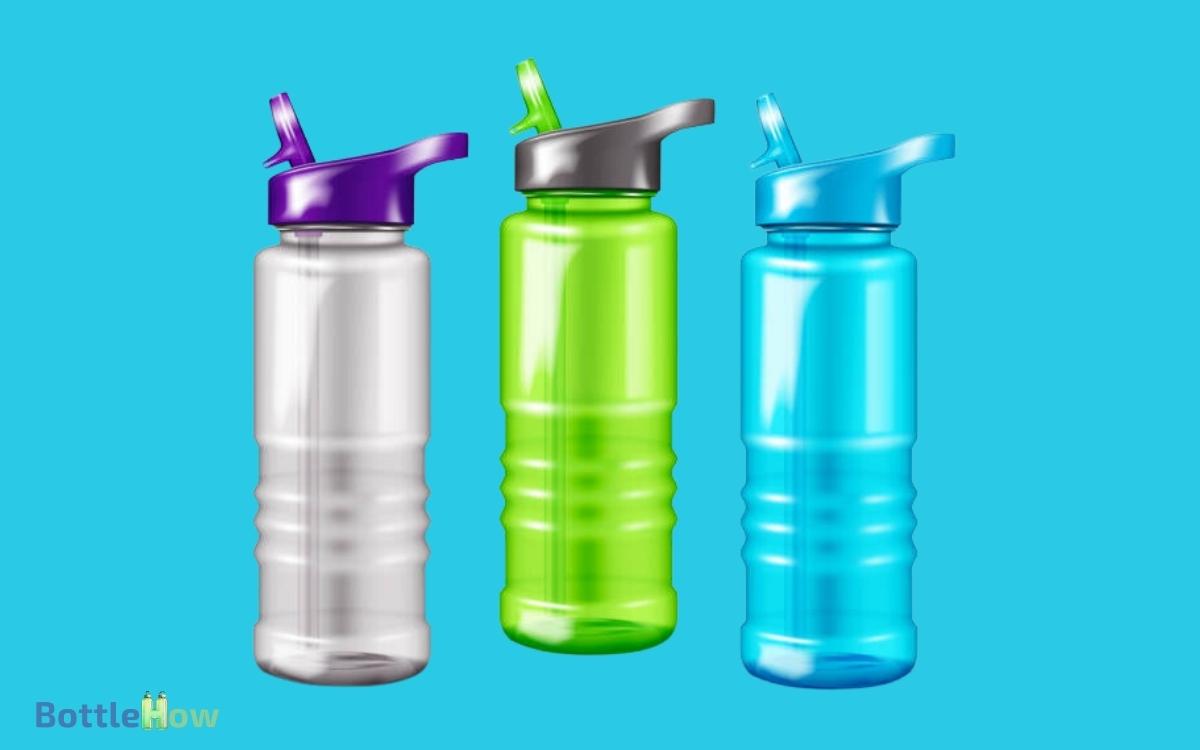
To create your DIY pet water bottle, you’ll need a few essential materials to make sure it’s both functional and safe for your pet. Start with a sturdy, BPA-free plastic bottle to guarantee it’s non-toxic.
You’ll also need a metal spout with a ball-bearing tip; this allows your pet to drink without leaking. Get a rubber gasket to secure the spout to the bottle and prevent any leaks. Use a strong adhesive to attach the spout securely.
Additionally, a wire or clamp will help you attach the bottle to your pet’s cage or designated area. Finally, keep a pair of scissors and a marker handy for precise cutting and measurements. These materials ensure a reliable and safe water bottle for your pet.
Choosing the Right Bottle
When choosing the right bottle for your DIY pet water dispenser, consider both the material and durability to guarantee it can withstand daily use.
You’ll also need to think about the size and capacity to make sure it meets your pet’s hydration needs.
Selecting the appropriate bottle can greatly impact the effectiveness and longevity of your project.
Material and Durability
Selecting the right bottle for your DIY pet water dispenser involves considering materials that are both durable and safe for your pet.
Opt for BPA-free plastic or stainless steel, as they’re non-toxic and won’t leach harmful chemicals into the water.
BPA-free plastic is lightweight and shatter-resistant, making it a practical choice for active pets. Stainless steel, on the other hand, is incredibly robust, rust-resistant, and easy to clean, guaranteeing longevity and hygiene.
Evaluate the bottle’s construction quality. Look for thick walls that can withstand bites and drops. Check the sealing mechanism to prevent leaks. Avoid glass bottles, as they can break easily and pose a hazard.
Size and Capacity
Selecting the correct size and capacity for your DIY pet water bottle guarantees that your pet always has access to fresh water without constant refills.
First, consider your pet’s size and water consumption habits. Small pets like hamsters or birds require smaller bottles, typically around 50-100 milliliters.
For medium-sized pets such as rabbits or guinea pigs, opt for bottles holding 250-500 milliliters. Larger pets like dogs or cats need bottles that can hold one liter or more.
Also, think about how often you can refill the bottle. If you’re frequently away, a larger capacity bottle is ideal.
Additionally, make sure the bottle’s design fits comfortably in your pet’s cage or living area to prevent spills and ensure easy access.
Cleaning the Bottle
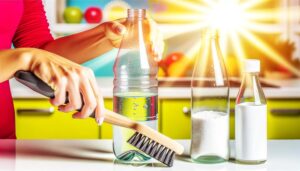
To guarantee your pet’s water bottle remains hygienic, gather necessary cleaning supplies like a bottle brush and mild dish soap.
Follow cleaning frequency guidelines, typically recommending a thorough wash every few days.
Use effective cleaning techniques, such as scrubbing all parts and rinsing well, to remove any residue or bacteria.
Necessary Cleaning Supplies
Acquiring the appropriate cleaning supplies guarantees your DIY pet water bottle remains hygienic and safe for your pet.
Start with a bottle brush to reach every nook and cranny. A mild dish soap is essential to remove grime without leaving harmful residues.
White vinegar serves as a natural disinfectant, ensuring an effective clean without chemicals. Finally, a small sponge or cloth can help with the exterior cleaning.
Here’s a quick reference table for your cleaning supplies:
| Cleaning Supply | Purpose | Recommended Frequency |
|---|---|---|
| Bottle Brush | Scrubbing interior surfaces | Every cleaning session |
| Mild Dish Soap | Removing dirt and grime | Every cleaning session |
| White Vinegar | Natural disinfection | Weekly |
| Sponge/Cloth | Cleaning exterior surfaces | Every cleaning session |
These supplies will help you maintain a clean and safe water bottle for your pet.
Cleaning Frequency Guidelines
Regular cleaning of your DIY pet water bottle is vital to safeguard your pet’s health and well-being.
Accumulated debris, bacteria, and algae can harm your pet, so it’s important to establish a consistent cleaning schedule.
Here’s a guideline to maintain excellent hygiene:
- Daily: Rinse the bottle and change the water to prevent bacterial growth.
- Weekly: Perform a thorough cleaning, scrubbing all parts with pet-safe soap and water.
- Monthly: Inspect the bottle for wear and replace any damaged components.
- Immediately: Clean the bottle if you notice any visible dirt or cloudiness.
Effective Cleaning Techniques
Mastering the art of cleaning your DIY pet water bottle guarantees that your pet has access to fresh, safe water at all times.
- Start by disassembling the bottle to make sure you can clean each part thoroughly.
- Use a bottle brush with soft bristles to scrub the interior, paying special attention to any hard-to-reach areas.
- For the nozzle, use a smaller brush or a cotton swab.
- A mixture of warm water and mild dish soap works best for eliminating grime and bacteria.
- Rinse all components thoroughly to remove soap residues.
- Make certain the bottle and its parts are completely dry before reassembling to prevent mold growth.
- Regularly check for wear and tear to maintain ideal cleanliness and functionality.
Creating the Drinking Nozzle
To create the drinking nozzle, start by selecting a suitable nozzle that fits securely onto your water bottle’s opening. Make sure the nozzle is pet-safe and made from durable materials.
You’ll need the following items:
- Nozzle: Choose one specifically designed for pet water bottles to guarantee proper flow and safety.
- Sealant: Use food-grade silicone or rubber gaskets to avoid leaks.
- Drill: To create a precise hole in the bottle cap, matching the nozzle size.
- Sandpaper: Smooth out any rough edges around the drilled hole.
Once you have these items, you can begin assembling the components. Be sure to measure and drill carefully to prevent damaging the bottle cap.
This ensures a snug fit, which is important for preventing leaks and ensuring ease of use for your pet.
Attaching the Nozzle
With the drinking nozzle prepared, securely attach it to the bottle cap using the food-grade sealant or rubber gaskets to guarantee a leak-proof fit. Confirm the nozzle aligns perfectly with the cap’s opening.
Apply a small amount of sealant around the base of the nozzle, then insert it into the cap, pressing firmly.
Hold it in place until the sealant sets. If using rubber gaskets, slide them over the nozzle’s base before inserting it into the cap.
Twist the nozzle slightly to ensure a snug fit. Check for any gaps or misalignments, adjusting as needed.
This will prevent leaks and ensure your pet has a consistent water supply. Make sure everything is securely tightened before proceeding.
Sealing the Bottle
Guaranteeing a proper seal on the bottle is essential to prevent any leaks and maintain a steady water supply for your pet.
To achieve this, follow these steps carefully:
- Apply Sealant: Use a food-safe, waterproof sealant around the edges of the nozzle where it meets the bottle. This will secure a tight fit.
- Tighten Nozzle: After applying the sealant, securely tighten the nozzle. Make sure there are no gaps.
- Check for Leaks: Fill the bottle with water and hold it upside down. Observe if any water escapes; if it does, reapply sealant and retighten.
- Cure Time: Allow the sealant to cure fully as per the manufacturer’s instructions before using the bottle.
Adding a Handle
When adding a handle to your DIY pet water bottle, start by choosing durable materials like rubber or fabric for longevity.
Make sure you attach the handle securely without causing leaks by using waterproof adhesive or reinforced stitching.
To enhance grip comfort, consider adding a padded layer or textured surface to the handle.
Choosing Handle Materials
Selecting the appropriate materials for the handle of your DIY pet water bottle is essential to guarantee durability and comfort. You’ll want a handle that stands up to wear and tear while being comfortable to carry.
Consider the following materials:
- Nylon Webbing: Strong and flexible, making it perfect for heavy use.
- Paracord: Durable and available in various colors, allowing customization.
- Leather: Offers a comfortable grip and a classic look but may require maintenance.
- Silicone: Provides a soft, non-slip grip, ideal for long walks.
Each material has its own advantages, so choose based on your specific needs and preferences. Ensuring the handle is both practical and comfortable will make transporting your pet’s water bottle a breeze.
Attaching Without Leaks
After selecting the ideal material for your handle, it is crucial to attach it to the bottle securely to prevent leaks and guarantee functionality.
Start by cleaning the attachment area to make sure of a tight bond. Use a waterproof adhesive or sealant around the handle’s contact points.
Position the handle carefully, pressing firmly to secure it. Allow sufficient drying time as specified by the adhesive manufacturer. Test for leaks by filling the bottle with water and gently shaking it to check for any seepage.
| Step | Action | Tool/Material Needed |
|---|---|---|
| 1 | Clean attachment area | Cleaning cloth |
| 2 | Apply waterproof adhesive | Waterproof adhesive/sealant |
| 3 | Position and secure handle | Handle material |
Ensuring a proper seal prevents leaks and makes the bottle functional.
Enhancing Grip Comfort
Enhancing the grip comfort of your DIY pet water bottle is essential for ease of use and portability. Adding a handle can make a significant difference.
Here’s a straightforward way to do it:
- Select a Material: Choose a durable material like nylon webbing or rubber for the handle.
- Measure and Cut: Measure the desired length of the handle, ensuring it fits comfortably in your hand, then cut the material.
- Attach to Bottle: Use strong adhesive or a hot glue gun to securely attach each end of the handle to the bottle.
- Reinforce: For extra durability, reinforce the attachment points with stitching or additional adhesive.
Testing for Leaks
To guarantee your DIY pet water bottle is functioning properly, it’s crucial to check for leaks by filling it with water and observing any potential drips or wet spots.
Begin by securing the cap and shaking the bottle gently. Inspect the seal around the cap, and make sure no water escapes.
Next, hold the bottle upside down and watch for any continuous dripping, which indicates a faulty seal or small puncture. Pay special attention to the nozzle or spout, ensuring it dispenses water only when intended.
If you identify a leak, you’ll need to reseal or replace the defective part before using it for your pet. By carefully testing for leaks, you guarantee your pet’s water supply remains clean and consistent.
Decorating Your Bottle
Personalizing your DIY pet water bottle not only makes it visually appealing but also adds a unique touch that reflects your pet’s personality. Start by gathering some craft supplies like stickers, paint, or markers. You can decorate the diy rabbit water bottle with your pet’s name, playful designs, or colorful patterns that match their habitat. Adding non-toxic paint or waterproof stickers ensures the decorations last while keeping your pet safe. This creative touch makes the water bottle stand out and adds a fun element to your pet’s space.
Here’s a simple guide to help you get started:
- Clean the Bottle: Make sure the bottle is thoroughly clean and dry to allow decorations to adhere properly.
- Choose a Theme: Decide on a theme that suits your pet’s character, such as playful, elegant, or sporty.
- Apply Decorations: Use non-toxic materials to decorate. Stickers, non-toxic paint, or waterproof markers work great.
- Seal the Design: If using paint or markers, apply a waterproof sealant to protect the design from moisture.
With these steps, you’ll create a one-of-a-kind water bottle for your pet.
Training Your Pet
Now that your DIY pet water bottle is ready, let’s focus on training your pet to use it effectively. Start by placing the bottle at your pet’s eye level.
Encourage curiosity by dabbing a bit of their favorite treat or food on the spout. When they approach, gently guide their mouth to the nozzle and press the spout to release some water. Repeat this process several times until they understand that water comes from the bottle.
Consistency is crucial, so make sure the bottle is always accessible and filled. Praise and reward your pet each time they use it correctly. Be patient; some pets learn quickly, while others may take a few days.
With time and persistence, your pet will comfortably use their new water bottle.
Maintenance Tips
Regular maintenance of your DIY pet water bottle guarantees it remains clean, functional, and hygienic for your pet’s daily use.
To maintain peak performance, follow these steps:
- Daily Rinse: Rinse the bottle with warm water daily to prevent bacterial buildup.
- Weekly Clean: Once a week, wash the bottle with mild soap and a bottle brush, ensuring no residue is left.
- Check for Leaks: Regularly inspect the bottle for any leaks or damage, replacing parts as needed.
- Sanitize Monthly: Once a month, sanitize the bottle by soaking it in a solution of one part vinegar to three parts water, then rinse thoroughly.
Troubleshooting Common Issues
Identifying and resolving issues with your DIY pet water bottle guarantees your pet always has access to fresh water. If the water flow is too slow, check for blockages in the nozzle or tube. Cleaning these parts with a small brush can often solve the problem.
If leaks occur, inspect the seal around the bottle cap and replace it if necessary. Make sure the bottle is securely attached to its holder to prevent tipping.
For issues with air bubbles, try refilling the bottle and screwing the cap on tightly. If your pet isn’t using the bottle, it might need training to understand the new water source.
Making these simple adjustments can keep your DIY pet water bottle functioning effectively.
Benefits of DIY Pet Bottles
Creating your own DIY pet water bottle offers numerous advantages, from cost savings to customization tailored to your pet’s specific needs.
Here are four key benefits:
- Cost Savings: DIY solutions are often more affordable than commercial options, allowing you to save money while providing for your pet.
- Customization: You can tailor the water bottle to match your pet’s size, drinking habits, and preferences, ensuring they stay hydrated comfortably.
- Eco-Friendly: Repurposing materials reduces waste and promotes sustainability, which is beneficial for the environment.
- Durability: By choosing high-quality materials, you can create a more robust and long-lasting water bottle compared to some store-bought alternatives.
Embracing a DIY approach gives you control and flexibility to meet your pet’s needs effectively.
Conclusion
It’s no coincidence that making a DIY pet water bottle not only saves money but also guarantees your pet’s hydration needs are met.
By choosing the right bottle, cleaning it thoroughly, and assembling a functional drinking nozzle, you’ll create a reliable water source. Plus, with regular maintenance and a few training sessions, your pet will quickly adapt.
So, take the plunge and enjoy the benefits of a customized, eco-friendly solution for your furry friend.

