Diy Personalized Water Bottle: Step by Step Guide!
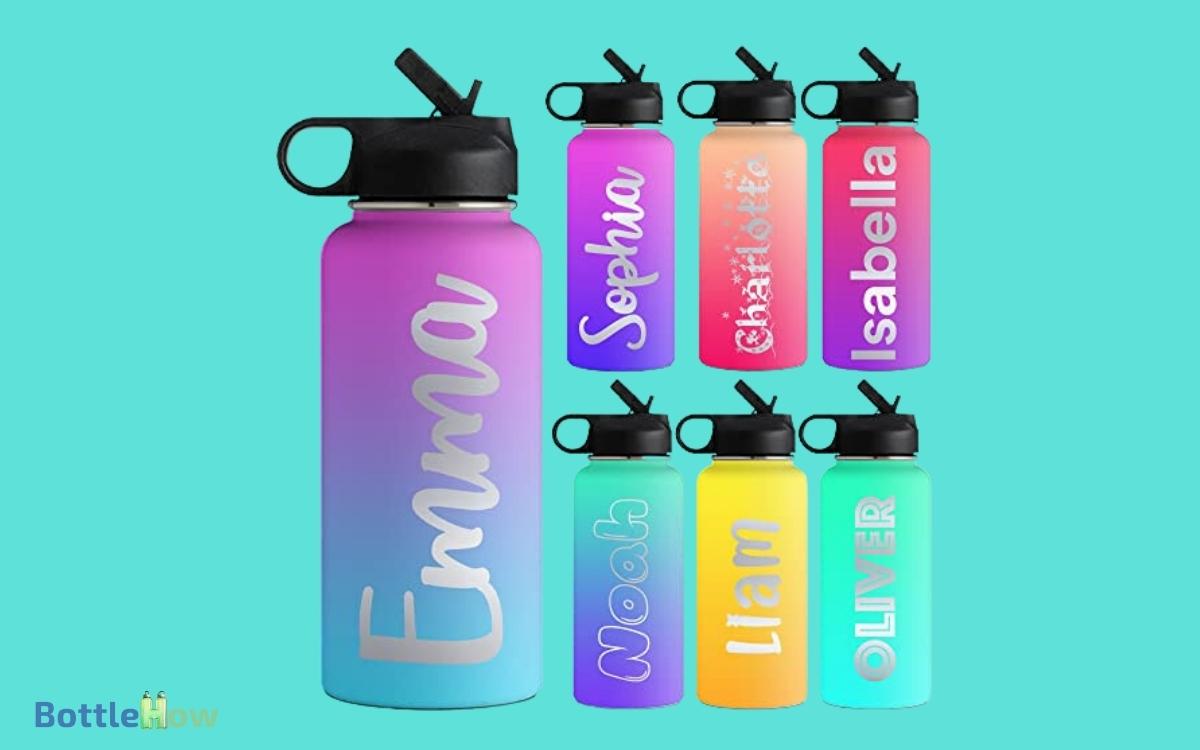
Creating your own personalized water bottle is a fun way to express your style and make something uniquely yours.
Ready to immerse yourself in the step-by-step process and make it uniquely yours?
Key Takeaways
Gather Your Materials
What do you need to create your own personalized water bottle?
- First, gather your basic materials. You’ll need a plain water bottle, ready to be transformed.
- Next, get some waterproof stickers or decals for decoration. Don’t forget paint pens or permanent markers for adding your unique touch.
- If you’re aiming for a more professional finish, grab some adhesive vinyl and a cutting machine. Consider also having a clear sealant spray to protect your designs from wear and tear.
- Additionally, a ruler and masking tape can help you keep everything aligned.
Now, with all these materials in hand, you’re set to start your creative journey. Remember, the key to a standout bottle is the combination of imagination and the right tools!
Choose Your Bottle
With your materials ready, the next step is selecting the perfect water bottle as your canvas.
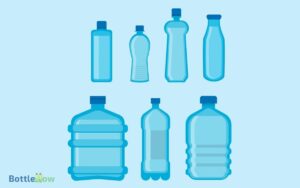
Start by considering the size and shape. Do you want a sleek, slim bottle that fits in your bag or a larger one for all-day hydration?
Material matters too—stainless steel keeps drinks cold and is durable, while BPA-free plastic is lightweight and affordable. Think about the color or finish; a plain surface can highlight your design beautifully.
Finally, check for any special features like a built-in straw or handle. Remember, your bottle should reflect your style and meet your functional needs.
Choose wisely; this is the foundation for your masterpiece! Now, you’re set to move on to creating your unique design.
Design Your Artwork
Now that you’ve got your bottle, it’s time to bring your vision to life! Start by choosing your favorite colors, then mix and match design elements like patterns and icons.
Choose Your Colors
Immerse yourself in the joy of selecting colors that mirror your personality and create a water bottle that’s truly unique to you. Your color choices can transform an ordinary bottle into a vibrant reflection of your individuality.
Think about the hues that make you happy or those that align with your favorite themes. Maybe you love the calming blues of the ocean or the energetic reds and oranges of a sunset. Don’t be afraid to mix and match; contrasting colors can make your design pop.
Consider using metallic or pastel shades for added flair. Remember, your water bottle is a canvas—let your creativity flow and choose colors that make a statement about who you are.
Select Design Elements
After choosing your colors, it’s time to tap into your artistic side by selecting design elements that will bring your personalized water bottle to life.
Start by thinking about the themes or images that resonate with you. Do you love nature? Consider adding leaves, flowers, or mountains. Are you a fan of geometric patterns?
Experiment with triangles, circles, or abstract shapes. You can also incorporate meaningful quotes or your favorite symbols to make it truly unique.
Use stencils or freehand your designs, depending on your comfort level. Remember, simplicity can be striking, so don’t feel pressured to overcomplicate things.
Trust your instincts and let your creativity flow, ensuring each element reflects your personal style and story.
Finalize Artwork Layout
Frequently, the final step in crafting your personalized water bottle is designing the artwork layout, guaranteeing each element harmoniously fits together. Start by positioning your main design element centrally to capture attention.
Balance other elements like text, icons, or additional graphics around it. Pay attention to spacing, alignment, and color coordination.
Here’s a quick guide to help you:
| Element | Positioning Tips | Tools to Use |
|---|---|---|
| Main Design | Centered for maximum impact | Design software, templates |
| Text | Surround main design, ensure readability | Fonts, text boxes, alignment tools |
| Icons/Graphics | Balance around the main design | Clipart, vector images |
| Colors | Harmonize with overall theme | Color palettes, design tools |
Prepare the Surface
To guarantee your design adheres perfectly, start by thoroughly cleaning the water bottle’s surface. This guarantees that dirt, oils, and residues don’t interfere with the application.
Follow these steps to prepare your bottle:
- Wash with Soap and Water: Use mild dish soap and warm water to clean the bottle. Rinse thoroughly.
- Dry Completely: Pat the bottle dry with a lint-free cloth, ensuring no moisture remains.
- Use Rubbing Alcohol: Wipe the surface with rubbing alcohol to remove any hidden oils or residues.
- Inspect the Surface: Look for any remaining dirt or spots and clean again if necessary.
Apply Your Design
With your bottle prepped and ready, it’s time to bring your creative vision to life by carefully applying your design.
Start by arranging your materials: stickers, paint pens, or vinyl cutouts. Using a steady hand, place your design elements on the bottle according to your plan.
Here’s a quick guide:
| Step | Material | Action |
|---|---|---|
| 1 | Stickers | Peel and stick carefully |
| 2 | Paint Pens | Draw your design |
| 3 | Vinyl Cutouts | Transfer and smooth out |
| 4 | Tweezers | Adjust small details |
Take your time to make sure everything is aligned and smooth. A little patience now will pay off with a stunning, personalized water bottle you’ll be proud to use daily.
Seal and Protect
Once your design is perfectly in place, it’s crucial to seal and protect it to guarantee your personalized water bottle withstands daily use.
Follow these steps to make sure your creation lasts:
- Choose a Clear Sealant: Opt for a waterproof, clear sealant spray to prevent smudging or peeling.
- Apply Evenly: Hold the can about 12 inches away and spray in a steady, even motion. Multiple thin layers are better than one thick coat.
- Drying Time: Allow each layer to dry thoroughly. Typically, 24 hours ensures the sealant fully sets.
- Cure for Durability: For maximum protection, let your bottle cure for 72 hours before using it.
Conclusion
Great job on creating your personalized water bottle! Did you know that personalized items can increase your sense of ownership by up to 20%?
Now, every sip from your bottle will remind you of your creativity and effort. Whether it’s for the gym, office, or a gift, your custom bottle will stand out and spark conversations.
Enjoy your unique creation and the eco-friendly benefits of reusing your stylish, one-of-a-kind water bottle! By choosing to convert water bottle to hydration, you’re not only reducing plastic waste but also embracing a more sustainable lifestyle. Every refill helps minimize environmental impact while keeping you refreshed throughout the day. Plus, your personalized bottle is a great conversation starter, inspiring others to make eco-conscious choices too!

