Diy Mouse Water Bottle: Easy & Quick Guide!
Creating a DIY mouse water bottle is simple and effective. Start with a small plastic bottle, clean it thoroughly, and make sure it’s dry.
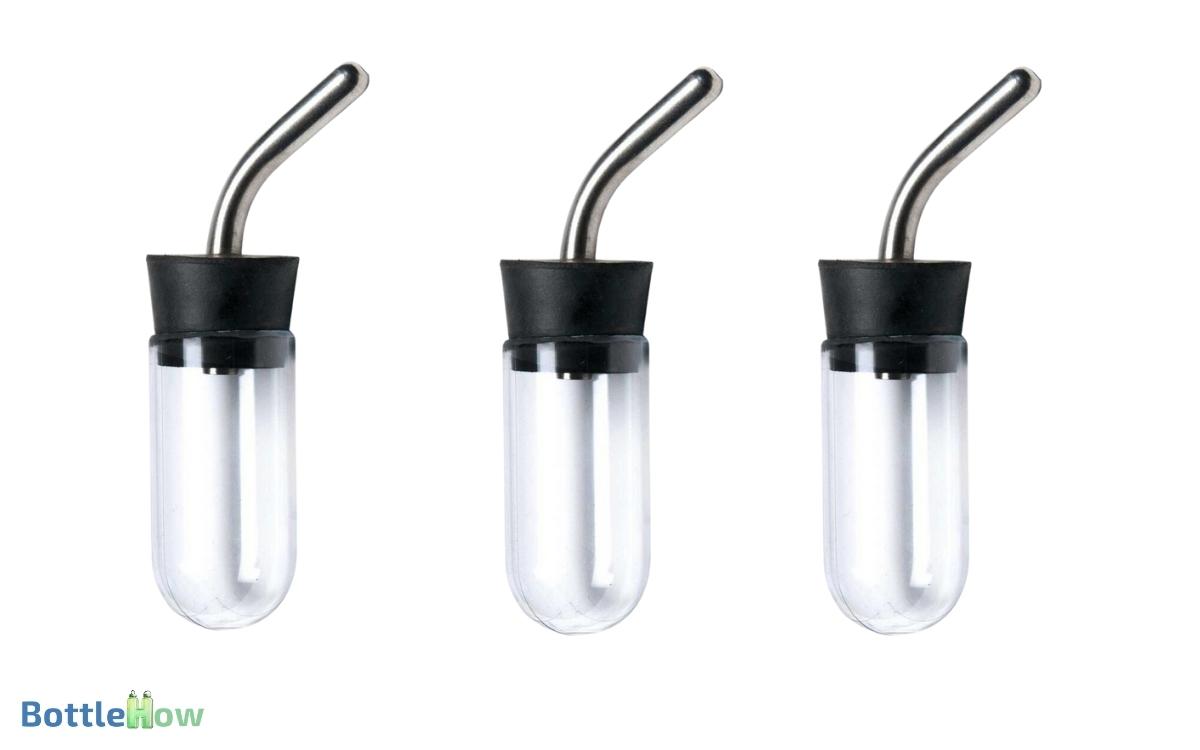
Drill a hole in the bottle cap and insert a stainless steel ball-bearing tube, securing it with waterproof sealant and a rubber stopper.
Mount the bottle at a height accessible to your mouse using a hanger or wire, and check for any leaks.
Regularly clean and maintain the bottle to keep the water fresh. If you follow these steps, your mouse will have a reliable water source.
Want to get into the details? Keep going!

Key Takeaways
Materials Needed
To create your own mouse water bottle, you’ll need a few essential materials to get started.
- First, grab a small plastic bottle, preferably one that’s clean and free of any harmful residues.
- You’ll also need a stainless steel ball-bearing tube, which acts as the drinking spout—this guarantees a controlled water flow.
- A sturdy adhesive or waterproof sealant is vital to secure the tube to the bottle.
- Additionally, a small drill or a heated nail will help create a precise hole for the spout.
- Don’t forget a hanger or wire to attach the bottle securely to the mouse cage.
- Lastly, make sure you have safe, clean water on hand.
Gathering these materials ensures your DIY project will be effective and safe for your pet.
Preparing the Bottle
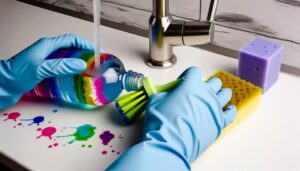
Start by thoroughly cleaning the small plastic bottle to make sure it’s free of any residues or contaminants. Use warm soapy water and a bottle brush to scrub every inch, including the neck and cap.
Rinse it well to remove all soap traces. Don’t skip this step; any leftover residue can harm your mouse.
Next, sterilize the bottle by soaking it in a solution of one part white vinegar to three parts water for 10 minutes.
This helps eliminate any lingering bacteria. After soaking, rinse the bottle thoroughly with clean water and let it air dry completely.
Guarantee the bottle is entirely dry before proceeding, as moisture can promote bacterial growth.
Your bottle is now ready for assembly.
Assembling the Components
With your clean and dry bottle at the ready, gather all necessary materials to begin the assembly process. You’ll need a rubber stopper, a metal drinking tube with a ball bearing, and a small drill. Carefully drill a hole in the bottle cap that fits the rubber stopper snugly to ensure a secure seal. Insert the metal drinking tube with the ball bearing through the stopper, making sure it fits tightly to prevent leaks. With these steps completed, your DIY water bottle dispenser is now ready for use!
- Start by drilling a hole in the bottle cap that fits the metal drinking tube snugly.
- Insert the tube through the hole, ensuring the ball bearing is at the end that will be inside the bottle.
- Secure the tube with the rubber stopper to prevent leaks.
- Make sure everything fits tightly to avoid water spills.
- Finally, fill the bottle with water, screw on the cap, and check for any leaks by turning it upside down. If all is secure, your water bottle is assembled.
Installing the Water Bottle
Wondering how to properly secure your newly assembled water bottle in your mouse’s habitat? Follow these steps to guarantee it’s both functional and accessible for your pet.
- Positioning: Place the water bottle at a height where your mouse can easily reach the spout but can’t stand directly under it. This prevents contamination and keeps the water fresh.
- Mounting: Use a metal or plastic holder to attach the bottle securely to the side of the cage. Make sure it’s tightly fastened to avoid any accidents.
- Testing: After installation, check for leaks and ensure that water flows smoothly when your mouse drinks. Adjust if necessary to maintain a steady supply.
Maintenance Tips
Regular maintenance of your mouse’s water bottle is essential to guarantee it remains clean and functional, providing fresh water for your pet at all times.
Start by emptying and rinsing the bottle daily to remove any debris or bacteria. Use a bottle brush to scrub the interior thoroughly at least once a week. Don’t forget to clean the nozzle, as it can harbor mold and bacteria.
Check for leaks by filling the bottle and observing any drips. Replace the water bottle if you notice persistent issues like cracks or a malfunctioning nozzle.
Conclusion
In the end, making your own mouse water bottle isn’t just a walk in the park, but it’s absolutely worth the effort.
You’ve got the know-how, materials, and steps to guarantee your little friend stays hydrated. With regular maintenance, this DIY project will stand the test of time.
Remember, you’ve created something unique with your own two hands, offering your pet a little piece of your dedication and care.


