Diy Hot Water Bottle: Step By Step Guide!
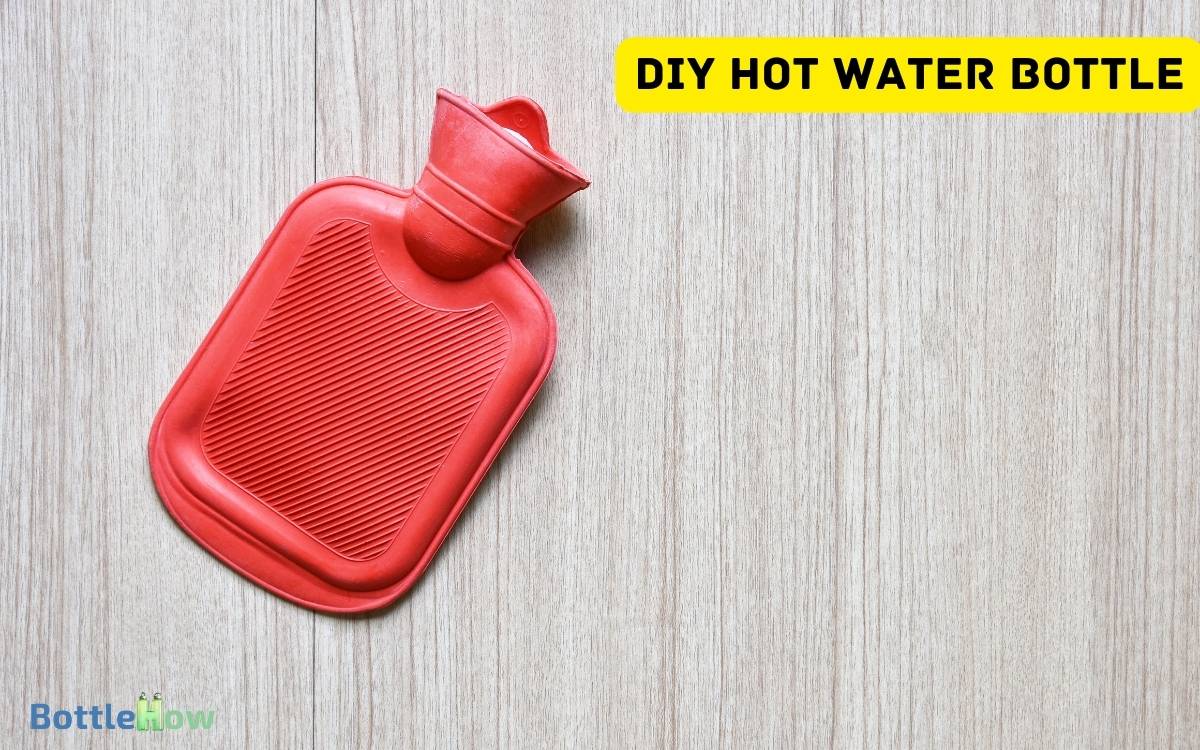
To create a DIY hot water bottle, use a heat-resistant rubber or silicone bottle that can handle temperatures up to 248°F.
Make sure you have a reliable sealing cap and a funnel for safe water pouring. Keep water temperature below 140°F to avoid burns.
Choose natural fabrics like cotton or wool, pre-wash them, and make certain they’re tightly woven to prevent leakage.
Cut the fabric with a 1-inch seam allowance, pin, and sew using even, strong stitches. Fill the bottle, expel air, and seal securely. Test for leaks by applying gentle pressure.
Explore further for detailed steps and safety tips.

Key Takeaways
Materials Needed
To create your own hot water bottle, you’ll need a few specific materials, including:
- Heat-resistant rubber or silicone bottle capable of withstanding temperatures up to 120°C (248°F).
- Reliable sealing cap made of the same heat-resistant material to prevent leaks.
- Funnel with a diameter of at least 5 cm (2 inches) for safe water transfer and minimal spillage.
- Materials free from harmful chemicals like BPA.
These items will ensure that your DIY hot water bottle is both effective and safe for regular use.
Safety Precautions
When using your DIY hot water bottle, always make sure the water temperature doesn’t exceed 60°C (140°F) to prevent burns and material damage.
- Make certain the bottle is securely sealed to avoid leaks.
- Inspect the bottle for any signs of wear or degradation before each use.
- Never overfill; leave some space to accommodate water expansion.
- Test the bottle’s surface temperature with your hand before applying it to your skin.
- Don’t apply the hot water bottle directly to bare skin; always use a cover.
- Avoid using the hot water bottle for extended periods—limit to 20 minutes per session.
- Store the bottle in a cool, dry place when not in use to maintain its integrity and safety.
Choosing the Fabric
Selecting the appropriate fabric for your DIY hot water bottle cover is crucial to guarantee safety, comfort, and durability. Opt for natural fibers like cotton or wool, which are breathable and heat-resistant.
Make sure the fabric weight is between 8-12 ounces per square yard for ideal insulation without being too bulky. Avoid synthetic materials, as they can melt or release harmful chemicals when exposed to heat.
Pre-wash and dry the fabric to prevent shrinkage later. Measure your hot water bottle dimensions precisely, adding at least 1 inch for seam allowances. Always use a fabric that’s tightly woven to prevent leaks.
Double-check the fabric’s integrity for any tears or weak spots before cutting, ensuring maximum durability and safety.
Cutting the Fabric
After ensuring your fabric is prepped and measured accurately, lay it out on a flat surface to begin cutting according to your hot water bottle dimensions, adding a 1-inch seam allowance on all sides.
Use a fabric marker to trace the outline, ensuring straight lines and precise corners. Secure the fabric with pins to prevent shifting.
When cutting, use sharp fabric scissors to maintain clean edges—dull scissors can cause fraying and uneven cuts. Always cut away from your body to avoid injury.
Double-check measurements before making any cuts, as precision is vital. Remember, the 1-inch seam allowance is essential for sewing stability and durability.
Take your time to make sure each cut is precise and follows your marked lines meticulously.
Sewing the Edges
Begin by aligning the fabric pieces with right sides facing each other, ensuring the edges match up precisely. Pin the edges together with straight pins, placing them every 1-2 inches.
Using a sewing machine, stitch a 0.5-inch seam allowance around the edges, leaving a 2-inch gap for turning. Backstitch at the beginning and end to secure the stitches.
| Step | Description |
|---|---|
| Pinning Fabric | Place pins every 1-2 inches along the edges |
| Sewing | Use a 0.5-inch seam allowance |
| Secure Stitches | Backstitch at the beginning and end |
Ensure the stitches are even and strong to prevent leaks. Carefully remove the pins as you sew to avoid damaging your machine. Double-check for any missed areas or weak points in the stitching.
Creating the Opening
To create the opening, carefully turn the fabric right side out through the 2-inch gap left in the stitching.
Make sure you handle the fabric gently to avoid fraying. Use a blunt tool, like a knitting needle, to push out the corners neatly.
Follow these steps:
- Inspect the Seams: Check for any loose threads or weak spots. Secure them with additional stitching if necessary.
- Press the Edges: Use an iron on a medium setting to press the edges flat, maintaining a clean, crisp fold.
- Reinforce the Gap: Topstitch around the 2-inch gap to prevent it from stretching or fraying during use.
Making the Inner Bag
Make sure the inner bag is made from a durable, heat-resistant fabric like cotton or linen, cut into two equal rectangles measuring 10 inches by 8 inches.
Begin by aligning the rectangles with the right sides facing each other. Use a sewing machine to stitch around three sides with a ½-inch seam allowance, leaving one short side open. Strengthen the seams with a backstitch at the beginning and end to guarantee durability.
Trim any excess fabric to reduce bulk, but be cautious not to cut too close to the seam. Turn the bag inside out, making sure the corners are crisp. Press the seams flat with an iron, ensuring the fabric is heat-resistant and safe for use.
Filling Options
When filling your DIY hot water bottle, always prioritize safety by using boiling water with care. Make sure the water is at 100°C and pour slowly to avoid burns.
Alternatively, you can use tap water heated to a comfortable temperature, around 50°C. For added therapeutic benefits, mix in a few drops (3-5) of essential oils like lavender or eucalyptus.
Boiling Water Safety
Always use a kettle with an automatic shut-off feature to boil water safely when filling your DIY hot water bottle. This guarantees you don’t overheat the water, which can be dangerous.
Follow these steps:
- Measure Water Volume: Use 1 liter of water, which is generally sufficient and safe for most hot water bottles.
- Temperature Control: Boil the water to 100°C (212°F). Wait 2-3 minutes after the kettle shuts off to let the temperature drop slightly.
- Pouring Technique: Hold the hot water bottle at a 45-degree angle. Pour slowly to avoid splashing and potential burns.
Always make sure you’re using heat-resistant gloves and a stable surface during the process. These precautions help maintain safety and efficiency in your DIY project.
Using Tap Water
Opting to use tap water for your DIY hot water bottle offers a convenient and quick filling option, provided the water temperature is carefully monitored.
Guarantee the tap water temperature doesn’t exceed 120°F (49°C) to avoid risks of burns or material damage.
Fill the bottle to approximately two-thirds full to allow for expansion when sealing. Secure the cap tightly, making sure there are no leaks. If you’re using a rubber or PVC bottle, periodically check for wear and tear to maintain safety.
Always wrap the hot water bottle in a cloth cover or towel to prevent direct skin contact. Regularly monitor the water temperature to maintain comfort and safety.
Following these guidelines guarantees a safe and effective use of your DIY hot water bottle.
Adding Essential Oils
Enhance your DIY hot water bottle by adding 3-5 drops of essential oils directly into the water, making sure the oils are well-diluted to avoid skin irritation. Essential oils can provide both therapeutic benefits and pleasant aromas.
Here’s a step-by-step guide:
- Choose Oils Wisely: Opt for oils like lavender for relaxation, eucalyptus for respiratory relief, or peppermint for muscle aches.
- Dilution Ratio: Mix 3-5 drops of essential oil with at least 500 ml of hot water. This guarantees the oil is sufficiently dispersed.
- Safety First: Before using, perform a patch test on your skin to check for allergic reactions. Never apply undiluted essential oils directly to the skin.
Sealing the Inner Bag
When sealing the inner bag, you’ll need to choose appropriate sealant materials like silicone or rubber, which can withstand temperatures up to 100°C.
Opt for heat-resistant seal options such as thermal adhesive tapes or heat-sealing machines to guarantee durability.
Always conduct a leak-proof test by applying pressure and checking for any water escape before finalizing the seal.
Choosing Sealant Materials
Selecting the appropriate sealant material for your DIY hot water bottle is crucial to guarantee a leak-proof seal and maintain safety.
You’ll want to contemplate materials that provide strong adhesion, flexibility, and durability under varying temperatures.
Here’s a concise guide:
- Silicone-Based Sealants: Opt for high-heat variants; they withstand temperatures up to 500°F (260°C) and provide excellent flexibility.
- Polyurethane Adhesives: These offer robust bonding, are water-resistant, and can handle temperatures up to 250°F (121°C).
- Epoxy Resins: Ideal for creating a rigid, secure seal. Make sure the epoxy is rated for at least 200°F (93°C) to prevent any risk of melting or deformation.
Heat-Resistant Seal Options
After selecting the appropriate sealant materials, focus on heat-resistant options for effectively sealing the inner bag to guarantee it withstands high temperatures without compromising safety. Opt for silicone adhesives that can endure up to 250°C (482°F).
Apply a uniform 2mm layer around the seams, ensuring no gaps. Alternatively, high-temperature epoxy resins rated for 200°C (392°F) provide robust sealing. Follow manufacturer’s curing times precisely—usually 24 hours.
Teflon tape, resistant up to 260°C (500°F), can add an extra layer of security. Avoid rushing; let each sealant layer cure fully before testing.
Always perform a heat test with water at 60°C (140°F) to check the integrity of the seal. Proper sealing is essential for both functionality and safety.
Ensuring Leak Proofing
To guarantee your DIY hot water bottle is completely leak-proof, apply a uniform, continuous bead of heat-resistant silicone adhesive around the edges of the inner bag. Make sure the bead is approximately 2-3 millimeters thick for best sealing.
Press the edges together firmly and allow the adhesive to cure for the recommended time on the product label, typically 24 hours.
Follow these steps for effective sealing:
- Clean Edges: Wipe the edges with isopropyl alcohol to remove any dirt or oils.
- Apply Adhesive: Use a caulking gun for even application of the silicone adhesive.
- Clamp and Cure: Use clamps to hold the edges together and let them cure undisturbed.
Assembling the Hot Water Bottle
Guarantee the hot water bottle is completely dry and free of any debris before you begin filling it with hot water. Use water heated to no more than 60°C (140°F) to prevent burns and material degradation.
Carefully pour the water into the bottle, filling it to approximately two-thirds of its capacity to allow for expansion and avoid overfilling.
Once filled, securely insert the stopper, ensuring it’s tightly sealed to prevent leaks. Hold the bottle upright and gently squeeze to expel any trapped air before fully tightening the stopper.
Always use a funnel to avoid spilling hot water. Adhering to these steps will guarantee safe and efficient assembly of your DIY hot water bottle.
Testing for Leaks
Begin by inspecting the seams thoroughly for any gaps or weaknesses; this is essential for maintaining integrity.
Next, perform a water tightness check by filling the bottle with water up to 80% of its capacity and gently squeezing to detect any leaks.
Always conduct these tests in a controlled environment to avoid water damage and guarantee safety.
Inspect Seams Thoroughly
Before using your DIY hot water bottle, examine the seams meticulously to guarantee there are no leaks that could compromise safety and functionality.
Start by checking the seams for any visible gaps or irregularities. Use a magnifying glass if necessary.
- Uniform Seals: Confirm the seams appear uniform without any gaps.
- Pressure Test: Apply gentle pressure along the seams to check for any weak spots.
- Seam Strength: Measure the seam width; it should be at least 5mm to ensure durability.
Take your time with this inspection. A small leak can lead to burns or damage. Always prioritize safety by making sure the seams are flawlessly secure before proceeding to the next steps.
Water Tightness Check
To guarantee your DIY hot water bottle is watertight, fill it with water up to 75% capacity and observe for any signs of leakage. Carefully inspect the seams and closure points.
Apply gentle pressure to simulate typical usage conditions, paying close attention to any drips or moisture accumulation. If you notice leaks, drain the water immediately and identify the failure points. Reinforce these areas using appropriate sealants or adhesive tapes.
Repeat the test until the bottle maintains water integrity under pressure without any leaks. Always use cold water during these tests to avoid burns.
Once confirmed leak-free, your DIY hot water bottle is ready for safe use. Regularly recheck for leaks to ensure ongoing watertight performance.
Tips for Use and Care
Make sure the hot water bottle isn’t filled beyond two-thirds of its capacity to prevent leaks and potential burns.
Follow these essential tips to guarantee safe and effective use:
- Water Temperature: Use water no hotter than 140°F (60°C). Boiling water can degrade the material, causing failure.
- Air Removal: Expel excess air before sealing. This helps in maintaining ideal heat distribution and reduces internal pressure.
- Storage: When not in use, store the hot water bottle empty, uncapped, and in a cool, dry place. Avoid direct sunlight to prevent material degradation.
Conclusion
You’ve now created a DIY hot water bottle, a marvel of textile engineering. Sure, you could’ve just bought one, but where’s the fun in that? Plus, by making it yourself, you can customize it with your favorite fabrics and patterns, turning it into a cozy and stylish accessory. Not only is it a practical way to stay warm, but your DIY personalized water bottle also makes for a thoughtful, handmade gift. Now, every time you use it, you’ll be reminded of the creativity and effort you put into crafting something unique!
Remember, if your stitches aren’t precise to 0.01mm, leaks may become your new bedtime companion. And don’t forget those safety guidelines—wouldn’t want a ‘hot’ mess, right?
So, enjoy the warmth, chuckle at your newfound sewing prowess, and pat yourself on the back for embracing the art of over-complication.


