Diy Hamster Water Bottle: Step By Step Guide!
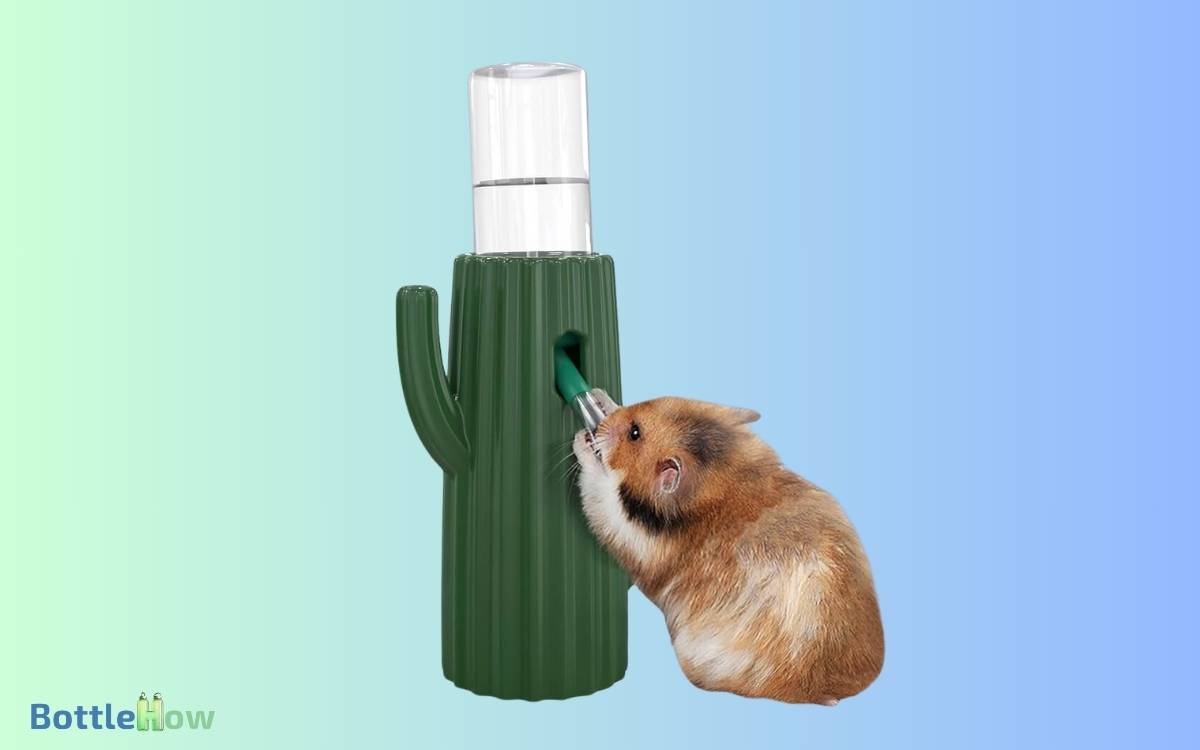
To craft a DIY hamster water bottle, start with a clean, non-toxic plastic bottle, preferably 4-8 ounces.
By following these guidelines, you’ll create a safe and reliable water source for your pet. Learn more to guarantee your hamster stays happy and healthy.

Key Takeaways
Materials Needed
To create a DIY hamster water bottle, you’ll need a few essential materials to make certain it’s both functional and safe for your pet.
- Clean plastic bottle free from harmful residues
- Metal drinking tube with ball-bearing mechanism to prevent leaks
- Strong adhesive or waterproof sealant for secure attachment of tube
- Sturdy wire or plastic clip for mounting the bottle inside the cage
Choosing the Bottle
When selecting the bottle, make sure it’s made of durable, non-toxic plastic to guarantee your hamster’s safety and the bottle’s longevity.
Opt for a bottle with a capacity of 4-8 ounces, which is adequate for a hamster’s daily water needs.
Check that the bottle has a smooth, even surface to prevent bacteria buildup and ensure easy cleaning.
Look for a bottle with clear markings to monitor water levels easily. A narrow neck is preferable because it helps secure the nozzle properly.
Avoid using bottles that previously contained harmful substances.
Preparing the Nozzle
Guaranteeing the nozzle is clean and free of debris is essential for maintaining your hamster’s health and ensuring a steady flow of water. Begin by disassembling the nozzle, taking care to note how each part fits together.
Use a small brush and warm, soapy water to scrub all components thoroughly. Rinse with clean water to remove any soap residue.
Inspect the nozzle’s internal mechanisms for any signs of wear or blockage. If you notice any damage, replace the part immediately to prevent leaks or water flow issues. Dry all parts completely to avoid bacterial growth.
Lastly, reassemble the nozzle, ensuring a snug fit to maintain proper function. Consistent maintenance will guarantee your hamster always has access to clean water.
Assembling the Bottle
With the nozzle now clean and reassembled, focus on attaching it securely to the bottle to guarantee a leak-proof seal.
Begin by making sure the bottle’s mouth is dry and free of debris. Insert the nozzle firmly into the bottle’s opening, aligning it perfectly. Twist it clockwise until it’s tightly sealed.
Test the connection by filling the bottle with water and holding it upside down; if you notice any drips, tighten the nozzle further. Once satisfied, give the nozzle a gentle tug to make sure it’s firmly attached.
A secure fit is essential for maintaining a consistent water flow, preventing leaks, and ensuring your hamster stays hydrated. Remember, a well-assembled bottle translates to a healthier pet.
Securing the Bottle
To secure the water bottle effectively, position it at an accessible height within your hamster’s habitat. Make sure it’s neither too high nor too low, allowing your hamster easy access to drink.
Attach the bottle firmly to the side of the cage using a sturdy wire or zip ties. Double-check that the nozzle is within reach but not touching the bedding to prevent leaks.
Consider using a bottle holder or a stand if your cage lacks suitable attachment points. This setup keeps the bottle stable and reduces the risk of spills.
Periodically test the security of the attachment to make sure it remains tight and unmovable. Properly securing the bottle helps maintain a clean and hydrated environment for your hamster.
Maintenance Tips
To guarantee your DIY hamster water bottle remains effective, establish a regular cleaning routine to prevent bacterial buildup.Check for leaks frequently and address them promptly to avoid water wastage.
Additionally, consistently monitor water levels to make sure your hamster always has access to fresh water.
Regular Cleaning Routine
A regular cleaning schedule guarantees your hamster’s water bottle remains hygienic and free from harmful bacteria.
You’ll need to clean the bottle at least once a week to prevent algae buildup and bacterial growth. Use a bottle brush to scrub the interior and rinse thoroughly with warm water.
Avoid using harsh chemicals; mild soap will do. Inspect the nozzle for any debris and make sure it’s functioning properly.
Here’s a simple cleaning schedule:
| Task | Frequency | Tools Needed |
|---|---|---|
| Rinse with Water | Daily | Warm Water |
| Deep Clean | Weekly | Bottle Brush, Mild Soap |
| Nozzle Check | Every 3 Days | Small Brush |
| Replace Bottle | Every 3 Months | New Water Bottle |
Leak Prevention Methods
Making sure your hamster’s water bottle doesn’t leak involves regular maintenance and proper installation techniques.
- First, check the bottle’s seal frequently. A worn-out seal can cause drips.
- Second, install the bottle at a slight angle to ensure the water flows correctly without exerting pressure on the spout.
- Third, avoid overfilling the bottle, as this can create excess pressure and lead to leaks.
- Finally, inspect for any cracks or damages in the bottle itself, as these can be a primary source of leaks.
Here are key maintenance tips:
- Check the seal regularly.
- Install the bottle at a slight angle.
- Avoid overfilling the bottle.
- Inspect for cracks or damage.
Checking Water Levels
After making sure your hamster’s water bottle is leak-free, regularly checking water levels is essential to keep your pet hydrated and healthy. Aim to inspect the water bottle daily, ideally at the same time each day, to establish a routine.
Look for any signs of contamination such as debris or algae growth, which can affect water quality and your hamster’s health. If the water level seems to be decreasing rapidly, it might indicate a leak or excessive drinking, potentially signaling a health issue.
Refill the bottle with fresh, clean water every day to ensure peak hydration. Properly secure the bottle after refilling to prevent leaks. Consistent monitoring and maintenance will help keep your hamster happy and thriving.
Conclusion
You’ve now mastered the art of creating a DIY hamster water bottle. By selecting the right bottle, preparing the nozzle with care, assembling the components precisely, and securing the bottle firmly, you’ve guaranteed your hamster’s hydration needs are met. Regularly check for leaks or blockages to ensure your DIY pet water bottle functions properly. Cleaning it frequently will also keep your hamster’s water fresh and safe. With this simple yet effective solution, your pet will always have access to clean drinking water.
Remember, regular maintenance is key—clean the bottle often, check for leaks, and guarantee a constant water supply. Your attention to detail will keep your furry friend happy, healthy, and hydrated. Well done!


