DIY Bidet Spray Bottle: Craft Your Own!
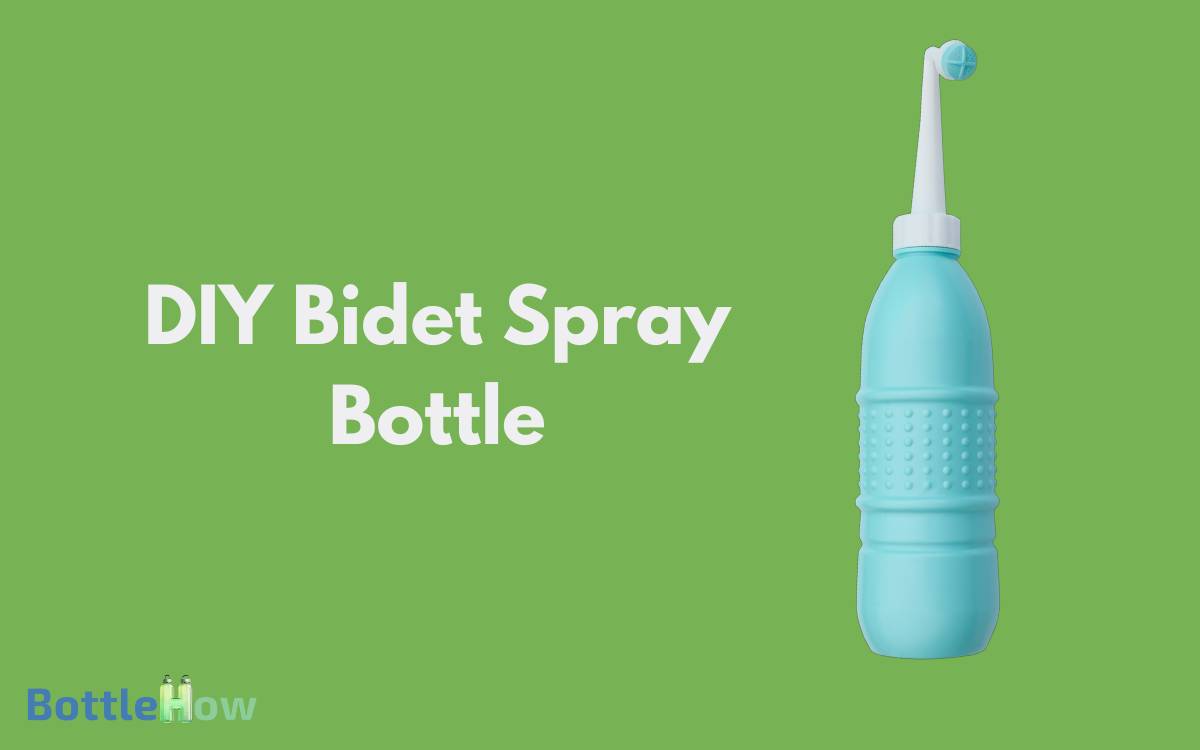
You’ll start by selecting a squeezable HDPE bottle with a 28mm screw-top, ideally holding at least 500ml. Make sure it’s clean and dry. Using a 5/64 inch drill bit, carefully drill a hole in the center of the cap.
Attach the spray nozzle, which should match the bottle’s neck diameter, using Teflon tape to seal and prevent leaks. Tighten the nozzle with an adjustable wrench and test the sprayer by filling the bottle with water and performing a squeeze test.
Look for leaks and confirm the spray’s activation. Fine-tune for best hygiene. More insights await on maintaining and customizing your spray bottle for prolonged use.
Key Takeaways
Choosing the Right Bottle
Selecting a durable, squeezable plastic bottle with a capacity of at least 500ml is vital for your DIY bidet spray bottle project.
Opt for a bottle crafted from high-density polyethylene (HDPE) or low-density polyethylene (LDPE), as these materials offer excellent resilience and flexibility needed for repeated use.
Confirm the bottle’s neck is compatible with a standard 28mm screw-top, which is essential for securing the spray nozzle attachment effectively.
Additionally, check the transparency of the plastic; a semi-transparent bottle is preferable as it allows you to monitor the water level easily without the need to open it.
This choice not only serves the functional requirements but also ensures a long-lasting, reliable tool to aid in personal hygiene.
Essential Tools and Materials
Now that you have your ideal bottle, let’s gather the additional tools and materials needed to assemble your DIY bidet spray bottle. You’ll need a small drill or sharp tool to create a precise hole for the nozzle, ensuring a steady and controlled water flow. Additionally, consider making or purchasing a DIY spray bottle holder to keep your bidet easily accessible and securely in place. Gather some sturdy tape or hooks to mount the holder in a convenient location near your toilet.
First, you’ll need a spray nozzle with an adjustable head. Make sure it has a 1/8 inch threaded connection to match common bottle sizes.
You’ll also require Teflon tape to securely seal the connection, preventing any leaks. A small adjustable wrench will be necessary for tightening the nozzle onto the bottle.
Additionally, acquire a drill with a 5/64 inch drill bit to create a precise hole in the bottle cap.
Finally, silicone sealant is essential for waterproofing the drilled cap area, ensuring no water escapes during use.
Gather these specific tools and materials to guarantee a successful assembly.
Preparing Your Bottle
Before you start drilling, make certain that your bottle is clean and dry to facilitate a smooth modification process.
First, remove any labels or adhesive residues from the bottle’s surface using a solvent like isopropyl alcohol; this guarantees that no impurities interfere with your work.
You’ll need to choose a sturdy plastic bottle, preferably with a minimum thickness of 1.5 millimeters to withstand the pressure without deforming.
Check the integrity of the bottle by gently squeezing it to detect any weak spots or existing cracks. If it’s compromised, select another bottle to guarantee reliability.
Measure the diameter of the bottle’s base and neck accurately using a caliper to aid in precise drilling and fitting in subsequent steps.
Nozzle Attachment Methods
To securely attach the nozzle, first identify a suitable screw-on sprayer head that matches the diameter of your bottle’s neck, guaranteeing a tight fit to prevent leaks.
Follow these precise steps for best attachment:
- Measure the Neck: Use a caliper to measure the external diameter of your bottle’s neck to within 0.01 inch.
- Select the Nozzle: Choose a nozzle with an internal diameter that closely matches your measurement as possible.
- Check Thread Compatibility: Validate the thread type (e.g., NPT, BSP) of the nozzle matches that of your bottle.
- Secure Firmly: Tighten the nozzle by hand until it stops; then use a wrench for a final quarter-turn to ensure it’s securely attached without overtightening.
Testing for Leaks
Once you’ve attached the nozzle, fill the bottle with water and tightly secure the cap to begin testing for leaks.
First, invert the bottle and observe any moisture forming around the cap. It’s important to notice even minute moisture traces, as these indicate a potential leak.
Apply moderate pressure by squeezing the bottle gently; this simulates the stress during actual use.
| Test Condition | Observation Required |
|---|---|
| Bottle Inverted | Check for moisture |
| Squeeze Test | Observe for water beads |
| Nozzle Functionality | Confirm spray activation |
| Cap and Nozzle Seal | Examine for tight seal |
If you detect any water escaping, re-assess the cap’s tightness and the nozzle’s attachment. It’s essential that these components are flawlessly aligned and secured to avoid any hygiene issues during practical use.
Sanitation and Maintenance
Maintain regular cleaning and disinfection of your DIY bidet spray bottle to uphold excellent hygiene and functionality. Guaranteeing your spray bottle remains sanitary isn’t just a courtesy; it’s a necessity, particularly when you’re aiming to serve others effectively.
Follow these detailed steps:
- Disassemble Components: Carefully detach the spray head and tube. This prevents bacterial buildup in hard-to-reach areas.
- Use Isopropyl Alcohol: Apply a solution of 70% isopropyl alcohol to all parts, using a soft brush for thorough application.
- Rinse with Distilled Water: After disinfection, rinse components thoroughly with distilled water to remove any residual alcohol.
- Air Dry: Allow all parts to air dry completely on a clean surface before reassembling to avoid moisture trapping.
Adhering to this regimen guarantees your device’s longevity and reliability.
Customizing Your Spray Bottle
Experiment with various nozzle sizes to precisely control the water stream to your satisfaction level. Begin by identifying nozzle openings ranging from 1mm to 5mm in diameter.
Smaller diameters yield a finer, more focused stream, ideal for targeted cleaning, while larger sizes offer a broader, gentler spray.
You’ll need a caliper to measure the nozzle openings accurately. Next, consider the material of the spray bottle’s trigger. Opt for a trigger made of high-density polyethylene (HDPE) to guarantee durability and chemical resistance.
Adjust the spray bottle’s pressure settings by modifying the tension in the spray trigger’s spring mechanism. Use a small Phillips head screwdriver to turn the adjustment screw clockwise for increased pressure, or counterclockwise to reduce it.
This customization aids in achieving top-notch hygiene while catering to individual comfort and needs.
Environmental Benefits
While customizing your spray bottle enhances personal hygiene, it also supports environmental conservation by reducing the reliance on non-renewable resources.
Here are key benefits:
- Resource Conservation: Utilizing a refillable bottle decreases the demand for single-use plastics, reducing plastic waste by an estimated 60-70% annually.
- Energy Efficiency: Producing fewer disposable products conserves energy across manufacturing processes, with a potential decrease in energy consumption by up to 30%.
- Carbon Footprint: Lower production rates of disposable items directly diminish CO2 emissions, contributing to an annual reduction of 0.8 metric tons per user.
- Water Usage Reduction: With precise usage control, you can save approximately 2 liters of water per day, totaling up to 730 liters annually.
Practical Usage Tips
To optimize the effectiveness of your DIY bidet spray bottle, adjust the nozzle to a fine mist setting to guarantee a gentle yet thorough cleaning.
Position the bottle at a 45-degree angle approximately six inches from the target area to ensure maximum coverage without excessive force.
Gently squeeze the trigger, maintaining steady pressure to release a consistent stream. It’s essential to refill the bottle with clean, warm water, ideally between 33-37 degrees Celsius, to maintain comfort and hygiene.
After each use, cleanse the nozzle with isopropyl alcohol to prevent bacterial growth. Store your DIY bidet in a cool, dry place away from direct sunlight to preserve the integrity of the bottle and its components.
Conclusion
As you juxtapose the simplicity of a DIY bidet spray bottle with its profound environmental impact, you’ll find it’s not just about personal cleanliness. By opting for this eco-friendly alternative, you’re reducing your ecological footprint one flush at a time.
Verify your bottle’s seal is tight check for 0.5mm gaps or less and always use sterilized components. Regular maintenance, using 70% isopropyl alcohol for disinfection, keeps it operational.
Embrace this sustainable practice, knowing you’re contributing to a greener planet with every spray.


