Diy 5 Gallon Water Bottle Dispenser: A Complete Guide!
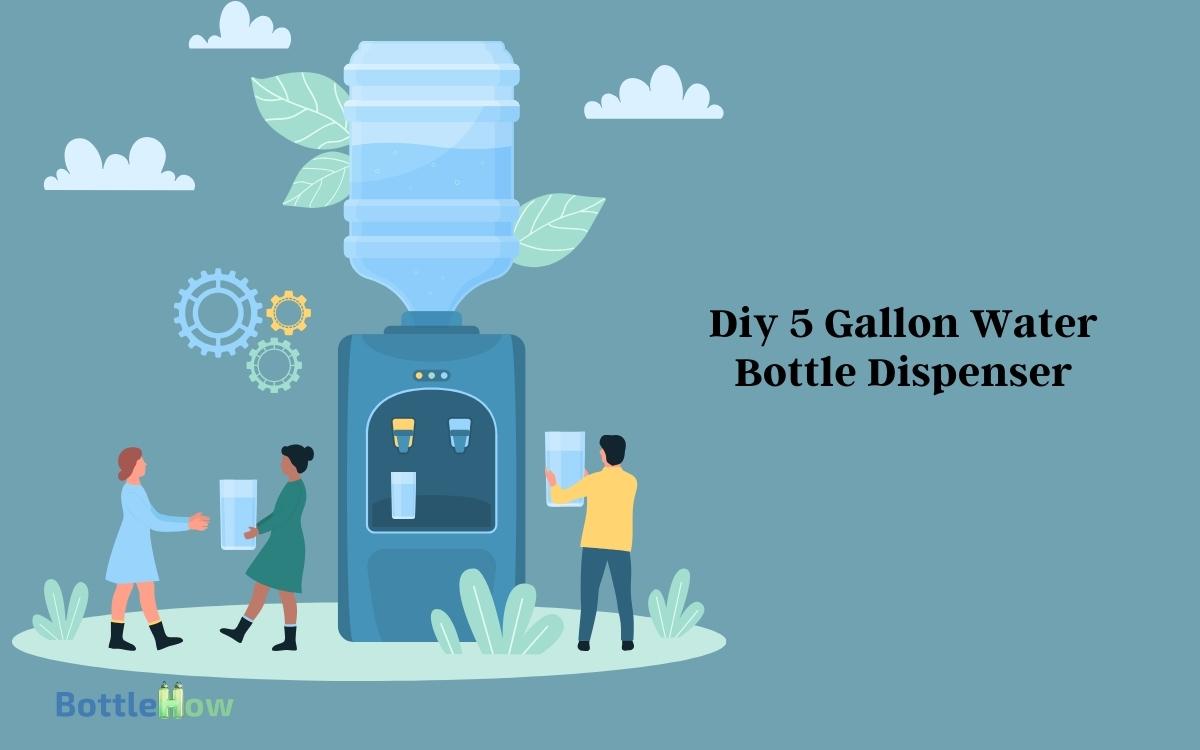
Building your own 5-gallon water bottle dispenser is a practical and efficient project. Start by gathering essentials: a 5-gallon water bottle, water dispensing pump, food-grade tubing, a sturdy base, a water-tight seal, and a faucet.
Sanitize the bottle using a bleach solution to make sure it’s clean. Attach the spout, fit the pump mechanism over it, and connect the tubing securely.
Check for leaks by pumping slowly, tightening any loose connections. For enhanced performance, consider adding a filter, insulated cover, hands-free pump, digital flow meter, and spill tray.
By following these steps, you’ll guarantee consistent and safe water dispensing. Explore more steps to perfect your DIY project.
Key Takeaways
Materials Needed
To construct your DIY 5-gallon water bottle dispenser, you’ll need the following essential materials.
First, procure a 5-gallon water bottle, as it forms the core of your dispenser.
Next, obtain a water dispensing pump; hand-operated or electric models are available depending on your preference.
You’ll also need food-grade tubing to guarantee safe water transport.
A sturdy base or stand is required to support the bottle’s weight, typically made of metal or durable plastic.
Additionally, gather a water-tight seal or gasket to prevent leaks, and a spout or faucet for controlled dispensing.
Finally, have some basic tools on hand, such as a drill, screwdriver, and measuring tape, to facilitate assembly.
Make sure all components are compatible and safe for potable water use.
Preparing the Bottle
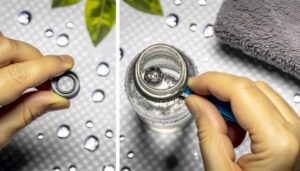
Before you start assembling your dispenser, it’s important to thoroughly clean and sanitize the 5-gallon water bottle to make sure it’s free of any contaminants. Begin by rinsing the bottle with warm water.
Afterward, create a sanitizing solution by mixing one teaspoon of unscented bleach with a gallon of water.
Pour this solution into the bottle and swish it around, ensuring all interior surfaces are covered. Let it sit for at least two minutes.
Rinse the bottle thoroughly with clean water to remove any bleach residue.
Assembling the Dispenser
Begin by placing the sanitized 5-gallon water bottle on a stable surface to guarantee ease of assembly and avoid any potential spills.
Attach the dispenser spout to the bottle’s neck, making sure it’s tightly secured to prevent leakage.
Next, fit the pump mechanism over the spout, pressing down firmly until it clicks into place. Confirm that the pump handle moves freely to validate proper attachment.
Now, connect the tubing to the pump’s outlet, ensuring a snug fit.
Finally, position the bottle cap over the tubing and secure it tightly to maintain a sealed system. Double-check all connections for stability and make sure the bottle remains upright to sustain excellent functionality.
Your dispenser is now ready for use.
Testing for Leaks
Start by slowly pumping the handle to check for any visible signs of water leakage around the spout, tubing, and connections. Pay close attention to each joint and seal; even small drips can indicate a potential problem.
If you notice any leaks, immediately stop pumping and tighten the connections using a wrench or pliers. Make sure that all seals are properly seated and there are no cracks in the tubing.
Run your hand along the tubing and connections to feel for moisture that mightn’t be visible. Once you’ve confirmed there are no leaks, pump the handle more vigorously to simulate regular use, confirming all components maintain their integrity under pressure.
This thorough check is essential for long-term functionality.
Enhancements and Maintenance
After confirming that your water dispenser is leak-free, you can focus on enhancements to improve functionality and regular maintenance to extend the lifespan of your setup.
To start, consider the following enhancements:
- Install a filter: Make sure your water is purified and free of contaminants.
- Add an insulated cover: Maintain the water’s temperature, whether cold or room temperature.
- Use a hands-free foot pump: Enhance convenience and hygiene.
- Integrate a digital flow meter: Track water consumption accurately.
- Attach a spill tray: Catch drips and prevent messes.
For maintenance, routinely sanitize the dispenser parts, check for any wear or damage, and replace components as needed.
Keeping your dispenser clean and in good working order ensures it continues to provide safe, convenient access to water.
Conclusion
You’ve now crafted your own 5-gallon water bottle dispenser, a proof of your resourcefulness and skill. This homemade solution ensures you have easy access to clean drinking water while saving money on expensive dispensers. Your DIY 5 gallon water bottle rack keeps your bottles organized and secure, making it a practical addition to your home or workspace. With this setup, staying hydrated has never been more convenient!
Imagine the invigorating flow of crystal-clear water, effortlessly dispensed at your command. With meticulous preparation and assembly, you’ve guaranteed a leak-free, efficient system.
Remember to periodically check for any wear and tear to keep it in pristine condition. This project not only saves money but also provides a sense of accomplishment every time you quench your thirst.


