Can You Put Regular Tie Dye in a Spray Bottle? Yes!
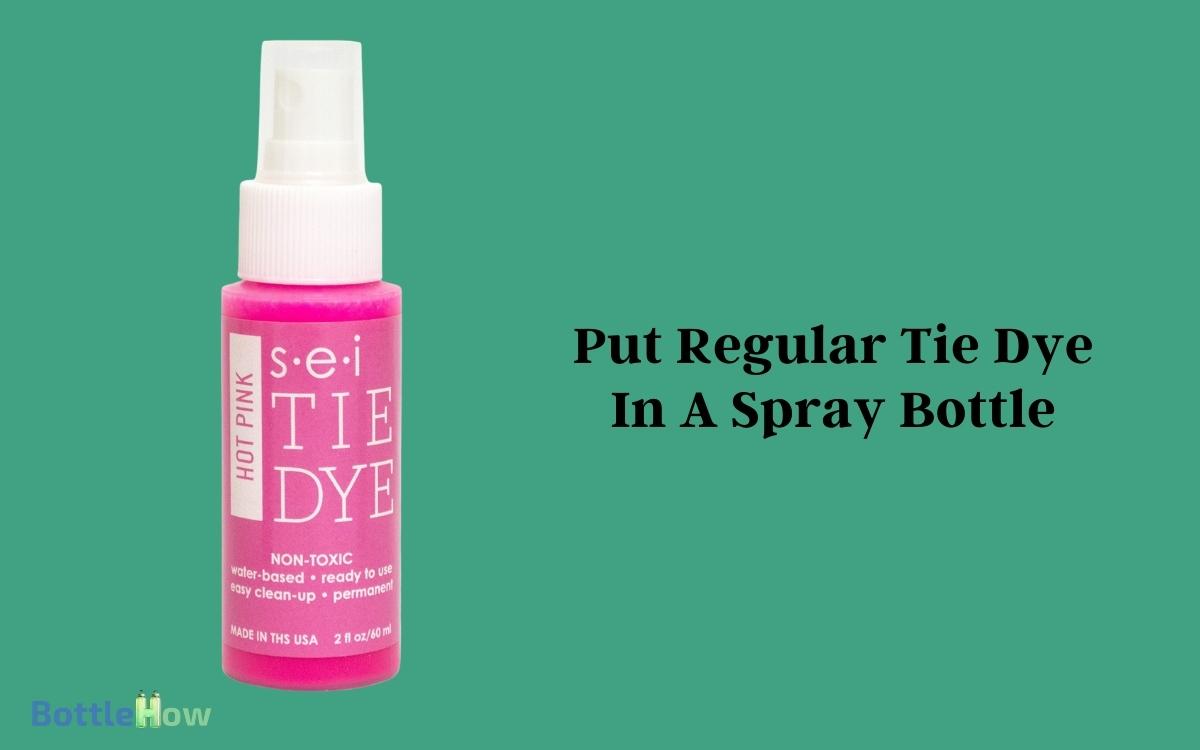
Yes, you can pour regular tie dye into a spray bottle to express your artistic flair. First, make sure you’re using a filter like a fine mesh strainer or cheesecloth to prevent clogging.
This method transforms simple dyes into vibrant mists, adding precision and variety to your fabric masterpieces. With the adjustable nozzle, you control the intensity and spread of your dreams cast in color across the canvas of your textiles.
Be sure to secure the cap tightly to keep your dye mix vibrant. As you explore spray bottle tie dyeing, you’ll discover the potential to craft even more enchanting designs and effects.
Key Takeaways
Understanding Tie Dye and Spray Bottles
Exploring the vibrant world of tie dye begins with mastering the use of spray bottles, a tool that transforms traditional patterns into bursts of color with precision and flair.
As you fill your spray bottle, you’re not just preparing to add color; you’re equipping yourself to paint dreams onto fabric. Each spray is a brushstroke, each color a choice in your vivid tapestry of service.
Imagine holding a palette where your creativity fosters joy in others. The fine mist from the bottle allows for subtle gradients and intricate control, enabling you to tailor your artwork precisely to the desires of those you’re helping.
You’re not just making art; you’re crafting experiences, memories, and smiles with every press of the nozzle.
Choosing the Right Type of Dye
Selecting the ideal dye for your spray bottle project is essential, as each type offers unique vibrancy and fabric compatibility.
You’ll find that fiber-reactive dyes, known for their bold, long-lasting hues, mesh beautifully with cotton, linen, and rayon. These dyes form a covalent bond with the fibers, ensuring your artistic flair doesn’t fade away with time.
For synthetic fabrics like polyester, disperse dyes are your go-to. They work under heat to sublimate into the fabric’s structure, embedding your design permanently.
Opt for acid dyes if you’re working with silk or wool, which require a gentle acidic environment to shine, literally bringing a delicate touch of brilliance to your work. Each choice serves the purpose of crafting enduring beauty in your creations.
Preparing Your Tie Dye Solution
To kick off your creative journey, you’ll need to carefully mix your chosen dye with water in a spray bottle to achieve the perfect consistency for application. This process is both an art and a science, blending the vibrant potential of dyes with the fluidity of water.
Follow these steps to guarantee your mixture is just right:
- Measure Accurately: Use a ratio of one part dye to four parts warm water to start. Adjust if necessary.
- Stir Thoroughly: Mix until the dye is completely dissolved, making sure there are no granules left.
- Test Consistency: Spray a bit of the solution on a scrap fabric to check the color intensity and flow.
- Adjust if Needed: Add more dye for richness or water for a lighter shade.
Your preparation will set the stage for stunning results.
Selecting Suitable Spray Bottles
As you gear up to transform fabric into a kaleidoscope of colors, it’s important to take into account the bottle material compatibility; not all plastics are created equal, and some may degrade or warp when in contact with dye solutions.
Make sure the nozzle type aligns with your vision of the spray pattern, from a fine mist to a bold splatter, to achieve the desired artistic effect.
Bottle Material Compatibility
When selecting a spray bottle for your tie-dye adventure, make sure it’s made of a material that won’t react with the dye, such as PET plastic or glass, to maintain the vibrancy and integrity of your colors.
Here are the essential considerations:
- PET Plastic: Resilient and dye-resistant, ensuring no chemical interaction that might alter your dye.
- Glass: An inert option that preserves the dye’s purity and hue, perfect for those seeking a touch of elegance in their crafting tools.
- HDPE Plastic: Offers good resistance to staining and corrosion, suitable for frequent use.
- Avoid Certain Metals: Some metals can react with dye, affecting the color outcome and potentially damaging the spray mechanism.
Choose wisely to serve your artistic vision!
Nozzle Type Considerations
Having selected a material that won’t compromise your dye’s integrity, let’s explore the types of nozzles that best guarantee the spray’s pattern and intensity for your artistic creations.
Opt for adjustable nozzles that allow you to switch between a fine mist and a more robust stream. This flexibility empowers you to delicately shade gradients or boldly saturate larger fabric areas, depending on your vision.
Look for nozzles with a locking mechanism to ensure consistent flow, avoiding splotches that could mar your design. Consider nozzles that resist clogging, as tie-dye mixtures can be particulate-heavy.
Each choice serves not only your creative spirit but also the vibrant expression of those who’ll cherish your colorful masterpieces.
Capacity and Handling
To maximize your creative potential, choose spray bottles with a capacity that matches the scale of your project and handles that guarantee ease of use.
Here are key factors to ponder:
- Volume: Opt for smaller bottles (100-200 ml) for detailed work or larger ones (500 ml) for extensive patterns.
- Material: Seek out durable plastics that can handle the acidity of dye solutions and won’t degrade.
- Ergonomics: Confirm the handle and trigger are comfortable; they should allow for a firm grip and easy squeezing.
- Seal Quality: Check for a tight seal to prevent leaks and ensure consistent spray patterns.
Selecting the right bottle isn’t just practical; it’s about crafting an experience that enriches both your art and your service to others.
Techniques for Filling the Bottle
Begin by carefully funneling your chosen dye mixture into the spray bottle, ensuring a smooth, splash-free transfer to preserve the vibrancy of your colors.
Consider using a fine mesh strainer or cheesecloth over the funnel to filter out any undissolved particles that could clog the nozzle. This step isn’t just practical, it’s a form of art ensuring every drop contributes to the canvas you’ll create.
Gently tap the funnel to encourage any reluctant droplets into their new vessel. It’s crucial to maintain the purity of your palette.
Once filled, secure the cap tightly to avoid any leaks that could mar your workspace. You’re now ready to transform ordinary items into spectacular expressions of care and creativity.
Spraying Patterns and Techniques
Now that your spray bottle is filled, let’s discover different spraying patterns and techniques to express your artistic flair on fabric. By mastering these methods, you can create unique gifts and items that truly serve and delight others.
- Gradient Effect: Start with a light spray at the top of your fabric and gradually increase the saturation as you move downward. This creates a stunning gradient or ombre effect.
- Speckle Finish: Hold the spray bottle at a greater distance from the fabric. A gentle squeeze results in fine speckles, ideal for subtle texture.
- Stencil Magic: Use cut-out stencils to spray specific shapes onto your fabric, offering crisp, artistic designs.
- Layered Look: Spray one color, let it dry, then overlay another color for depth and complexity in your design.
Managing Potential Clogs
As you begin your tie-dye journey, selecting the right dye becomes essential; thick or improperly mixed dyes can lead to frustrating clogs.
To keep your creative flow uninterrupted, make sure your dye mixture is silky and homogeneous, preventing any nozzle blockages that could stifle the spray.
This approach not only preserves the vibrant bursts of color but also transforms a simple spray bottle into a tool of artistic expression. By experimenting with different techniques, artists can control the intensity and direction of the spray, creating unique textures and effects. Using paint in a spray bottle allows for effortless blending of colors, resulting in smooth gradients or bold contrasts. This method encourages creativity and spontaneity, making each piece truly one of a kind.
Choosing the Right Dye
Selecting a dye that easily flows through a spray bottle’s nozzle can greatly reduce the risk of clogging, guaranteeing a smoother, more vibrant application.
Here’s what you need to look for:
- Viscosity: Opt for dyes that aren’t too thick. Thin, water-like consistencies work best in spray bottles.
- Particle Size: Choose dyes with finer particles. Larger particles can block the spray mechanism, disrupting your artistic flow.
- Dissolution: Make sure the dye dissolves completely in water. Undissolved particles can lead to blockages.
- Quality: Invest in high-quality dyes. They might cost a bit more, but you’ll avoid many headaches with clogging and achieve better results.
Preventing Nozzle Blockages
To guarantee your spray bottle’s nozzle from clogging, regularly rinse it with warm, soapy water after each use. This simple act of care not only prolongs the life of your tool but also assures that each spray delivers a fine mist, perfect for your creative endeavors.
Imagine each rinse as a reset, washing away the old to welcome the new potential of vibrant colors and intricate designs.
To further safeguard against blockages, consider straining your dye mixture through a fine mesh sieve. This extra step filters out any undissolved particles that could disrupt the flow, ensuring a seamless application every time.
Your commitment to these small details serves the greater good of your artistic expression, fostering a flawless canvas for your creativity to bloom.
Cleaning and Maintenance Tips
Maintain your spray bottle in peak condition by regularly rinsing it with warm soapy water to prevent clogging and preserve the vibrancy of your colors.
Here’s a step-by-step guide to guarantee your tool remains as functional and radiant as your artistic vision:
- Disassemble and Soak: Take apart the spray bottle components. Soak them in a mixture of warm water and mild detergent for about 30 minutes.
- Brush Gently: Use a small brush or an old toothbrush to scrub the nozzle and tube, focusing on any dye residues.
- Rinse Thoroughly: Rinse each part under running water until the water runs clear, making sure no soap or dye remains.
- Air Dry: Lay out the parts on a clean towel to air dry completely before reassembling.
Creative Ideas for Spray Tie Dye
With a spray bottle filled with your favorite tie dye colors, you can express your creativity on everything from t-shirts to canvas, creating unique patterns and vibrant splashes of color that transform ordinary items into works of art.
Imagine converting a plain white scarf into a rainbow masterpiece that could brighten someone’s day or decorating eco-friendly tote bags to gift at community events. You can even use stencils to spray intricate designs, offering a personal touch.
Why not host a tie-dye workshop at a local shelter, teaching skills that can spark joy and perhaps inspire a new hobby? Each piece you create or help others make spreads joy and color, turning simple moments into memorable, heartening experiences.
Conclusion
Reveal your stunning spray tie-dye session with splashes and spritzes, skillfully spiraling spectacular patterns onto your fabric. Fill your chosen bottle, finesse the flow, and flick with flair.
As colors converge, creativity climbs. Remember, regular rinsing rewards with reusable tools. Dare to dazzle with dynamic designs, pushing past the predictable.
Expose your unique vision, vibrantly veiling textiles in tantalizing tints. Embrace every exquisite experiment, and let your spirited sprays set the standard in stylish, sensational artistry.


