Can You Put Paint in a Spray Bottle? Yes!
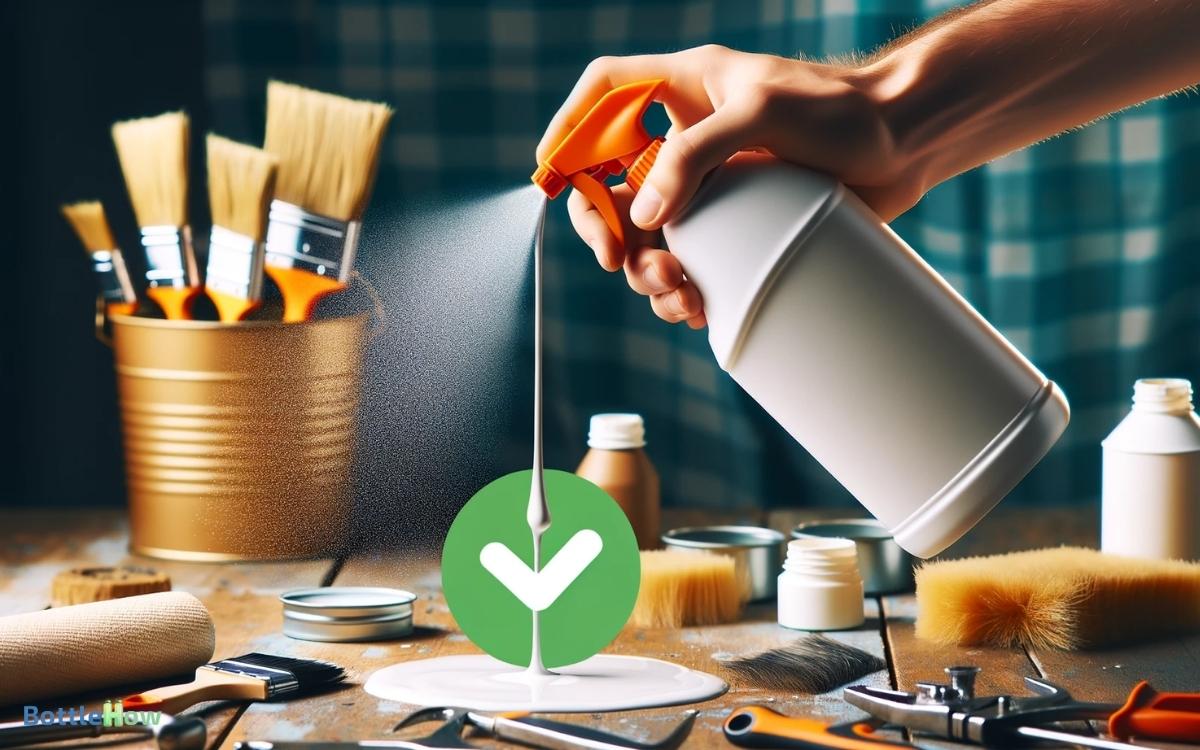
Yes, you can put paint in a spray bottle, but it’s all about the perfect blend and the right tool. You’ll need to thin acrylics or latex paints precisely to avoid clogging the sprayer.
Pick a spray bottle that matches your paint type glass for easy cleaning, or HDPE to resist solvents. Adjustable nozzles are a must for fine control; they allow you to layer the paint evenly without drips or splatters.
Start with light, sweeping motions, keeping the bottle moving to prevent pooling. After the fun, clean your spray bottle thoroughly to keep it in tip-top shape for your next creative burst. There’s a splendid array of techniques and tricks awaiting your discovery.
Key Takeaways
Understanding Paint Types
Before you immerse yourself in transforming your paint into a sprayable masterpiece, it’s crucial to understand the different types of paint and how they behave.
Acrylics, enamels, and latex paints each come with their own set of quirks and qualities. Acrylics, beloved for their quick-drying nature and vibrant colors, can thicken quickly, making them tricky to spray unless properly thinned.
Enamels, durable and glossy, require careful handling and a well-ventilated space due to their potent fumes. Latex paints, commonly used for their ease and water clean-up, often need a specific thinning ratio to flow smoothly through a spray nozzle.
Knowing these differences not only aids in achieving a flawless finish but also ensures you serve your project’s needs with precision and care.
Selecting the Right Spray Bottle
As you venture into the world of spray painting, the type of bottle you choose can make or break your artistic aspirations. Consider a bottle that happily hugs your chosen paint compatibility is key to avoiding a clogged disaster.
Also, ponder the nozzle’s spray pattern and the bottle’s capacity; these factors will dictate the scale of your colorful creations and the smoothness of each spray.
Bottle Material Compatibility
When choosing a spray bottle for your paint, make sure the material is compatible to avoid any reactions that could ruin your project. It’s crucial to select wisely, as the wrong material can lead to a mess or ineffective application.
Here’s a quick guide:
- Glass Spray Bottles: Imagine your vibrant, colorful paint in a sleek, clear glass bottle, safe from chemical reactions and easy to clean.
- High-Density Polyethylene (HDPE) Bottles: These sturdy, opaque bottles are resistant to paint solvents, guaranteeing your paint stays pure and potent.
- Polyethylene Terephthalate (PET) Bottles: Light yet durable, these bottles won’t react with your paint, preserving its original quality and finish.
Selecting the right bottle not only serves your project well but also ensures a smooth and successful application.
Nozzle Type Considerations
To guarantee your paint application is as smooth as silk, you’ll need to choose a spray bottle with the right type of nozzle. Imagine you’re a painter, your canvas awaits, and the right tools can turn your vision into reality.
With nozzles, it’s all about precision and control. Opt for an adjustable nozzle that offers a range of spray patterns from fine mist to a steady stream. This versatility allows you to adapt to different painting tasks with ease, ensuring each stroke serves the purpose of creating beauty and impact.
Avoid nozzles that clog easily, as they can interrupt your creative flow. Instead, seek out a durable, high-quality nozzle that promises a consistent, even spray, turning your efforts into masterpieces that speak volumes.
Capacity and Scale
Having selected a nozzle that meets your artistic needs, you’ll next want to take into account the size and capacity of the spray bottle to make sure it complements the scope of your project.
Selecting the right spray bottle is like choosing the perfect canvas for your painting—it needs to match both the vision and the volume of your work.
Here are a few things to ponder:
- Size: A larger bottle means fewer refills during expansive projects, keeping your creative flow uninterrupted.
- Material: Opt for a robust, chemical-resistant plastic that can handle the viscosity of paint.
- Design: A bottle with an ergonomic grip reduces fatigue, allowing you to spray longer and with more precision.
Choose wisely to make certain that your tools enhance, not hinder, your creative expression.
Preparing the Paint for Spraying
Before you can transform your canvas with a mist of color, you’ll need to properly thin your paint to achieve the perfect sprayable consistency. Begin by selecting the right type of paint for your project.
Water-based paints, such as acrylics, are ideal as they mix smoothly with water, making them easier to work with. You’ll also need a clean, empty spray bottle specifically for this purpose to avoid any unwanted chemical reactions or color mixing.
Make sure your workspace is well-ventilated and covered to protect from any accidental splashes or spills. Gather all necessary materials—paint, water, a mixing stick, and a funnel to guarantee a mess-free transfer into your spray bottle. Now, you’re set to start the thinning process.
Mixing Paint and Water Ratios
When mixing paint with water, aim for a consistency that’s thin enough to spray but thick enough to maintain vibrant color. Imagine crafting a masterpiece, where your spray bottle is your brush, and the paint is your palette of dreams.
To achieve this perfect balance, you’ll need to contemplate the type of paint and the desired effect.
- Imagine the silkiness of thin cream, ideal for smooth, even layers.
- Visualize the rich texture, akin to honey, perfect for more vivid, expressive strokes.
- Think of watercolor skies, slightly translucent, creating a gentle wash of color.
Each ratio you experiment with brings a new depth to your creations, turning every spray into a stroke of artistry, tailored to the needs of your project and those you serve.
Testing the Spray Bottle
Now that you’ve mixed your vibrant hues with water, it’s time to test out your spray bottle.
- First, make sure you’ve chosen a bottle that can handle the thickness of your paint without clogging this will save you a headache later.
- Next, give your concoction a few steady shakes to blend thoroughly, ensuring an even spray of color when you press that nozzle.
Choosing the Right Bottle
To guarantee peak performance, test your spray bottle by filling it with water and observing the mist’s consistency and spread.
When you press that trigger, imagine the fine mist, like morning dew, gently settling over a vibrant garden. This simple test tells you if the bottle can evenly distribute what you’ll later fill it with.
- Uniformity: The mist should fan out uniformly, without large droplets that could cause uneven application.
- Coverage: A wide spray indicates good coverage, ensuring that no spot is left untouched.
- Ease of Use: The trigger should be smooth and effortless, a joy rather than a struggle, embodying the spirit of helpfulness in every squeeze.
Preparing the Paint Mix
Begin by carefully mixing your chosen paint with the appropriate thinning agent to guarantee it sprays evenly and smoothly from your tested bottle. Imagine the consistency of whole milk; that’s what you’re aiming for. Too thick, and it’ll clog; too thin, and it might run or not cover well.
After mixing, pour a small amount into your spray bottle. Secure the lid tightly—ensure it’s snug to prevent any leaks that could disrupt your project.
Now, it’s time to test. Find a scrap piece of material or an inconspicuous area. Give the nozzle a gentle squeeze. Watch how the paint mist settles—like a soft breath of color on a canvas. Adjust the mix if needed, always endeavoring for that perfect spray that’ll serve your project best.
Avoiding Common Mistakes
When filling a spray bottle with paint, make sure you don’t make the common mistake of using undiluted paint, as it can clog the spray mechanism and lead to uneven application.
To help you master this technique, consider these vivid tips:
- Imagine the smooth flow of a river. Your paint should run as freely to avoid blockages in the spray’s path.
- Think of a fine sieve. Strain your paint mix to catch any lumps that might sabotage your spray pattern.
- Envision a chef tasting their soup. Always test your paint mixture on a scrap material to guarantee consistency and coverage before committing to your final canvas.
These steps will guarantee your efforts to serve and uplift spaces with color are successful and satisfying.
Applying Paint With a Spray Bottle
Now that your paint is perfectly diluted and strained, you’re ready to master the art of applying it with a spray bottle. Embrace the freedom this tool offers, letting you whimsically cover spaces that brushes can’t reach. But remember, technique is key to avoid drips and uneven layers.
Here’s a quick guide to keep you on track:
| Technique | Benefit |
|---|---|
| Continuous Movement | Prevents paint from pooling |
| Light Layers | Guarantees even coverage |
| Distance Control | Avoids overspray |
Start with gentle sweeps across your canvas; imagine you’re dusting fairy dust across a dream. Each pass should be light, allowing you to build color gradually. Keep the bottle moving and maintain a steady hand to serve your project well.
Cleanup and Maintenance Tips
After your artistic session, maintaining and cleaning your spray bottle is crucial to guarantee its longevity and readiness for future projects. Imagine the satisfaction of reaching for your trusty spray bottle, finding it clean, unclogged, and primed for action.
Here’s how you can make sure it stays that way:
- Rinse Thoroughly: Immediately after use, flush your spray bottle with warm water. Picture the paint dissolving away, leaving a clear, pristine bottle.
- Soak the Components: Disassemble and soak the nozzle and tube in a soapy water solution. Envision the soap bubbles encapsulating every speck of paint, purifying each part.
- Dry Completely: Air dry all parts on a clean towel. Visualize each component lying there, basking in the warmth, ready for your next creative burst.
Troubleshooting Spray Bottle Issues
Despite your best efforts, your spray bottle might still encounter issues, so let’s explore some common problems and their solutions.
If your spray nozzle is clogging, it’s likely due to undissolved particles in the paint. Try straining the paint through a fine mesh to remove these bits before filling the bottle.
If the spray is uneven or spotty, check if the nozzle head is fully tightened— a loose nozzle can disrupt the spray pattern.
For a stubborn lever, a quick soak in warm, soapy water can loosen up any dried paint obstructing the mechanism. Remember, patience is key.
With a bit of tender care, your spray bottle can be restored to peak performance, keeping your service-oriented projects running smoothly. Regularly cleaning and maintaining the nozzle ensures consistent spray quality and prevents clogging. Additionally, understanding the spray bottles recycling process helps reduce waste and promotes sustainability in your service-oriented projects. By properly disposing of or repurposing used bottles, you contribute to a more eco-friendly workspace.
Alternatives to Using a Spray Bottle
If a spray bottle doesn’t suit your needs, consider brushing or rolling the paint for a more controlled application. Both methods allow you to deliver your service with precision and care, ensuring every stroke meets your client’s expectations.
- Imagine the smooth glide of a brush as it swathes a broad, sunlit wall in warm beige, each stroke methodically covering the canvas.
- Picture the satisfying roll of a paint roller as it efficiently coats a large area, the soft sound of the roller against the wall creating a rhythm of productivity.
- Visualize detailed artwork with small brushes, where every delicate tip brings life to intricate designs, making spaces unique and personal.
These alternatives not only serve well but enhance the quality of your work, showing your commitment to excellence.
Safety Tips for Spray Painting
Before you release your creativity with a spray bottle, make sure you’re in a well-ventilated space to keep those potent fumes at bay.
Don’t skimp on your safety gear—goggles, masks, and gloves are your best friends in this colorful adventure.
Always take a moment to read through the product instructions; they’re not just fine print, but a roadmap to achieving the best results without any mishaps.
Choose Proper Ventilation Area
To guarantee your safety and achieve the best results, always opt for a well-ventilated space when spray painting. The right environment not only guarantees your health but also enhances the quality of your work.
Imagine the breeze gently whisking away the fumes, while fresh air continuously circulates, keeping the atmosphere clear and your lungs safer.
- Open Garage: A spacious garage with doors wide open, inviting in the daylight and fresh air.
- Outdoor Space: A serene backyard where the only roof is the sky, surrounded by nature’s own walls.
- Large Room with Fans: An expansive room equipped with fans at each end, creating a steady crosswind that dances through the space.
Choose wisely, and let the air be your ally!
Wear Protective Gear
Donning protective gear is your first line of defense against the myriad risks spray painting poses, from inhaling toxic fumes to shielding your skin from harsh chemicals.
- Imagine slipping into a suit that’s not just apparel but armor a shield that guards your well-being while you express your creativity.
- You’ll need gloves, the kind that hug your hands snugly while blocking the invasive chemicals.
- Don’t forget a mask, essential not just for the mystery it adds to your persona, but for its role in filtering out harmful particles that dance invisibly in the air.
- Finally, eye protection is essential; think of it as your personal set of blinkers, keeping your eyes safe from splashes and preserving your vision to see the beauty you create.
Equip yourself to serve your art safely.
Follow Product Instructions
Always refer to the manufacturer’s guidelines, a beacon of wisdom, to make certain you’re wielding your spray paint can both safely and effectively. Each product comes with its unique instructions that guarantee you maximize both the quality of your work and your safety.
Imagine the process as crafting a masterpiece; you’ll need every detail to be perfect:
- Ventilation Visualization: Picture your workspace filled with fresh air, flowing freely, diluting any harsh chemicals.
- Timing Technique: Envision the perfect rhythm of spraying, like a conductor leading an orchestra, ensuring even coats and flawless drying.
- Distance Dynamics: Think of maintaining the ideal space between the nozzle and your canvas, as though you’re holding a magic wand, casting smooth, even spells of color.
Conclusion
So, you’re ready to transform your space with a burst of color but worry that a spray bottle might not do the trick? Fear not! With the right mixture and a good test run, your DIY spray-paint project will pop with precision.
Remember, the key lies in choosing a compatible bottle and keeping it clean to avoid clogs. Embrace this clever hack to refresh objects with ease and flair, ensuring every spritz adds a touch of magic to your creative endeavors!

