Bleach to Clean Water Bottle: A Complete Guide
To disinfect your water bottle with bleach, use 1 teaspoon of unscented household bleach per gallon of cool water. Pour the bleach into a non-reactive container first, then add the water to avoid splashing.
Disassemble the bottle, including cap and straw, and submerge all parts in the solution. Scrub thoroughly, focusing on threads and seals, then soak for at least two minutes.
Rinse each part under running water until there’s no chlorine smell. Dry components completely on a clean towel before reassembling.
Proper technique guarantees effective disinfection, free from harmful residues—continue to uncover more about maintaining your water bottle’s hygiene.
Key Takeaways
- Use unscented household bleach to avoid residues and ensure effective disinfecting.
- Dilute 1 teaspoon of bleach in 1 gallon of water for proper concentration.
- Disassemble the bottle and submerge components in the bleach solution for at least two minutes.
- Rinse all parts thoroughly under running water to remove any bleach residue.
Gather Your Supplies
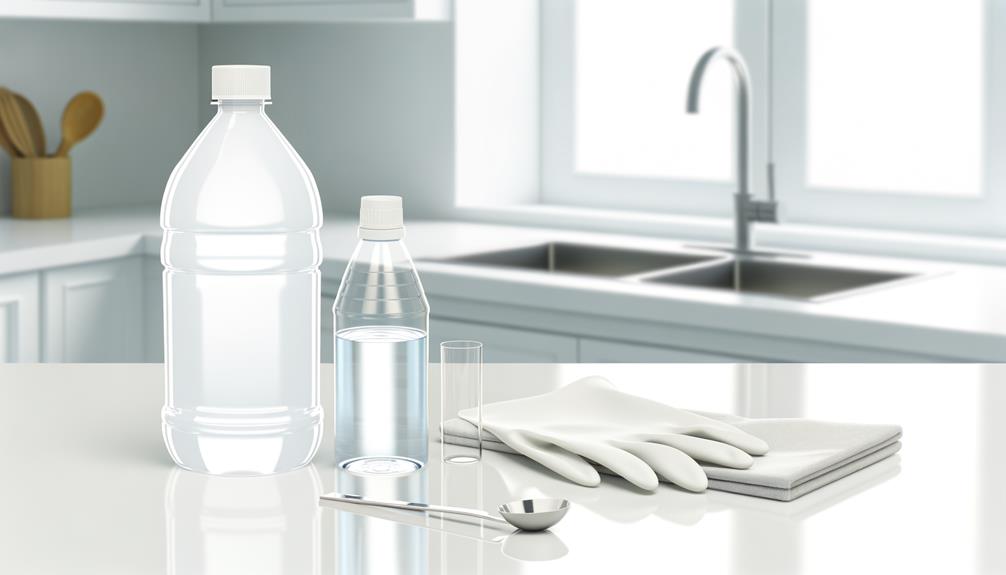
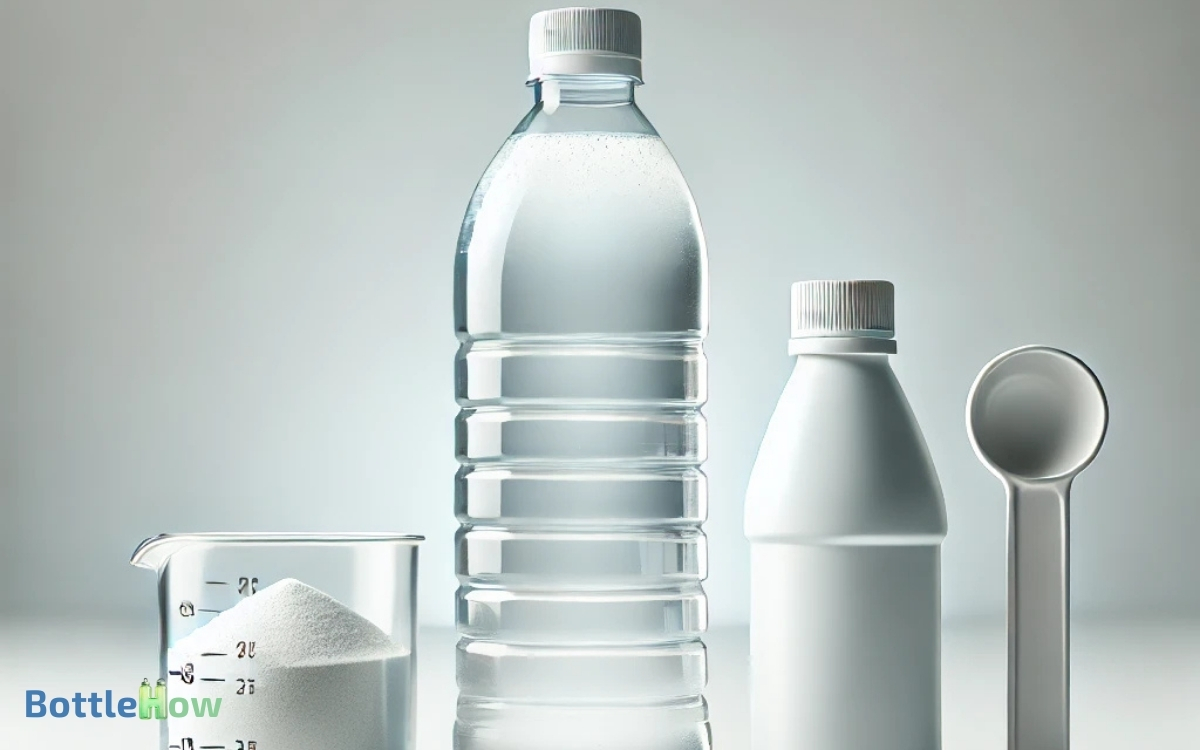
To begin, you’ll need to gather several essential supplies, including bleach, water, a measuring tool, and a clean container.
Use unscented household bleach, as additives can interfere with its disinfecting properties. Opt for a precise measuring tool, such as a graduated cylinder or measuring cup, to guarantee accurate dilution ratios.
The water should be potable, as any contaminants could hinder the cleaning process. Select a container made of non-reactive material, like glass or food-grade plastic, to avoid chemical reactions with the bleach.
Confirming all tools and materials are clean minimizes the risk of introducing additional contaminants. This meticulous approach sets the foundation for effectively disinfecting your water bottle, ensuring it’s safe for future use.
Prepare the Bleach Solution
Begin by measuring an appropriate ratio of bleach to water, typically 1 teaspoon of bleach per gallon of water, to create an effective disinfecting solution.
Make sure you use unscented household bleach, as scented varieties contain additives that could leave residues.
Pour the bleach into a clean container first, then add the water to mix thoroughly. This minimizes splashing and guarantees proper dilution.
Use cool or room temperature water; hot water can degrade the bleach’s active ingredient, sodium hypochlorite, rendering it less effective.
Stir the solution gently to achieve uniform concentration.
Remember, accurate measurement is essential to maintaining the solution’s efficacy while preventing potential health risks associated with over-concentration.
Always wear gloves to protect your skin during this process.
Clean the Water Bottle
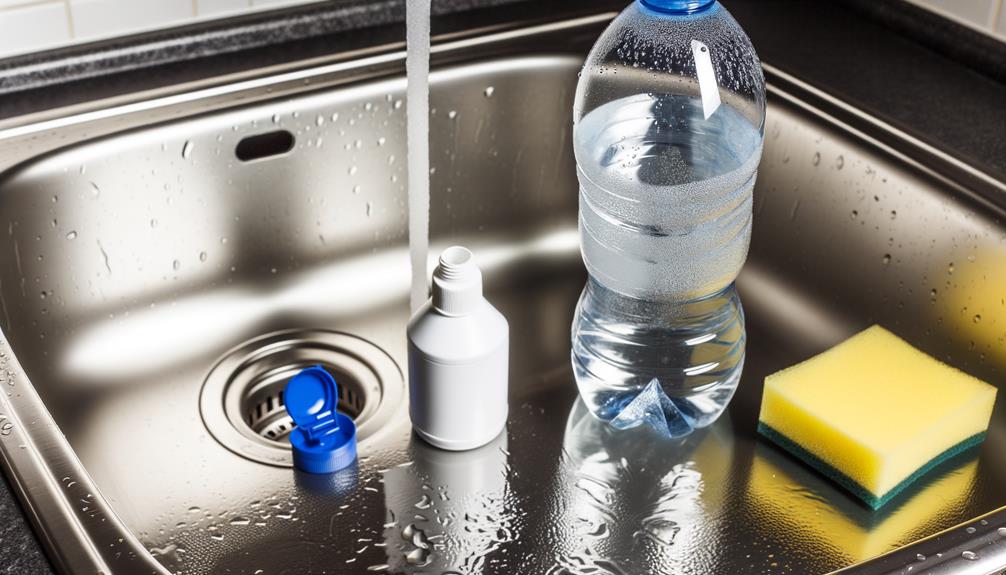
With your prepared bleach solution ready, it’s time to thoroughly clean the water bottle to eliminate any contaminants. Begin by carefully pouring the solution into the bottle, ensuring it reaches all interior surfaces. Let it sit for a few minutes to effectively sanitize stainless steel bottle and remove any lingering bacteria or odors. Finally, rinse thoroughly with clean water to ensure no bleach residue remains before using the bottle again.
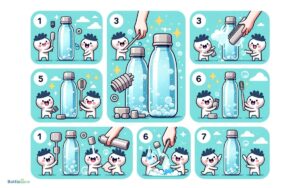
First, disassemble the bottle, removing the cap, straw, and any other detachable parts.
Submerge all components in the bleach solution, guaranteeing complete coverage.
Use a long-handled brush to scrub the interior surfaces, focusing on hard-to-reach areas and potential biofilm accumulation zones.
Pay particular attention to the threads and seals where microbial growth can be tenacious.
Allow the components to soak in the solution for at least two minutes to guarantee effective disinfection.
After scrubbing, carefully inspect each piece to confirm the absence of visible debris.
This meticulous cleaning process guarantees the bottle is sanitized and safe for use.
Rinse Thoroughly
After soaking, thoroughly rinse each component under running water to confirm all bleach residue is completely removed.
Utilize a high-flow faucet to ensure the water pressure effectively dislodges any lingering particles. Pay extra attention to threads, seals, and narrow or hard-to-reach areas, as these can trap bleach molecules. Scientific studies indicate that even trace amounts of bleach can lead to potential health risks if ingested.
Rotate the bottle and its components systematically to expose all surfaces to water.
Employ a small brush for areas like the cap and mouthpiece, ensuring no residue remains. Conduct a sensory check by sniffing; there should be no chlorine odor. Repeatedly rinse until you’re confident all bleach traces are eradicated.
Dry and Store
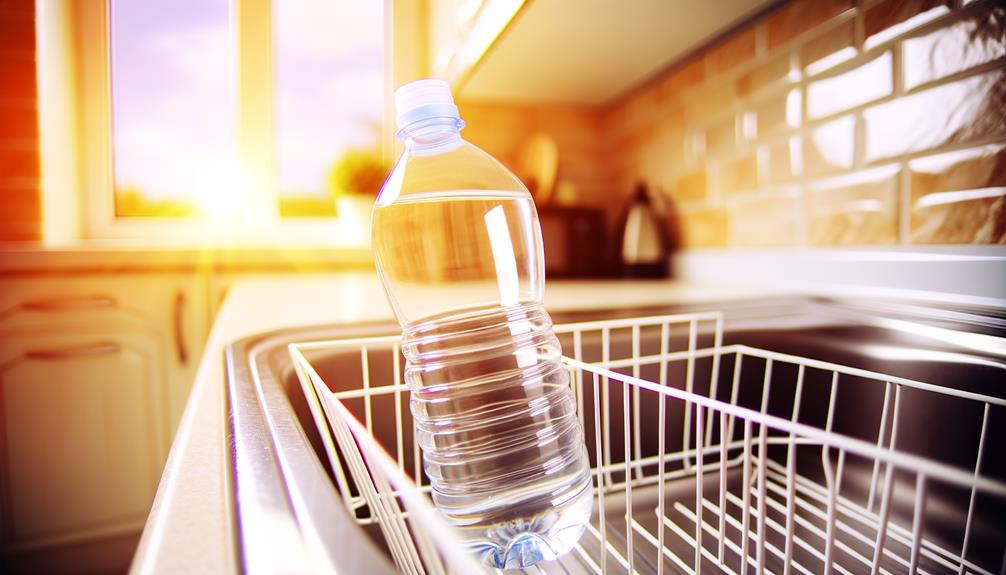
Guarantee all components are fully dried by placing them on a clean, absorbent towel in a well-ventilated area, preventing microbial growth and maintaining hygiene.
Follow these steps to verify ideal drying and storage:
- Disassemble: Take apart the bottle, cap, and any additional components to expose all surfaces to air.
- Pat Dry: Use a lint-free cloth to pat each piece dry, removing excess moisture.
- Air Dry: Allow the components to air dry completely, which can take several hours.
Once dry, store the bottle in a cool, dry place. Avoid sealing it immediately to prevent trapped moisture.
Reassemble the bottle only when you’re ready to use it. This meticulous process aids in maintaining the water bottle’s cleanliness and prolonging its usability.
Conclusion
Now, as you take the final step, remember: rinsing thoroughly guarantees no bleach residue remains, protecting your health.
But here’s the suspense—will you remember to dry it completely? Any moisture left can become a breeding ground for bacteria, undermining all your efforts.
So, guarantee every drop is gone before storing.
You’ve mastered the science of sanitizing your water bottle; now, will you maintain this discipline every time? Your health depends on it.

