How to Replace Contigo Water Bottle Mouthpiece
To replace your Contigo water bottle mouthpiece, start by gathering a small flathead screwdriver, needle-nose pliers, and a clean cloth. Identify your bottle model by checking the base or lid for imprints.
Detach the old mouthpiece using pliers, ensuring to clean any debris in the housing. Inspect your new mouthpiece for correct dimensions and material.
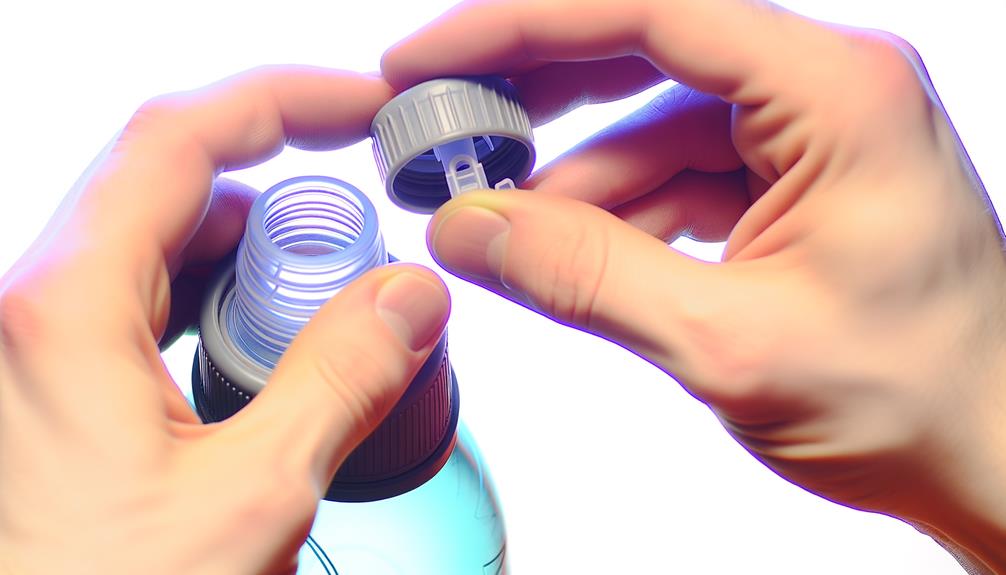
Align and insert it into place using alignment markers, ensuring a flush fit. Secure it with a firm press until it clicks.
Test for leaks by filling the bottle and checking for water escape. For a deeper understanding of each step, keep going.
Key Takeaways
- Gather necessary tools: small flathead screwdriver, needle-nose pliers, clean cloth, and the correct new mouthpiece.
- Identify your Contigo bottle model by examining the base/lid for imprinted names or alphanumeric codes.
- Remove the old mouthpiece using needle-nose pliers, and clean the bottle components thoroughly with warm, soapy water.
- Align the new mouthpiece with designated alignment markers and press firmly until it clicks securely into place.
Gather Necessary Tools
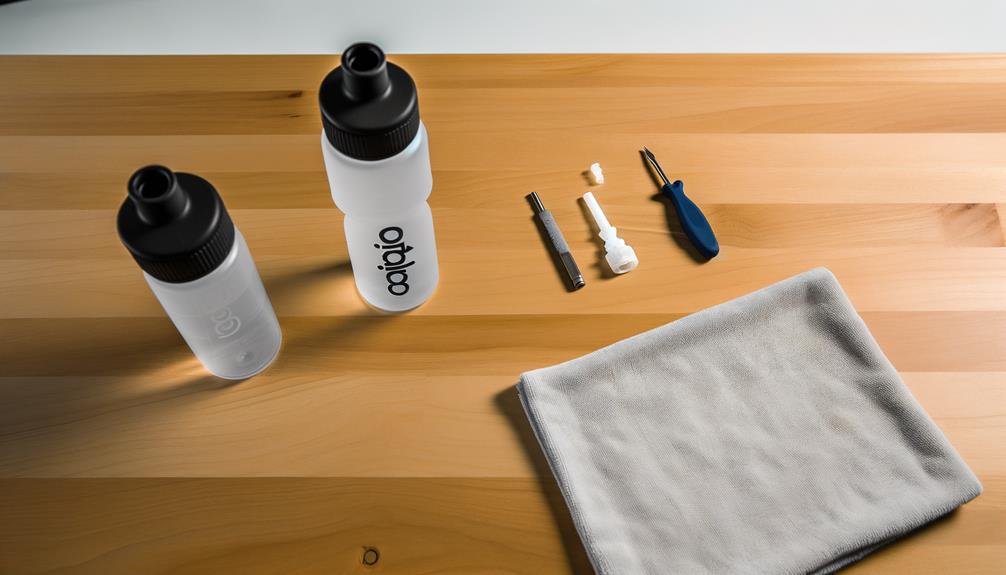
Before you begin the replacement process, you'll need to gather a few essential tools and materials to confirm a smooth and efficient task.
Start with a small flathead screwdriver; it's vital for prying off the old mouthpiece. A pair of needle-nose pliers will help grip and maneuver parts without damaging them.
Have a clean cloth or paper towel ready to wipe away any debris or moisture. Verify you have a new Contigo mouthpiece that matches your bottle model.
Identify Your Bottle Model
To accurately replace the mouthpiece, you first need to identify your Contigo bottle model by examining the base or the area around the lid for specific model numbers or names.
Look for imprinted or engraved identifiers such as 'Autospout,' 'Autoseal,' or 'Chug,' which denote different functionalities and designs.
Note down any alphanumeric codes, as these can be essential for finding compatible parts.
Check the manufacturer's website for a detailed model comparison if the identification isn't clear.
Cross-referencing these details with user manuals or online guides will guarantee you purchase the right replacement mouthpiece.
Accurate model identification prevents fitting issues and guarantees the new mouthpiece functions correctly, maintaining the bottle's integrity and usability.
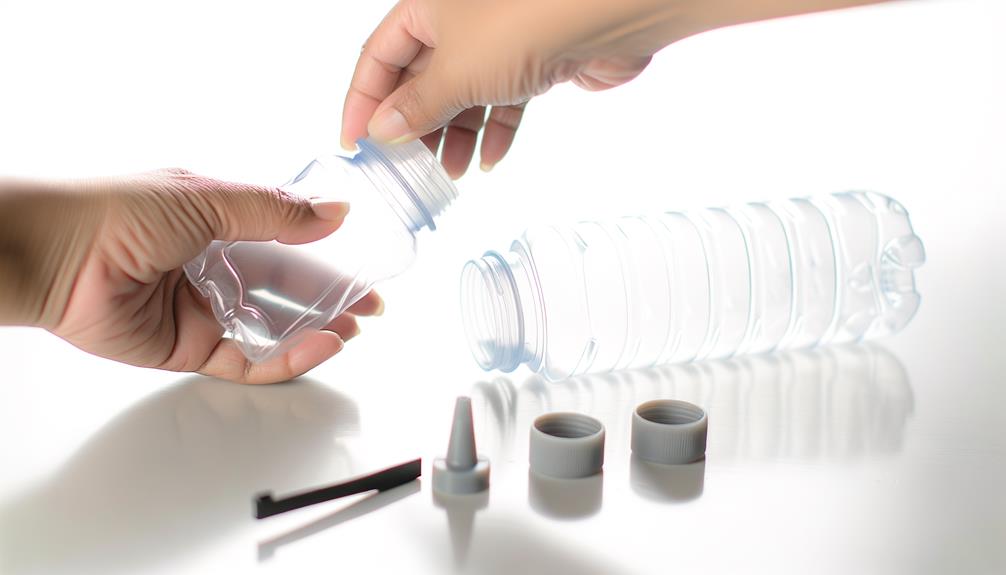
Remove the Old Mouthpiece
Start by detaching the bottle components, including the lid and any internal parts.
Once disassembled, locate the worn mouthpiece and firmly pull it out from its socket.
Make certain you remove any debris or residue left behind to prepare for the new mouthpiece installation.
Detach Bottle Components
For this step, carefully unscrew the cap from your Contigo water bottle to gain full access to the mouthpiece. Be sure to keep the cap in a clean and dry place to prevent any contamination while you clean or refill your bottle. Inspect the mouthpiece for any buildup or residue, and wash it thoroughly with warm, soapy water to ensure a fresh drinking experience. If you’re also interested in exploring new hydration options, you might want to look into how to get a free Cirkul to try out a different kind of water bottle system.
Confirm you have a firm grip on the bottle to prevent any spillage. Once the cap is removed, locate the mouthpiece. Depending on your Contigo model, the mouthpiece may be attached by a simple snap-fit mechanism or secured with small screws.
If it's a snap-fit, gently pry the mouthpiece from its housing using a flat tool, like a small flathead screwdriver. Confirm you apply even pressure to avoid damaging surrounding components.
If screws are present, use a precision screwdriver to remove them. Keep these screws in a safe place for reassembly.
Remove Worn Mouthpiece
Once you've detached the bottle components, use a pair of needle-nose pliers to carefully grip and pull out the worn mouthpiece from its housing.
Position the pliers around the base of the mouthpiece, guaranteeing a firm yet gentle hold to avoid damaging the surrounding plastic.
Apply steady pressure while pulling upward, taking care not to twist or jerk, which could cause breakage.
If the mouthpiece resists, try wiggling it slightly to loosen any lodged debris.
Once removed, inspect the housing for any residue or damage.
Clean the area thoroughly with a mild soap solution and a soft brush.
This guarantees a smooth installation of the new mouthpiece, maintaining the bottle's functionality and hygiene.
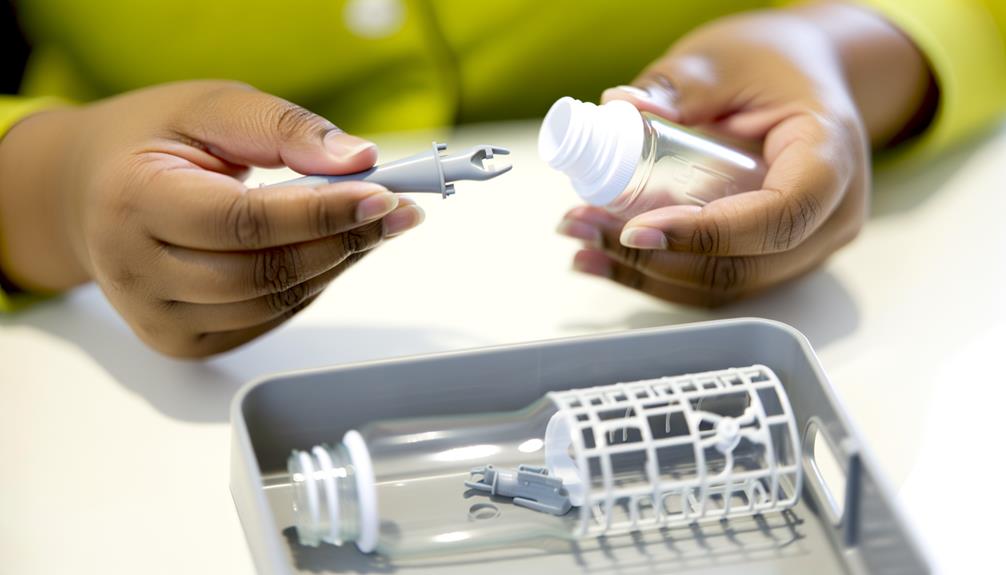
Clean the Bottle Components
After you've removed the old mouthpiece, it's essential to sanitize the bottle thoroughly to guarantee it's free from any bacteria or residue.
Use warm, soapy water to clean all components, paying special attention to crevices and hard-to-reach areas.
Rinse each piece thoroughly with clean water and let them air dry completely before reassembling.
Remove Old Mouthpiece
Begin by disassembling the bottle components to access and remove the old mouthpiece efficiently.
First, twist off the cap and set it aside.
Next, detach the straw by gently pulling it away from the mouthpiece.
Now, carefully inspect the mouthpiece mechanism. You might need a small tool, like a flathead screwdriver, to pry it out if it's stubborn.
- Detach the cap: Twist it off and place it somewhere clean.
- Remove the straw: Pull it gently to avoid damaging any parts.
Be cautious to avoid damaging surrounding components.
Once the mouthpiece is free, dispose of it properly.
Now, you're ready to move on to sanitizing the bottle thoroughly.
Sanitize Bottle Thoroughly
With the old mouthpiece removed, it's important to sanitize the bottle components meticulously to uphold a clean and safe drinking experience. Disassemble all removable parts, including the lid, straw, and any silicone gaskets. Use warm, soapy water and a bottle brush to scrub each piece thoroughly. Pay special attention to crevices and hidden areas where bacteria may lurk. Rinse each component under running water to remove soap residue. To maintain thorough sanitation, soak the parts in a mixture of one tablespoon of white vinegar per cup of water for 15 minutes.
| Step | Action | Details |
|---|---|---|
| 1 | Disassemble | Remove lid, straw, gaskets |
| 2 | Scrub | Use warm, soapy water, bottle brush |
| 3 | Focus on crevices | Target hidden areas |
| 4 | Rinse | Use running water |
| 5 | Soak | Vinegar solution, 15 minutes |
Dry all components completely before reassembling.
Inspect the Replacement Mouthpiece
Carefully examine the replacement mouthpiece to verify it matches the specifications of your Contigo water bottle model.
Begin by checking the dimensions, confirming the mouthpiece's diameter and length align with your original.
Next, inspect the material to confirm it's made of the same durable, BPA-free plastic that Contigo uses, which guarantees safety and longevity.
Finally, look at the connection points to verify they fit seamlessly with your bottle's design.
- Dimensions: Verify the mouthpiece's diameter and length.
- Material: Confirm it's made of BPA-free plastic.
Align the New Mouthpiece
Make certain the new mouthpiece is oriented correctly by matching the alignment markers on the mouthpiece with those on the bottle. These markers are usually small notches or arrows.
Look closely at the mouthpiece and the bottle's opening to locate them. Hold the mouthpiece firmly and position it so the markers are perfectly aligned. This guarantees the mouthpiece will fit securely and function as intended.
If the markers don't align, the mouthpiece mightn't sit properly, causing leaks or difficulty in use. Double-check that the mouthpiece is flush with the bottle opening, without any gaps.
Proper alignment is essential for maintaining the water bottle's performance and preventing any potential issues down the line.
Secure the Mouthpiece

To secure the mouthpiece, press it firmly into place until you hear or feel a click, indicating it has locked into the correct position.
Verify the mouthpiece is oriented correctly as per the alignment marks. Once you hear the click, check that it doesn't wobble or shift. This guarantees a proper seal and functionality.
Pay attention to the following:
- Visual Confirmation: Verify the mouthpiece sits flush against the bottle's top, with no gaps.
- Manual Test: Gently pull on the mouthpiece to confirm it's securely fastened.
These steps will help you verify the mouthpiece is properly secured, leading to maximum performance of your Contigo water bottle.
Test for Leaks
With the mouthpiece secured, fill your Contigo water bottle with water and observe if any liquid seeps out, indicating potential leaks.
Start by holding the bottle upright and gently squeezing it to apply pressure. Check around the mouthpiece, lid, and any seams for signs of moisture. Rotate the bottle to inspect all areas thoroughly. Pay close attention to the junction where the mouthpiece meets the lid, as this is a common area for leaks.
If you spot any leaks, tighten the mouthpiece and repeat the test. If the leaks persist, consider examining the mouthpiece for any damage or misalignment. Ensuring a proper seal is essential for maintaining the bottle's functionality and preventing spills during use.
Reassemble the Bottle
To reassemble the bottle, start by aligning the new mouthpiece correctly with the designated slot.
Verify all components are securely attached to prevent any leaks.
Align Mouthpiece Correctly
Verifying the mouthpiece is correctly aligned, position it so that the spout faces the front and snaps securely into place. Be mindful of the following details:
- Alignment Marks: Check for any alignment markers on the mouthpiece and bottle to guide you.
- Snap Fit: Apply gentle pressure until you hear a click, indicating a proper fit.
When aligning the mouthpiece, make certain it sits flush against the bottle's opening. Misalignment can lead to leaks and improper function.
Take your time to confirm every component is in its rightful position. This step is essential for maintaining the integrity of your Contigo water bottle and guaranteeing peak performance.
Securely Attach Components
Now that the mouthpiece is correctly aligned, firmly press down on the bottle's cap to make certain it locks into place securely.
Ensure that you hear a distinct click, which indicates that the components are properly engaged.
Next, twist the cap in a clockwise direction until it's tightly sealed.
Check the spout mechanism to confirm it moves freely without any obstruction.
Align the locking mechanism and snap it into its designated slot to prevent accidental openings.
Finally, inspect the bottle's body for any misalignment or gaps between the components.
This careful reassembly ensures that all parts are secure and the water bottle maintains its intended functionality.
Follow these steps precisely to ensure a proper and secure fit.
Test for Leaks
With the components securely attached, fill the bottle with water and observe closely for any signs of leakage. Pay attention to the areas around the mouthpiece, lid, and base.
Check the Mouthpiece: Gently squeeze the bottle to verify no water escapes from the newly replaced mouthpiece. If water leaks, ensure the mouthpiece is securely attached and properly seated. Once confirmed, replace water bottle on dispenser and observe for any further leaks. A well-installed mouthpiece helps maintain a steady flow and prevents unnecessary spills.
Inspect the Lid: Look for any drips or droplets around the lid's seal when the bottle is both upright and inverted.
Examine the Base: Hold the bottle bottom-up to confirm no water seeps through the base.
Maintenance Tips
Regularly cleaning your Contigo water bottle's mouthpiece with a small brush and mild soap prevents buildup of bacteria and guarantees peak performance.
Use a brush with soft bristles to reach deep into the crevices. Rinse thoroughly under warm water to remove any soap residue. Avoid using abrasive materials that might damage the mouthpiece.
After cleaning, let it air dry completely before reassembling. For a deeper clean, consider soaking the mouthpiece in a solution of one part vinegar to three parts water for 15 minutes. Rinse thoroughly afterwards.
Inspect the mouthpiece for any signs of wear or damage during each cleaning session. By maintaining this routine, you'll extend the lifespan of your Contigo water bottle's mouthpiece and assure a hygienic drinking experience.
Conclusion
You've now completed your Contigo water bottle mouthpiece replacement.
Picture yourself sipping from your bottle, the new mouthpiece secure, ensuring a leak-free, crisp hydration experience.
Each step, from gathering tools to testing for leaks, was detailed and precise, ensuring a flawless outcome.
Feel the satisfaction of a job well done, the bottle reassembled and ready for use.
With proper maintenance, you'll enjoy many more revitalizing sips.
Happy hydrating!