How to Wash Lifestraw Water Bottle
To wash your Lifestraw water bottle, start by collecting a soft-bristle brush, mild dish soap, a towel, and a small bowl. Disassemble the bottle by removing the filter cartridge, mouthpiece, and lid.
Rinse each component under warm water. Use a brush and dish soap to scrub the mouthpiece and bottle, then soak the mouthpiece in a vinegar-water solution for disinfection.
Sanitize the filter by soaking it in vinegar-water for 30 minutes and rinse thoroughly. Reassemble the bottle by securing the filter, mouthpiece, and lid, ensuring a tight fit.
Store your clean bottle in a cool, dry place. For more intricate steps, continue upwards.
Key Takeaways
- Disassemble the bottle, including removing the filter cartridge, mouthpiece, and lid.
- Rinse all parts with warm water to remove loose debris.
- Use a soft-bristle brush and mild dish soap to scrub the bottle and mouthpiece.
- Soak the filter in a vinegar-water solution for 30 minutes to sanitize.
Gather Your Supplies
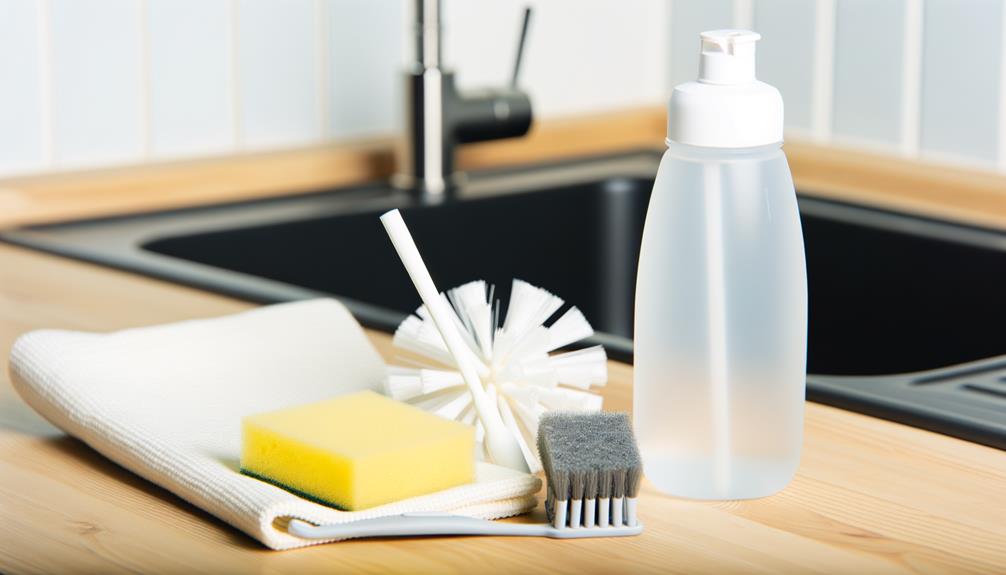
Before you begin washing your Lifestraw water bottle, you'll need to gather a few essential supplies.
First, get a soft-bristle brush to clean the bottle's interior without scratching.
You'll also need mild dish soap; harsh chemicals can damage the components.
A clean, dry towel is vital for drying the parts thoroughly after washing.
Additionally, have a small bowl or container to soak the mouthpiece and straw.
Make sure you have access to clean, running water for rinsing.
If you have a Lifestraw with a filter, grab a spare filter if needed.
Collecting these supplies beforehand guarantees you don't interrupt the cleaning process and helps maintain the bottle's longevity and performance.
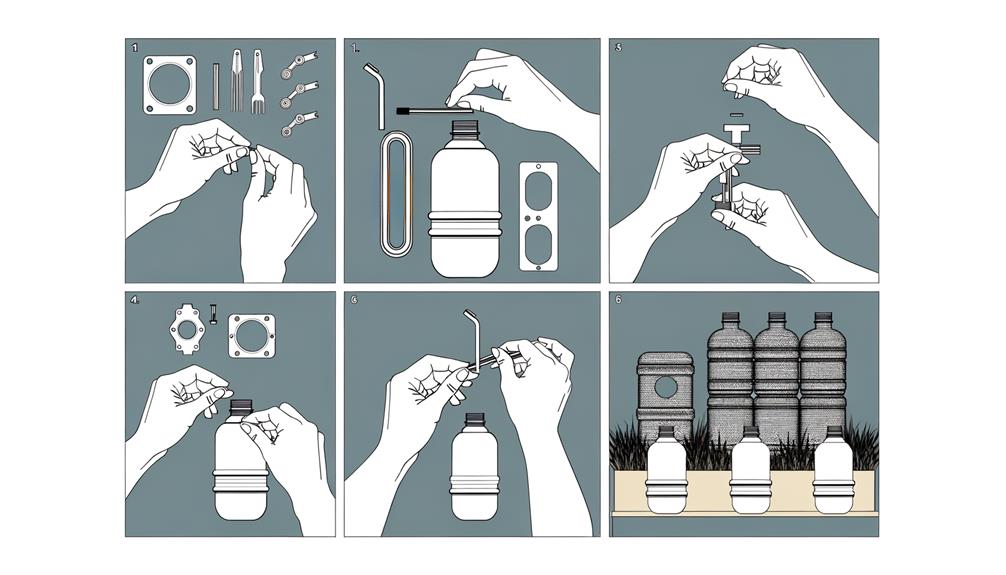
Disassemble the Bottle
To begin disassembling your Lifestraw water bottle, first remove the filter cartridge by pulling it out firmly.
Next, separate the mouthpiece components to guarantee each part is accessible for cleaning.
Remove Filter Cartridge
Gently twist the filter cartridge counterclockwise to detach it from the Lifestraw water bottle.
Make certain you maintain a firm grip on the bottle to avoid any slippage.
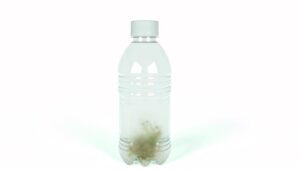
Once detached, inspect the filter for any debris or visible dirt.
If the filter appears clogged or dirty, it's essential to clean it thoroughly to guarantee peak performance.
Carefully set the filter cartridge aside on a clean, dry surface.
Avoid using excessive force during removal to prevent damage.
Be sure to handle the cartridge gently, as it contains delicate filtration components.
After removing the filter, proceed to wash the bottle's interior with warm, soapy water.
Remember not to immerse the filter in water, as this can compromise its functionality.
Separate Mouthpiece Components
Next, disassemble the mouthpiece by firmly gripping the silicone spout and twisting it counterclockwise to separate it from the lid.
Make sure you apply steady, even pressure to avoid damaging the components.
Once the spout is detached, carefully remove any O-rings by sliding them off the spout. These small rubber rings are essential for maintaining a proper seal and should be handled gently.
Inspect the disassembled parts for any visible debris or wear. Pay particular attention to the spout and O-rings, as they often accumulate dirt.
Rinse each component under warm running water to remove surface contaminants. Use a small brush to clean hard-to-reach areas, making certain all parts are thoroughly cleaned before reassembly.
Detach Bottle Lid
Firmly grip the bottle and twist the lid counterclockwise to detach it from the main body. This action will allow you to access the internal components for thorough cleaning. Verify you maintain a firm hold to prevent any accidental spills.
Once the lid is off, inspect the lid and bottle for any dirt or debris.
To guarantee a thorough clean, remember to:
- Separate the filter: Carefully remove the Lifestraw filter from the lid.
- Check the gasket: Look for the silicone gasket and remove it to clean any hidden grime.
These steps are vital for maintaining the bottle's efficiency and hygiene.
Rinse With Warm Water
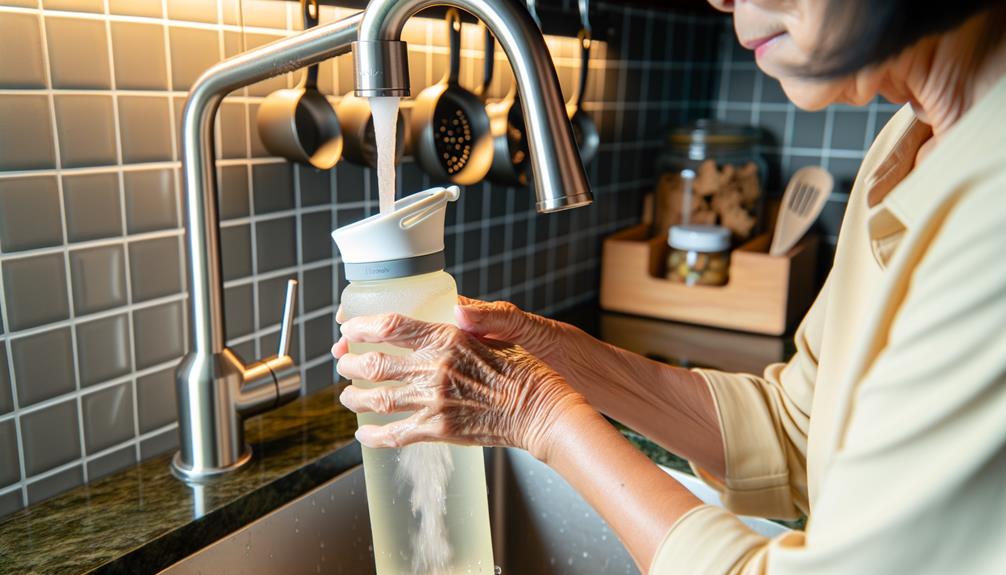
To effectively rinse the Lifestraw water bottle, use warm water to guarantee any residual particles are thoroughly removed.
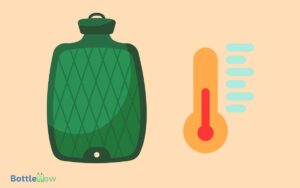
First, fill the bottle about halfway with warm water, making sure the temperature is neither too hot nor too cold; around 100°F (38°C) is ideal. Secure the lid and shake the bottle vigorously for about 30 seconds. This helps dislodge any debris or contaminants that may be clinging to the interior surfaces.
Next, empty the water and inspect the bottle for any remaining particles. If necessary, repeat the process until the water runs clear. Maintain a steady flow of warm water to rinse away all loosened particles.
This step guarantees your Lifestraw water bottle remains clean and safe for use.
Clean the Mouthpiece
Thoroughly cleaning the mouthpiece guarantees that no harmful bacteria or debris remain.
Start by detaching the mouthpiece from the bottle.
Use a small brush, ideally one designed for cleaning straws or bottle parts, to gently scrub the interior and exterior of the mouthpiece.
Apply a mild dish soap solution to ascertain all contaminants are removed.
- Gently scrub all surfaces: Use a brush to reach crevices.
- Rinse thoroughly: Ascertain no soap residue remains.
Soak the mouthpiece in a solution of one part white vinegar to three parts water for about 15 minutes to disinfect.
Rinse thoroughly with warm water and allow to air dry completely before reassembling.
This ascertains the mouthpiece remains hygienic and ready for use.
Scrub the Bottle
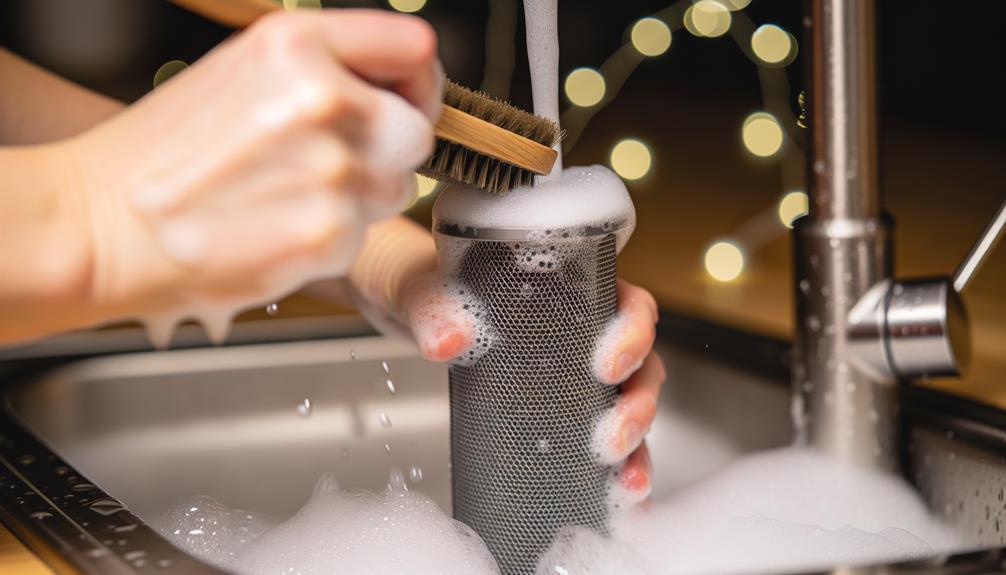
Begin by removing the filter and any detachable parts from the Lifestraw water bottle to assure a thorough clean.
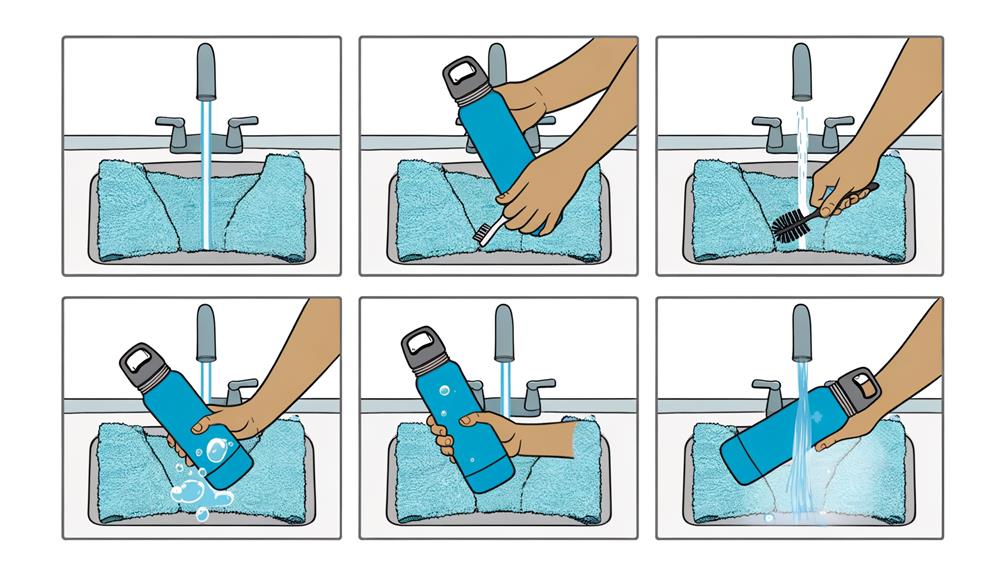
Rinse the bottle with warm water to remove loose debris. Use a bottle brush with soft bristles to scrub the interior. Pay particular attention to the bottom and the threading at the mouth where residue can accumulate.
Apply a mild dish soap to the brush, making certain you reach every corner. For the exterior, use a sponge or cloth. Scrub in circular motions to effectively remove dirt and grime.
Rinse thoroughly to make sure no soap remains, as residue can affect the taste of your water. Finally, let the bottle air dry completely before reassembling it.
Sanitize the Filter
Verify that you use clean hands and a sanitized workspace before handling the filter.
To sanitize the Lifestraw filter, follow these steps precisely. First, prepare a solution of one part white vinegar to four parts clean water. Submerge the filter in this solution for 30 minutes. This will help to remove any lingering bacteria or impurities. After soaking, rinse the filter thoroughly with clean, cold water to remove any vinegar residue.
Confirm the following:
- Use fresh, uncontaminated water for rinsing.
- Dry the filter completely before next use.
Properly sanitizing the filter guarantees peak performance and longevity, maintaining the safety of your drinking water.
Reassemble and Store
Once the filter is completely dry, carefully reassemble the Lifestraw water bottle by aligning the filter with the designated compartment and securing it firmly in place. Confirm all components are tightly fitted to prevent leaks. Before using, fill the bottle with clean water and ensure the lid is tightly closed. To understand how to use Lifestraw bottle effectively, take a few sips to activate the filter and begin the purification process. Regularly clean the mouthpiece and exterior to maintain optimal performance.
| Component | Action | Remarks |
|---|---|---|
| Filter | Align and secure | Check for proper positioning |
| Mouthpiece | Attach firmly | Confirm it clicks into place |
| Bottle Cap | Screw on tightly | Prevents contamination |
| Body | Inspect for cleanliness | Clear any residue |
After reassembling, store the bottle in a cool, dry place to maintain the filter's integrity. Avoid exposure to direct sunlight or extreme temperatures, which can degrade the materials. Regularly inspect the bottle and filter for any signs of wear and tear to confirm peak performance.
Conclusion
Now that you've meticulously scrubbed and sanitized each component of your LifeStraw water bottle, you're equipped for your next adventure.
By juxtaposing the thorough disassembly and cleaning with the simplicity of reassembling and storing, you've guaranteed both safety and convenience.
Remember, a clean water bottle isn't just about hygiene—it's about peace of mind.
Keep it ready, keep it clean, and you're always prepared.
Happy hydrating!