How to Remove Logo From Stainless Steel Water Bottle
To remove a logo from your stainless steel water bottle, first identify if it has a brushed, polished, or powder-coated finish. For powder-coated finishes, use acetone or nail polish remover by saturating a cotton ball and applying it to the logo area, letting it sit for 5-10 minutes.
Alternatively, a baking soda paste and water mix can work for other finishes; apply and rub in circular motions. For stubborn logos, consider a baking soda and vinegar chemical reaction or fine-grit sandpaper.
Each technique requires careful application to avoid damage, ensuring the best method will yield the best results.
Key Takeaways
- Apply acetone or nail polish remover to logo, let sit for 5-10 minutes, then scrape off with a plastic scraper.
- Use a baking soda paste by mixing two tablespoons of baking soda with one tablespoon of water, then rub in circular motions.
- Create a vinegar and baking soda solution, apply to the logo, and gently scrub with a soft brush.
- Sand off the logo using fine-grit sandpaper (400-600 grit) with consistent, circular motions while periodically checking progress.
Understanding Your Bottle's Finish
To effectively remove a logo from a stainless steel water bottle, you need to first identify whether the bottle has a brushed, polished, or powder-coated finish.
Examine the surface texture: brushed finishes exhibit linear, grain-like patterns; polished finishes are smooth and reflective; powder-coated finishes have a matte, textured feel.
Utilize a magnification tool to scrutinize these characteristics.
For brushed and polished finishes, mechanical abrasion techniques like fine-grit sandpaper or abrasive pads are often appropriate.
Powder-coated surfaces, however, demand chemical solvents for successful logo removal due to their resilient nature.
Accurately determining the finish guarantees you select the correct removal method, preventing surface damage and preserving the bottle's integrity.
Always test a small, inconspicuous area before proceeding with full logo removal.
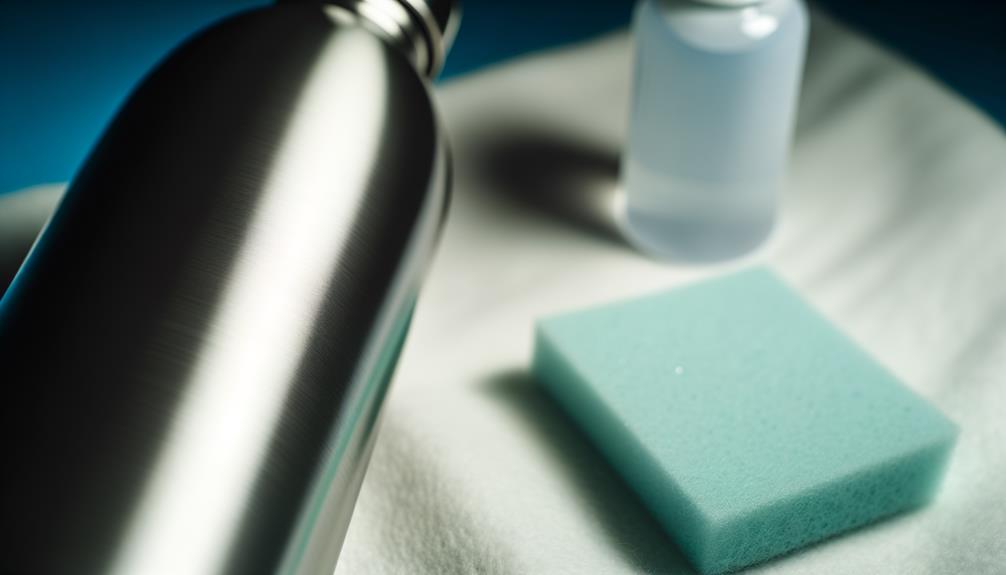
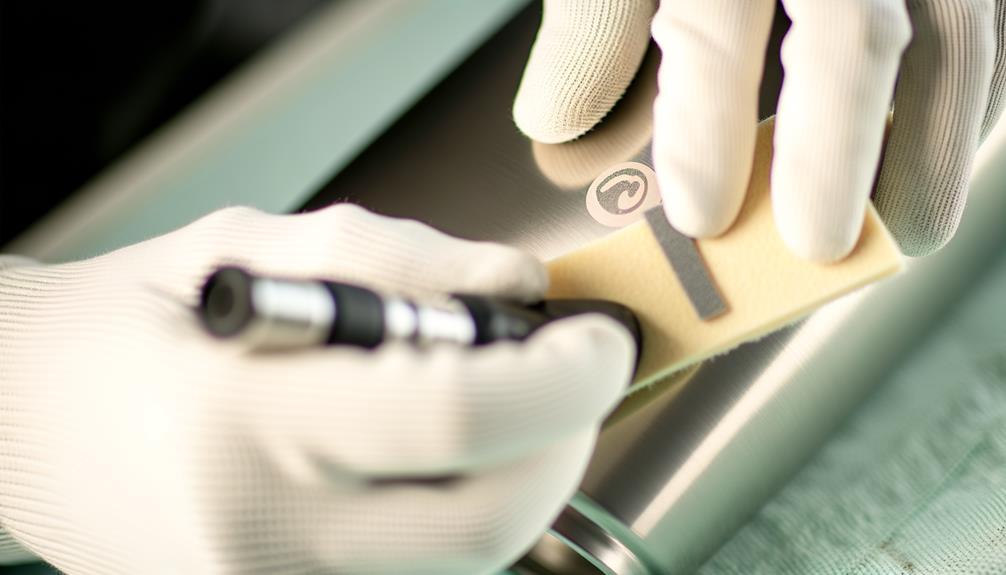
Using Acetone or Nail Polish Remover
When dealing with powder-coated finishes, you'll need to employ acetone or nail polish remover for effective logo removal.
First, don protective gloves to prevent skin irritation.
Saturate a cotton ball or cloth with acetone. Apply it directly to the logo, guaranteeing complete saturation.
Allow it to sit for 5-10 minutes to break down the adhesive or ink.
Using a plastic scraper, gently lift the logo. If residue remains, reapply acetone and repeat the process.
Wipe the area with a clean, damp cloth to remove any solvent traces. Dispose of the used materials properly.
Assure adequate ventilation to avoid inhaling fumes.
This method effectively removes logos without compromising the stainless steel's integrity.
Applying Baking Soda Paste
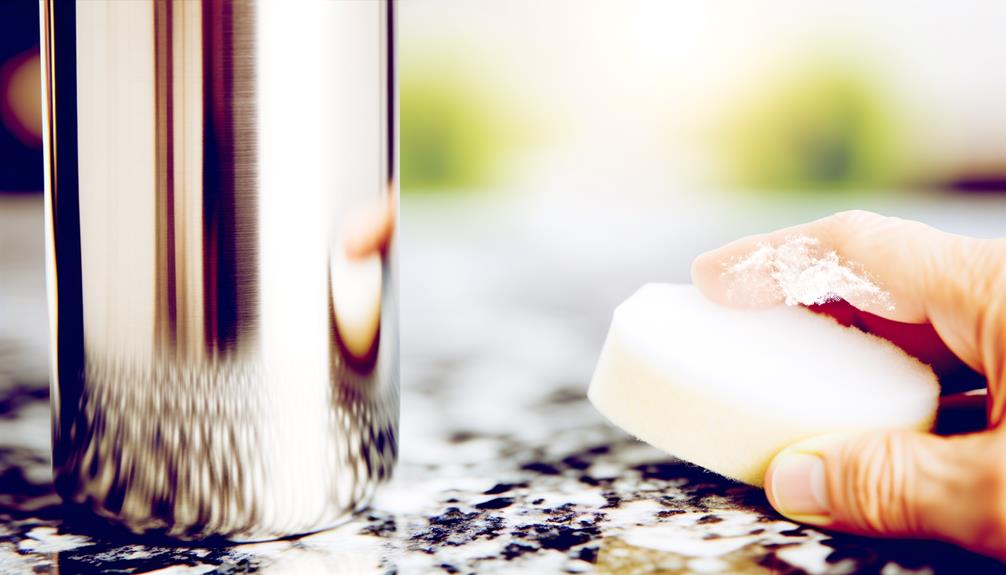
Combining baking soda with water to form a paste creates an abrasive compound ideal for mechanically removing logos from stainless steel surfaces.
First, measure two tablespoons of baking soda and mix it with one tablespoon of water to achieve a thick, homogeneous paste.
Apply the paste directly onto the logo using a soft cloth or sponge. With moderate pressure, rub the paste in circular motions to abrade the logo. Continue until the logo begins to fade.
Rinse the area with water to remove residual paste, then inspect for remaining logo traces. If necessary, repeat the process to confirm complete removal.
Trying Vinegar and Baking Soda
For a more chemical approach, integrate vinegar with baking soda to enhance the removal of logos from stainless steel water bottles. Begin by creating a 1:1 solution of distilled vinegar and water. Apply this mixture to the logo area using a microfiber cloth. Then, sprinkle baking soda directly onto the dampened surface. Observe the reaction as it fizzes, indicating the breakdown of adhesive residues.
| Step | Ingredients | Tools Needed |
|---|---|---|
| 1 | Vinegar | Microfiber Cloth |
| 2 | Water | Mixing Bowl |
| 3 | Baking Soda | Soft Brush |
Scrub the area gently with a soft brush, ensuring not to scratch the stainless steel. Rinse thoroughly with water and dry with a clean cloth. This method efficiently utilizes the acid-base reaction to weaken adhesive bonds, facilitating logo removal.
Sanding for Tougher Logos
To tackle more stubborn logos, employ fine-grit sandpaper in a methodical sanding process to confirm even abrasion without damaging the stainless steel surface.
Start by selecting 400-600 grit sandpaper, appropriate for delicate materials. Secure the bottle on a stable surface to prevent movement.
Utilize consistent, circular motions to sand the logo area, applying uniform pressure to ensure homogeneous material removal. Periodically, inspect the progress to avoid over-sanding, which may cause surface deformations.
If remnants persist, incrementally increase the grit number, progressing to finer abrasives like 800-1000 grit for final touches.
Clean the area with a microfiber cloth to remove sanding residues. This meticulous approach will effectively erase tough logos while preserving the integrity of your stainless steel water bottle.
Conclusion
To sum up, you’ve now got a veritable arsenal of techniques to obliterate that logo from your stainless steel water bottle. Whether you choose to scrub, soak, or apply chemical removers, your bottle will soon be spotless. If you’re also curious about other bottle-related tricks, you might want to look up how to open smart water bottle efficiently. With a little effort, your stainless steel bottle will look as good as new! Plus, knowing the best methods to remove logo from stainless steel can come in handy for other metal surfaces as well. Just be sure to test any chemicals or abrasives on a small area first to avoid unwanted damage. With these tips, you’ll not only restore your bottle’s sleek appearance but also extend its lifespan.
Whether you opt for the nuclear option of acetone, the alchemical wonder of baking soda paste, the acidic reaction of vinegar and baking soda, or the brute force of sanding, you're equipped for success.
Remember, with meticulous application and a bit of elbow grease, your bottle will be as pristine as a laboratory-grade instrument.
Happy de-logoing!