How to Seal Acrylic Paint on Water Bottle
To seal acrylic paint on a water bottle, start by cleaning the surface thoroughly with mild detergent and a lint-free cloth. Once dry, apply your acrylic paint in thin, even coats, letting each layer dry completely.
After the paint sets, select a clear acrylic sealant appropriate for your finish preference—matte, satin, or glossy. Spray or brush on multiple thin coats of the sealant, maintaining proper ventilation.
Allow the bottle to cure for 24-48 hours in a dust-free area. This process will protect your design from water and wear.
To master the finer details, explore further.
Key Takeaways
- Clean the water bottle thoroughly with a mild detergent to remove any residues and ensure a smooth painting surface.
- Apply the acrylic paint in thin, even coats, allowing each layer to dry completely before adding another.
- Use a clear acrylic sealant, choosing a finish like matte, satin, or glossy based on your preference.
- Spray the sealant in a well-ventilated area, holding the can 6-8 inches away and applying multiple thin coats for best coverage.
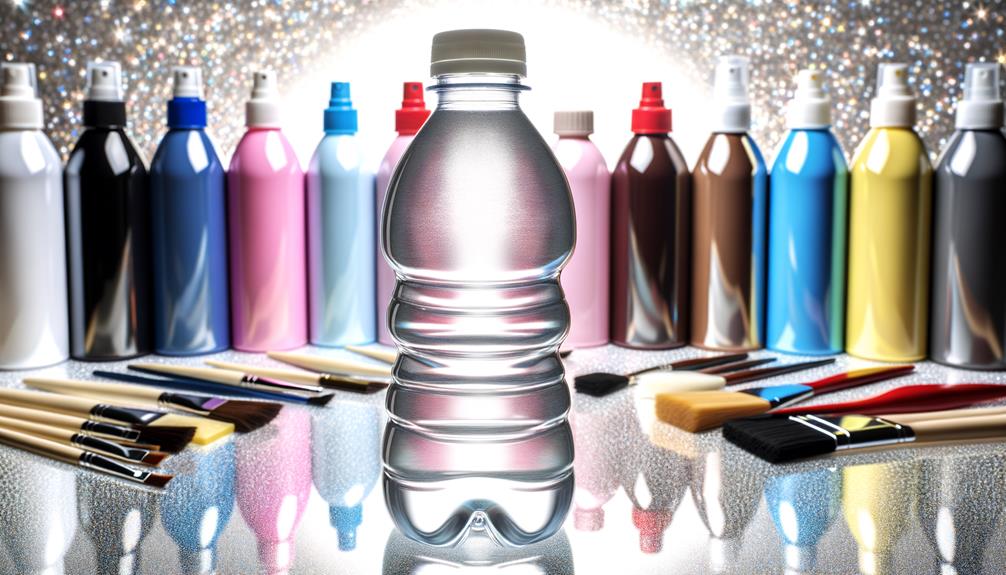
Gather Necessary Materials
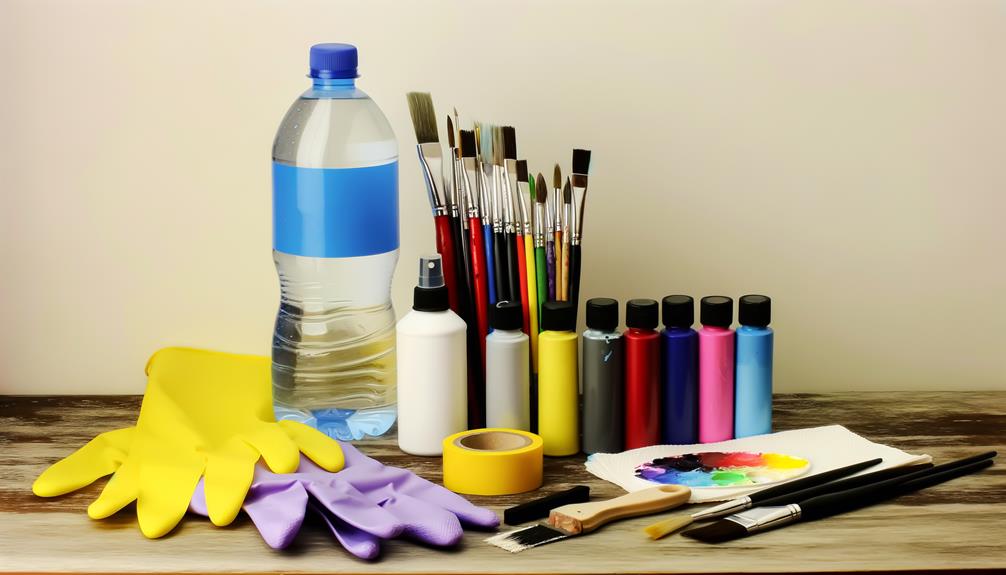
To begin, assemble all the necessary materials, including acrylic paint, a water bottle, clear sealant, brushes, and painter's tape.
Make certain you have high-quality acrylic paint as it provides better adhesion and durability.
Select a water bottle made of a material compatible with acrylic paint, such as stainless steel or glass.
Clear sealant is essential for protecting your painted design from wear and tear; choose one that's specifically formulated for use with acrylic paint.
Use painter's tape to create clean edges and defined areas on your water bottle, preventing unwanted paint spread.
Brushes should be of varied sizes to facilitate detailed work and larger strokes.
With these materials, you'll be well-prepared to achieve a professional, long-lasting finish on your water bottle.
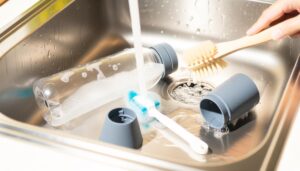
Clean the Water Bottle
Start by removing any residues from the water bottle's surface to guarantee proper paint adhesion.
Use a mild detergent and warm water to clean it thoroughly.
Dry the bottle completely before you begin painting to avoid any moisture interference.
Remove Any Residues
Thoroughly cleaning the water bottle guarantees that the acrylic paint adheres properly.
Start by inspecting the bottle for any visible residues, such as dirt, oils, or adhesive remnants. Use a clean, lint-free cloth to wipe down the entire surface. Pay special attention to areas around the neck and base, where grime tends to accumulate.
For stubborn residues, gently scrape them off with a plastic scraper, ensuring you don't scratch the bottle. Rinse the bottle with warm water to remove loose particles. Make sure every nook and cranny is free of contaminants.
After rinsing, dry the bottle thoroughly with a microfiber cloth. This meticulous cleaning step is critical for ensuring the paint bonds effectively to the bottle's surface.
Use Mild Detergent
Using a mild detergent, scrub the water bottle's surface to eliminate any remaining residues effectively.
Choose a detergent that's gentle yet strong enough to cut through grease and grime without damaging the material.
Apply a small amount to a soft sponge or cloth and work in circular motions.
Focus on all areas, especially crevices and edges, to guarantee thorough cleaning.
Rinse the bottle well with warm water to remove any soap residue.
Avoid using abrasive materials that could scratch the surface, as scratches could affect paint adhesion.
After rinsing, inspect the bottle closely to verify no detergent remains.
This step guarantees a pristine surface, allowing the paint to adhere properly and last longer.
Dry Thoroughly Before Painting
Making sure the water bottle is completely dry before applying paint is essential for ideal adhesion and longevity.
After cleaning the bottle with a mild detergent, use a lint-free cloth to thoroughly dry the surface. Pay close attention to crevices and hard-to-reach areas where moisture can hide.
If you're in a humid environment, consider using a hairdryer on a low setting to make certain all moisture evaporates. Inspect the bottle under good lighting to confirm it's entirely dry.
Any residual moisture can compromise the paint's adherence, leading to peeling or chipping over time. By taking the time to dry the bottle meticulously, you set the stage for a durable, long-lasting paint job.
Apply Acrylic Paint
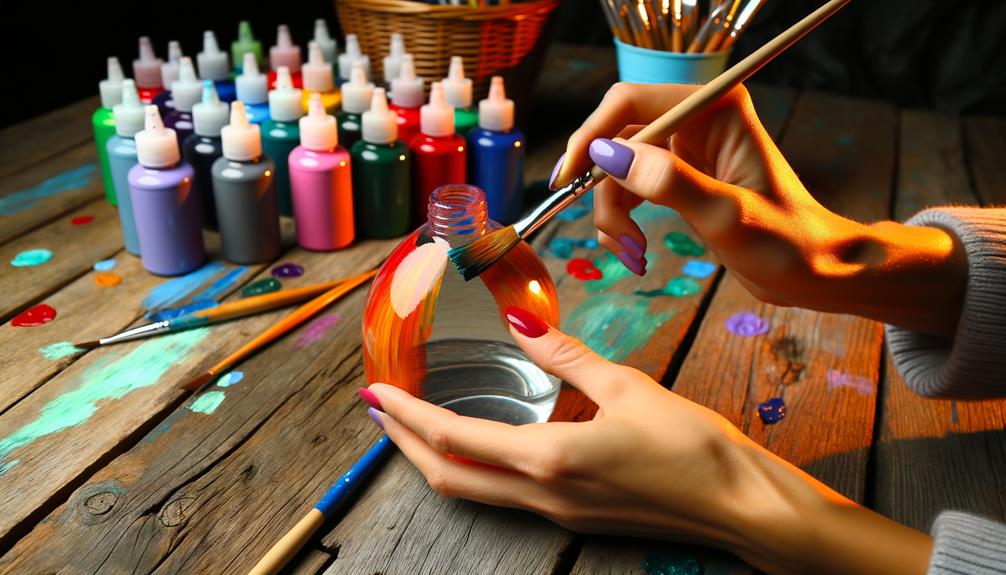
Start by applying a thin, even coat of acrylic paint to the water bottle’s surface, ensuring complete coverage. Use a high-quality brush to avoid streaks and clumps. Consistency is key; don’t rush this part. Allow the first coat to dry completely before applying a second layer for a more vibrant and long-lasting finish. If you’re looking for tips on how to paint plastic bottles, consider using a primer beforehand to help the paint adhere better. Finally, seal the painted surface with a clear acrylic sealer to protect it from chipping and peeling over time.
- Horizontal Strokes: Apply paint in long, horizontal strokes to create a smooth surface.
- Layering: If needed, allow the first coat to dry before adding additional layers for opacity.
Let the Paint Dry
Allow the paint to dry completely before proceeding, as patience is vital to avoid smudging mistakes.
Make certain the water bottle is kept in a stable, dust-free environment to facilitate proper drying.
This step is critical for achieving a smooth, durable finish.
Patience Is Essential
Waiting for the acrylic paint to dry thoroughly is essential to achieving a durable seal on your water bottle. Rushing this process compromises the integrity of the seal, leading to potential peeling or cracking.
Ascertain the paint dries completely by following these steps:
- Wait 24-48 hours: Allow adequate drying time. Humidity and temperature can affect drying times, so be patient.
- Use a fan: Enhance air circulation to expedite drying. Position it at a distance to prevent dust from settling.
Avoid Smudging Mistakes
One critical step to avoid smudging mistakes is ensuring the paint has dried completely before proceeding.
Acrylic paint requires sufficient drying time to form a stable layer. If you rush, you risk smearing your design, compromising all your hard work.
Typically, acrylic paint needs at least 24 hours to dry on non-porous surfaces like water bottles. Test dryness by gently touching a small, inconspicuous area; if it feels tacky, it needs more time.
Using a fan or gentle air circulation can aid in drying, but avoid direct heat sources as they can cause cracking.
Proper Drying Environment
To guarantee the paint cures properly, position the water bottle in a well-ventilated area with consistent, moderate temperature and low humidity. This environment helps the paint dry evenly and prevents issues like cracking or bubbling. Confirm the space is free from dust and debris, as these can adhere to the wet paint.
Key considerations include:
- Ventilation: Open windows or use a fan to promote air circulation.
- Temperature: Maintain a steady range between 65-75°F (18-24°C) for ideal drying.
Choose a Sealant
Selecting the right sealant is essential to guarantee your acrylic paint adheres and remains durable on the water bottle's surface.
You need to take into account a few critical factors: type, finish, and compatibility.
Opt for a clear acrylic sealant, as it provides a protective, non-yellowing layer.
Choose between matte, satin, or glossy finishes depending on the aesthetic you prefer.
Ascertain the sealant is waterproof to protect your artwork from moisture and wear.
It's also important to verify the sealant is non-toxic and safe for items in contact with food or drinks.
Read the manufacturer's instructions for application guidelines and curing times to ensure best results.
With the right sealant, your painted water bottle will stay vibrant and protected.
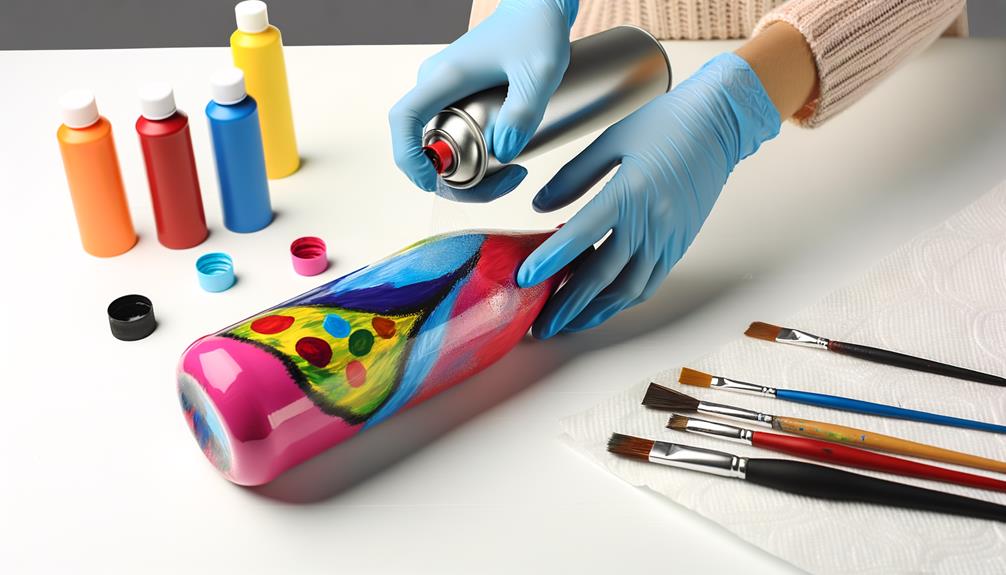
Apply the Sealant
Before applying the sealant, make certain the painted surface of the water bottle is clean and completely dry. This guarantees ideal adhesion and a smooth finish.
Select a well-ventilated area to apply the sealant. Hold the spray can 6-8 inches from the surface and apply in even, light coats. Avoid heavy application to prevent drips.
- Shake the can well: This guarantees the sealant is properly mixed.
- Test spray on scrap material: Confirm spray pattern and consistency.
Cure and Test Durability
Once the sealant is applied, let the water bottle cure for the recommended time to guarantee maximum durability. Typically, this means allowing it to sit undisturbed for 24 to 48 hours. Confirm the environment is dust-free and at a stable temperature to avoid contamination.
After curing, test the durability by gently rubbing a soft cloth across the painted surface. Check for any signs of peeling or smudging.
Submerge the bottle in water and observe for any lifting or damage to the paint. If the paint remains intact, your sealing process is successful. If not, reassess the sealant application and curing conditions before reapplying.
Accurate curing and testing confirm your water bottle's longevity and aesthetic appeal.
Conclusion
You've successfully sealed your acrylic paint on the water bottle. Did you know that properly sealed acrylic paint can last up to 10 years without fading?
By taking these steps—cleaning, painting, sealing, and curing—you've guaranteed your design's longevity. Your artistic efforts are now protected from daily wear and tear.
Always remember, the quality of your sealant determines the durability of the finish. Enjoy your personalized, long-lasting water bottle!