Paracord Water Bottle Handle Diy
To make a paracord water bottle handle, start by cutting 20 feet of 550 paracord and sealing the ends with a lighter to prevent fraying. Fold the paracord in half, secure the midpoint to your water bottle with tape, forming a tight loop around its neck.
Using the cobra weave, thread one end of the paracord through the loop and keep alternating sides until you reach your desired length. Secure both ends using a lark's head knot for top and bottom attachments.
Confirm there's no slack for maximum durability. With these steps, you're ready to create an effective and stylish handle.
Key Takeaways
- Measure and cut 20 feet of 550 paracord, sealing the ends with a lighter to prevent fraying.
- Fold the paracord in half, secure the midpoint to the water bottle, and tie an overhand knot for the base.
- Use a cobra weave technique to create a consistent and durable handle, maintaining equal tension throughout.
- Attach the handle to the water bottle using lark's head knots at both the top and bottom loops.
Materials Needed
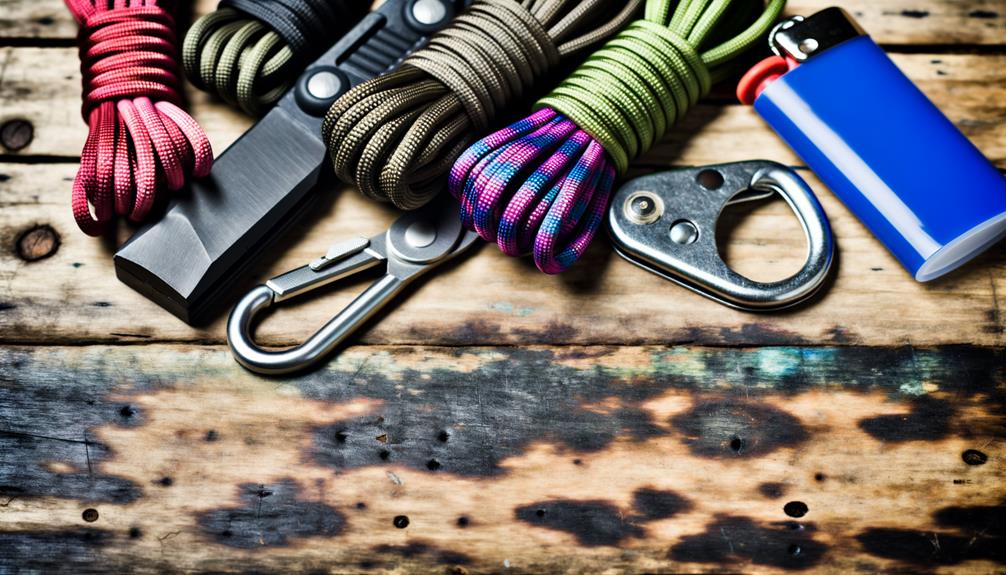
To get started on your paracord water bottle handle, you'll need to gather a few essential materials.
First, you'll need about 20 feet of 550 paracord, which is strong and versatile.
A lighter is vital for sealing the ends of the paracord to prevent fraying.
Scissors or a sharp knife will help you cut the paracord to the required lengths.
You'll also need a water bottle with a sturdy neck or a handle to attach your paracord creation.
Optionally, a small carabiner or key ring can be useful for attaching the handle to your backpack or belt loop.
With these materials ready, you'll be well-prepared to start crafting your functional and stylish paracord water bottle handle.
Measuring the Paracord
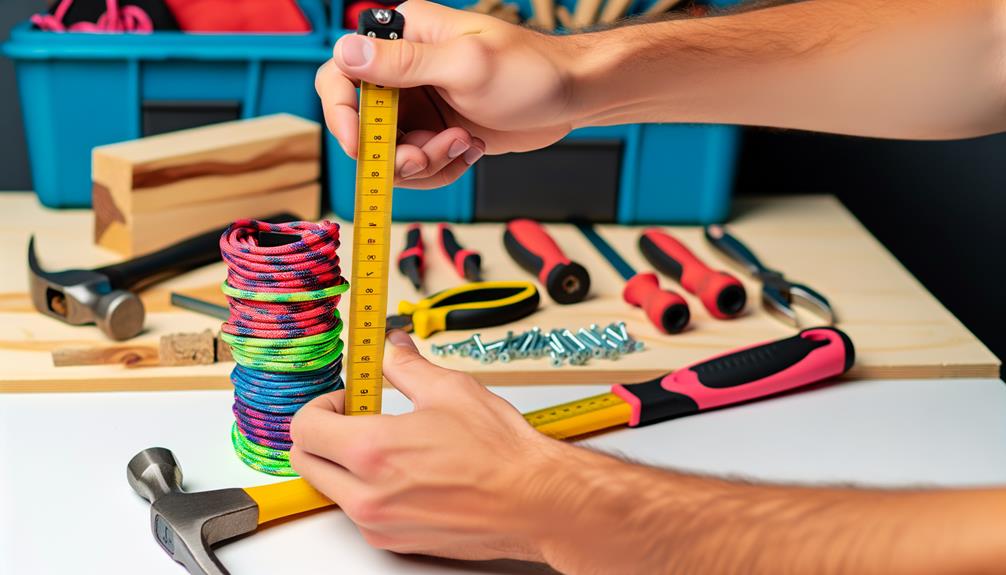
Start by measuring out 20 feet of 550 paracord to confirm you have enough length for the handle and any additional knots. Use a tape measure for accuracy. Lay out the paracord on a flat surface to avoid tangles. Cut the paracord using sharp scissors to guarantee clean ends.
To help you visualize the process, refer to the table below:
| Step | Description | Tools Needed |
|---|---|---|
| 1 | Measure 20 feet of paracord | Tape measure |
| 2 | Lay paracord flat | Flat surface |
| 3 | Cut paracord | Sharp scissors |
| 4 | Ensure clean ends | Scissors |
| 5 | Set paracord aside | None |
This setup will make the next steps smoother.
Preparing the Handle Base
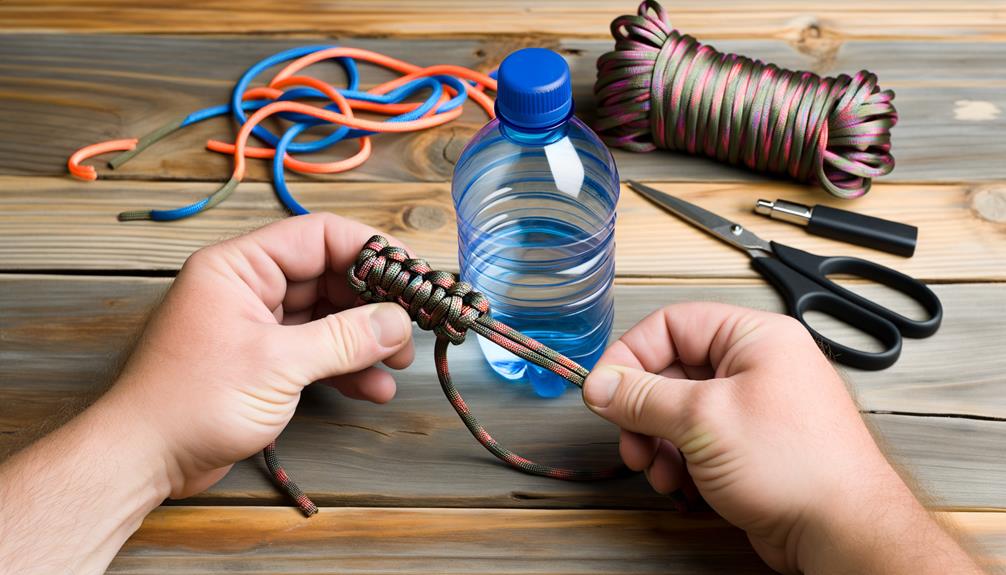
Begin by folding the paracord in half to find its midpoint, which will serve as the anchor point for your handle base.
Once you've located the midpoint, secure it to the top of your water bottle with a piece of tape or a small clamp. This guarantees the paracord stays in place while you work.
Next, create a loop around the bottle's neck, making certain it's tight but not overly constrictive.
Tie a simple overhand knot at the midpoint to form a fixed loop. This knot will act as the foundation for the handle, providing stability and structure.
Make sure the loop is centered and aligned correctly to guarantee a balanced handle once fully assembled.
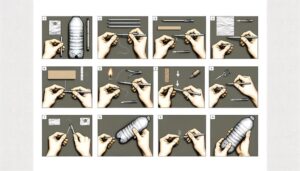
Weaving the Paracord
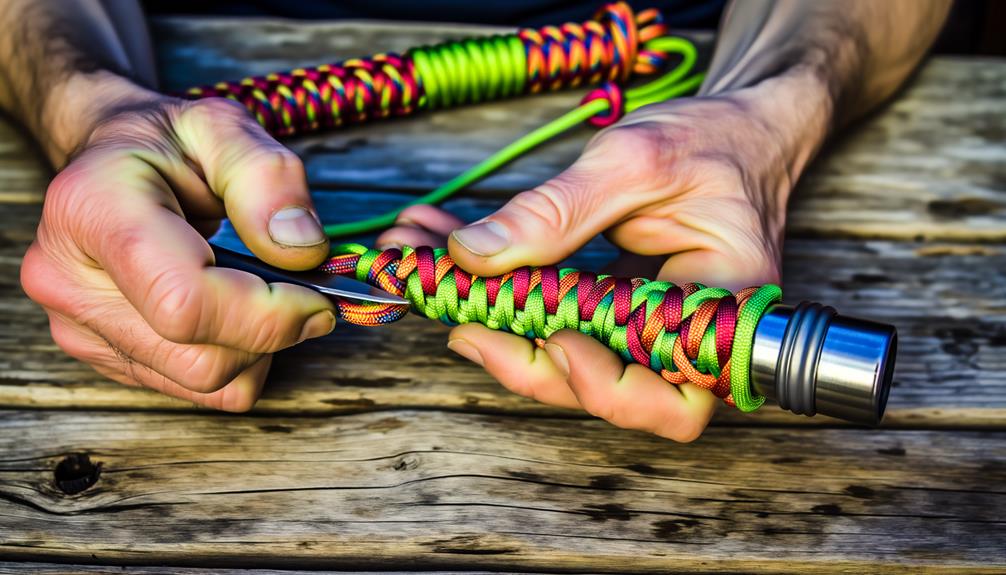
Once the handle base is secure, you'll initiate the weaving process by threading one end of the paracord through the fixed loop and pulling it tight.
Start by creating a cobra weave. Position the left cord over the base strands, then place the right cord over the left cord, under the base, and through the loop created on the left. Pull both ends snug.
Repeat this pattern, alternating sides each time to guarantee an even, tight weave. Make certain you keep the tension consistent to avoid any loose sections.
Continue this process until you've covered the desired length for your handle. Remember, consistency and patience are key to achieving a durable and aesthetically pleasing weave.
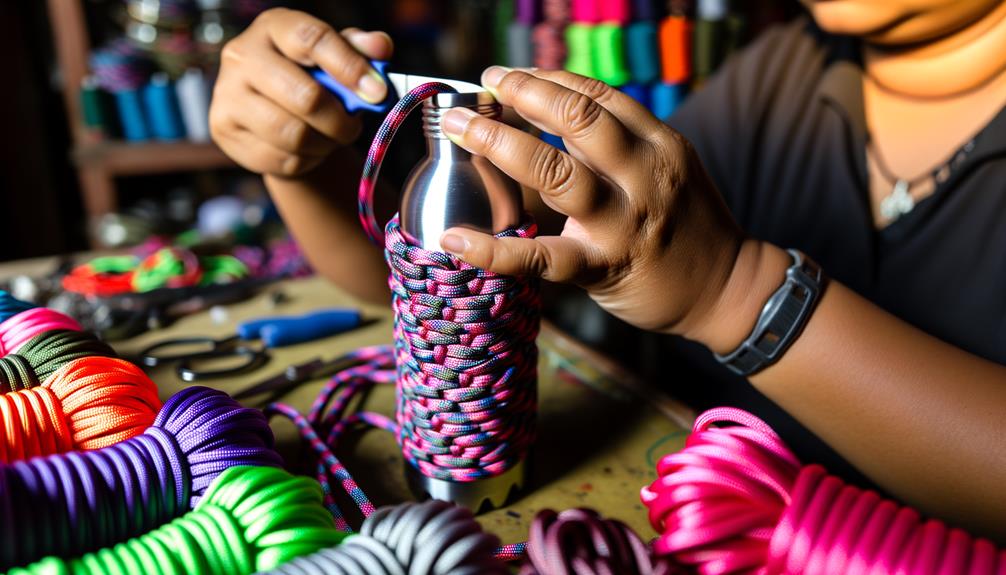
Attaching the Handle
With the weave complete, secure one end of the handle to the top loop of your water bottle using a reliable knot like the lark’s head. Feed the paracord through the loop, then pull the ends through the resulting loop. Tighten to guarantee a firm grip. Adjust the length of the handle as needed to ensure a comfortable carry, then trim any excess paracord and seal the ends to prevent fraying. Test the handle by lifting the bottle to confirm it stays secure, making any necessary adjustments. If you’re unsure how to use Contigo bottle features like the spout or locking mechanism, refer to the manufacturer’s instructions for proper operation.
Next, attach the other end to the bottom loop. Use a similar technique, threading the paracord through and securing it tightly. Make certain there's no slack in the handle.
Here's why a well-attached handle matters:
- Durability: Guarantees your handle withstands daily use.
- Comfort: Provides a secure, comfortable grip.
Conclusion
You've now crafted your very own paracord water bottle handle.
You've measured the paracord, prepared the handle base, woven the paracord, and attached the handle.
This project not only enhances your bottle's functionality but also showcases your DIY skills.
Remember, practice makes perfect, so don't hesitate to try different weaving patterns.
Keep experimenting, keep innovating, and keep customizing.
With these steps under your belt, you're ready for any adventure with a sturdy handle in hand.