How to Warm up a Water Bottle
To warm up a water bottle, start by selecting a stainless steel bottle for ideal thermal retention and durability. Fill it with 500 mL of tap or filtered water, ensuring it meets EPA standards.
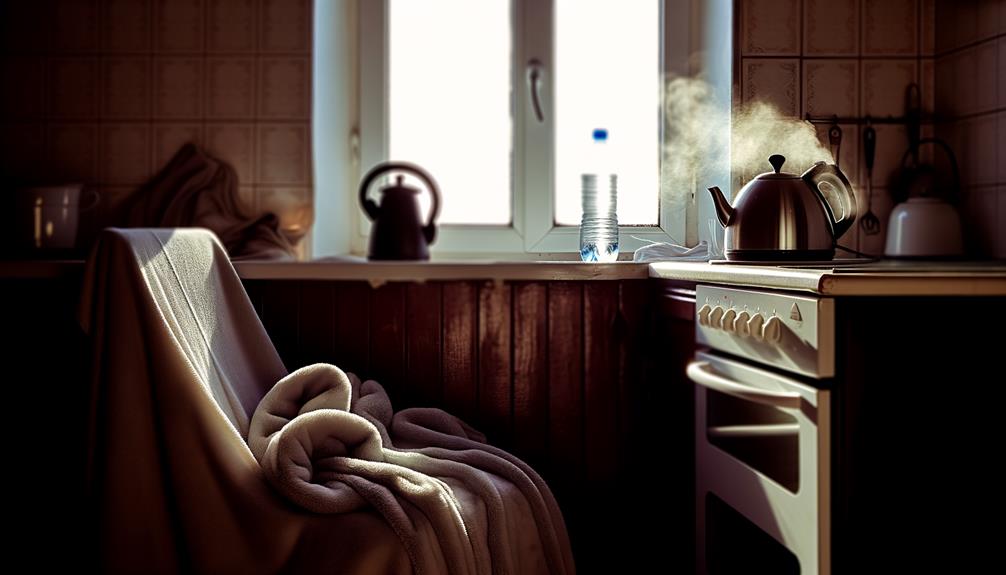
Heat the water using a stovetop, electric kettle, or microwave to a target temperature of 104°F to 113°F. Fill the bottle to 90% capacity to allow for thermal expansion, then eliminate air pockets by squeezing the bottle lightly.
Secure the cap tightly to minimize convective heat transfer, aiming for a torque of 2-3 Nm. For more effective results, follow detailed steps below.
Key Takeaways
- Use tap or filtered water and heat it to 120°F-140°F (49°C-60°C) using a stovetop, microwave, or electric kettle.
- Ensure the water bottle is made of stainless steel for optimal thermal retention and durability.
- Measure water volume accurately to 500 mL for uniform heating and avoid overfilling.
- Fill the bottle to 90% capacity, secure the cap tightly to minimize heat loss and prevent leaks.
Gather Your Supplies
Before you begin, make sure you have a water bottle, a heat source, and a thermometer to accurately monitor the water temperature.
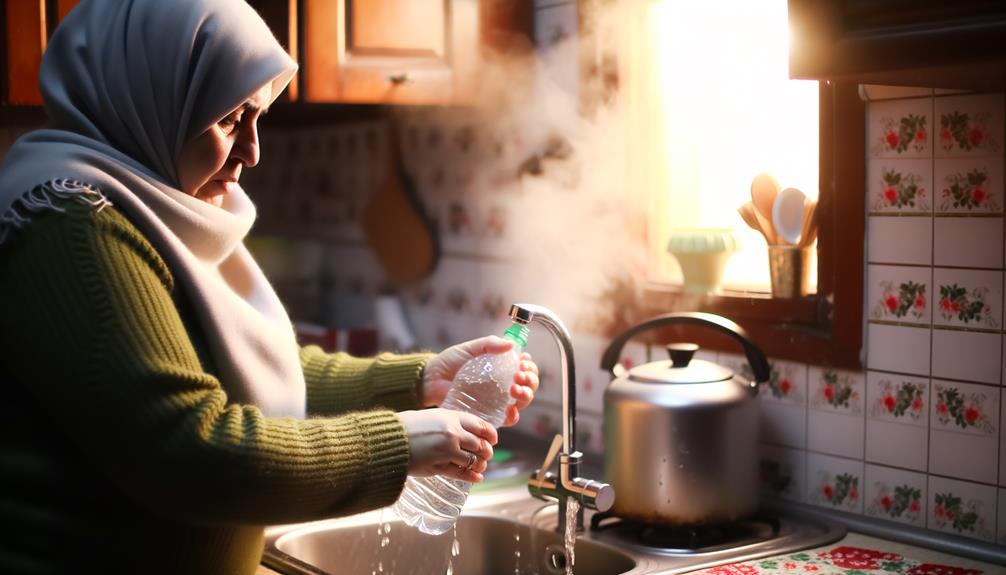
Start by selecting a heat source such as a stovetop, electric kettle, or microwave. Verify the thermometer can measure within a range of 0°C to 100°C for precision.
Fill the water bottle with an initial volume of water, typically around 500 milliliters, for uniform heating. Make sure the bottle’s material can withstand temperature variations. Place the bottle in a container of warm water, ensuring the temperature is not too high to prevent damage. If you’re wondering how to melt a frozen water bottle, gradually exposing it to warm air or submerging it in lukewarm water can help speed up the process. Avoid using boiling water, as sudden temperature changes may cause the bottle to crack or deform.
Utilize a stainless steel pot or microwave-safe container if heating on a stovetop or in a microwave.
Place the thermometer in the water to confirm the temperature reaches your desired level, generally between 37°C and 45°C for safe and effective use.
Choose the Right Bottle
When selecting the right water bottle, prioritize material and insulation properties such as stainless steel for maximum thermal retention.
Choose a size that fits your needs, typically between 500ml and 1 liter, to balance portability and capacity.
Evaluate heat retention features like vacuum insulation technology to guarantee efficient warming.
Material and Insulation
Choosing the right water bottle material, such as stainless steel or double-walled vacuum insulation, guarantees ideal heat retention and durability.
Stainless steel, with its low thermal conductivity, minimizes heat loss, ensuring your water stays warm. Double-walled vacuum insulation creates an airless space between two layers, drastically reducing the transfer of heat through conduction and convection.
This scientific principle, known as thermal insulation, maintains the water's temperature for extended periods. Opt for a bottle with a high R-value (thermal resistance) to enhance performance.
Avoid materials like plastic, which have higher thermal conductivity and lower durability. By understanding these scientific principles, you'll select a bottle that maximizes heat retention, ensuring your water remains at the desired temperature.
Size and Capacity
Selecting the ideal size and capacity for your water bottle directly influences its portability and ability to maintain the desired temperature.
Opt for a bottle with a capacity between 500 mL and 1 L for maximum thermal inertia, guaranteeing it retains heat effectively. Larger volumes have lower surface-area-to-volume ratios, reducing heat loss. However, consider the trade-off between capacity and portability; a 750 mL bottle balances these factors well.
Confirm the bottle's dimensions fit your carrying needs, whether in a backpack or cup holder. Additionally, choose a bottle with a wide mouth (approximately 3-4 cm in diameter) to facilitate easy filling and cleaning.
Heat Retention Features
To maximize heat retention, focus on bottles constructed with double-walled vacuum insulation, as this design minimizes thermal conductivity and maintains your water's temperature for extended periods.
Double-walled bottles feature two layers of stainless steel separated by a vacuum, effectively reducing heat transfer via conduction and convection. This insulation method can keep liquids hot for up to 12 hours and cold for up to 24 hours.
Ascertain the bottle has a tight-sealing lid, as even minimal air exchange can greatly reduce thermal efficiency.
Additionally, consider bottles with copper or aluminum lining, as these materials further reflect and trap heat.
Check for Leaks
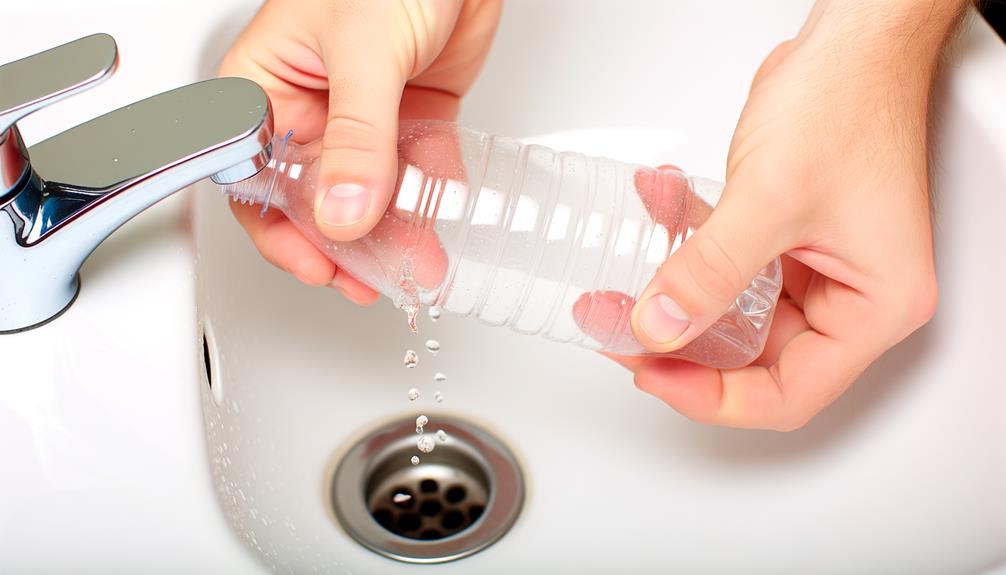
Make sure the cap is properly tightened to maintain a secure seal, preventing pressure loss when heating.
Examine the bottle's seals for any visible wear or damage that could compromise its integrity under thermal expansion.
Conduct a drip test by filling the bottle with water and observing for leaks over a 5-minute period.
Inspect Cap Tightness
Before heating the water bottle, verify the cap is securely fastened by tightening it clockwise until resistance is felt. Then, inspect for any signs of leakage. Confirm the cap's threads engage properly to prevent pressure loss. Rotate the bottle horizontally and vertically, observing for fluid escape. A tight seal is essential to maintain internal pressure during thermal expansion.
Utilize a torque wrench if available, applying approximately 1.5 Nm of force for maximum tightness. This confirms the gasket compresses adequately, creating an airtight seal.
Visually examine the cap and surrounding area for droplets or moisture, indicating a compromised seal. If leaks are detected, re-tighten and re-evaluate.
Accurate cap tightness guarantees effective heat retention and safe handling.
Examine Bottle Seals
Inspecting the bottle seals for leaks involves a systematic approach, utilizing both visual inspection and pressure testing to confirm integrity.
Start by examining the seal for any visible deformities, cracks, or wear. Rotate the bottle and scrutinize the seam where the cap meets the bottle's neck using a magnifying glass if necessary.
Next, conduct a pressure test: fill the bottle to 70% capacity with water, secure the cap tightly, and gently squeeze the bottle. Observe if any moisture escapes from the seal area.
A precise measurement tool, such as a digital manometer, can quantify pressure variations.
Consistently maintaining a leak-free seal confirms efficient heat retention and prevents accidents, giving you peace of mind when warming up your water bottle.
Test for Drips
To test for drips, fill the water bottle to 70% capacity, secure the cap tightly, and then invert the bottle over a dry surface, observing for any escaping moisture.
This procedure guarantees the bottle's integrity by applying hydrostatic pressure that mimics real-world usage. If you notice any signs of leakage, the cap seal or bottle structure may be compromised.
Inspect the gasket for wear or misalignment and verify the cap threads engage smoothly with the bottle neck.
Re-test by filling the bottle again and repeating the inversion process. Persistent leaks indicate a need for replacement or further inspection using a controlled environment to isolate the issue.
Confirming a leak-proof bottle is vital for maintaining thermal efficiency and safety.
Select the Water Source
Choosing the appropriate water source is critical to guarantee the efficiency and safety of your water bottle warming process. First, assess the temperature and purity of the water. Tap water typically ranges between 10°C to 20°C (50°F to 68°F), making it a convenient and controlled option. Alternatively, distilled water offers high purity, reducing mineral buildup and providing consistent heating.
| Water Source | Key Characteristics |
|---|---|
| Tap Water | Accessible, 10-20°C, variable purity |
| Distilled Water | Pure, mineral-free, consistent results |
| Filtered Water | Reduced impurities, moderate temperature |
For precise control, use a thermometer to measure the initial water temperature. This guarantees you start with the ideal baseline, avoiding uneven heating or potential contamination. Always prioritize water quality to maintain the integrity of your warming process.
Measure the Water
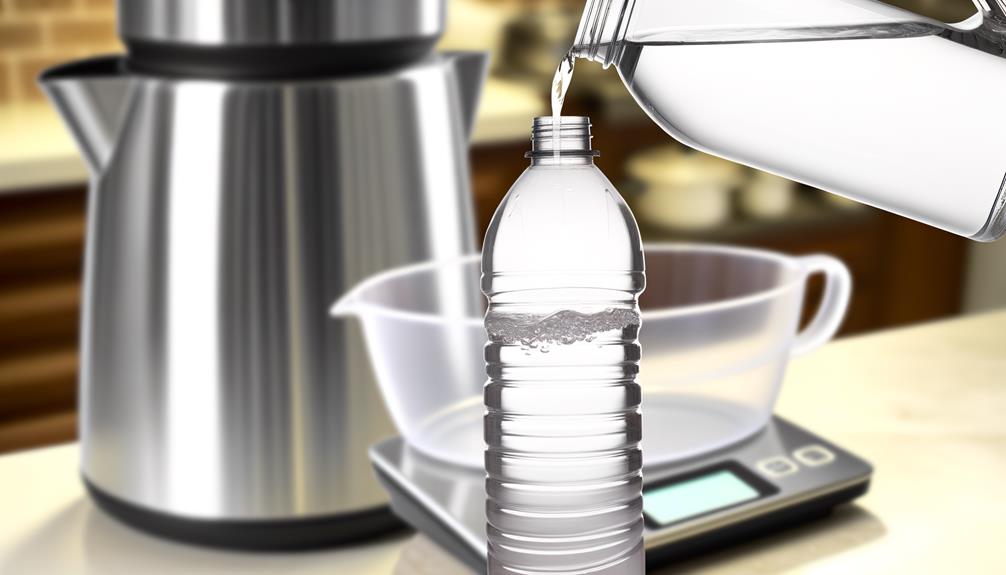
After selecting your ideal water source, measure the exact volume needed to guarantee accurate and efficient warming. Use a graduated cylinder or a measuring cup to ascertain precision. Adhering to the correct volume is vital for peak thermal transfer and heat retention.
Here's why precise measurement matters:
- Consistency: Guarantees uniform heating, preventing hot spots.
- Safety: Avoids overflow or underfill, which can lead to burns or insufficient warming.
- Efficiency: Maximizes energy use, reducing time and resources.
- Performance: Enhances the water bottle's thermal properties, maintaining warmth longer.
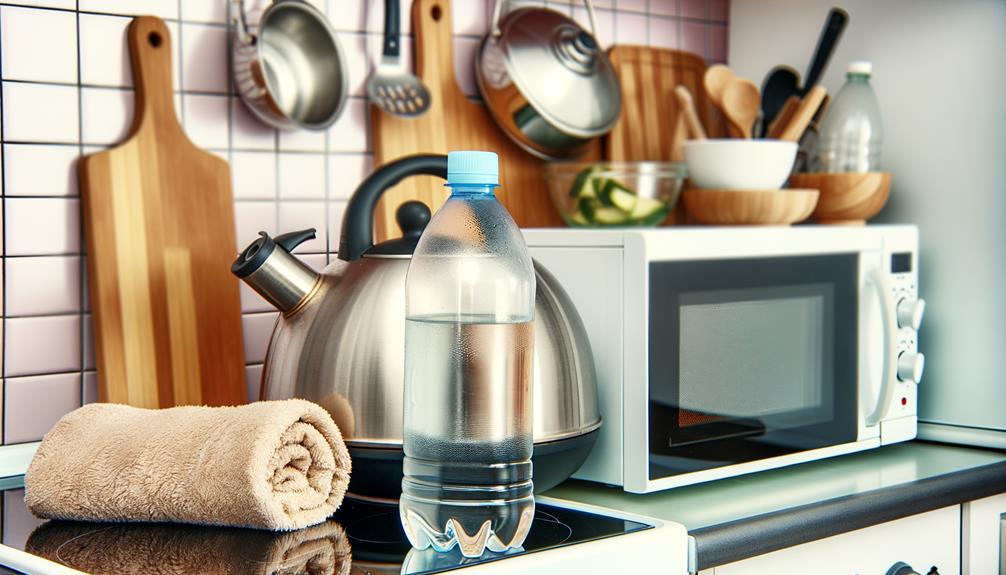
Heat the Water
When heating the water, verify you maintain a temperature range between 120°F and 140°F (49°C to 60°C) to optimize thermal transfer and safety.
Utilize a calibrated thermometer to monitor the water temperature accurately. Heating can be accomplished using a stovetop, microwave, or electric kettle.
If using a stovetop, place the water in a heat-resistant container and employ medium heat, avoiding rapid boiling. If using a microwave, heat in short intervals, thoroughly stirring to verify even temperature distribution.
For an electric kettle, select a temperature-controlled model for precision.
Fill the Bottle
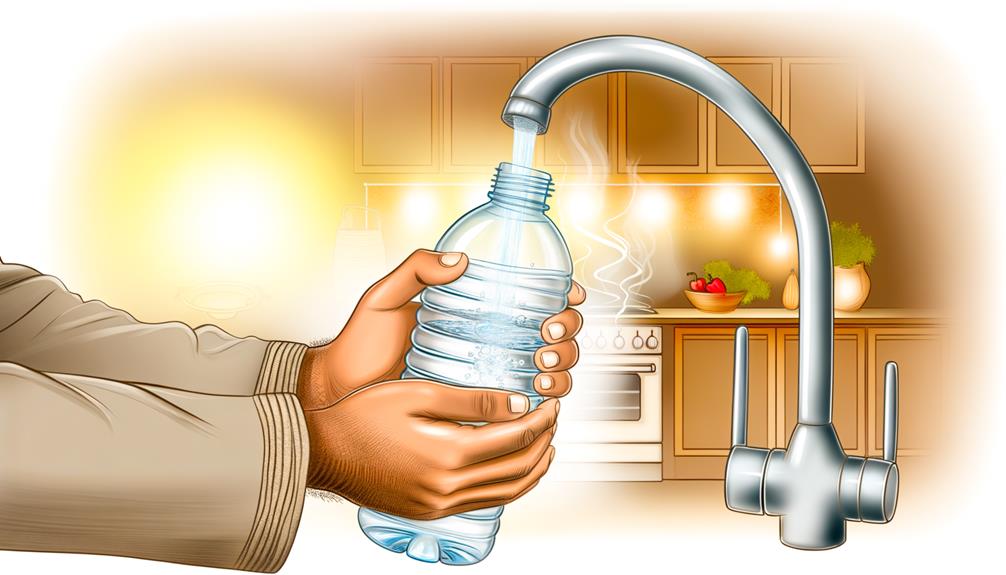
Make certain you heat the water to a precise temperature between 120°F and 150°F to maximize heat retention without risking burns.
Use water from a safe, uncontaminated source to prevent introducing harmful microbes.
Carefully pour the heated water into the bottle, filling it to about 90% capacity to allow for thermal expansion.
Choose Proper Water Temperature
To properly warm up a water bottle, use a thermometer to measure and confirm the water temperature is between 104°F (40°C) and 113°F (45°C). This precise range guarantees ideal heat transfer without risking burns or inadequate warming.
Follow these steps meticulously:
- Calibrate your thermometer: Confirm it's accurate by testing in a known temperature water.
- Heat the water: Use a controlled heat source like a stovetop or electric kettle.
- Monitor closely: Continuously check the temperature to avoid exceeding 113°F (45°C).
- Pour carefully: Once the target temperature is achieved, pour the water into your bottle steadily.
Adhering to these steps guarantees a safe, effective warming process, utilizing scientific principles for precise temperature control.
Use Safe Water Source
Always fill your water bottle with potable, filtered water to prevent contamination and guarantee safety.
Use water that meets the EPA standards for drinking water, making certain it's free from pathogens and harmful substances. Avoid water sources with a high concentration of minerals or heavy metals, as these can impair the heating process and pose health risks.
Measure the water temperature precisely, aiming for a range between 70°F and 90°F. This ideal range makes certain the water can be safely heated without reaching a boiling point.
Employ thermometers with high accuracy, preferably digital with a margin of error within ±0.1°F. Remember, using uncontaminated, correctly tempered water is essential for the effective and safe warming of your water bottle.
Remove Excess Air
Remove excess air by squeezing the water bottle until the liquid reaches the brim, reducing the risk of air pockets that can affect temperature retention. This technique guarantees maximum thermal mass and minimizes convective heat loss.
Follow these steps:
- Fill to Brim: Confirm the water level is at the very top to eliminate air gaps.
- Apply Gentle Pressure: Carefully squeeze the bottle, expelling air, until water overflows slightly.
- Observe Liquid Displacement: Watch for bubbles escaping, indicating trapped air is being released.
- Thermodynamic Efficiency: Understand that air pockets act as insulators, reducing the bottle's ability to retain heat.
Secure the Cap
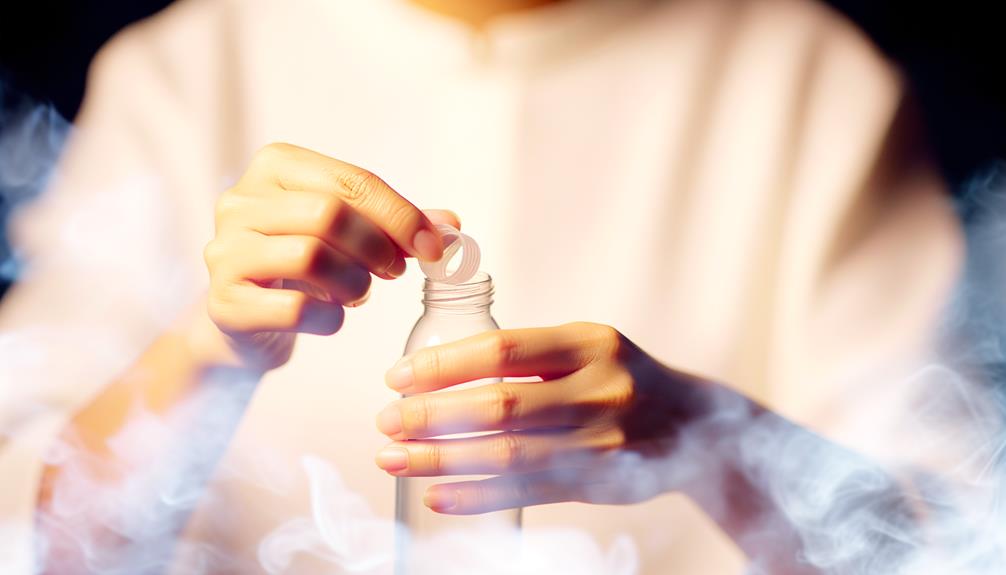
Make certain the cap is tightly screwed on to prevent heat loss and potential leaks, enhancing the water bottle's thermal retention.
By confirming the cap is secure, you create an airtight seal, which minimizes convective heat transfer. A well-sealed cap reduces the escape of warm air and the entry of cooler air, maintaining the internal temperature.
Use a torque of approximately 2-3 Nm to achieve ideal tightness without damaging the threads.
Inspect the gasket or O-ring for wear, as a compromised seal can lead to thermal inefficiency. Confirm the material integrity of the cap, as deformations can impair the seal.
This step is essential for maximizing the duration of warmth retained in the water bottle.
Test the Temperature
After securing the cap, you should measure the water temperature to confirm it's at the desired warmth level. Use a digital thermometer for precise readings.
The ideal temperature range for comfort and safety is 104°F to 113°F (40°C to 45°C). If you lack a thermometer, apply the following method:
- Touch Test: Gently touch the bottle's exterior. It should feel warm but not scalding.
- Wrist Test: Drip a few drops on your inner wrist. It should be comfortably warm.
- Consistency Check: Shake the bottle lightly to verify even heat distribution.
- Monitor Duration: Note the heating time to replicate the process accurately next time.
These steps guarantee you achieve a consistent and safe warmth level in your water bottle.
Enjoy the Warmth
With your water bottle at the ideal temperature, you can now experience its soothing warmth for relaxation or therapeutic benefit.
Place the bottle on the desired area, ensuring direct skin contact is avoided to prevent thermal injury. The heat transfer process, driven by thermal conduction, will effectively relax muscle fibers and increase blood flow. Best exposure time is 15-20 minutes, allowing for vasodilation and enhanced tissue oxygenation.
For therapeutic use, position the bottle on areas with muscular tension or joint pain. The controlled application of heat, typically at 40-45°C (104-113°F), facilitates pain relief through the gate control theory of pain.
This theory suggests that heat stimulates thermoreceptors, which can inhibit pain signals, providing a non-pharmacological analgesic effect.
Conclusion
To sum up, properly warming up a water bottle requires attention to detail and precision.
For example, imagine you're camping in freezing conditions; securing a properly warmed bottle can be the difference between a comfortable night and hypothermia.
Always verify your bottle is leak-proof and measure your water accurately to maintain desired temperatures.
Removing excess air before sealing the cap optimizes insulation.
By following these scientific principles, you'll enjoy consistent warmth and safety in any setting.