How to Remove Paint From Water Bottle
To remove paint from a water bottle, gather supplies: rubbing alcohol, cotton balls, a soft cloth, and a plastic scraper. Prepare a well-ventilated workspace with drop cloths.
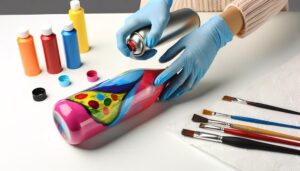
Apply the paint remover generously with a brush or cloth and let it sit for 15-30 minutes. Using gloves, scrub the bottle with a brush or sponge using circular motions.
After removing the loosened paint, rinse the bottle under warm water and let it air dry completely. If you're curious about more precise steps to achieve the best results, there's more to discover.
Key Takeaways
- Use rubbing alcohol with cotton balls for precise and effective paint removal from the bottle.
- Apply paint remover generously and let it sit for 15-30 minutes to break down paint.
- Scrub the bottle using a sturdy brush or sponge in circular motions to remove loosened paint.
- Rinse the bottle thoroughly with warm water, ensuring all residues are washed away.
Gather Necessary Supplies
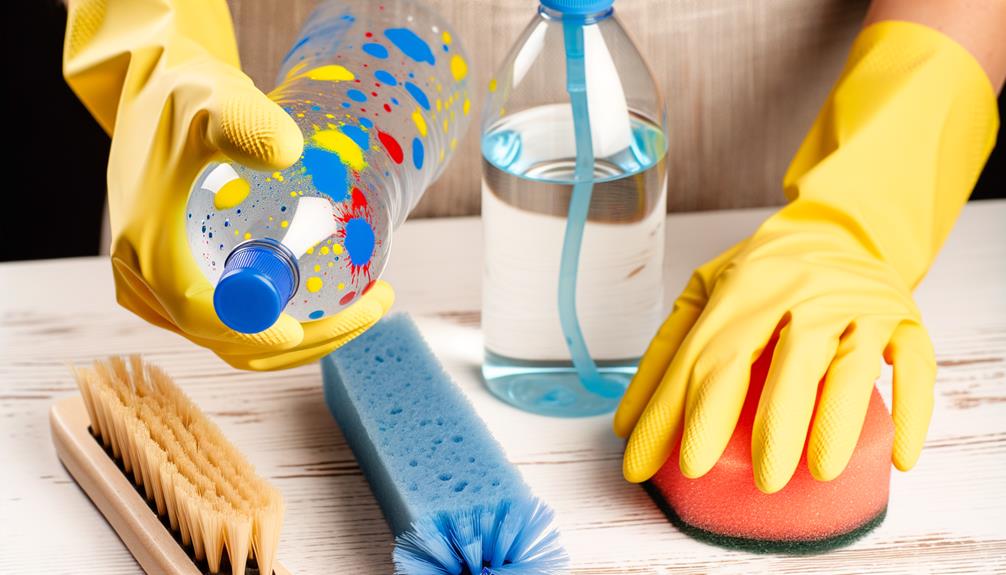
To begin, you'll need to gather a few essential supplies such as rubbing alcohol, cotton balls, a soft cloth, and a plastic scraper.
Rubbing alcohol is important because its solvent properties effectively break down paint.
Cotton balls help apply the alcohol precisely, targeting small areas without waste.
The soft cloth is for wiping the bottle clean, guaranteeing no residue remains.
A plastic scraper is necessary for gently lifting and removing paint without scratching the bottle's surface. Confirm your scraper has a smooth edge to avoid damage.
Each item plays an essential role in the paint removal process, so having them ready will streamline your efforts and yield better results.
Make sure these tools are within arm's reach before you begin.
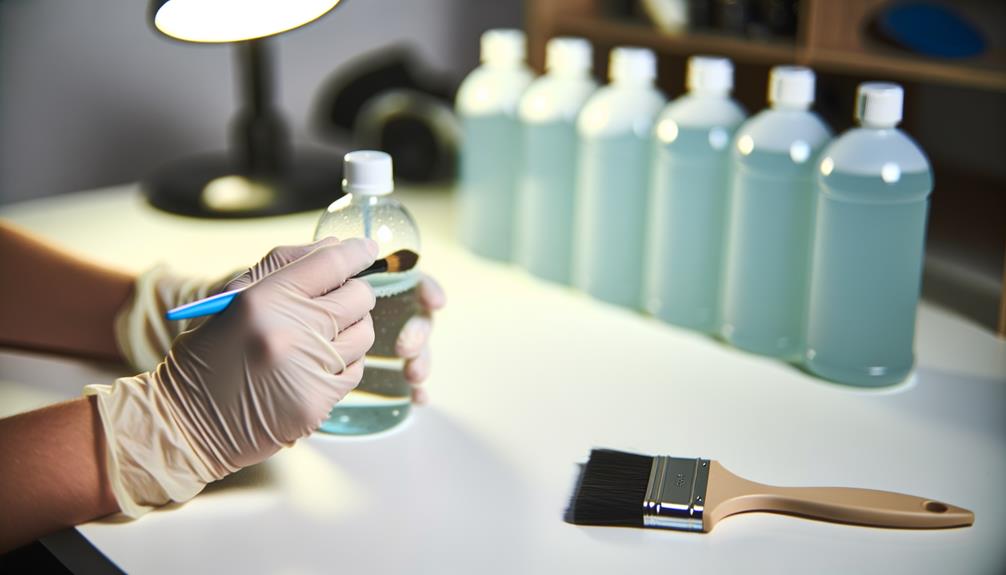
Prepare the Work Area
With your supplies gathered, clear a well-ventilated workspace to secure safety and efficiency during the paint removal process.
Choose an area with good air circulation, like a garage or an outdoor patio. Lay down a drop cloth or some old newspapers to protect the surface from any spills or splashes.
Ascertain you have easy access to all your supplies, including gloves, goggles, and a face mask for added protection. Arrange your tools and materials in a logical order, so you're not scrambling around mid-task.
Keep a container of water or a fire extinguisher nearby in case of emergencies.
Proper lighting is essential; use a bright desk lamp or natural light to clearly see the paint-removal progress.
Apply Paint Remover
Carefully apply a generous amount of paint remover to the painted areas of the water bottle, guaranteeing full coverage for effective paint dissolution.
Use a brush or cloth to spread the remover evenly, focusing on areas with thicker paint layers.
Make sure you wear gloves to protect your skin from the chemicals.
Allow the paint remover to sit for the recommended time specified on the product label, usually 15-30 minutes. This waiting period is essential as it lets the chemicals break down the paint thoroughly.
Verify the area is well-ventilated to avoid inhaling fumes.
Avoid disturbing the paint remover during this time to maximize effectiveness.
Once the time has elapsed, you'll be ready for the next step.
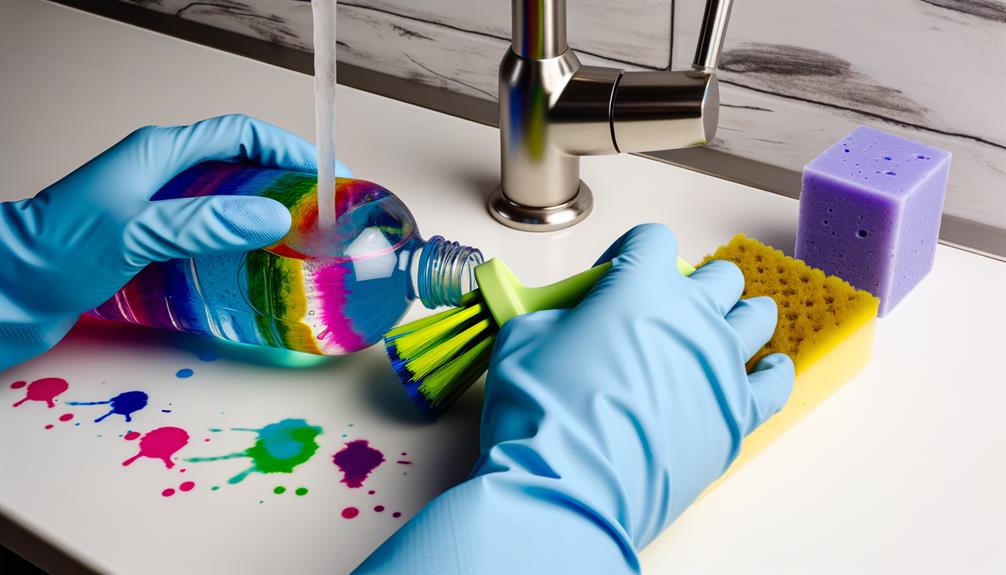
Scrub and Clean
Using a sturdy brush or sponge, start scrubbing the water bottle to remove the loosened paint.
Apply moderate pressure to guarantee the paint comes off effectively. Circular motions help dislodge stubborn paint particles.
Make sure you reach all nooks and crannies, especially around the bottle's neck and base, where paint tends to accumulate. For particularly resilient spots, you might need to use a bit of extra force.
Be cautious not to damage the bottle's surface; focus on the paint remnants. If necessary, reapply the paint remover to persistent areas and scrub again.
Continue until all visible paint is removed. Regularly rinse the brush or sponge to avoid reapplying paint residues.
Once satisfied with the cleaning, prepare for the next step.
Rinse and Dry
Thoroughly rinse the water bottle under warm running water to remove any remaining paint residue and cleaning agents. Use a bottle brush to scrub the interior, ensuring all surfaces are clean and free from buildup. To remove hard water stains, soak the bottle in a mixture of equal parts vinegar and warm water for about 30 minutes before rinsing thoroughly. Allow the bottle to air dry completely to prevent any lingering odors or residue.
Confirm the water flows through all parts of the bottle, including the cap and any crevices. Use a soft cloth or sponge to gently wipe the interior and exterior surfaces, confirming that no paint particles remain.
After rinsing, allow the bottle to air dry completely. Place it upside down on a clean towel or drying rack. Make sure the drying environment is dust-free to avoid any contaminants adhering to the wet surface.
- Inspect: Check for any remaining paint spots.
- Repeat if Needed: Rinse again if any residue remains.
This confirms your bottle is clean and ready for use.
Conclusion
You've successfully removed the paint from your water bottle!
Remember, 'slow and steady wins the race' – carefully following each step guarantees the best results.
Make sure you gathered all necessary supplies, prepared your work area, applied the paint remover properly, scrubbed thoroughly, and finally rinsed and dried the bottle.
Now, your water bottle is as good as new, ready for use without any unsightly paint marks.
Enjoy your refreshed, clean bottle!