How to Remove Hard Water Stains From Water Bottle
To remove hard water stains from your water bottle, first fill it halfway with white vinegar and let it sit for about an hour to break down the mineral deposits. Shake gently and then rinse thoroughly.
For stubborn stains, mix a paste of baking soda and water, apply it to the stains, and scrub with a bottle brush. Rinse again with warm water.
Alternatively, you can use lemon juice for a natural cleaner or opt for commercial cleaners designed for hard water stains. Consistent maintenance and proper drying help prevent future build-up, and there's more to explore on this topic.
Key Takeaways
- Soak the bottle in white vinegar for 30 minutes to dissolve mineral deposits.
- Scrub the stains with a baking soda paste for gentle abrasion.
- Apply fresh lemon juice to stains, let sit for 10 minutes, then scrub.
- Use denture tablets with warm water to fizz away stubborn stains.
Understanding Hard Water Stains
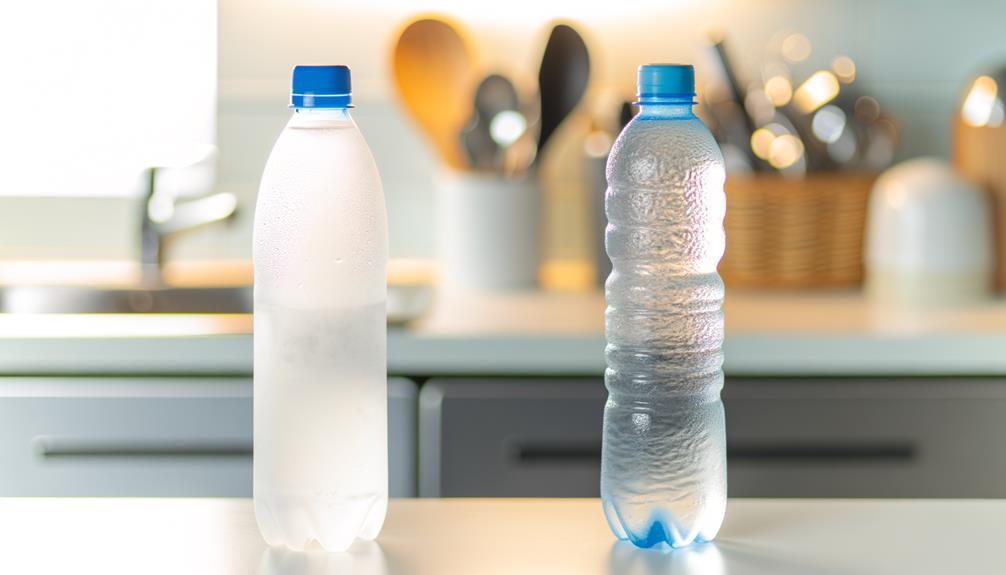
Hard water stains, which frequently appear as white or grayish deposits, are caused by high mineral content in your water supply.
Minerals like calcium and magnesium accumulate on surfaces, leaving stubborn residue. When water evaporates, these minerals remain, forming noticeable streaks and smudges. Understanding this process is essential for effective stain removal.
The more you know about what you're dealing with, the easier it is to tackle it efficiently. Recognize that these stains aren't dirt, but mineral deposits that need a different approach.
If untreated, they can lead to more severe build-ups, making cleaning even harder. Identifying hard water stains early will help you keep your water bottle and other surfaces in pristine condition.
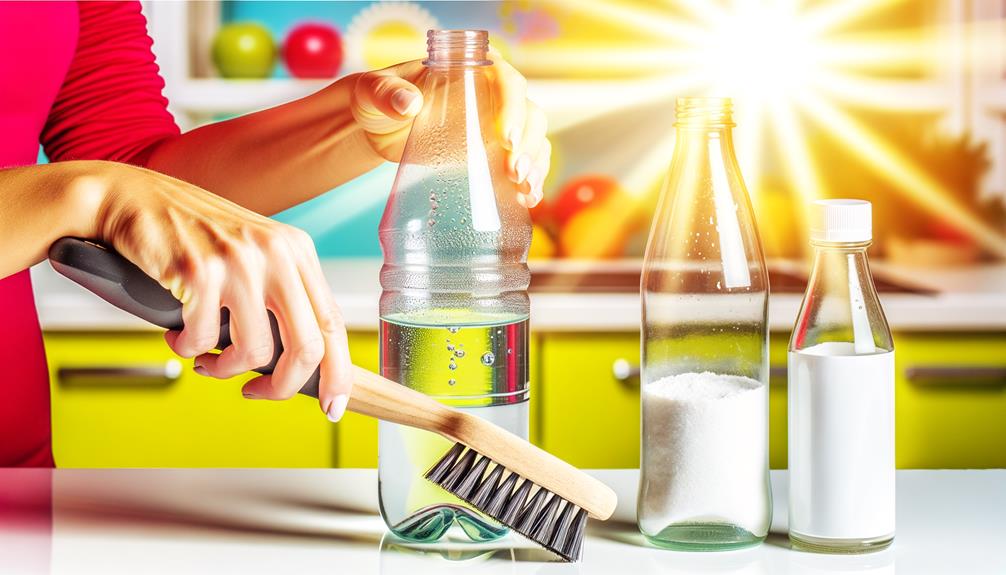
Gather Your Cleaning Supplies
To effectively tackle hard water stains, you'll need to gather a few essential cleaning supplies.
First, get white vinegar, a natural acid that's excellent for breaking down mineral deposits. You'll also need baking soda, which acts as a gentle abrasive.
A bottle brush with firm bristles is vital for scrubbing hard-to-reach areas. Don't forget a small funnel to make pouring easier and a clean cloth for wiping down surfaces.
A pair of rubber gloves will protect your hands from prolonged exposure to cleaning agents. Finally, have a toothbrush handy for scrubbing intricate parts like the bottle cap or spout.
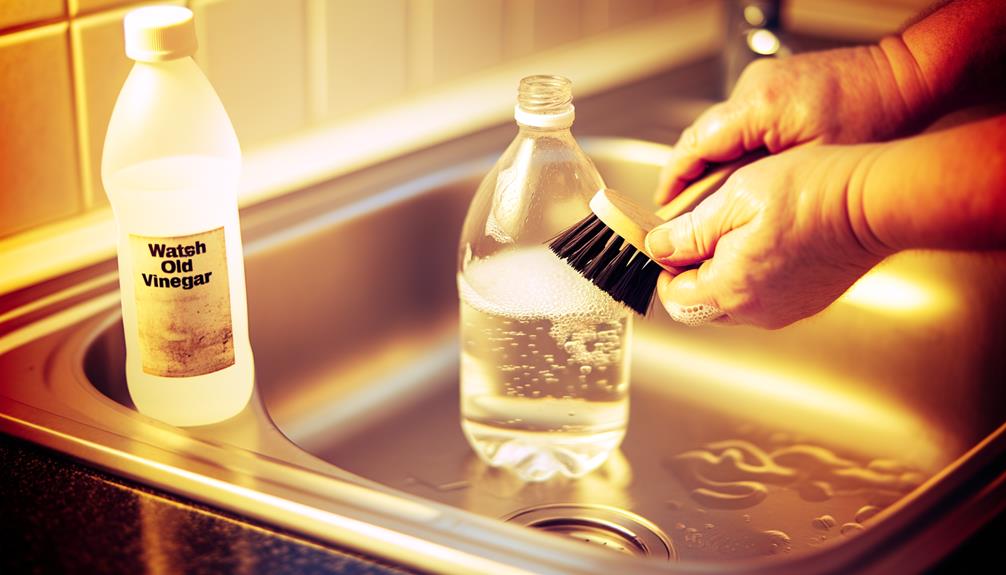
Vinegar Soak Method
With your cleaning supplies ready, you can now use the vinegar soak method to effectively break down those stubborn hard water stains.
Begin by filling your water bottle halfway with white vinegar.
Next, follow these steps:
- Shake and Let Sit: Shake the bottle gently to guarantee the vinegar coats the entire interior. Let it sit for at least 30 minutes to an hour.
- Inspect and Swirl: After soaking, inspect the stains. If they're still visible, gently swirl the vinegar around to target tough spots.
- Rinse Thoroughly: Empty the vinegar and rinse the bottle thoroughly with warm water.
This method leverages vinegar's acidic properties to dissolve mineral deposits, giving you a cleaner, stain-free water bottle.
Repeat if necessary for stubborn stains.
Baking Soda Scrub
To effectively remove hard water stains using a baking soda scrub, you'll need baking soda, a soft cloth or sponge, and water.
Begin by mixing the baking soda with a small amount of water to form a paste.
Then, apply the paste to the stained area and scrub gently in a circular motion.
Necessary Cleaning Materials
You'll need baking soda, a small bowl, water, and a sponge or cloth to create an effective baking soda scrub for tackling hard water stains. Start by gathering these essential materials to guarantee a smooth cleaning process.
Here's what you'll need:
- Baking Soda: Acts as a mild abrasive to help break down mineral deposits.
- Small Bowl: For mixing the baking soda with water to create a paste.
- Sponge or Cloth: For applying and scrubbing the paste onto the stained areas.
Make certain you have these items ready before beginning.
Baking soda is a powerful yet gentle cleaner that, when combined with water, forms a paste that can effectively lift and remove those stubborn stains from your water bottle.
Scrubbing Technique Steps
First, mix two tablespoons of baking soda with a small amount of water in the bowl to create a thick paste. Make certain the consistency is smooth and not too runny.
Next, take your clean toothbrush and dip it into the baking soda paste. Gently scrub the hard water stains inside your water bottle, focusing on areas with heavy buildup. Use circular motions to guarantee thorough cleaning.
If the stains are particularly stubborn, let the paste sit for a few minutes before scrubbing again. Rinse the bottle thoroughly with warm water to remove any residue.
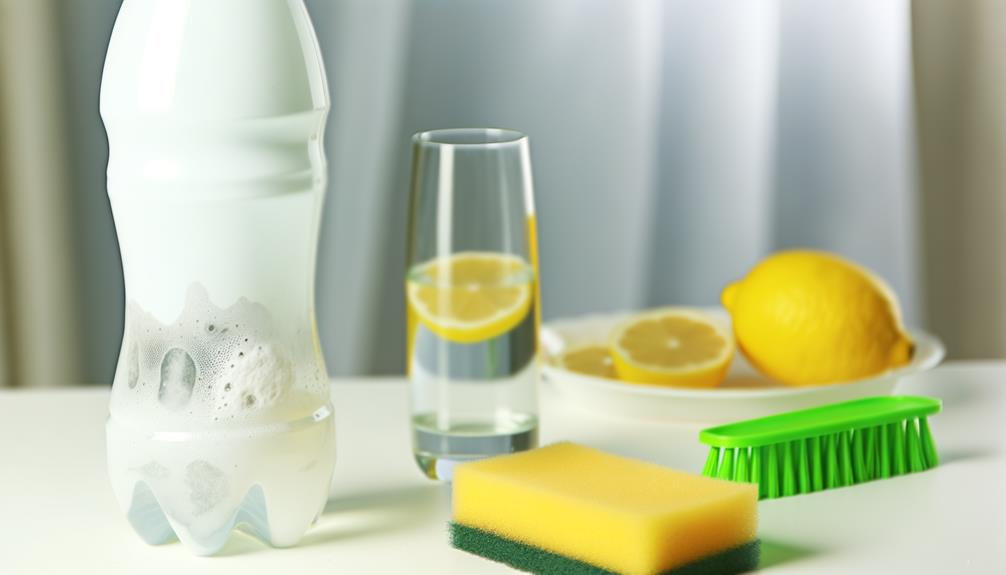
Lemon Juice Solution
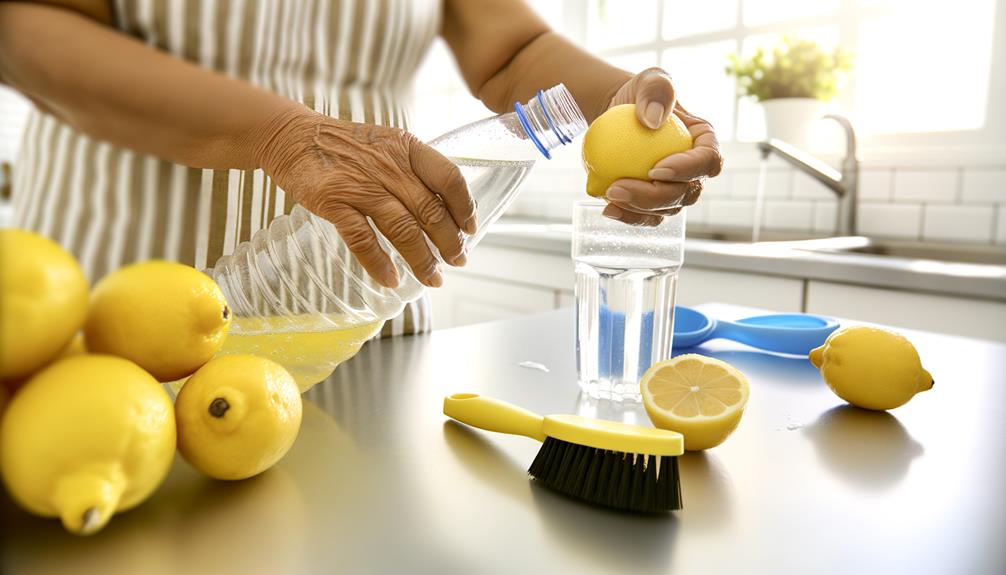
Squeeze fresh lemon juice directly onto the hard water stains and let it sit for about 10 minutes to break down the mineral deposits. The acidity in the lemon juice will help dissolve the buildup, making it easier to remove.
Follow these steps for best results:
- Apply Lemon Juice: Pour fresh lemon juice onto the stains, ensuring they're fully covered.
- Let Sit: Allow the juice to sit for about 10 minutes, giving it time to penetrate and break down the deposits.
- Scrub and Rinse: Use a soft brush or cloth to scrub the area gently, then rinse thoroughly with warm water.
This method is both natural and effective, providing a simple solution to maintain your water bottle.
Commercial Cleaners
If natural remedies like lemon juice aren't effective enough, commercial cleaners specifically designed to tackle hard water stains can provide a more powerful solution.
Begin by selecting a cleaner labeled for hard water stain removal. Follow the instructions on the product label closely. Usually, you'll need to add a specified amount of the cleaner to your bottle, fill it with warm water, and let it sit for the recommended time, often around 15-30 minutes.
After soaking, use a bottle brush to scrub away any remaining residue. Rinse thoroughly with clean water to guarantee no cleaner remains.
Always wear gloves to protect your skin and work in a well-ventilated area to avoid inhaling any fumes.
Using Denture Tablets
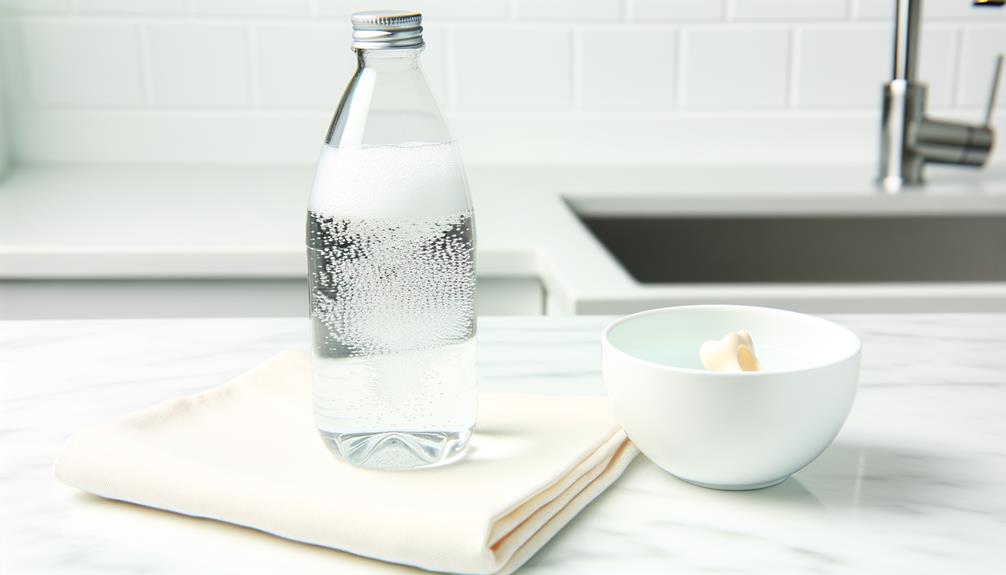
Denture tablets offer an effective and easy-to-use solution for removing hard water stains from various surfaces.
Follow these steps to clean your water bottle:
- Fill the Bottle: Fill your water bottle halfway with warm water.
- Add Denture Tablet: Drop one denture tablet into the water. Let it fizz and dissolve completely.
- Wait and Rinse: Allow the solution to sit for 15-20 minutes, then shake the bottle gently. Afterward, empty the bottle and rinse thoroughly with clean water.
This method leverages the effervescent action of denture tablets to break down and lift stubborn mineral deposits, ensuring your bottle is stain-free.
It's a simple, effective approach that requires minimal effort and delivers impressive results.
Preventing Future Stains
To keep your surfaces free from hard water stains, implement a few proactive measures that stop mineral deposits from forming in the first place.
Start by using filtered water in your water bottle. Filters can remove many of the minerals that cause stains.
After each use, promptly empty and rinse your bottle to prevent mineral buildup. Dry it thoroughly with a clean cloth to eliminate residual moisture.
Consider investing in a bottle made from materials less prone to staining, like stainless steel or certain plastics.
Additionally, store your bottle with the cap off to allow proper air circulation.
Regular Maintenance Tips
Regular maintenance of your water bottle guarantees it stays clean and free from hard water stains. Here are three essential steps to keep it in top condition:
- Daily Rinse: After each use, rinse your bottle with warm water and a bit of dish soap. This helps remove any mineral deposits before they harden.
- Weekly Scrub: Use a bottle brush to scrub the interior once a week. Pay attention to hard-to-reach areas like the cap and mouthpiece.
- Monthly Deep Clean: Soak your bottle in a solution of equal parts white vinegar and water for 15 minutes, then rinse thoroughly. This method assures any lingering residue is effectively dissolved.
Best Practices for Storage
When storing your water bottle, make sure it’s completely dry to prevent mold and mildew growth. After washing, leave the bottle open and upside down to air dry. Use a clean towel to wipe any remaining moisture. Store your bottle in a cool, dry place away from direct sunlight to avoid material degradation. Avoid keeping it in enclosed spaces like bags for extended periods. If you’re unsure about how to wash Lifestraw bottle properly, refer to the manufacturer’s guidelines for the best cleaning methods. Regular cleaning helps maintain the bottle’s filtration system and ensures safe drinking water. Additionally, deep cleaning with mild soap and warm water can help remove any buildup and extend the bottle’s lifespan.
| Best Practices | Details |
|---|---|
| Dry Thoroughly | Air dry upside down |
| Use a Towel | Wipe excess moisture |
| Open Storage | Keep bottle open when stored |
| Cool Location | Avoid direct sunlight |
| Avoid Enclosures | Don't store in bags long-term |
Following these steps guarantees your water bottle remains in excellent condition.
When to Replace Your Bottle
Knowing the right time to replace your water bottle guarantees you maintain ideal hygiene and avoid potential health risks. Regularly inspect your bottle for signs of wear and tear.
Here are critical indicators:
- Cracks or Leaks: Even minor cracks can harbor bacteria and compromise the bottle's integrity.
- Persistent Odors: If thorough cleaning doesn't eliminate smells, it's a sign the material is degrading.
- Discoloration or Stains: When stains become permanent, they may indicate material breakdown, making it hard to clean thoroughly.
These factors ensure your bottle remains safe and effective. Always prioritize your health by replacing your bottle when necessary.
Conclusion
In summary, getting rid of hard water stains from your water bottle is a breeze with the right approach.
By following these detailed methods—vinegar soak, baking soda scrub, and lemon juice solution—you'll keep your bottle spotless and ready for use.
Remember, an ounce of prevention is worth a pound of cure, so make regular maintenance a habit.
Store it properly and know when it's time to replace your bottle for the best results.