How to Sanitize Stainless Steel Water Bottle
To sanitize your stainless steel water bottle, start by gathering supplies like mild dish soap, white vinegar, baking soda, a bottle brush, and a microfiber cloth. Disassemble the bottle and inspect for residue.
Rinse with warm water, then clean with a baking soda solution and soak with a vinegar mixture. Scrub all parts thoroughly with dish soap and a bottle brush, focusing on corners and seals.
Rinse and dry each component completely to prevent mold and bacteria. Regular maintenance will guarantee your bottle remains clean and safe.
For an extensive guide on each step, continue exploring.
Key Takeaways
- Disassemble the bottle and inspect each part for residue and buildup.
- Rinse the bottle and components with warm water to remove loose debris.
- Use a baking soda solution to clean and deodorize the bottle.
- Soak the bottle in a vinegar solution for at least 15 minutes to disinfect.
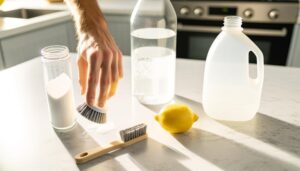
Gather Necessary Supplies
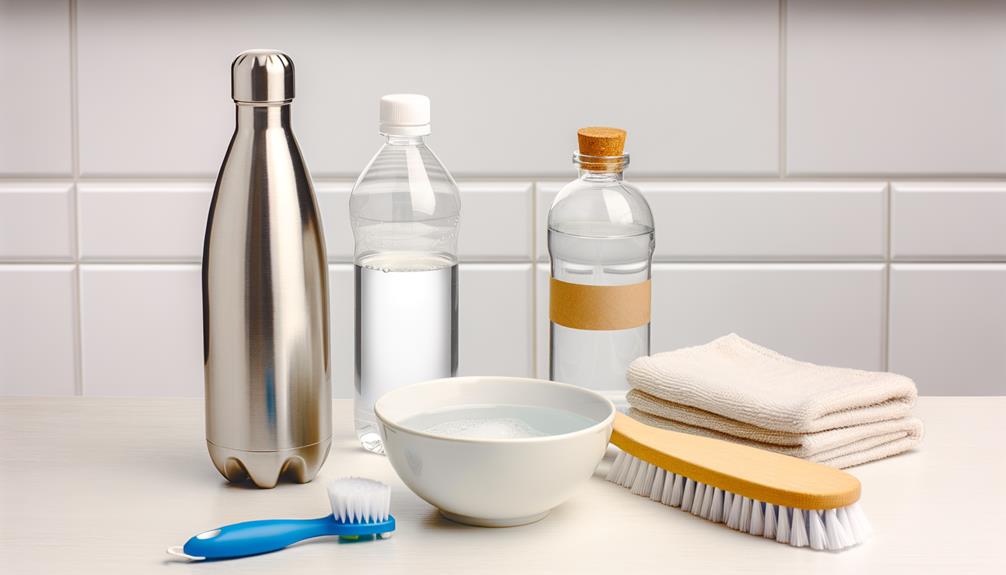
To begin the sanitization process, you'll need to gather a few essential supplies to guarantee thorough cleaning of your stainless steel water bottle.
Start with a mild dish soap, which will help remove any surface grime without damaging the steel. You'll also need a soft-bristle bottle brush to reach the inner corners effectively.
White vinegar is vital for breaking down mineral deposits and disinfecting. Additionally, have a microfiber cloth on hand for drying, as it prevents water spots.
Distilled water is preferable for rinsing because it leaves no residue. Finally, if your bottle has a straw or small parts, consider using a small cleaning brush or pipe cleaner to make sure every nook is sanitized.
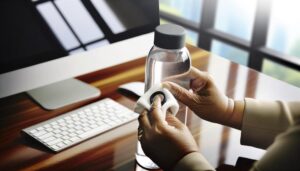
Disassemble the Bottle
First, separate all components of your stainless steel water bottle, including the cap, seal, and any removable straws.
Inspect each part carefully for any residue or buildup that needs attention.
Once clean, dry all parts thoroughly to prevent any moisture-related issues.
Separate Bottle Components
Disassembling your stainless steel water bottle involves carefully removing the lid, gasket, and any other detachable pieces to guarantee a thorough cleaning process.
Start by unscrewing the lid and setting it aside. Next, check for any gaskets or rubber seals; these are often found around the lid or mouthpiece. Gently pry them off using your fingers or a small tool, making sure you don't damage them.
If your bottle has a straw or other detachable accessories, remove those as well. Lay out all these components on a clean surface, keeping them organized.
This methodical approach makes certain each part gets the attention it needs during cleaning, eliminating hidden bacteria or mold. Remember, thorough disassembly is key to effective sanitization.
Inspect for Residue
After disassembling the bottle, meticulously inspect each component for any residue or buildup that may harbor bacteria.
Check the interior of the bottle, paying special attention to the bottom where sediment often accumulates.
Examine the mouthpiece and lid, particularly around any seals or ridges where grime can hide.
Don't forget to look inside straws or sipping mechanisms if your bottle has them.
Use a flashlight to aid in spotting any hard-to-see areas.
If you notice any discoloration, slimy film, or leftover particles, these require thorough cleaning.
Dry Parts Thoroughly
Guarantee that every part of your stainless steel water bottle is thoroughly dried to prevent the growth of mold and bacteria. Disassemble the bottle completely, making sure you separate all removable parts such as the lid, gasket, and any straws or spouts. Drying each part meticulously is essential.
Follow these steps:
- Use a Clean Cloth: Wipe down each component with a clean, dry cloth to remove any moisture.
- Air Dry: Place the parts on a drying rack or clean towel, allowing them to air dry completely. This can take several hours.
- Inspect for Moisture: Before reassembling, double-check each part to confirm no moisture remains. Even small amounts can lead to unwanted mold growth.
Your diligence will guarantee a clean, safe bottle.
Rinse With Warm Water
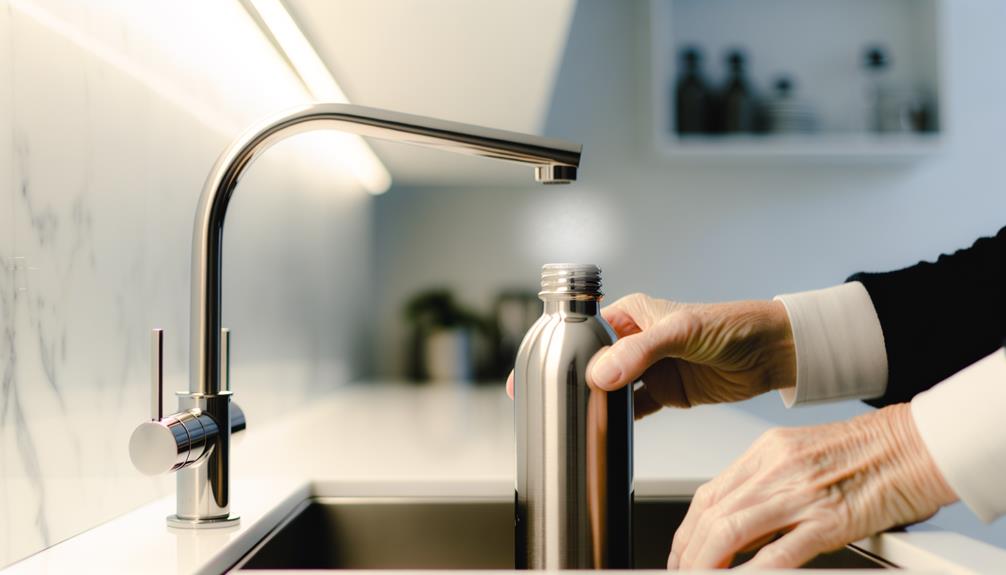
Start by thoroughly rinsing your stainless steel water bottle with warm water to remove any loose debris and initial residues.
Confirm the water temperature is comfortably warm but not too hot to touch.
Hold the bottle under the running water, rotating it to reach all areas.
Pay special attention to the bottle's neck and threads, as residues often accumulate there.
Shake the bottle gently to dislodge any particles stuck inside.
If your bottle has a cap or straw, rinse these parts separately to confirm they're free of debris.
Continue rinsing until you're confident that all loose particles and surface residues have been washed away.
Once done, you're ready to proceed to the next step in the sanitization process.
Use Baking Soda Solution
To effectively clean your stainless steel water bottle, start by mixing a baking soda solution.
Combine one teaspoon of baking soda with warm water, ensuring it dissolves completely.
This solution will help break down any stubborn residues and eliminate odors.
Mixing Baking Soda Solution
For an effective and natural cleaning agent, mix one tablespoon of baking soda with warm water to create a potent solution for sanitizing your stainless steel water bottle.
Follow these steps:
- Measure Ingredients: Precisely measure one tablespoon of baking soda and pour it into a clean mixing container.
- Add Warm Water: Gradually add warm water to the baking soda. Use about two cups to guarantee it dissolves completely.
- Stir Thoroughly: Use a spoon or stirrer to mix until the baking soda is fully dissolved, resulting in a homogeneous solution.
This baking soda solution isn't only eco-friendly but also effective in removing odors and stains from your bottle.
Proper mixing guarantees maximum cleaning efficiency, preparing your bottle for the next step.
Effective Cleaning Technique
Begin by pouring the prepared baking soda solution into your stainless steel water bottle, guaranteeing it fills about halfway.
Secure the cap tightly, then vigorously shake the bottle for about 30 seconds. This agitation will help dislodge any stubborn residue clinging to the interior surfaces.
Next, remove the cap and use a bottle brush to scrub the inside thoroughly, paying special attention to the bottom and neck areas where buildup often occurs.
After scrubbing, pour out the baking soda solution and rinse the bottle with warm water.
Make sure to rinse until all traces of baking soda are gone.
Try White Vinegar
Using white vinegar is an effective and natural method for sanitizing your stainless steel water bottle. Follow these steps to guarantee thorough cleaning: Simply fill the bottle halfway with white vinegar, then add warm water until it’s full. Allow the mixture to sit overnight before thoroughly rinsing it out with clean water to remove any lingering odors. While this method ensures a deep clean, always check manufacturer guidelines for tal water bottle dishwasher safety to prevent potential damage.
- Prepare the Solution: Fill your bottle halfway with equal parts water and white vinegar. This mixture helps break down any bacteria or residue inside.
- Soak the Bottle: Let the vinegar solution sit in the bottle for at least 15 minutes. For stubborn odors or stains, you can leave it overnight.
- Rinse Thoroughly: Empty the solution and rinse the bottle multiple times with warm water to remove any vinegar smell or taste.
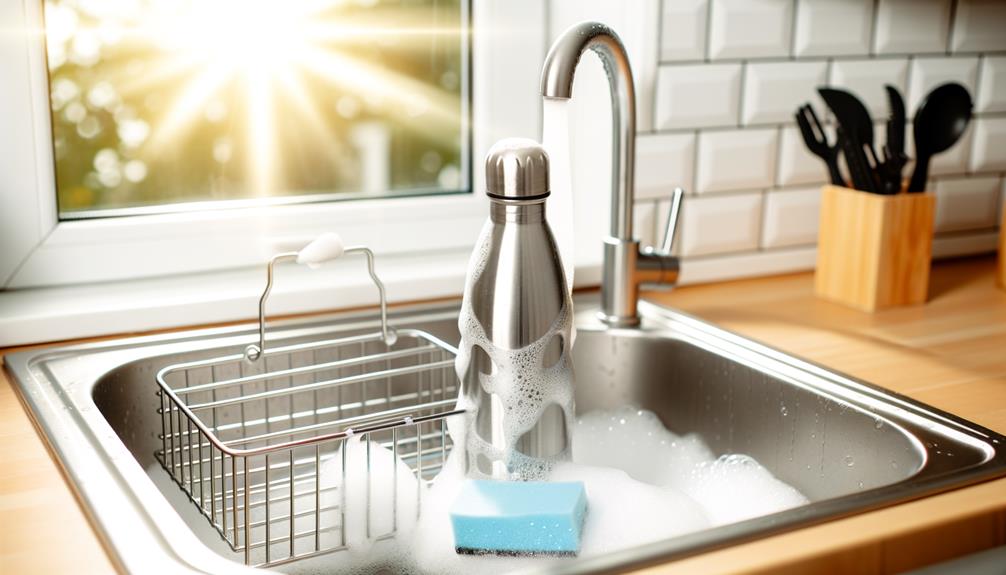
Scrub With Bottle Brush
A bottle brush with firm bristles guarantees you can reach and scrub every corner of your stainless steel water bottle thoroughly.
Start by applying a small amount of dish soap directly to the brush.
Insert the brush into the bottle, making sure to scrub the bottom and sides with a circular motion.
Pay special attention to the bottle's neck and mouth, as these areas can harbor bacteria.
If your bottle has a narrow opening, choose a brush with a long handle for better maneuverability.
Rinse the bottle brush under warm water periodically to remove any accumulated grime.
Once you’ve scrubbed all interior surfaces, rinse the bottle thoroughly to confirm no soap residue remains. If you still notice a soapy taste, filling the bottle with a mixture of vinegar and water can help eliminate any lingering residue. Let the mixture sit for a few minutes before rinsing again with clean water. If you’re wondering how to remove soap taste completely, consider using baking soda and warm water to neutralize any remaining flavors.
This methodical scrubbing ensures a hygienic, clean bottle.
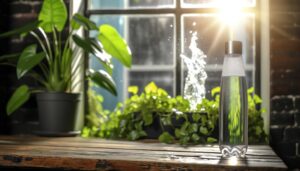
Dry Thoroughly
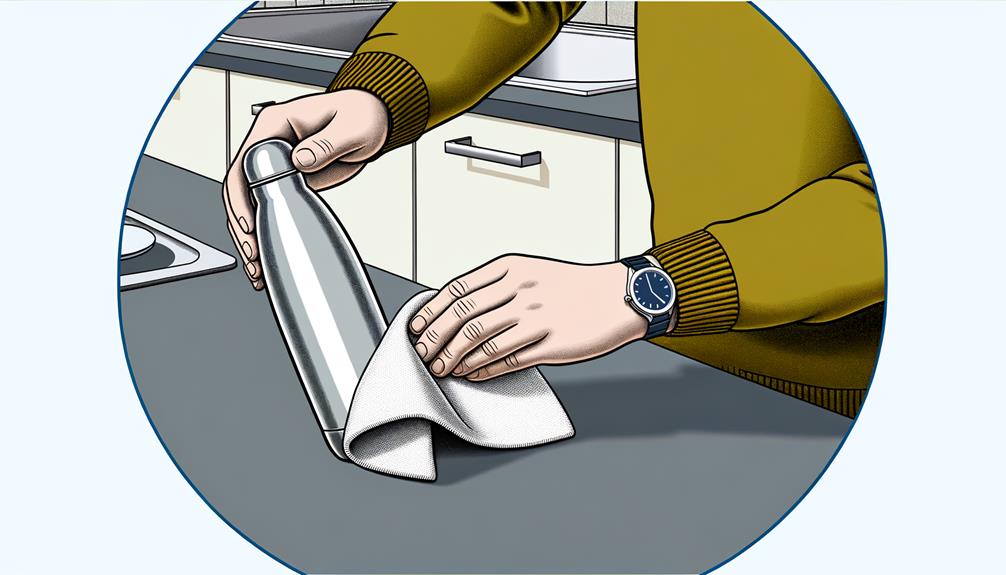
Once you've thoroughly rinsed your bottle, it's important to dry it completely to prevent any moisture buildup that could lead to mold or unpleasant odors.
Follow these steps to guarantee your stainless steel water bottle is dried properly:
- Air Dry: Place the bottle upside down on a clean drying rack to allow air circulation. Ensure it's in a well-ventilated area.
- Use a Towel: Wipe the inside and outside of the bottle with a clean, dry towel. Pay special attention to the cap and threads.
- Sun Drying: If possible, let the bottle dry in the sun for a few hours. The sunlight helps eliminate any remaining moisture and bacteria.
Regular Maintenance Tips
Regular maintenance of your stainless steel water bottle not only extends its lifespan but also guarantees it remains safe and pleasant to use.
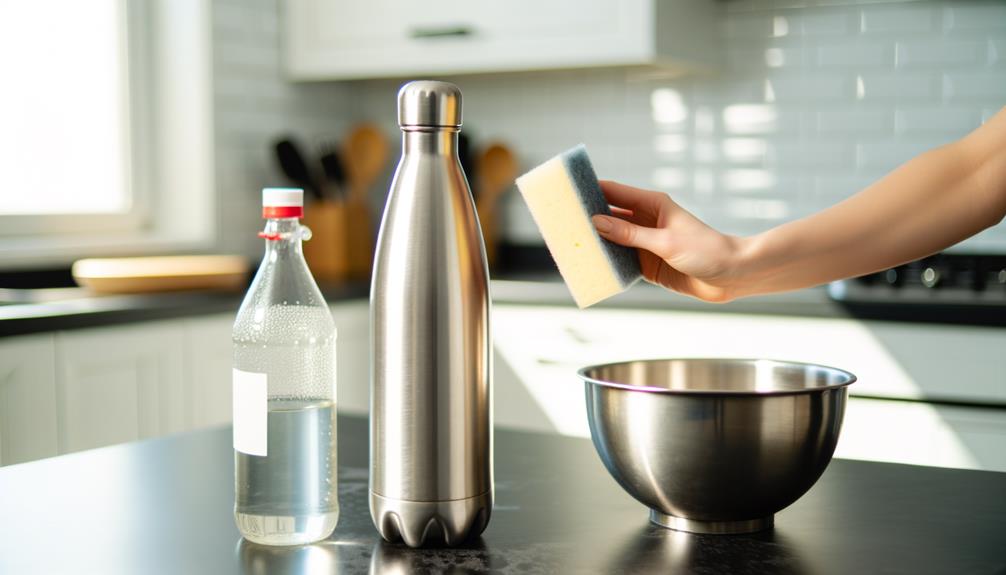
First, rinse your bottle with warm water after every use. This prevents residue buildup.
Once a week, use a soft brush and mild dish soap to scrub the interior and exterior. Avoid abrasive sponges that can scratch the surface.
Dry your bottle thoroughly to prevent mold growth.
Inspect the bottle regularly for any signs of wear or damage. If you notice any rust, use a paste of baking soda and water to gently scrub it away.
Conclusion
By following these steps, you'll guarantee your stainless steel water bottle stays as clean as a whistle.
Each method, from baking soda to white vinegar, acts like a knight in shining armor, protecting you from harmful bacteria.
Remember, a spotless bottle isn't just about hygiene; it's about peace of mind.
With regular maintenance, your bottle will always be ready to refresh you, making your hydration routine seamless and worry-free.
Keep up the good work!