How to Sew a Water Bottle Holder
First, gather sturdy fabric, a sewing machine, matching thread, fabric scissors, tape measure, fabric marker, straight pins, and webbing for the strap. Measure your bottle's circumference and height, adding 10% to the width and 1/2 inch for seam allowance.
Mark and cut the fabric. Fold the main body fabric in half lengthwise with right sides together, pin, and sew a 1/4-inch seam.
Turn it right side out and press. Cut a 3-inch by 30-inch strap, sew, turn it out, and topstitch.
Attach the strap to the holder, secure with reinforced stitching, and complete with finishing touches. For detailed instructions, explore further.
Key Takeaways
- Measure and add seam allowance to ensure the fabric fits your bottle comfortably.
- Cut the fabric accurately using a fabric marker and sharp fabric scissors.
- Sew the main body by folding the fabric in half, pinning, and stitching along the long edge.
- Create and attach a durable strap by sewing it securely to the holder.
Materials Needed
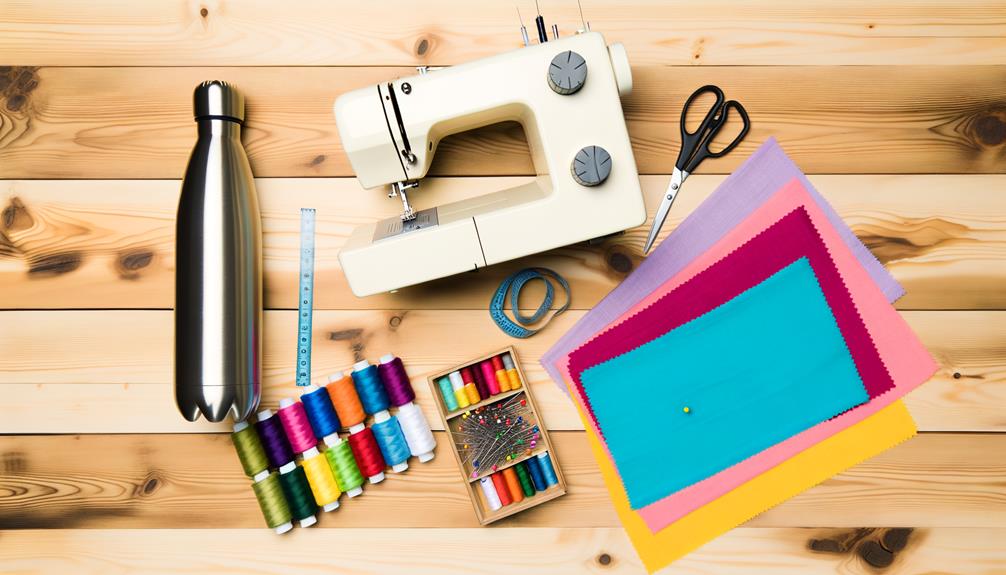
To get started, you'll need to gather a few essential materials for your water bottle holder project.
First, select a sturdy fabric like canvas or denim; these provide durability. You'll also need a sewing machine, thread matching your fabric, and a pair of sharp fabric scissors.
Grab a tape measure for precise measurements and a fabric marker to outline your cuts. Don't forget straight pins to hold the fabric in place while sewing.
For the strap, choose a webbing material or make one from fabric. Finally, have an iron handy to press your seams for a crisp finish.
Once you’ve assembled these materials, you’re ready to begin creating your custom water bottle holder. Start by measuring and cutting the cord to your desired length, ensuring you have enough to create secure knots. As you weave and knot the design, follow a pattern that provides both durability and style for your macrame water bottle holder. Finally, test the fit with your water bottle to make any necessary adjustments before securing the final knots.
Measuring Your Bottle
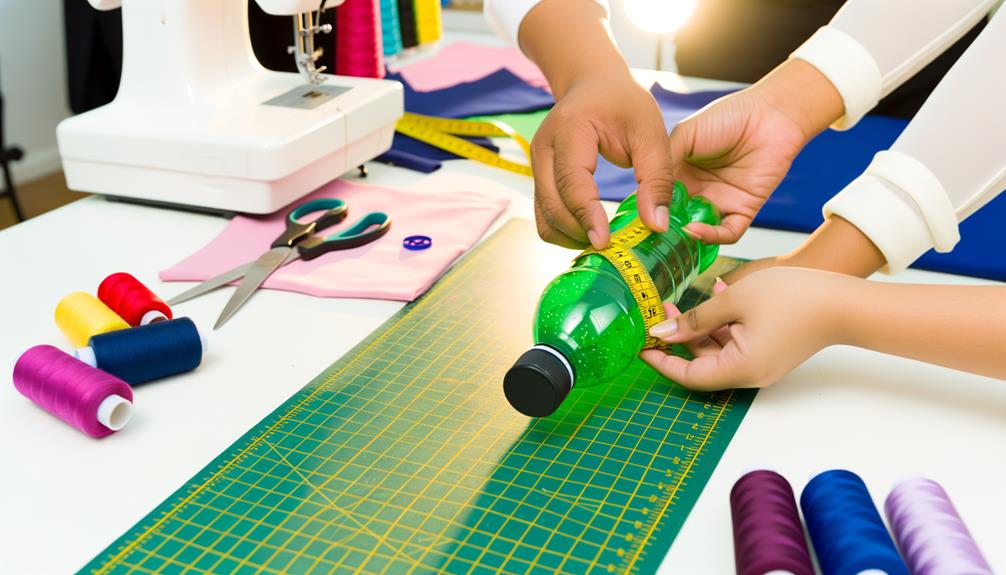
First, measure the circumference of your bottle using a measuring tape.
Next, determine the height and width dimensions by measuring from the base to the top, and across the widest part.
Bottle Circumference Measurement
Start by wrapping a flexible measuring tape around the widest part of your water bottle to determine its circumference. Make sure the tape sits snugly against the bottle without any slack or twists. Note down the measurement accurately, as this will be essential for creating a well-fitting holder.
Here's a quick checklist to guide you through:
- Choose a flexible measuring tape: This guarantees you can wrap it around the bottle easily.
- Locate the bottle's widest part: Typically, it's around the middle or bottom.
- Wrap the tape snugly: Avoid any gaps or loose areas.
- Read the measurement carefully: Note it down precisely.
Following these steps will guarantee your holder fits perfectly.
Height and Width Dimensions
Now that you've measured the circumference, measure the height of your water bottle from the bottom to the top of the cap. Use a measuring tape or a ruler for accuracy. Note down this measurement as it will determine the length of your fabric piece.
Next, add a bit of extra width for ease. Multiply the circumference by 1.1 to get the fabric's width. This guarantees your bottle fits comfortably inside the holder. Write down these dimensions: height for the length and the adjusted circumference for the width.
Double-check your measurements to verify accuracy. Accurate dimensions are essential for a well-fitting holder.
With these measurements, you're ready to cut your fabric and move on to the next steps.
Adding Seam Allowance
To guarantee a proper fit, add a seam allowance of about 1/2 inch to both the height and width measurements of your fabric. This extra space guarantees that your bottle holder will accommodate the bottle comfortably and provide room for sewing.
Here's how to measure your bottle and add seam allowances:
- Measure the height of the bottle from the base to the top.
- Measure the circumference of the bottle by wrapping a tape measure around the widest part.
- Add 1/2 inch to the height measurement.
- Add 1/2 inch to the circumference measurement.
Cutting the Fabric
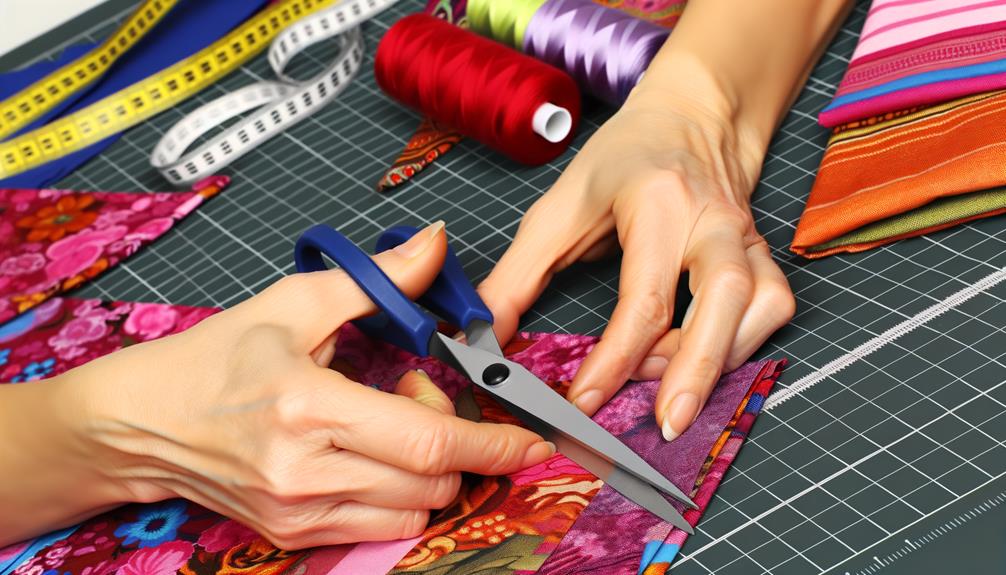
First, measure and mark the fabric according to the dimensions specified in your pattern.
Use a fabric marker or tailor's chalk for clear, accurate lines. Confirm you add the seam allowance as previously discussed. Lay your fabric flat on a cutting mat to prevent slipping. Secure it with fabric weights or pins if necessary.
Next, use fabric scissors or a rotary cutter to cut along the marked lines.
Keep your cuts smooth and precise to avoid fraying. Cut out all required pieces, including the main body, base, and strap. Double-check that you've cut the correct number of pieces and that they match your pattern.
Now, you're ready to move on to assembling your water bottle holder.
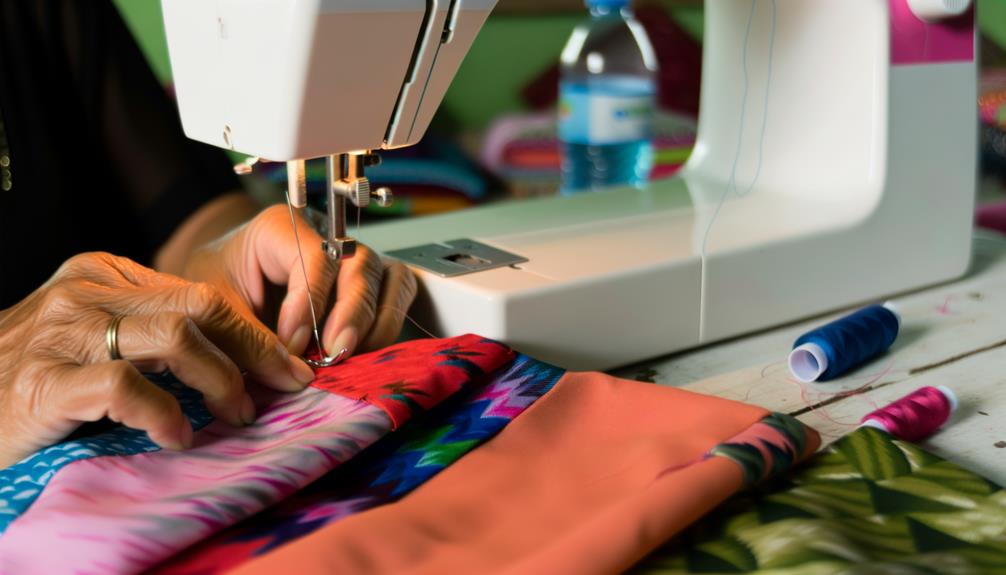
Sewing the Main Body
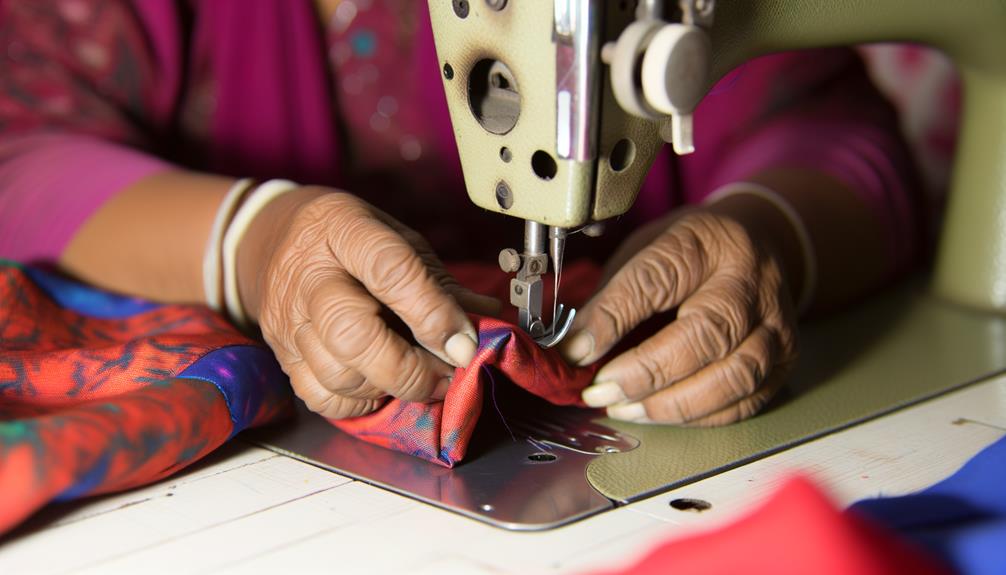
Start by folding the main body piece of fabric in half lengthwise with the right sides facing each other.
Next, pin along the long edge to hold it in place.
Sew a seam along the pinned edge using a 1/4-inch seam allowance.
Confirm your stitching is even and secure.
Once sewn, turn the fabric right side out and press the seam flat.
- Use a straight stitch for a clean finish.
- Trim any excess threads for a neat appearance.
- Verify the seam allowance is consistent.
- Pressing the seam helps to set the stitches.
Your main body is now ready for the next steps.
Adding the Strap
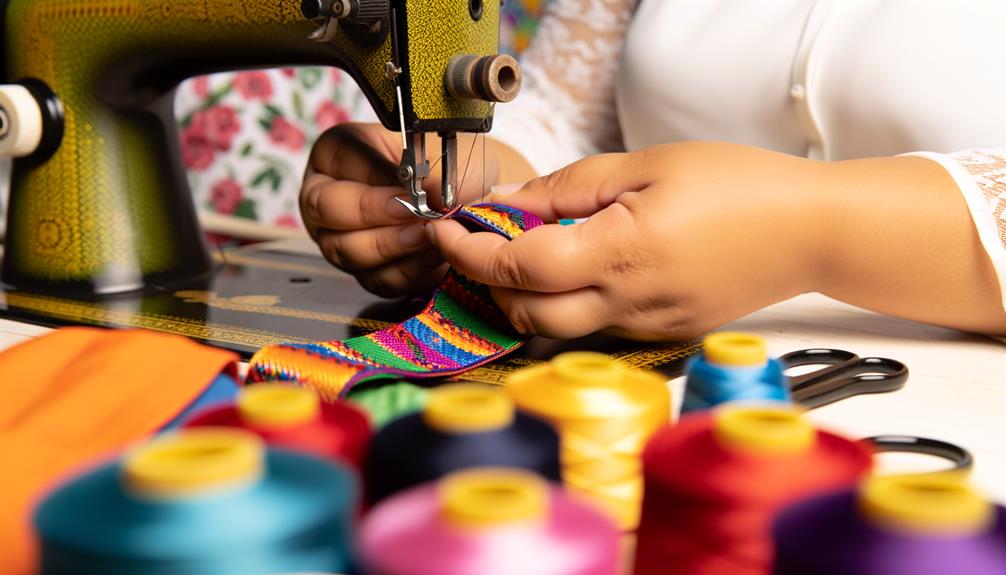
Before attaching the strap, cut a piece of fabric measuring 3 inches wide and 30 inches long. Fold the fabric lengthwise with the right sides together. Sew along the long edge, leaving the short ends open. Turn the tube right side out and press it flat with an iron. Topstitch along both long edges for added durability.
Now, align one end of the strap with the top edge of the holder, positioning it on the side seam. Pin it in place. Repeat with the other end on the opposite side.
| Step | Action | Description |
|---|---|---|
| 1 | Cut | Fabric: 3"x30" |
| 2 | Sew | Lengthwise edge |
| 3 | Pin | Strap to holder |
Secure the strap by stitching a box with an X inside for strength.
Final Touches
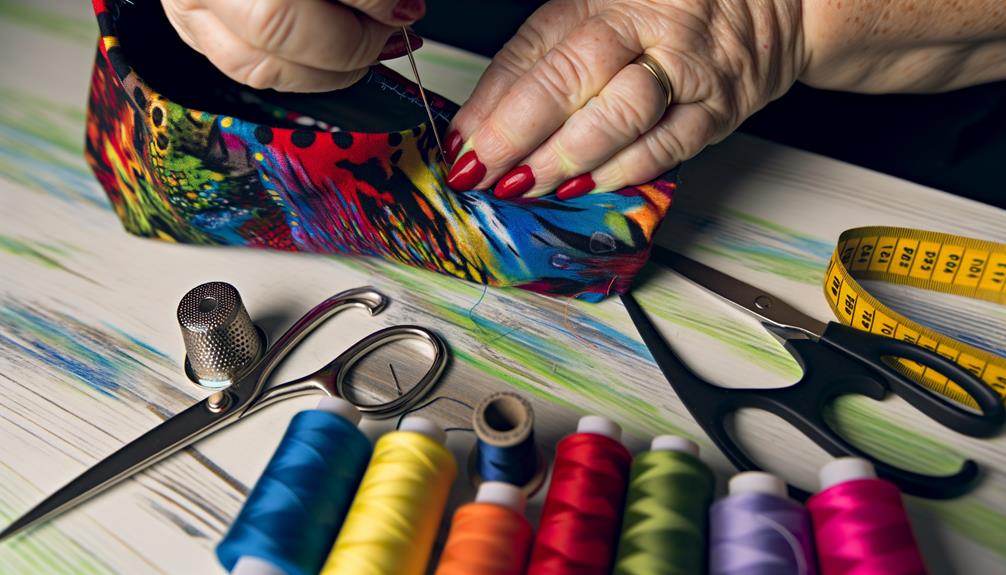
With the strap securely attached, now's the time to trim any loose threads and give your water bottle holder a final press with the iron. This guarantees a clean, professional finish.
Here's what you need to do:
- Trim Threads: Use small, sharp scissors to snip off any loose threads.
- Press Seams: Set your iron to the appropriate fabric setting and press all seams flat.
- Check Stitching: Inspect your holder for any missed stitches or weak spots; reinforce if necessary.
- Attach Velcro or Snaps: If your design includes a closure, now's the time to sew it on.
Follow these steps to complete your project with finesse!
Conclusion
You've reached the finish line! With your water bottle holder complete, you've stitched together a project that's both practical and stylish.
As you sling it over your shoulder, imagine it as a trusty sidekick, always ready for the next adventure.
Remember, every stitch tells a story of your dedication and creativity.
So go ahead, take it out for a spin, and let it be a reflection of your newfound sewing prowess.
Happy hydrating!