How to Use Brita Water Bottle
To use a Brita water bottle, carefully unpack and inspect all components for defects. Attach the filter securely to the lid, then screw the lid onto the bottle clockwise.
Before first use, soak the filter in cold tap water for 15 minutes, then rinse it for 15 seconds. Fill the bottle with cold tap water up to the fill line and make certain the lid is tightly closed.
Squeeze gently when drinking to maintain consistent flow and clean all parts daily with warm, soapy water. Replace the filter every two months or after 40 gallons for peak performance.
Learn additional tips and maintenance best practices for continued satisfaction.

Key Takeaways
- Attach the filter to the lid, fill the bottle with cold tap water, and screw the lid on tightly.
- Soak the filter in cold water for 15 minutes before first use, then rinse for 15 seconds.
- Squeeze the bottle gently while drinking to maintain a steady water flow.
- Clean the bottle and components daily with warm, soapy water and rinse thoroughly.
Unpacking Your Brita Bottle
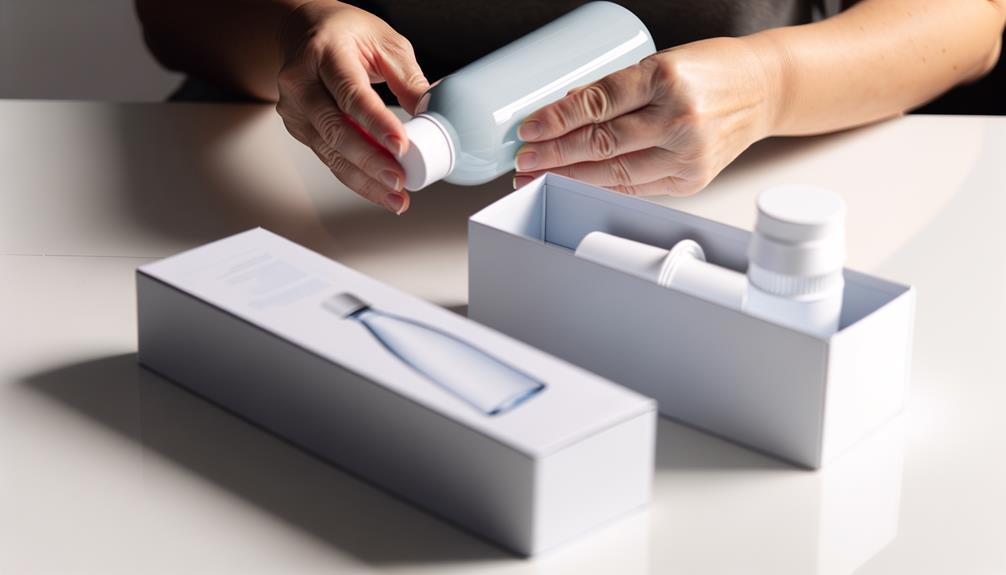
When you first receive your Brita water bottle, carefully remove it from its packaging to confirm all components are intact and undamaged.
Examine the bottle, lid, and filter for any visible defects or cracks. Check that the instructions manual is included, as it will provide important information for future steps.
Next, remove any protective coverings or stickers from the bottle and its parts. Verify that all components are clean and free of dust or debris.
Lay out the bottle, lid, and filter on a clean surface. This step is essential to guarantee you've got everything you need before you begin assembling the components.
If any parts are missing or damaged, contact Brita customer service for replacements.
Assembling the Components
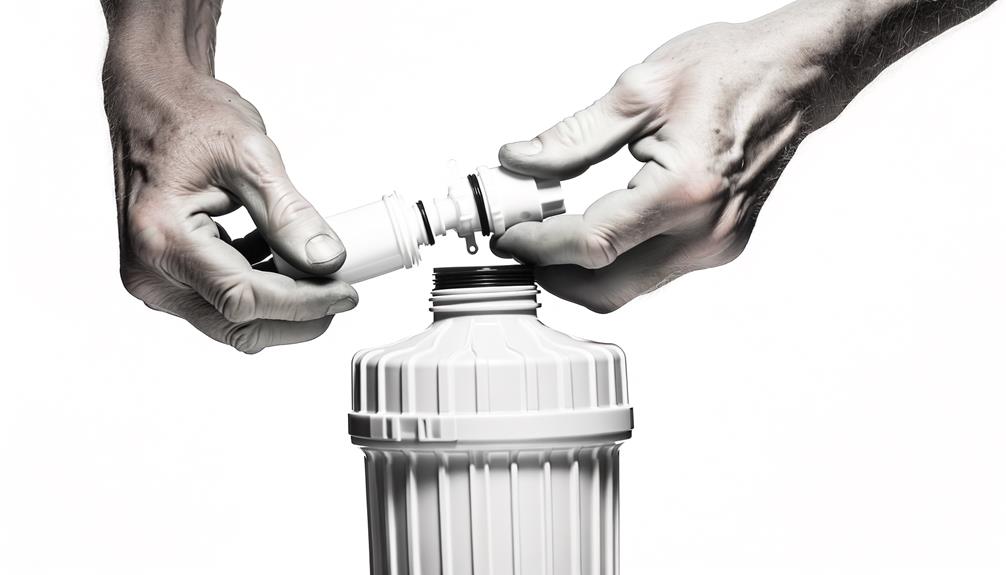
Begin by securely attaching the filter to the lid, guaranteeing it clicks into place to form a tight seal.
Hold the filter in one hand and align it with the designated slot in the lid. Press down firmly until you hear a click, indicating the filter is properly seated.
Next, screw the lid onto the bottle clockwise, assuring it's tightly fastened to prevent any leaks.
Make sure the straw, if applicable, is properly aligned and inserted into the filter's bottom.
Once the lid is secure, double-check all connections to confirm they're tight and properly assembled. This guarantees peak filtration and prevents any water leakage.
Now, your Brita water bottle is ready for the next steps.
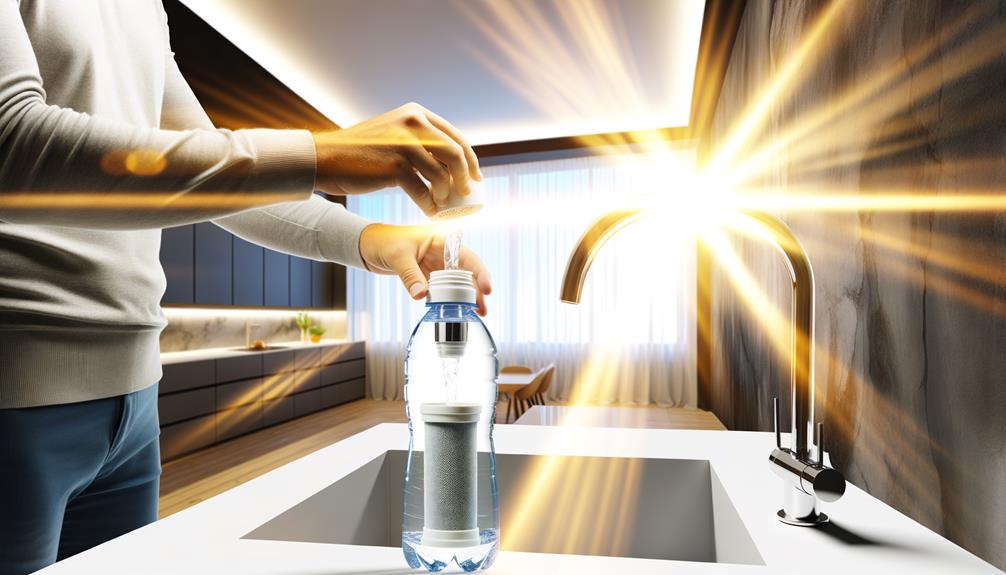
Preparing the Filter
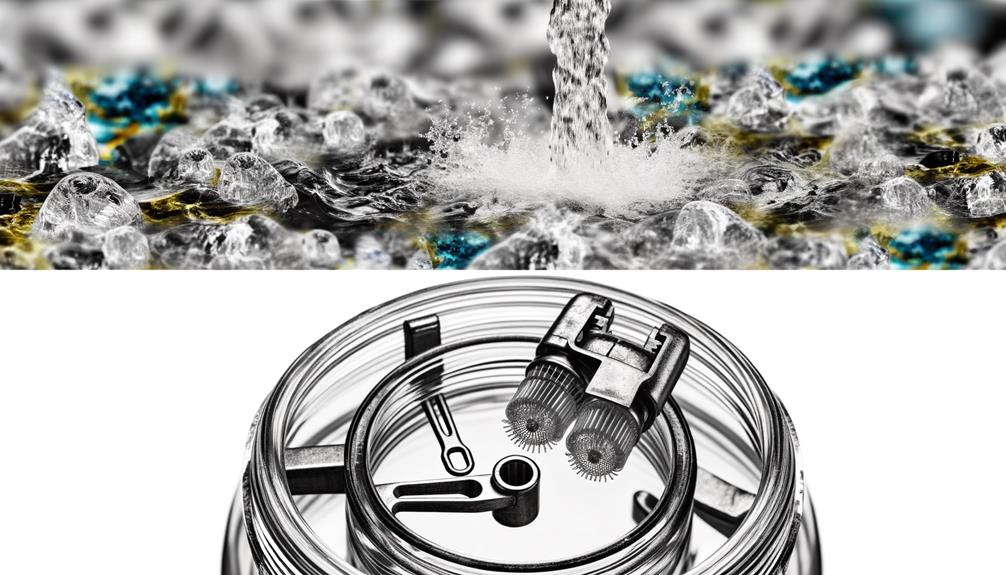
To prepare the filter, immerse it in cold tap water for 15 minutes to activate the filtration media. This step guarantees that the filter is primed and ready to effectively remove impurities.
While the filter soaks, gently shake it to release any trapped air bubbles. After 15 minutes, remove the filter from the water and lightly shake off excess water.
Next, rinse the filter under cold tap water for 15 seconds to wash away any loose carbon particles. It's vital not to use soap or detergents during this process, as they can damage the filter.
Once rinsed, your filter is now ready to be installed into your Brita water bottle.
Filling the Bottle
Now that your filter is prepared, fill the Brita water bottle with cold tap water up to the designated fill line. Make sure the water doesn't exceed this mark to allow proper filtration.
Follow these steps for ideal use:
- Open the Bottle: Unscrew the lid and set it aside, making sure the filter remains attached.
- Position the Bottle: Hold the bottle under your tap and turn on the cold water.
- Monitor the Fill Line: Carefully watch the water level to avoid overfilling.
- Secure the Lid: Once filled, screw the lid back on tightly to make certain no leaks.
Drinking From the Bottle
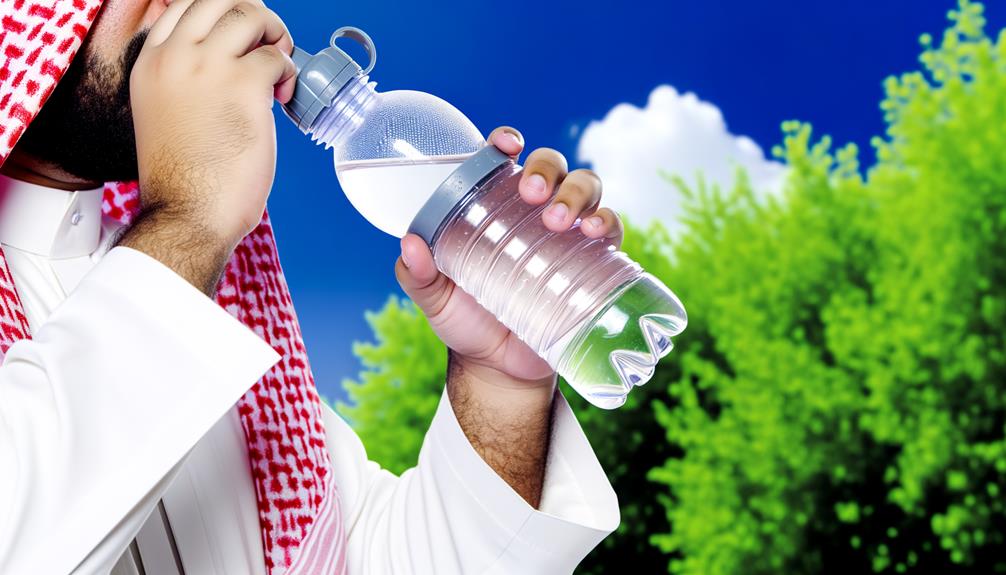
When drinking from your Brita water bottle, guarantee you use a steady, gentle squeeze to maintain a consistent flow.
To keep the water fresh, always close the lid tightly after each use to prevent contamination.
Regularly check and clean the spout to guarantee ideal hygiene and taste.
Proper Drinking Technique
Hold the Brita water bottle upright and place the mouthpiece between your lips to guarantee a proper flow of filtered water. Ascertain there’s a tight seal between your lips and the mouthpiece to prevent any leakage. Sip steadily to allow the filter to effectively reduce any impurities as the water passes through. If you’re interested in other filtered water bottle options, you might want to look up how to use LARQ bottle, which utilizes UV-C technology for purification. Always ensure your bottle is properly assembled and cleaned regularly to maintain optimal performance.
Squeeze the bottle gently to start the water flow.
Here's a quick guide:
- Seal Properly: Form a tight seal with your lips around the mouthpiece.
- Squeeze Gently: Apply gentle pressure to the bottle for a steady flow.
- Sip Consistently: Drink at a controlled pace to ascertain you're getting filtered water.
- Release Pressure: After each sip, release the pressure to allow the bottle to refill with air.
Following these steps ascertains you enjoy clean, filtered water effortlessly.
Maintaining Water Freshness
Guaranteeing water freshness in your Brita bottle involves regular cleaning and proper storage practices.
First, disassemble the bottle, removing the filter, mouthpiece, and any other detachable parts. Wash each component with warm, soapy water, and rinse thoroughly. Avoid using abrasive cleaners, which can damage the bottle. Dry all parts completely before reassembling.
Store your Brita bottle in a cool, dry place when not in use to prevent bacterial growth.
Replace the filter as recommended, typically every 40 gallons or two months, whichever comes first. Always fill the bottle with cold, potable water to maintain quality.
Cleaning and Maintenance
To guarantee your Brita water bottle functions at its best, it's essential to establish a daily cleaning routine, adhere to the filter replacement schedule, and store it properly.
Start by rinsing the bottle and components daily with warm water and mild soap.
Replace the filter as recommended by the manufacturer and always store the bottle in a dry, clean place.
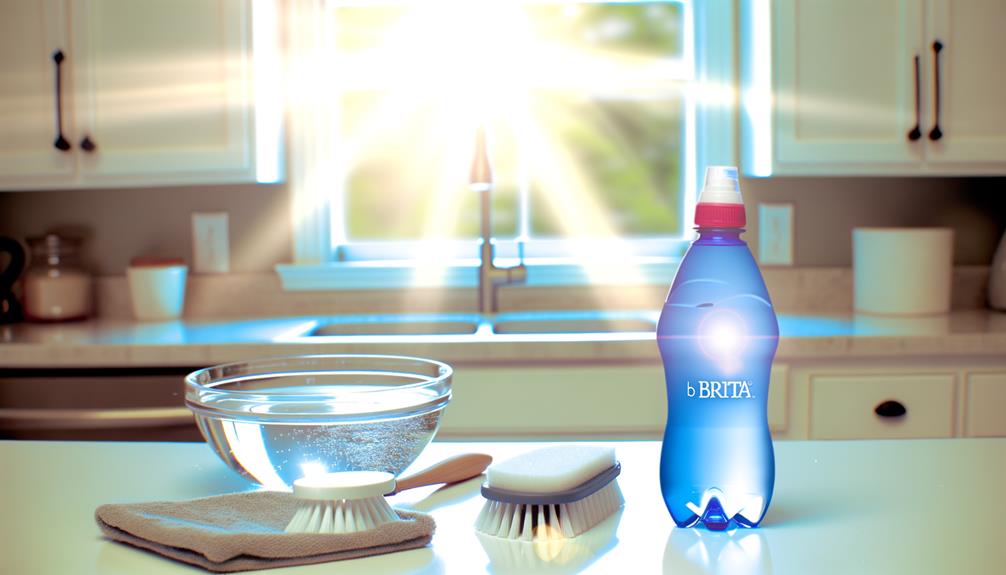
Daily Cleaning Routine
A daily cleaning routine guarantees your Brita water bottle remains hygienic and operates efficiently. Follow these steps to confirm peak performance:
- Disassemble: Remove the lid, filter, and straw (if applicable).
- Wash: Use warm, soapy water to clean all parts. Avoid abrasive scrubbers to prevent damage.
- Rinse: Thoroughly rinse each component under running water to remove soap residue.
- Dry: Allow all parts to air dry completely before reassembling to prevent mold and mildew.
It's important to clean your bottle every day to maintain its effectiveness and confirm your drinking water stays fresh.
Regular cleaning not only extends the life of the bottle but also safeguards your health by eliminating potential contaminants.
Filter Replacement Schedule
Regularly replacing the filter in your Brita water bottle is crucial to maintain ideal filtration and guarantee your water remains clean and fresh.
Brita recommends changing the filter every 40 gallons or approximately every two months, whichever comes first.
Start by unscrewing the bottle cap and removing the old filter.
Rinse the new filter under cold tap water for 15 seconds.
Insert the new filter into the straw until it fits securely.
Reattach the straw to the cap and screw the cap back onto the bottle.
Don't forget to reset any tracking mechanism your bottle may have, such as a date dial or an electronic reminder, to make sure you stay on schedule for future replacements.
Proper Storage Tips
For ideal performance and longevity of your Brita water bottle, make sure you clean and store it properly after each use. Follow these steps for optimum maintenance:
- Disassemble the Bottle: Separate the lid, straw, and filter. This prevents mold and bacteria buildup.
- Wash Thoroughly: Clean all parts with warm, soapy water. Use a bottle brush to reach inside the bottle.
- Rinse Completely: Confirm all soap residue is rinsed off to avoid any taste interference.
- Air Dry: Allow all components to air dry completely before reassembling. Store in a dry, clean place.
Replacing the Filter
To replace the filter in your Brita water bottle, start by unscrewing the cap and removing the old filter.
Rinse the new filter under cold water for 15 seconds to activate it.
Insert the filter firmly into the filter cage, making certain it's securely in place.
Once positioned, reattach the cap to the bottle.
Fill the bottle with cold tap water and screw the cap back on tightly.
Shake the bottle for about 10 seconds to help the water flow through the new filter.
Discard the first bottle of filtered water to make sure the filter is thoroughly rinsed.
Your Brita water bottle is now ready for use with a fresh filter, providing you with clean, great-tasting water.
Tips for Optimal Use
Maintaining your Brita water bottle properly guarantees you get the cleanest and best-tasting water possible. Follow these tips to optimize its use:
- Filter Replacement: Change the filter every 40 gallons or approximately every two months to guarantee efficient filtration.
- Regular Cleaning: Wash the bottle and all components at least once a week with warm, soapy water. Rinse thoroughly to remove any soap residue.
- Proper Storage: Store your bottle in a cool, dry place when not in use to prevent mold and bacteria growth.
- Avoid Freezing: Don't freeze the bottle as it can damage the filter and the bottle itself.
Conclusion
You've now mastered the art of using a Brita water bottle—an achievement rivaling assembling flat-pack furniture without extra screws.
Enjoy the thrill of fresh, filtered water, knowing you're a hydration hero.
Remember, clean it regularly and swap filters like you're auditioning for a role in a meticulous soap opera.
Your Brita bottle's now your trusty sidekick in the epic quest for pure, pristine H2O.
Stay quenched, my friend, and may your water always be crisp!