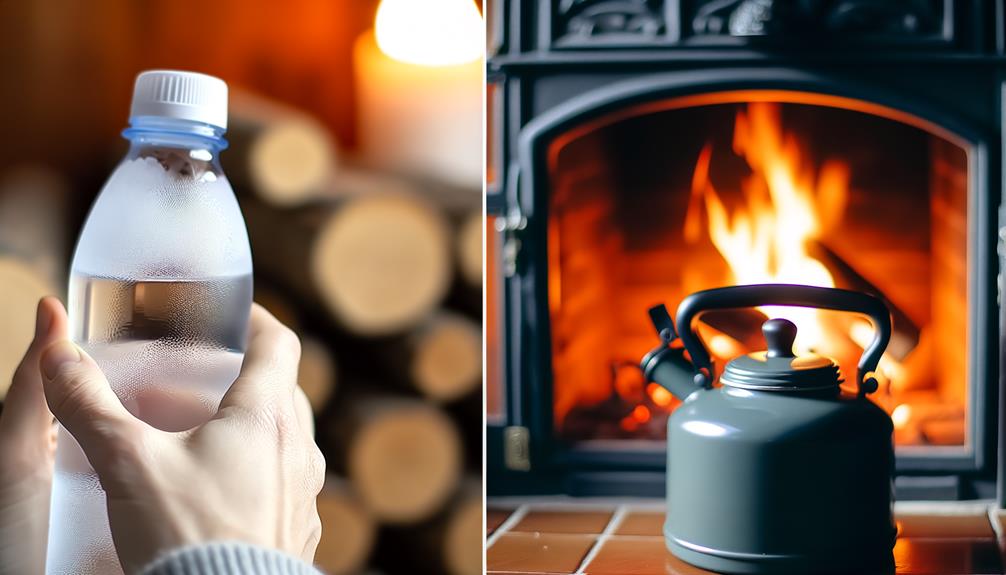
How to Melt a Frozen Water Bottle
To melt a frozen water bottle, start by placing it at room temperature, guaranteeing it's between 68°F and 77°F. For a quicker method, submerge the bottle in a warm water bath set between 100°F and 120°F, checking every 10-15 minutes to avoid deformation.
Loosening the cap will help to release pressure. Alternatively, use microwave intervals on low power with 30-second cycles, rotating the bottle to evenly distribute heat.
Avoid using boiling water directly, as it can warp the plastic. These techniques guarantee efficient and safe thawing, with many more details available to refine your approach.
Key Takeaways
- Immerse the bottle in warm water (100°F to 120°F) for 10-15 minutes, rotating occasionally for uniform melting.
- Place the bottle at room temperature (20°C to 25°C) and let it thaw naturally, checking progress regularly.
- Use a microwave on low power in 30-second intervals, rotating the bottle between cycles to prevent deformation.
- Wrap the bottle in a hot towel for 10-15 minutes, reheating the towel every 5 minutes to maintain warmth.
Room Temperature Thawing
To thaw a frozen water bottle at room temperature, simply place it on a stable surface in a moderately warm environment away from direct sunlight. This method prevents rapid temperature changes that could compromise the bottle's integrity.
Confirm the area maintains a consistent temperature between 20°C and 25°C (68°F to 77°F) to facilitate even thawing. Keep the bottle upright to allow melted water to form at the base, aiding in the gradual thawing process.
Regularly check the bottle to monitor progress and gently agitate it if necessary to distribute the melting ice. This technique is straightforward, minimizes the risk of bottle deformation, and avoids potential contamination from external heat sources.
Warm Water Bath
To effectively thaw your frozen water bottle, immerse it in a warm water bath with a temperature between 100°F and 120°F.
Monitor the immersion duration closely, ensuring it doesn't exceed 15 minutes to prevent bottle deformation.
Always follow safety precautions, such as avoiding boiling water and ensuring the bottle cap is loosened to allow pressure release.
Ideal Water Temperature
For achieving ideal results, immerse the frozen water bottle in a warm water bath maintained between 100°F and 120°F. This temperature range guarantees efficient melting without risking damage to the bottle. Always use a precise thermometer for accuracy. The table below highlights necessary steps and corresponding temperature ranges:
| Step | Temperature Range |
|---|---|
| Initial immersion | 100°F – 105°F |
| Steady warming | 105°F – 110°F |
| Best melting | 110°F – 115°F |
| Final thaw phase | 115°F – 120°F |
| Maximum limit | Do not exceed 120°F |
Immersion Duration
Maintaining the correct immersion duration in the warm water bath is just as essential as controlling the temperature to guarantee efficient melting of the frozen water bottle.
You'll want to immerse the bottle for approximately 10-15 minutes, depending on its size and initial temperature.
Check the progress periodically by gently squeezing the bottle to assess the remaining ice.
If you leave the bottle in the bath for too long, you risk overheating the water, which can lead to uneven melting or even deformation of the bottle.
Make sure you rotate the bottle occasionally to promote uniform melting.
Adhering to these precise timings will make certain an ideal and safe thawing process, efficiently returning your water to a liquid state.
Safety Precautions
Always guarantee you avoid using boiling water, as it can cause the bottle to warp or even burst. Instead, opt for warm water that's comfortable to touch but not scalding.
Here's how to safely execute a warm water bath:
- Temperature Check: Confirm the water is around 100°F (38°C). Use a thermometer for accuracy.
- Gradual Immersion: Submerge the bottle slowly to equalize pressure and prevent cracking.
- Constant Monitoring: Keep an eye on the bottle to avoid prolonged exposure, which could cause deformation.
Microwave Method
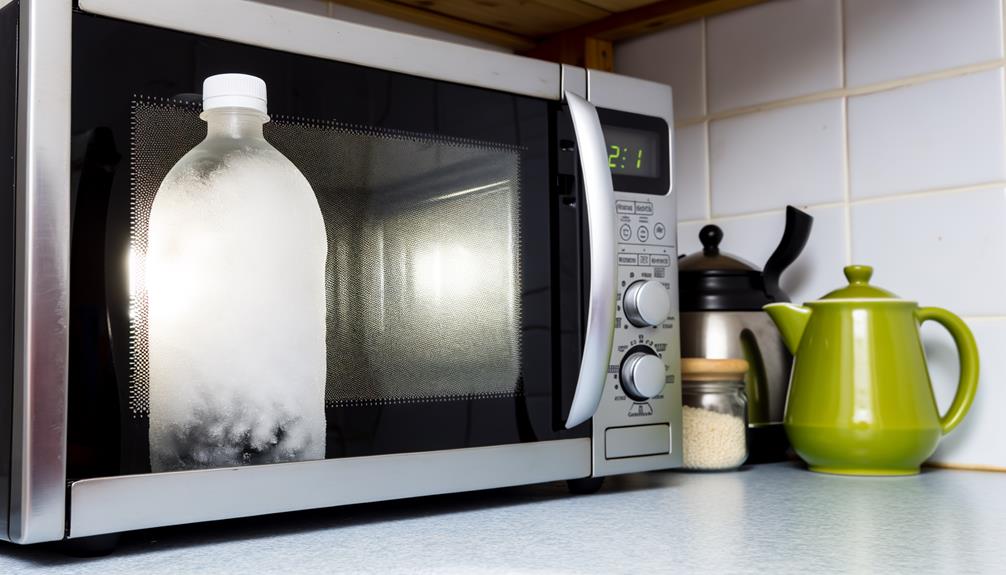
Place the frozen water bottle in the microwave on a microwave-safe dish to start the melting process efficiently. Heat the frozen water bottle in microwave using short intervals, checking frequently to prevent overheating. As the ice begins to melt, gently shake the bottle to distribute the heat evenly. Always use caution when handling the frozen water bottle in microwave to avoid burns from hot spots.
Set the microwave to a low power setting to prevent the plastic from warping or melting.
Heat the bottle in 30-second intervals, checking the progress after each cycle.
This method guarantees gradual melting without compromising the bottle's integrity.
If you notice any deformation, stop immediately and allow the bottle to cool.
Rotate the bottle between intervals for even heat distribution.
Avoid using high power settings as they can cause uneven melting and potential damage.
Sunlight Exposure
After exploring the microwave method, you can also leverage natural sunlight to thaw your frozen water bottle efficiently. This method is straightforward and eco-friendly.
Here's how you can do it effectively:
- Place the Bottle in Direct Sunlight: Position the bottle where it will receive maximum sunlight, such as a windowsill or an outdoor area.
- Monitor the Temperature: Verify the surrounding temperature is above freezing. Sunlight is most effective when ambient temperatures are warm.
- Rotate the Bottle: Periodically rotate the bottle to expose all sides to sunlight, verifying even thawing.
Using sunlight reduces energy consumption and can be surprisingly effective in warmer climates.
Be patient, as this process may take a few hours depending on the intensity of the sunlight and the initial temperature of the bottle.
Hot Towel Wrap
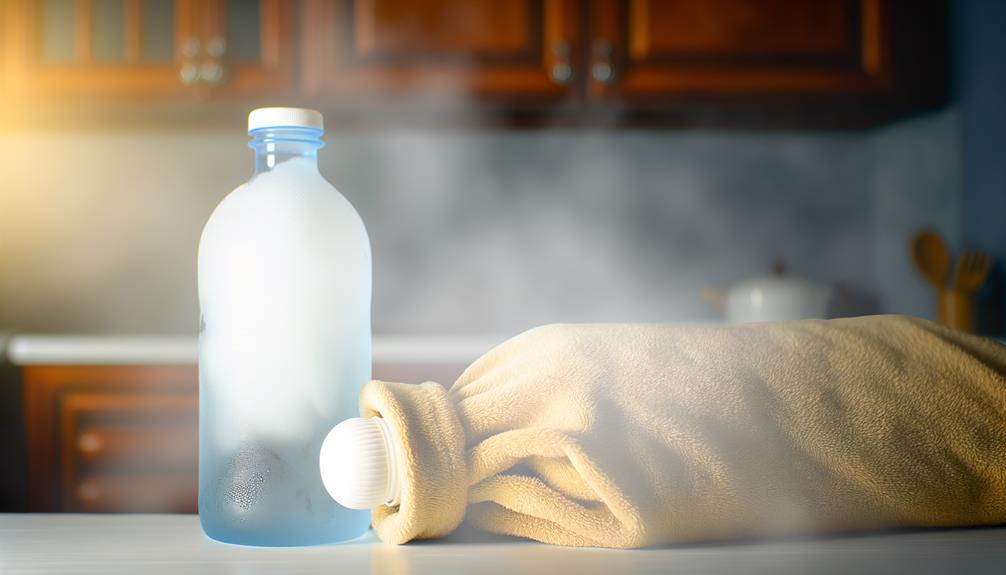
To effectively melt a frozen water bottle, wrap it in a hot towel.
Heat the towel using methods such as a microwave or hot water, ensuring it reaches the necessary temperature.
Apply the hot towel for intervals of 10-15 minutes, repeating as needed until the ice fully melts.
Towel Heating Methods
Wrap the frozen water bottle in a hot towel to effectively transfer heat and accelerate the thawing process.
Properly heating the towel is essential for ideal results. Here are the recommended methods:
- Microwave Method: Dampen the towel slightly and microwave it for 30-60 seconds, guaranteeing even heat distribution.
- Hot Water Soak: Submerge the towel in hot water for a few minutes, then wring out excess water before wrapping.
- Towel Warmer: Use a towel warmer to achieve consistent temperature; this method guarantees the towel stays hot for longer.
Make sure the towel isn't scalding hot to avoid damaging the bottle or burning yourself.
Follow these steps to efficiently thaw your frozen water bottle using a hot towel wrap.
Duration and Frequency
When using the hot towel wrap method, maintain the towel around the frozen water bottle for 10-15 minutes to guarantee effective heat transfer. This duration allows the heat to penetrate the ice, accelerating the melting process.
To maximize efficiency, reheat the towel every 5 minutes, ensuring it remains consistently warm. Repeat this process until the bottle is sufficiently thawed.
For best results, apply the hot towel wrap method every 30 minutes if the bottle isn't completely melted after the initial session. This frequency helps sustain a steady heat application, facilitating quick and safe thawing.
Always monitor the water bottle to avoid overexposure to heat, which could compromise the bottle's structural integrity.
Hairdryer Technique
Using a hairdryer to melt a frozen water bottle is an effective method that requires careful attention to prevent damage to the bottle. Follow these steps to guarantee ideal results:
- Set the Hairdryer to Low Heat: High temperatures can warp or damage the plastic. Low heat is sufficient to melt the ice gradually.
- Maintain Safe Distance: Keep the hairdryer at least six inches away from the bottle to avoid overheating and potential melting of the plastic.
- Rotate the Bottle: Continuously rotate the bottle to guarantee even distribution of heat, preventing any one area from becoming excessively hot.
Saltwater Solution
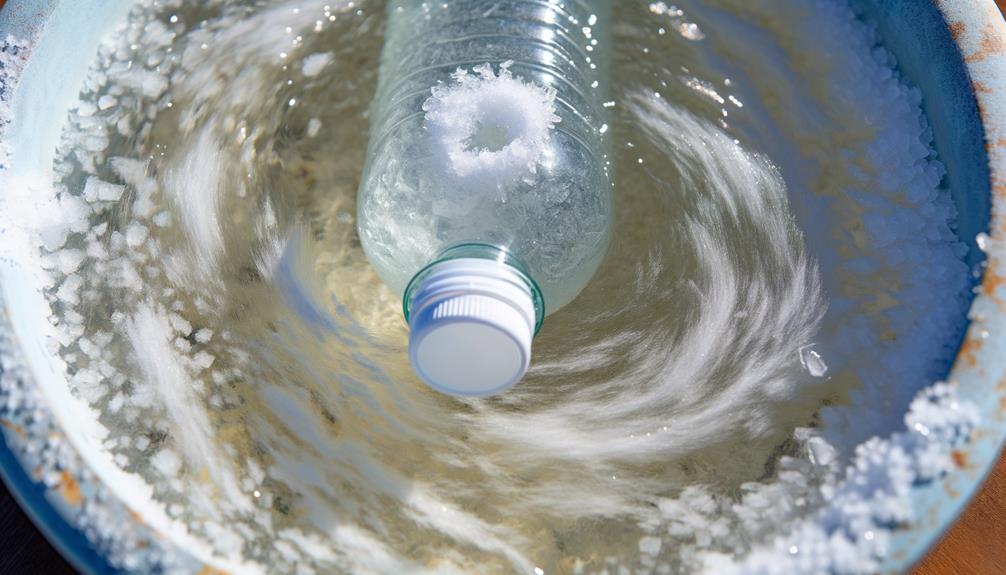
If you prefer a method that uses common household items, a saltwater solution can effectively melt a frozen water bottle without the risk of damaging the plastic. Simply mix salt with warm water to create a concentrated solution. Immerse the frozen bottle in this solution, and the salt will lower the melting point of the ice, facilitating faster thawing.
Here's a simple guide:
| Step | Materials | Action |
|---|---|---|
| 1 | Salt | Measure 1 cup |
| 2 | Warm Water | Fill a container |
| 3 | Mix | Combine salt and water |
| 4 | Immerse | Submerge bottle |
This method leverages basic chemistry principles, ensuring a safe and efficient thawing process. The saltwater solution won't harm the plastic, making it an ideal choice.
Boiling Water Caution
Exercise extreme caution when dealing with boiling water to thaw a frozen water bottle, as the high temperatures can warp or damage the plastic.
To safely apply this method, follow these steps:
- Select the Right Container: Use a heat-resistant bowl or pot to hold the boiling water.
- Gradual Immersion: Slowly submerge the frozen bottle into the container. Abrupt exposure can cause the plastic to crack.
- Monitor Continuously: Keep an eye on the bottle. Remove it as soon as the ice begins to melt to prevent overheating.
Avoid pouring boiling water directly onto the bottle, as this can cause uneven temperature distribution, leading to potential hazards.
Always prioritize safety and make certain you're using the appropriate tools and techniques.
Car Heater Trick
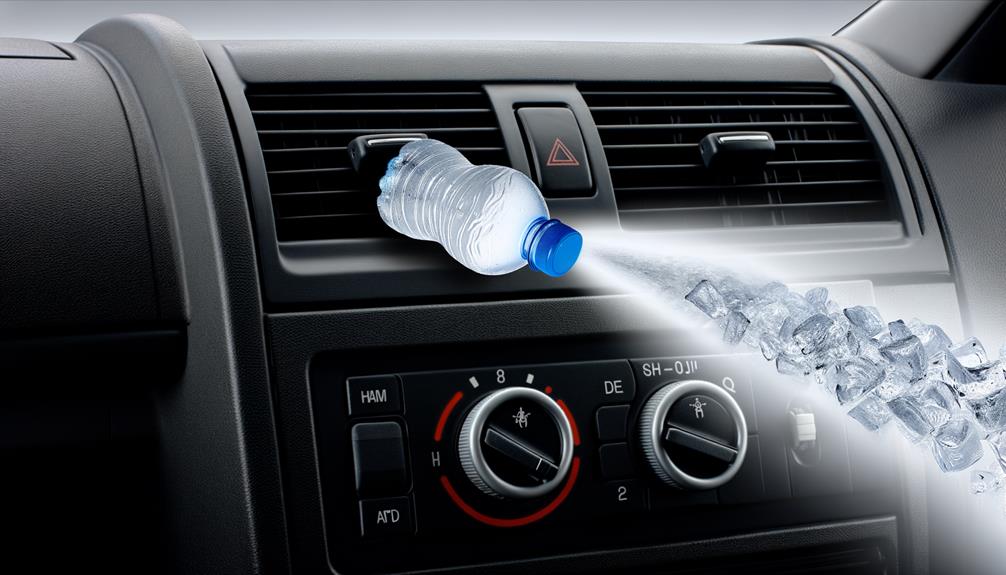
Another effective method for thawing a frozen water bottle is utilizing your car's heater, which provides a controlled environment to gradually warm the bottle without the risks associated with boiling water.
Start by placing the frozen bottle on the car floor, ensuring it's upright to prevent spills.
Next, turn your car's heater on, aiming the vents towards the bottle. Set the temperature to a moderate level, avoiding the maximum setting to prevent uneven melting or potential damage to the bottle.
Monitor the progress closely, occasionally shaking the bottle to distribute the heat evenly.
This method is safe and efficient, allowing you to thaw the water bottle without exposing it to extreme temperatures or potential hazards.
Portable Heater Use
When using a portable heater to melt a frozen water bottle, prioritize safety precautions to prevent accidents.
Ascertain the heater is placed on a stable, non-flammable surface and keep flammable materials away.
Limit the heating duration to 10-15 minutes to avoid overheating the bottle and causing potential damage.
Safety Precautions First
Before using a portable heater to melt a frozen water bottle, make sure it's positioned on a stable, heat-resistant surface to prevent accidental fires or damage. Safety must be your top priority.
Follow these guidelines:
- Keep Flammable Materials Away: Make sure there are no flammable objects within at least three feet of the heater.
- Use Proper Ventilation: Operate the heater in a well-ventilated area to avoid buildup of toxic fumes or overheating.
- Monitor Constantly: Never leave the heater unattended while it's in use. Keep an eye on it to make sure it's functioning correctly.
Optimal Heating Duration
To achieve ideal heating duration using a portable heater, you should start by setting the heater to a moderate temperature and frequently monitor the bottle's progress.
Position the bottle at least six inches away from the heater to avoid overheating. Check the bottle every five minutes to guarantee even thawing and to prevent the plastic from warping or melting.
Rotate the bottle periodically to distribute heat uniformly. Typically, a one-liter frozen bottle requires around 20-30 minutes for complete thawing at moderate settings.
Avoid direct contact between the heater and the bottle to maintain safety and efficiency.
Submersion in Rice
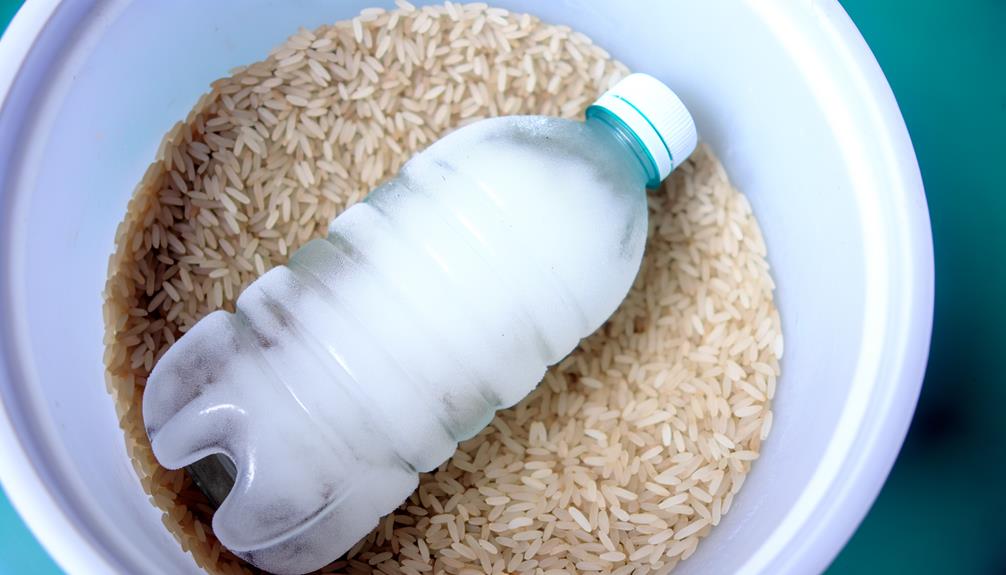
Submerging a frozen water bottle in a container of uncooked rice can accelerate the thawing process by absorbing moisture and providing insulation. This method leverages rice's natural desiccant properties to draw moisture away from the bottle, thereby speeding up the thawing.
To effectively utilize this technique:
- Container Selection: Use a container large enough to completely submerge the bottle in rice.
- Rice Quantity: Confirm there's enough rice to cover the entire bottle, maximizing moisture absorption.
- Time Management: Allow the bottle to sit in the rice for at least 30 minutes for ideal results.
This approach is both simple and effective, utilizing common household items for efficient thawing.
Understanding these steps guarantees you'll achieve a quicker thaw without relying on external heat sources.
Conclusion
To effectively melt a frozen water bottle, employ methods like a warm water bath or a microwave.
For instance, if you’re camping and your water bottle freezes overnight, wrapping it in a hot towel while using your car heater can quickly thaw it. This method helps counter the water bottle freezing reaction by applying consistent heat, allowing the ice to melt evenly. Additionally, shaking the bottle gently can speed up the process by distributing the warmth more effectively. Keeping the bottle insulated overnight can also help prevent it from freezing in the first place.
Remember, always avoid boiling water to prevent bottle damage.
By understanding these techniques, you'll have a reliable strategy to guarantee hydration in any situation.