How to Make Water Bottle Jelly
To make Water Bottle Jelly, gather unflavored gelatin, flavored drink mix, water, and a reusable water bottle. Dissolve gelatin in cold water, then combine it with simmering water, stirring until smooth.
Carefully pour the mixture into the water bottle, filling it three-quarters full, and gently tap to release air bubbles. Secure the cap and refrigerate upright for 4-6 hours, or overnight, to set.
Once firm, squeeze the jelly onto a clean plate, garnish as desired, and portion for sharing. If you want more details about achieving the best results, there's much more to discover.
Key Takeaways
- Dissolve unflavored gelatin in cold water, then mix with simmering water until smooth.
- Combine the gelatin mixture with a flavored drink mix for desired taste and color.
- Pour the mixture into a wide-mouth water bottle using a funnel to avoid spills.
- Chill the bottle upright in the refrigerator for 4-6 hours or overnight until set.
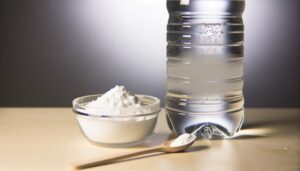
Gather Your Ingredients
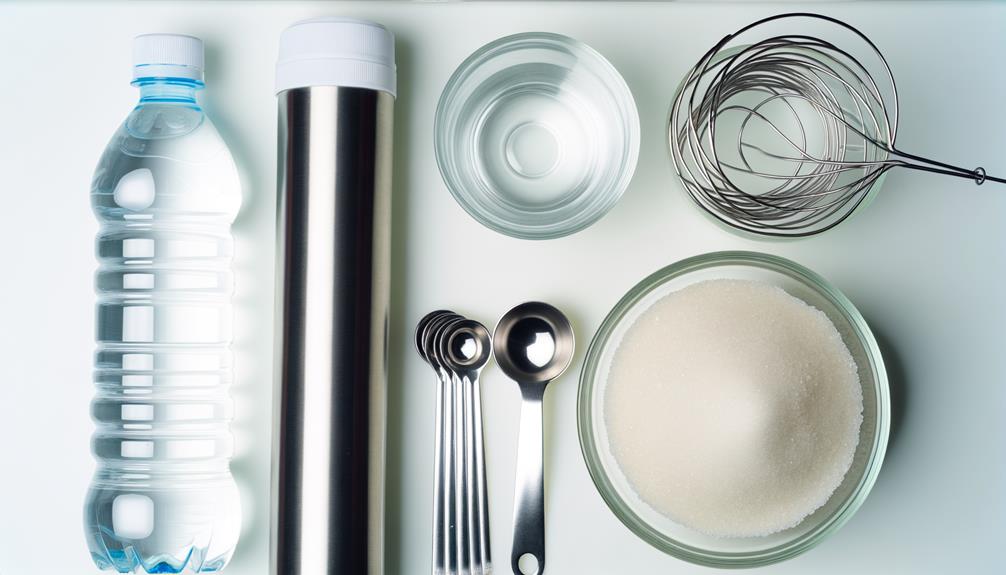
To begin, you'll need to gather the essential ingredients: gelatin, flavored drink mix, water, and a water bottle.
Start by selecting unflavored gelatin, as it provides the necessary texture without altering the taste.
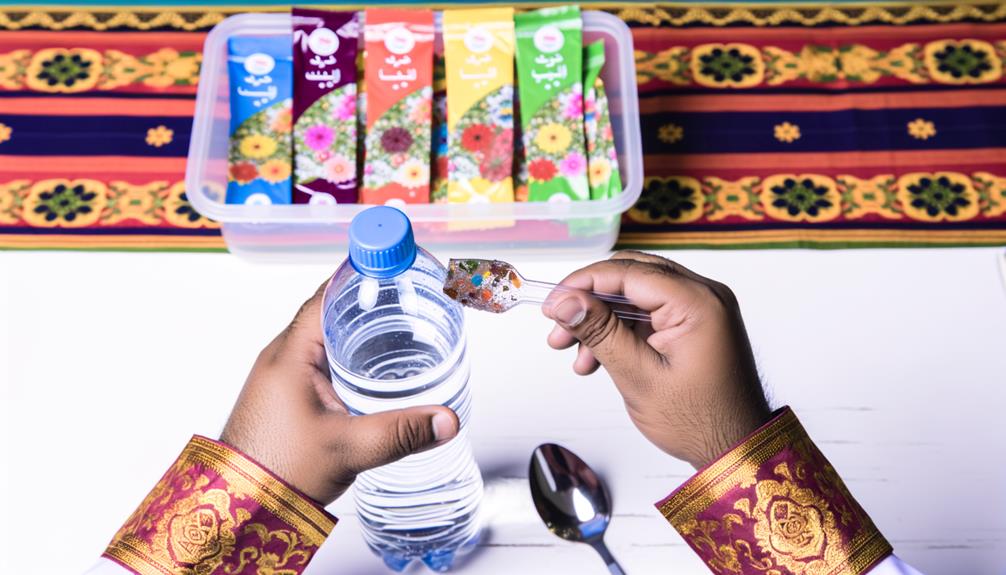
Next, choose a flavored drink mix. This will determine the jelly's flavor and color.
Make certain that your water is either filtered or distilled to avoid impurities that could affect the final product.
Finally, opt for a sturdy, reusable water bottle with a wide mouth. This will make it easier to pour the gelatin mixture and later, to consume the jelly.
Having these items ready and within reach will streamline the process, guaranteeing smooth preparation and a successful outcome.
Prepare the Gelatin Mixture
Begin by dissolving the unflavored gelatin in a small amount of cold water to make certain it fully hydrates. This initial step guarantees the gelatin will dissolve smoothly when you add the hot liquid. Heat a separate portion of water until it reaches a simmer. Once simmering, pour the hot water into the gelatin mixture, stirring continuously until the gelatin completely dissolves. Make sure the mixture is smooth and free of lumps.
Here's a quick reference:
| Step | Action |
|---|---|
| 1 | Dissolve gelatin in cold water |
| 2 | Heat additional water to simmer |
| 3 | Combine hot water with gelatin mixture |
| 4 | Stir until smooth |
This method guarantees your gelatin mixture will be perfectly prepared for the next steps.
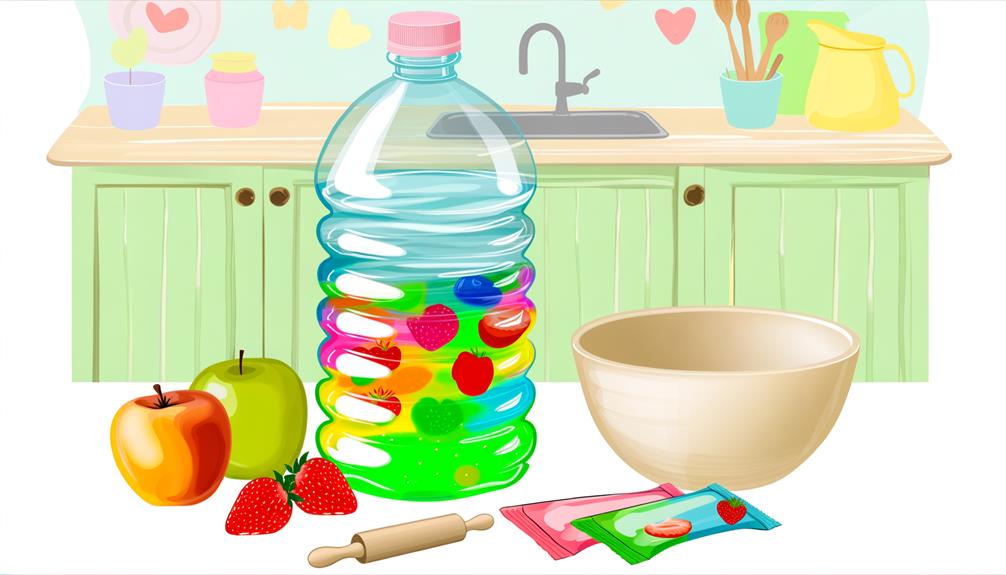
Fill the Water Bottle
Carefully pour the prepared gelatin mixture into a clean water bottle, making sure not to spill or overfill.
Use a funnel to guide the liquid into the bottle, which minimizes splatter and waste.
Hold the funnel steady with one hand while you slowly pour the mixture with the other.
Fill the bottle to about three-quarters full, leaving some space for expansion as the gelatin sets.
Check for any air bubbles and gently tap the bottle on a flat surface to release them.
Cap the bottle securely to prevent any contaminants from entering.
Make certain the bottle is upright and stable to avoid any leaks or spills before moving on to the next step in the process.
Chill and Set the Jelly
Place the capped water bottle in the refrigerator to allow the gelatin mixture to chill and set properly. Make sure the bottle stands upright to prevent any leakage or uneven setting. It generally takes about 4-6 hours for the gelatin to fully firm up, but overnight chilling is recommended for best results.
Here's a quick reference table:
| Time (Hours) | Temperature (°F) | Notes |
|---|---|---|
| 1-2 | 35-40 | Initial cooling phase |
| 2-4 | 35-40 | Gelatin starts setting |
| 4-6 | 35-40 | Gelatin firming up |
| 6-8 | 35-40 | Ideal firmness |
| Overnight | 35-40 | Recommended duration |
Keep the refrigerator door closed to maintain a consistent temperature. This guarantees the gelatin sets evenly, giving you a smooth, consistent texture.
Enjoy and Share Your Creation
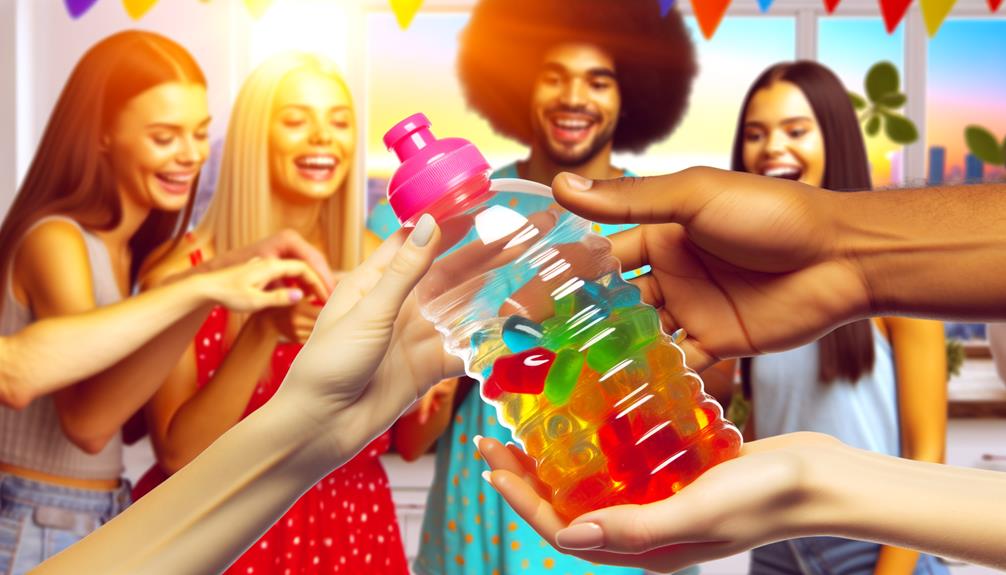
Once the jelly in the water bottle has fully set, uncapping it reveals a firm, wobbling treat ready to be enjoyed.
Carefully squeeze the bottle to slide the jelly out onto a clean plate. Use a sharp knife to slice the jelly into evenly-sized pieces. Gently separate the pieces to ensure they don’t stick together. Arrange them neatly on the plate for serving or further preparation. While waiting, you can also take a moment to remove logo from stainless steel utensils to maintain a clean and polished look.
To enhance the experience, consider garnishing with fresh fruit or a dollop of whipped cream. If you prefer a more interactive approach, serve directly from the bottle, allowing guests to squeeze out their servings.
For sharing, portion the jelly into small cups or containers. Refrigerate any leftovers promptly to maintain the texture and flavor.
Conclusion
You've gathered your ingredients, prepared the gelatin mixture, filled the water bottle, and chilled the jelly.
Now, enjoy and share your creation. By following these precise steps, you've turned simple ingredients into a fun, edible masterpiece.
Your water bottle jelly isn't just a treat; it's a demonstration of your culinary skills. Serve it, savor it, and see the smiles it brings.
You've mastered the art of transforming the ordinary into the extraordinary.