How to Reseal a Water Bottle
To reseal a water bottle, start by inspecting the cap and bottle threading for cracks, deformations, and debris that could affect the seal. Clean all components thoroughly with warm soapy water, rinsing well and allowing them to dry completely.
Choose a sealant that's compatible with your bottle's material such as silicone, epoxy, or polyurethane, and apply it evenly. Let the sealant cure as per manufacturer instructions.
Test the seal by filling the bottle and confirming no leaks. Regularly inspect for wear and apply food-grade silicone lubricant to maintain elasticity.
By following these steps, you'll guarantee a durable and watertight seal.
Key Takeaways
- Inspect the bottle cap and seal for visible cracks or deformations.
- Thoroughly clean the bottle and cap using warm water and mild detergent.
- Select a sealant compatible with the bottle material and ensure it's non-toxic.
- Apply the sealant evenly and allow sufficient drying time as per instructions.
Identify the Problem
To effectively reseal a water bottle, you first need to identify the specific issue, be it a damaged cap, a worn-out seal, or a misaligned threading.
Start by inspecting the cap for visible cracks or deformations. If the cap appears intact, examine the seal inside the cap; a worn-out seal often loses its elasticity, leading to leaks.
Next, check the bottle’s threading. Make certain it’s free from debris and properly aligned when the cap is screwed on. Misaligned threading can prevent a tight seal. If you notice any resistance while tightening the cap, unscrew it and realign the threads to ensure a proper fit. A secure seal helps prevent leaks and keeps the contents fresh. Understanding how to open a water bottle correctly also ensures that the threading remains in good condition over time.
Clean the Bottle
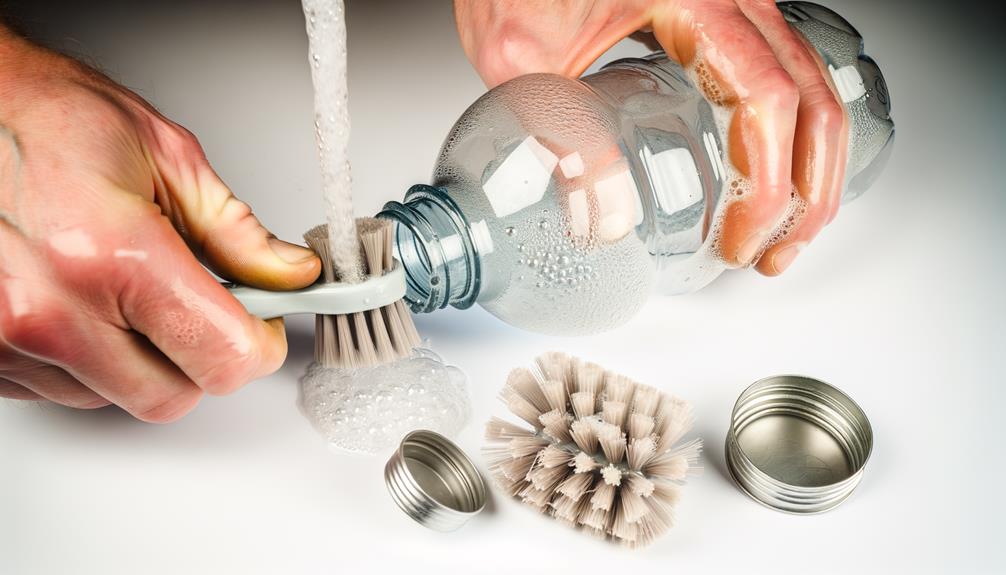
Before you can reseal a water bottle effectively, thoroughly clean both the bottle and the cap to confirm no contaminants compromise the seal.
Start by disassembling the bottle and cap. Use warm water and a mild detergent to wash all components. Scrub the interior and exterior surfaces with a soft brush to remove any debris. Rinse each part thoroughly to ensure no soap residue remains, then allow them to air dry completely before reassembling. If you’re wondering how to melt a frozen water bottle, try running warm water over the exterior or placing it in a bowl of lukewarm water to speed up the thawing process. Avoid using boiling water, as sudden temperature changes could damage the bottle.
Pay special attention to the threads on both the bottle and cap, as residual particles can interfere with resealing. Rinse everything thoroughly with clean water to confirm no detergent residue remains.
Let the components air dry completely on a clean, lint-free towel. This meticulous cleaning process confirms the surfaces are pristine, providing an ideal foundation for a successful resealing.
Choose the Right Materials
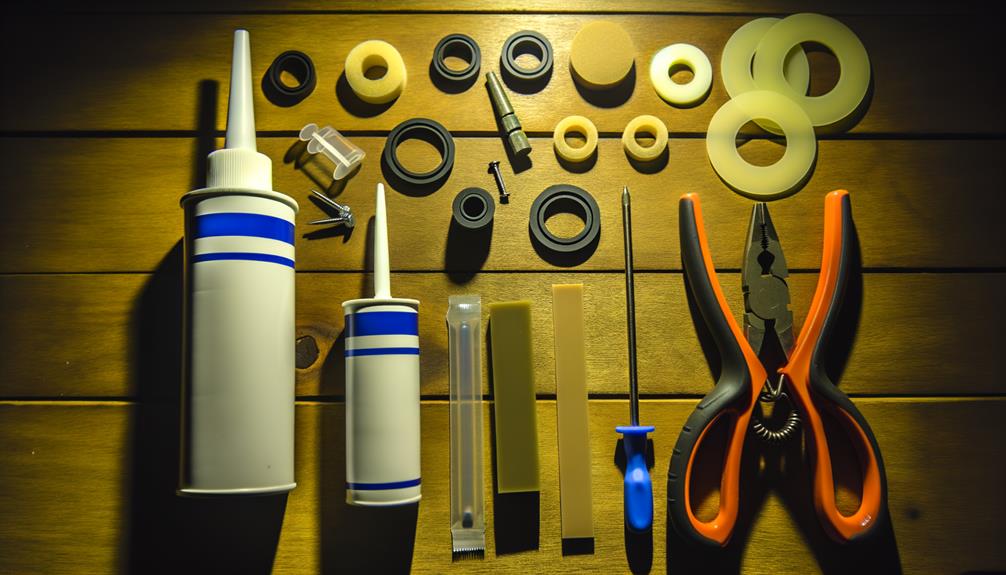
To reseal your water bottle effectively, start by selecting the appropriate sealant, such as silicone or epoxy, based on the bottle's material.
Make certain that the sealant you choose is compatible with the bottle's material to avoid chemical reactions or weak bonds.
This precision in material selection guarantees a durable and safe seal.
Types of Sealants
When resealing a water bottle, selecting the appropriate sealant is essential to guarantee a secure and leak-proof closure. Your choice of sealant should align with the specific requirements of the bottle material and its intended use.
Here are three primary types of sealants to evaluate:
- Silicone Sealants: Ideal for flexible and durable seals, silicone is resistant to temperature variations and maintains elasticity.
- Epoxy Resins: Known for their strong adhesive properties, epoxy resins provide a rigid, durable bond but can be less flexible.
- Polyurethane Sealants: Offering a balance between flexibility and strength, polyurethane is suitable for a variety of materials and conditions.
Material Compatibility
Selecting the correct sealant is just the first step; verifying material compatibility is key to achieving a reliable reseal. You must confirm that the sealant bonds effectively with the bottle's material—be it plastic, glass, or metal.
For plastic bottles, use a sealant designed for polyethylene or PET plastics. Glass bottles require silicone or epoxy-based sealants, while metal bottles benefit from polyurethane adhesives.
Examine the sealant's chemical composition to avoid any adverse reactions that could compromise the bottle's integrity.
It's also crucial to evaluate the bottle's exposure to temperature variations and pressure. Not all materials react the same way under stress, so choose a sealant that maintains elasticity and strength under expected conditions. This guarantees a durable, long-lasting seal.
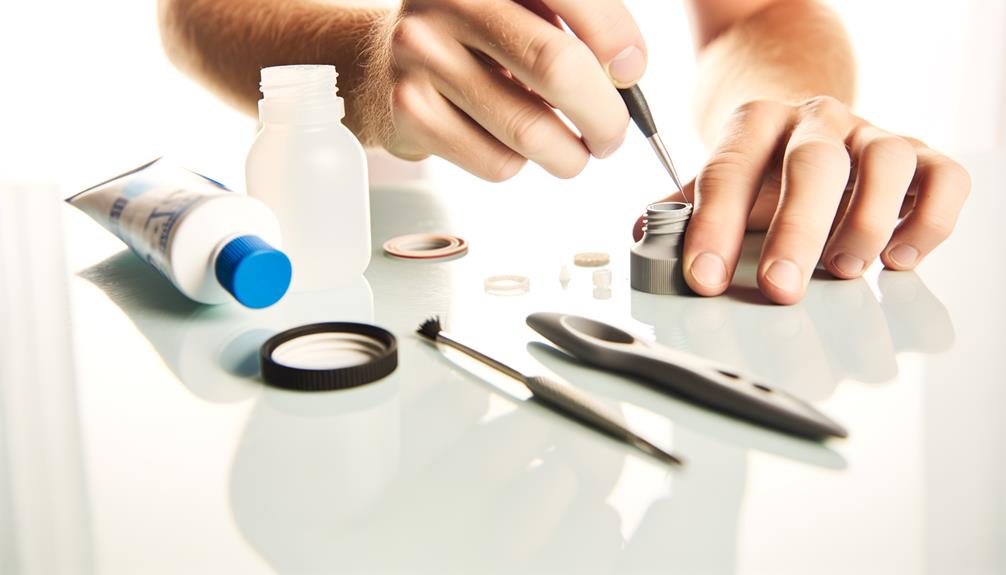
Apply Sealant
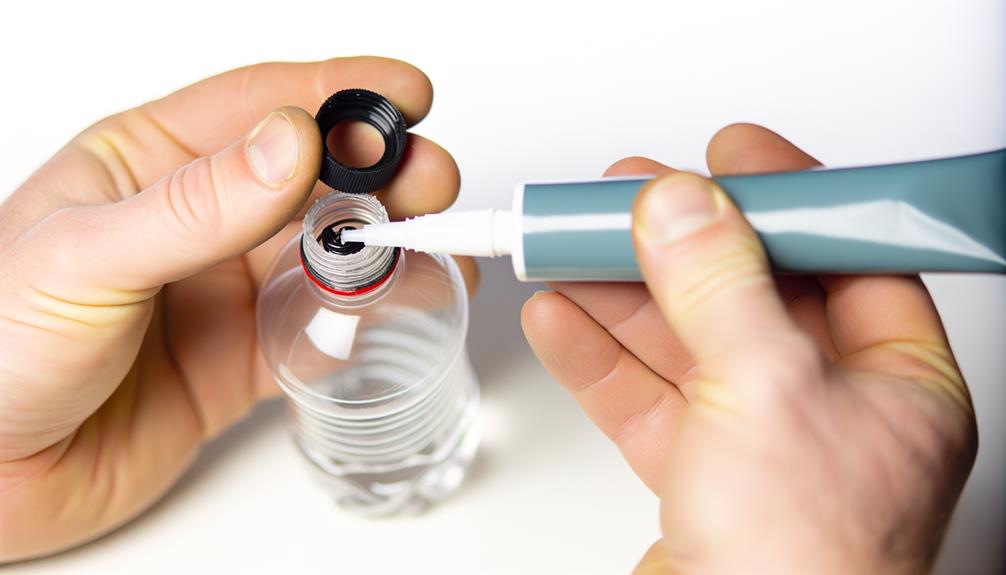
To reseal your water bottle effectively, start by choosing an appropriate sealant designed for plastic or metal, depending on your bottle's material.
Apply the sealant evenly to guarantee a uniform layer, which prevents leaks.
Allow sufficient drying time as specified by the sealant manufacturer to guarantee a strong, lasting bond.
Choose Appropriate Sealant
Choosing the right sealant guarantees a durable and leak-proof reseal for your water bottle. You need to take into account several factors to make an informed choice.
Here are three essential qualities to look for in a sealant:
- Material Compatibility: Verify the sealant adheres well to the bottle's material, whether it's plastic, metal, or glass.
- Water Resistance: Opt for a waterproof sealant that can withstand prolonged exposure to liquids without degrading.
- Non-Toxicity: Choose a food-safe, non-toxic sealant to verify the safety of your drinking water.
These criteria will help you select a sealant that not only performs well but also maintains the integrity and safety of your water bottle.
Apply Sealant Evenly
Make certain you apply the sealant evenly across the surface to create a consistent and effective barrier.
Begin by cleaning the surface area to guarantee no debris interferes with adhesion.
Use a precision applicator, such as a brush or nozzle, to control the sealant flow.
Apply a thin, continuous bead along the seam or crack, maintaining steady pressure to avoid bubbles.
Smooth the applied sealant with a suitable tool, like a plastic spatula or your finger (wearing gloves), to guarantee uniform coverage.
Focus on achieving an even thickness, as inconsistencies can compromise the seal.
Pay attention to corners and edges, as these areas are prone to leaks.
Your meticulous application will enhance the water bottle's durability and functionality.
Allow Sealant Drying
After achieving an even application of the sealant, let it dry completely to guarantee a robust and leak-proof seal. The drying process is essential for peak performance and longevity.
Follow these steps to verify proper drying:
- Adhere to Manufacturer's Instructions: Every sealant has specific drying times and conditions. Always refer to the provided guidelines.
- Maintain Adequate Ventilation: Confirm the sealing area is well-ventilated to facilitate faster and even drying.
- Avoid Disturbance: Keep the bottle in a stable position, avoiding any movement or pressure that could compromise the sealant's integrity.
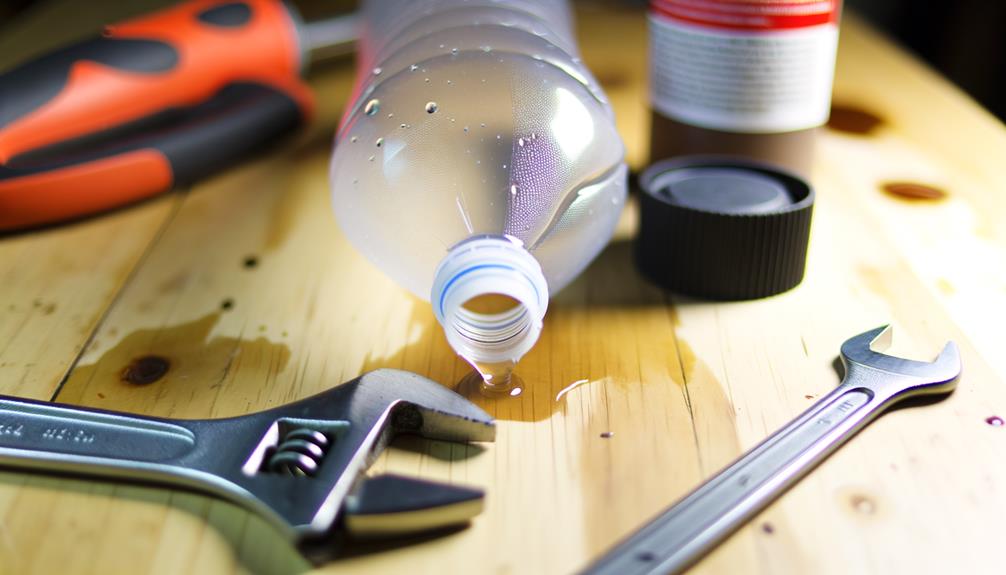
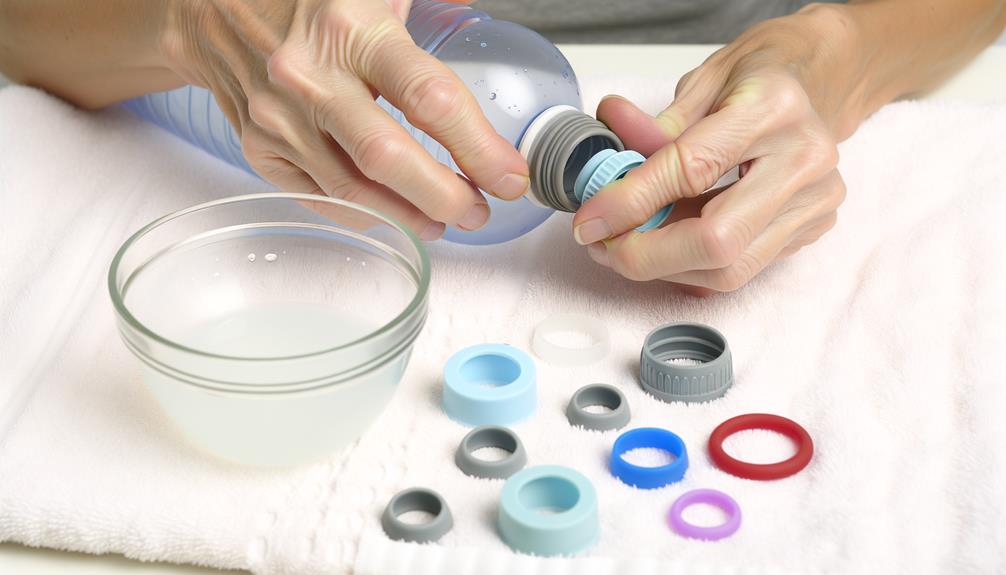
Test the Seal
Verify the resealed water bottle is leak-proof by turning it upside down and applying gentle pressure to test for any escaping liquid.
Confirm the sealant has fully dried and bonded with the bottle material.
Pay close attention to the cap's threads and any seams, as these areas are most susceptible to leaks.
If no liquid escapes, increase the pressure slightly to confirm the seal's integrity under stress.
For added assurance, fill the bottle with warm water, which can reveal any weak points more effectively.
Inspect the sealant visually for any gaps or imperfections.
If you notice any issues, repeat the sealing process.
This method confirms your water bottle remains reliable and functional for everyday use.
Maintenance Tips
Regularly inspect the seal and cap for wear and tear to confirm the water bottle remains leak-proof. This proactive approach guarantees long-term functionality and hygiene.
Here's how you can maintain your bottle:
- Clean Thoroughly: Regularly wash the seal and cap with warm, soapy water. Use a small brush to reach crevices where dirt can accumulate.
- Check for Damage: Examine the seal for cracks or deformations. Replace immediately if you find any imperfections to prevent leaks.
- Lubricate Seals: Apply a food-grade silicone lubricant to the seal. This helps maintain its elasticity and prolongs its lifespan.
Conclusion
So, you've mastered the art of resealing a water bottle—because who wouldn't want to spend their weekend doing that?
Now, with your newfound skills in sealants and precision, you can tackle any leaky beverage container.
Remember, your bottle's longevity depends on regular maintenance, because nothing says “fun” like routinely checking for leaks.
Congratulations, you're now a bottle-sealing expert.
Just imagine all the other everyday objects you can fix next. The world of minor repairs is your oyster.